Leaderboard


Popular Content
Showing content with the highest reputation on 01/11/19 in all areas
-
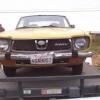
Hi all, I'm resuming production of the stickers I used to sell on eBay and I'm basically re-doing all of the designs from scratch, for best accuracy when scaled up on other products I have in mind. One of the stickers that sold best was the "Wagon 4WD" badge - pictured in this post. Many of the original EA81 wagon badges I've seen have remnants of white paint outlining the "4WD" but I've never seen an original badge still with its paint. I'm finding that it's a little too specific to be able to search for easily online, including here I'd be grateful if someone can share a photo of an EA81 wagon - the older the photo the better - showing one of these badges in like-new condition. I'd find it reassuring for authenticity's sake, and if it's a photo to which you have the rights, maybe we can work something out for me to use it for promotional purposes? In the photo I've got here is a badge in modern-day condition, showing faded red paint and traces of white paint after countless hours of UV exposures and at least 4 carwashes in its lifetime, along with the re-worked version of the sticker I previously produced (white insets above & below 4WD), and a more authentic version I plan to produce (insets lacking white paint). I just want to see it to believe it. Thanks! Andy
 1 point
 -
It's been quiet for a couple of days, so I thought I'd break the silence with a report of what kind of idiot I can be. Now that the holidays are over, everyone's back to work and school, and I can get some quiet time to crank up the stereo and get things done, I'm bolting up the heads on this EJ25D rebuild so maybe I can get the mill back in the car during the Chinook this week. Body count on this timing failure was three slightly bent exhaust valves, otherwise things look good. Having done the left head, I mounted up the right last night just before bed, and first thing this morning torqued it up. For anyone who hasn't done it, it's a procedure, and I still find some Zen focus in it, something I discovered a five or six years ago when I did my first head gasket job on this car, just after I bought it (my first Subaru). I'm normally very task-to-completion driven, but in the middle of torquing one of these heads for the first time, I found I wasn't thinking the way I usually do, rather, I was really enjoying the process. Quite a memorable moment for me. Anyway, in half an hour or so it was all torqued, so I went to the exhaust cam next, since I'm always nervous about falling lifters. But when I put it in place and reached for the cap... its markings were wrong - they were for the intake. So I looked at the cam - intake too. Confusing... I know where I put them just before bolting up the head... there are the exhaust parts.... oh... I'd put the head on upside-down. It's truly amazing, the big things you can miss when you're focusing on little details. We're all used to trying to be the smartest and most helpful we can, but I doubt I'm the only one who has these moments (and I have a few more, some pretty hilarious). Feel free to share.1 point
-
Just joined Ultimate Subaru.
 1 point
 -
That's fantastic. Hat tip to you for thinking out of the box, and getting it done. I'm adding this to the Retrofitting FAQ.1 point
-
This is exactly why they use them in aircraft applications.1 point
-
This writeup may help you visualize.1 point
-
Yeah what he said lol! Don't do what I'm doing. Total Pita1 point
-
I so wish we got the RXII over here! I would’ve totally had one years ago!! Keep up the good work. That lip/air dam will look be interesting to see once it’s finished Cheers Bennie1 point
-
*side note* Ive also got some pretty intresting front lip ideas. Rx/RS lips are hard to come by from the looks. I think this will work juuusssttt fine with a little fab work.
 1 point
 -
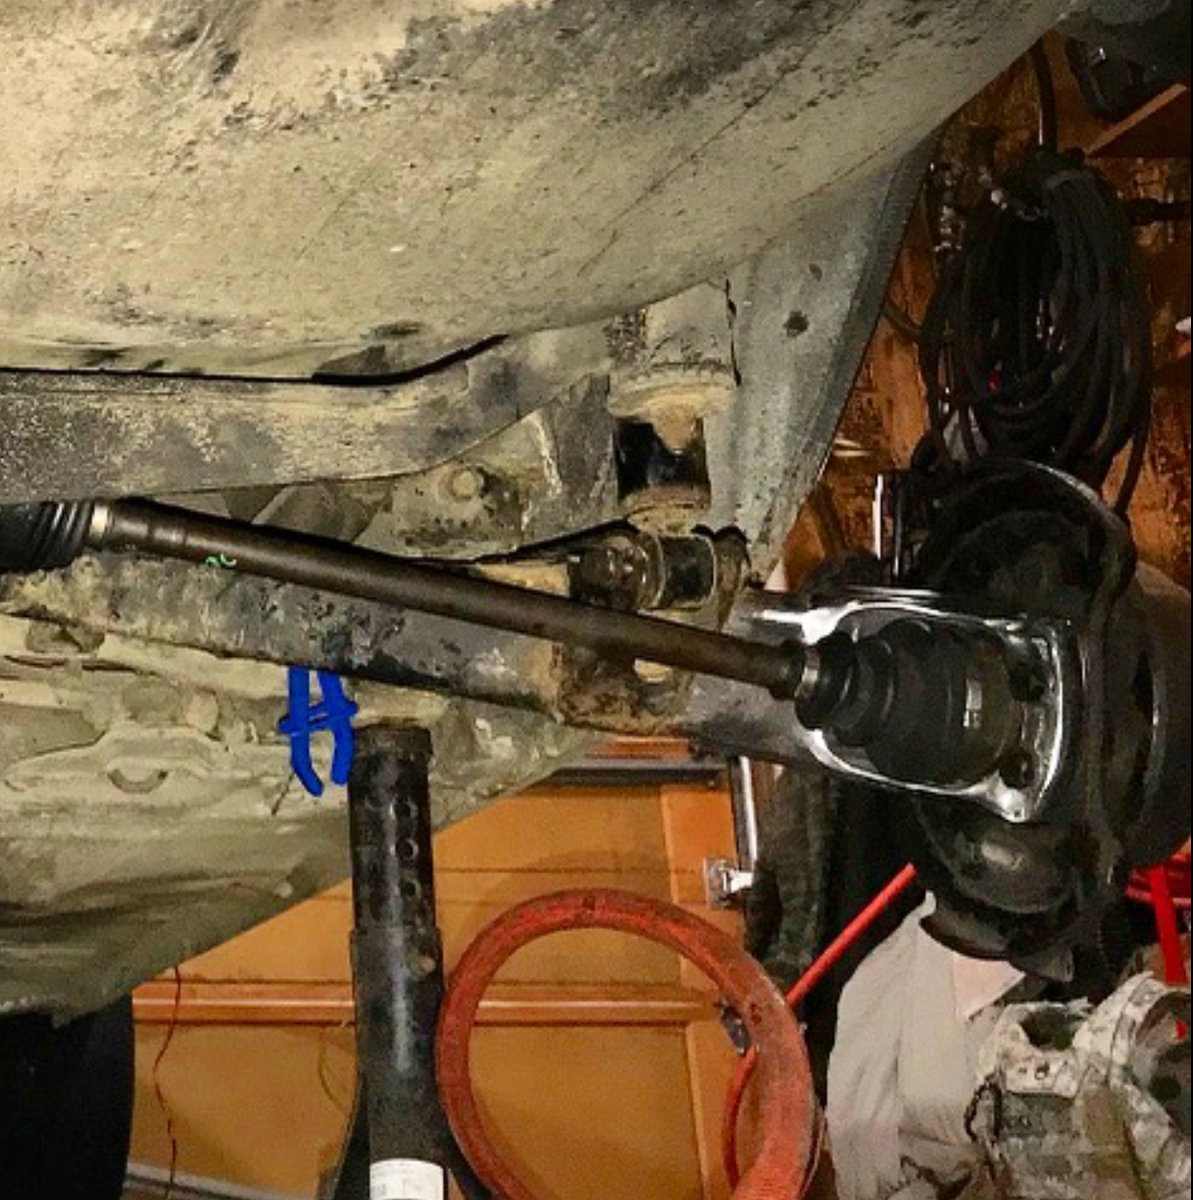
Correct Sir! The track width is a little wider.. as I had no choice with the factory axle lengths but nothing crazy here’s a few pics of the suspension loaded and with the RS wheel attached.
 1 point
 -
A properly built lift kit should not put any extra strain on the factory components. Putting oversized tyres on the other hand, will put extra strain on the factory components. The extra strain comes in when you do silly things like a 2 inch strut lift only. Do a 2 inch body and suspension lift and you’re still at factory angles on the drive shafts. Cheers Bennie1 point
-
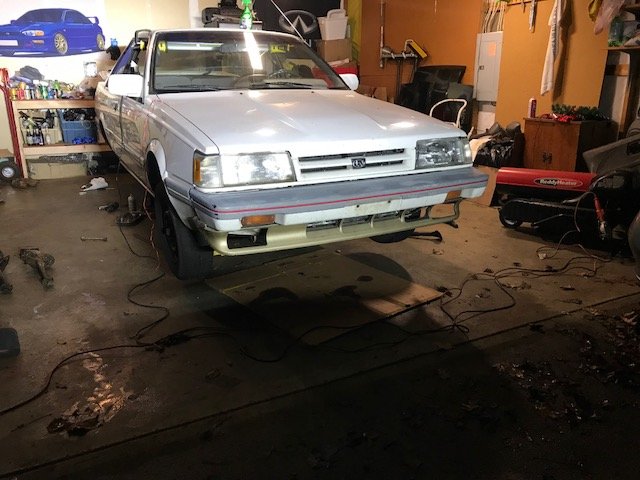
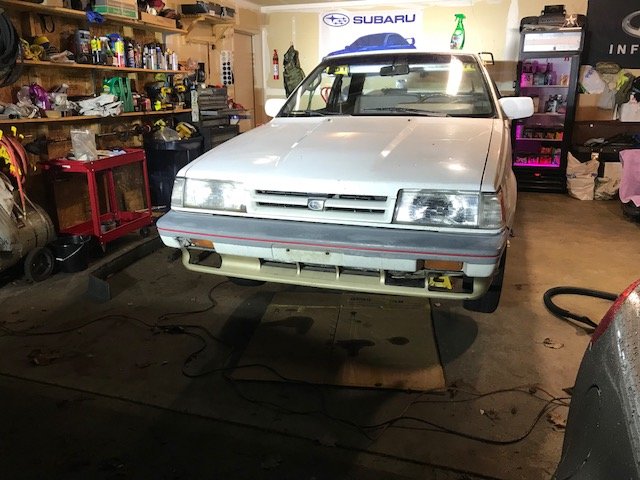
There is a bit in the lower corner of the rear windshield that could go deeper than I can see. And now that I'm looking, you're totally right, there are small bubbles in the paint in various areas around the front windshield. The windshield is cracked pretty good so it will have to come out anyway. This thing is going to need a full paint job by the time I'm done hacking out the rust. It needs it anyway. Anybody have any luck matching the color on these white RX/ii's before? A question for another post, probably. I'll most likely end up borrowing some gear and painting it myself. I've got resources and I've sprayed a few things before. My hope of having it show ready by June is slowly fading. But that's ok. With this lil' cougar I can get my kicks out in the woods where nobody can see my crappy paint. (Cougar? Because it is a fiesty offroad animal at home in the Cascadian mountain wilderness? Or, assuming my car is female, because it is a hot older lady who seduced a starry-eyed young man into spending all his money on her and... the metaphor gets a bit out of hand here... Moving on.) Still, it's a good goal to set for myself. Without going into a detailed accounting of my income and living expenses()... I can get er done if I just keep up momentum and stay focused. Thanks for all the good vibes, gang!1 point
-
aaaaaand I'm good. Found a vintage review of an '83 Ski Team wagon on Youtube that kind of showed me what I wanted; then I found this video that put my mind at ease: https://youtu.be/uKveH1b156k?t=231 point
-
@sparkyboy - and for others - don’t forget that when in a low gear you have to rotate the input shaft MANY times to even see a change of orientation at the output shaft... I should’ve added in my first post about the rotating of the input shaft - don’t just do one, do many so that you’re investigating all of the gear’s teeth in doing so. When the gearbox in neutral, the output shaft may rotate when the input shaft is rotated. And I would expect in a fresh box that this would always be the case due to tight tolerances. Cheers Bennie1 point
-
Once upon a time I was a younger man and made an honest mistake that cost the company more than my monthly pay. A crusty old shop foreman swept it under the rug for me and kept me from getting fired. I try to return the favor. It would depend on the tech of course. If they made a regular habit of fastener abuse or hammer & chisel apprentice work they would be pushing their toolbox down the sidewalk. GD1 point
-
I mixed up the intake and exhaust cams on a 25D a few years ago - of course it had to be the driver's side head. Distractions abound when you are trying to run a shop and wrench at the same time..... The engine did not run well at all this way but was completely undamaged - of course I rotate them over by hand to ensure there is nothing binding so no interference took place. I had to swap the cams around after it was in the car and we had attempted to run it. That's a frustrating event for sure. Put a major F*ck in my day and the schedule. Customer was a good friend though and didn't mind the delay. Because I we do it professionally though.... not many mistakes get made around here. Half the jobs we are on auto-pilot because repetition. Most of the "problems" we run into are getting the wrong parts, or not being able to get the parts in a timely manner. I had a friend/customer who installed a short block I supplied to him and called me saying oil was everywhere and it was flowing out of the block like a faucet. He installed the head gasket upside down with the oil port hole on the wrong end. Oil was erupting from the joint between head and block like a volcano. I had a block come in from another shop with THREE stripped head bolt holes. I guess they accidentally bought DOHC bolts for a SOHC engine. What I don't understand is who keeps torquing the bolts after one of them strips? Let alone THREE of them? Just a single bolt hole being stripped will ensure a blown gasket almost immediately. Let alone three. Why keep trying to go through the sequence? It's not an easy repair - I charge $100 per hole for the pleasure. I would have demoted that tech back to sweeping and mopping if he worked here. GD1 point
-
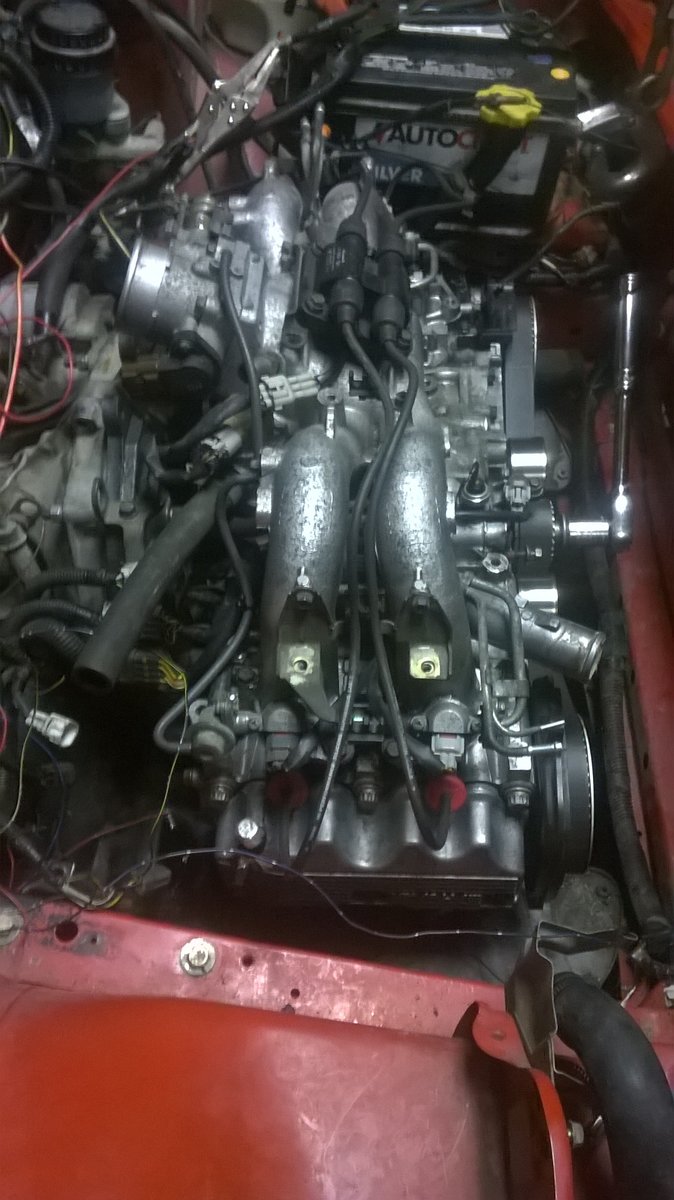
+1 on that If I could go back and tell myself what I would do different reguarding the swap: 1) Since I was an efi rookie I would have studied the pinout and wiring diagram for a long time first. I tackled all the mechanical stuff first and had plenty of time to do so, but I was under the impression that I was just gonna send my harness to someone and pay them to do it, ($250) but I was going low budget and the adapter plate from sjr was a better buy. But you can fabricate so that would be something for you to think about if you want to keep the dual range, considering you are building a wheeler I am assuming you don't want awd. Gotta keep 4lo on the brat! I did eventually sit there with a diagram and pinout and a bunch of diffrent color highlighters and took detailed notes with pin location, wire color(s) (some of the wires change colors after the super multiple junction), and function. Then I took a piece of tape and put it on the wire itself near the harness and it was cake after that.. Plus I learned something for once in my life and I know my own engine a lot better now. 2) Don't drink and do critical work on the engine. This is funny but I installed the valves in the wrong place on the drivers side so when I thought it was the big day I was only running on two cylinders. Luckily zero compression on whole side made me face palm as hard as I ever have but the next day she was golden and I learned that the drivers side hg can be changed in the car, just remove the motor mounts and jack up one side as needed. The pass side looks to be the same. 3) Take more pictures Things I felt like I did right the first time: 1) Buying an entire donor car, and parting the rest. Just the parts paid for almost half of the entire swap, a 95 leggo was t boned but otherwise fine for $500, and I got about that for selling the parts. Yuur 96 is the best phase one because it is the only year with adjustable lifters and non interference. 2) Taking my time and labeling as much as I could when removing the harness. It saved me a lot of headaches but I was so lost at one point I was on the verge of tears just thing to get the damn thing to power up. Turns out that I needed to power the red wires, as well as the red and yellow stripe ones. I was holding the fuel pump relay between my teeth and the main relay with my finger and I felt them both click on, I started dancing around like snoopy. 3) most importantly, taking my time and having fun while doing it. Happy wrenching, you are a lucky guy to own so many brats One more piece of advice would be to have a general understanding of the differences between the obd 1 and obd 2. An example would be that when I was lost in the wiring I looked at a volkswagen bus website and saw how important the brown double diode is, the engine won't start without it, and if it's backwards you will get spark, but at the wrong time and it won't look erratic at all if you just ground the spark plug and crank...so yea imagine that. So I spend forever looking for this double diode and it turns out obd2 cars don't have that diode! D'oh Oh one last thing, once you hook up the evap canister, look at the front of the fuel tank and switch the return lines. If you don't the vaccum in the tank caused by the fuel returning high will cause fuel to drain out of the evap canister unless I went out and removed the gas cap to break the vaccum, and random stalling from too rich and took forever to restart...ask me how I know! haha!1 point
-
If you’ve got the whole vehicle you’re winning on that front, especially if it’s running! I’d pull the wiring, cut it down, then hook everything up to the engine and fuel pump to do a test run. If all checks out, move forward with the mechanical side of the build and all the general maintenance stuff that goes with it (read: $$$s). This way you know your wiring cut down will work once it’s in the BRAT. It should make for an easy conversion without the stress of having to get the wiring right to make the EJ run that’s in the BRAT’s engine bay - I hope that makes some sense. Mall the best with it and remember to have fun along the way. When the wiring becomes a bird’s nest to look at, walk away and clear your head before coming back to it again Cheers Bennie
 1 point
 -
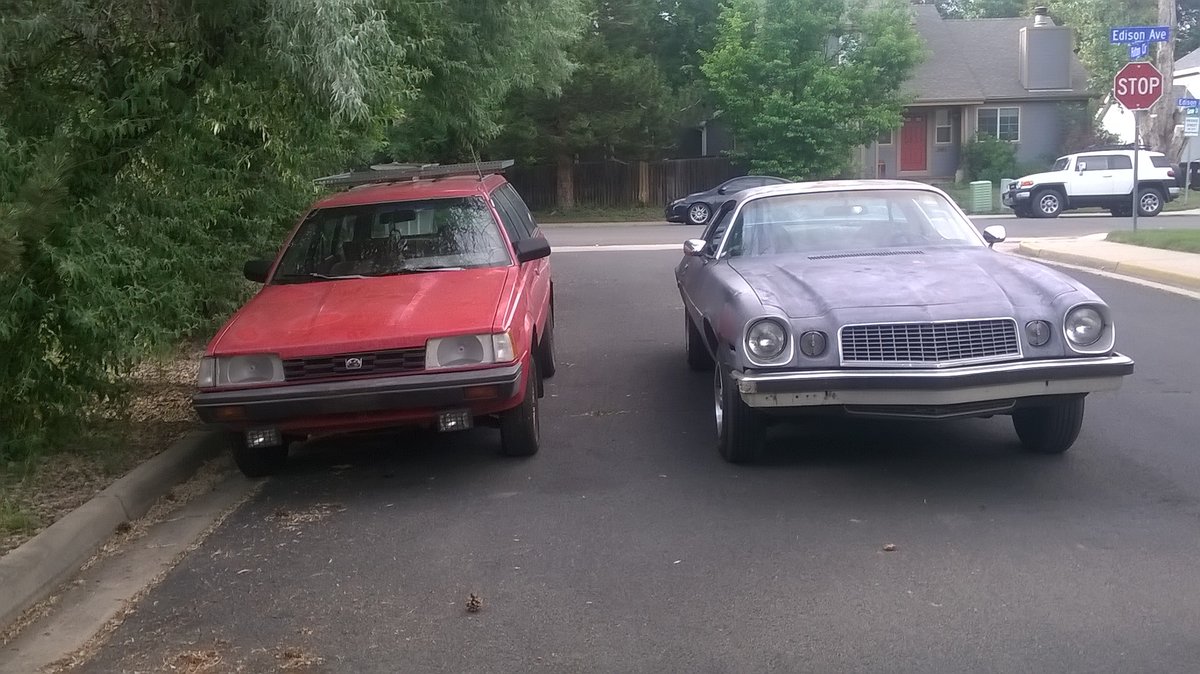
Man, i wish you were in denver. There are still piles of phase ones here. And i have been looking for another sube nut to do this with years! Have you read numbchuxs write up? I put an ej22 in my 86 GL. Looking back it was easy, i took my time over 8 months to get everything right, but now the ej looks factory and runs great! And keep the dual range bro! Especially if you hardly ever use 4wd. I love 4 hi in the snow. My sube handles better than my 325 ix in the snow and i don't think awd would be the same. I went in knowing nothing of efi, but i tucked the ecu neatly into the glove box. Happy wrenching man! And your brat will smash after thus swap, my GL will out accelerate my camaro, but not outhandle on pavement, even wet. I will be doing this same swap on my 85 xt soon.
 1 point
 -
I am not close enough to help, nor have I done this...but I have an EJ20 sitting in my 92 Brumby mated up to its matching awd 5MT out of a '99 Impreza. No flywheel or clutch to avoid weight and lining stuff up at this stage. This is about where it stagnated. I have measured up to see about 50 mm needs cuttingfrom tail shaftshaft 65 mm out of shifter rods. Done one. Halfway into stay support rod Experimental imental I found donor has diff ratio of 3.9 anI have MY style rear diff to match lucky i Ooh gremlins1 point
-
Welcome to the forum Ivy! Youve got one of the best colours that Subaru ever brought out! I love that blue and would love to have an MY wagon in that colour too. I’ve got an L series in that colour (or slight variation of). Keep the pics coming! Cheers Bennie1 point
-
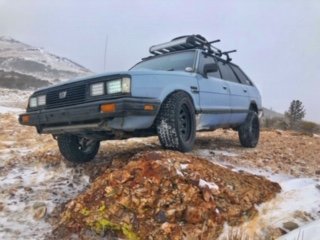
This was the other day I drove it up a mountain we have here called Peavine. I flexed her out a little sadly the tire got so stuck in the front fender. I have big plans for this car I should be buying some goodies for it here soon and I’ll keep y’all updated!!!
 1 point
 -
I agree, it does! I still like mine better than the $46K brown one!
 1 point
 -
You can actually see the impreza in the one image in the back ground. You can also google mudpreza Heres a few of the 95 TT legacy
 1 point
 -
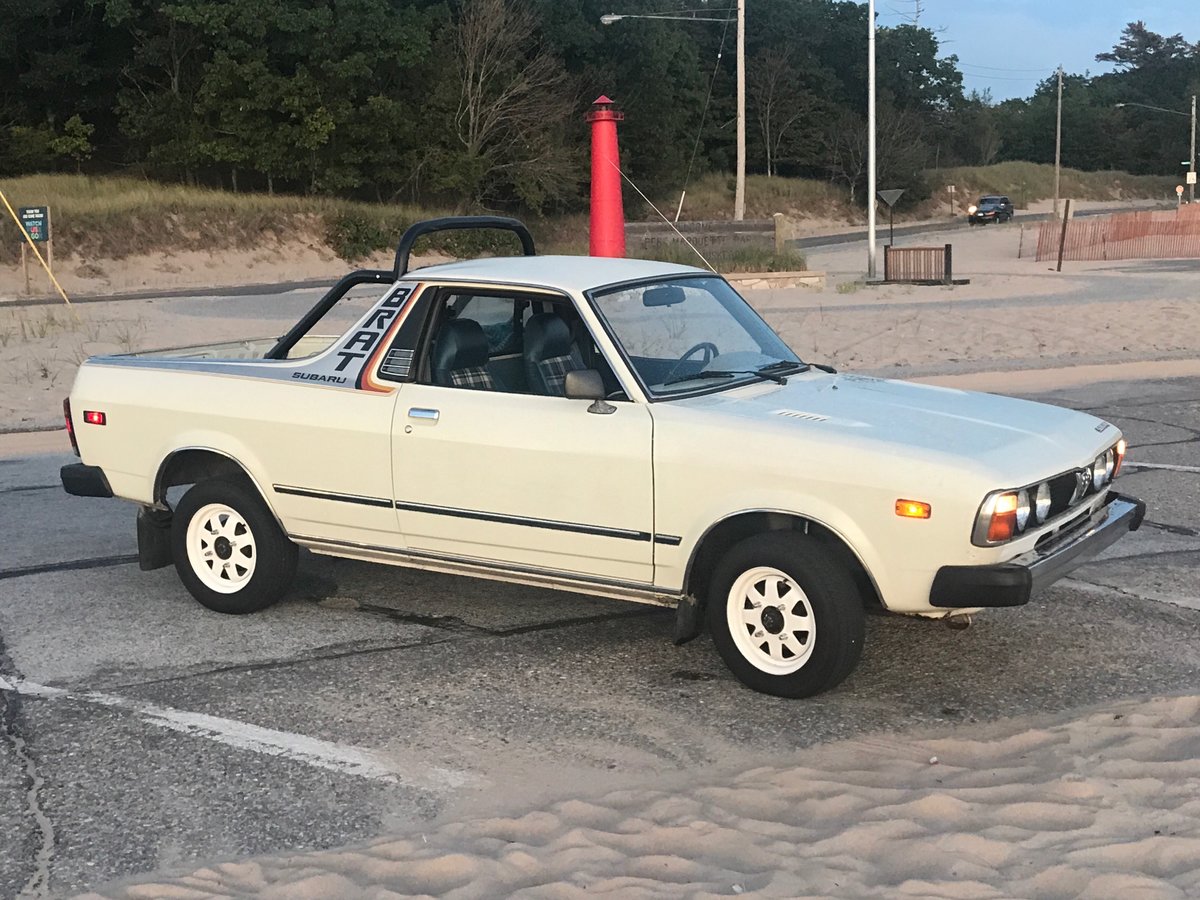
Winter in Fairbanks, a Subaru's natural environment: Flaunt it by Jason Ahrns, on Flickr 1977 Subaru Wagon by Jason Ahrns, on Flickr 1977 Subaru Wagon by Jason Ahrns, on Flickr1 point
-
most are still here... http://www.indysworld.com/vehicles/1982-brat-red/82redbrat.html1 point
-
Have you looked into a title service? While you *can* swap vin's, you will still have the stamped vin on the firewall. I have not had to use a title service, but from what I have read, they title/register the car in a state that has low requirements for older cars, then you simply transfer the registration from state A to your state. Maybe a couple hundred and your legit. Oh, I think tachs were standard on GL trim. Mark1 point