Leaderboard

.thumb.jpg.96479a473cd1ed4b8bac667c0ee181f5.jpg)


Popular Content
Showing content with the highest reputation on 01/14/19 in all areas
-
I've done 3 joints in the last year or so. One on an '04 Outback, and the other a '00 Outback. Process should be the same for basically all Subarus. We've tried used ones here, most of them have worn joints...not worth the install time IMHO.Dorman makes an aftermarket shaft, same part number for '96-'04 Outback AT. I fished a donor shaft out of the scrap bin here at work with bad joints that came from an '07 4EAT Outback. I've measured it, and held it up under my car, and it looks like it should work, at least temporarily (front half was hardest to measure, looks like it might be a hair short, but I'm not worried about the slip yoke having a little less engagement for street use for a week).Rockford offers joints specifically to replace the staked in applications. Here's their application list for the 430-10 part (the Justy is the only Subaru found elsewhere in their list).http://www.rockforddriveline.com/media/documents/Vehicle_Fitment_430-10.pdfYou may notice it lists Legacy/Outback 1990-2009.Using parts interchange listings, and trying other vehicles on that list, I came up with a few other part numbers. Napa lists a UJ10430, although there was no availability. Autozone lists a 2-0430DL, of which they had 4 in their Hub store across town. I now have 2 of those sitting on my desk (they are greasable, btw). 1. The joint before I started, you can see some of the 8 little "stakes" being deformations in the outer yoke holding the caps in. 20180827_192114 by Numbchux, on Flickr I've seen 2 ways to do staked in joints (generally, not specifically Subaru), one is to grind the stakes out, and the other is to just use a press to push through them. In my experimenting on other shafts, it takes an enormous amount of force (easily the most I've ever done on my little 12 ton HF press), so I opted to grind first. High speed metal cutting bit on the dremel does a pretty good work down in the corners. 20180827_192401 by Numbchux, on Flickr While I had it out, I used the dremel to make a few light marks on the yoke and the shaft itself to ensure the orientation when it came time to reassemble. 20180827_192552 by Numbchux, on Flickr 2. Then over to the press, make sure to support the other end of the shaft pretty well. 20180827_192748 by Numbchux, on Flickr 3. Once it's pressed off to one side, the stakes become really clear (some of these are ground down, some are un-touched). 20180827_192926 by Numbchux, on Flickr 4. Flip it over and press it back all the way through to flatten those stakes. Then lay it with the opposite yokes supported (a vice works best for this), and pound on the yoke so those cups can be pushed out beyond the ears. Don't pound on the thin part at the top of the ears, and don't pound on the shaft tubing itself. 20180827_193255 by Numbchux, on Flickr 5. Flip over and repeat the other way until those cups are pushed as far out of the yoke as possible. It should get to the point where the cross of the ujoint can be removed from the yoke (if those cups are damaged, you might need to sneak a punch passed the cross to push the cup out further, just make sure not to damage the yoke). 20180827_193408 by Numbchux, on Flickr 6. Then pound the cups out the rest of the way: 20180827_193515 by Numbchux, on Flickr Rotate the shaft 90*, and repeat steps 1-6 to remove the other 2 caps, and remove the joint completely. 7. Now switch to a softer dremel bit (wire wheel or sanding drum work well) to clean up the inside of the yoke, you want to smooth everything out without taking off really any material. You'll also want to run a flat file across the inner surface of those ears, as the new joints will be held in place by snaprings against this surface. 20180827_195537 by Numbchux, on Flickr 8. Now to start preparing the new joint. The four cups need to be removed from the center cross, inside those cups are needle bearings which have to stay in place, and the only thing holding them there is grease. They *should* be pregreased with assembly lube for this purpose, but I don't trust it, so I hold the caps in place by hand and gently pump some fresh grease through them: 20180827_194557 by Numbchux, on Flickr 9. Then pull the caps off. You'll notice I removed the grease zerk from the one cap to protect it from damage, this is optional, but IMHO a good idea. 20180827_194833 by Numbchux, on Flickr 10. Put the cross in the middle of the yoke, and one of the caps in from the outside. You want to hold the cross inside the cap as tight as possible as you press on it to help keep those needle bearings in place. 20180827_194903 by Numbchux, on Flickr 11. Then press it in well past it's final resting place. This simplifies putting on that snapring, and aligning the opposing cup. 20180827_201328 by Numbchux, on Flickr 12. Put the snapring on the one cup, then put the opposite cup from the other side, and again slide the cross into the new cup as you press it in. This is a bit tricky, as you have to get it pressed in far enough to get the second snapring on, but you don't want to put too much pressure on the bearings to damage them (although, the cross should bottom out in the cups before the needle bearings bear the brunt of the weight) Back to step 10 to finish the other half of the joint, taking care to reassemble in the same orientation that you started with. Install the grease zerk (if you removed it), and grease. 20180827_203215 by Numbchux, on Flickr Now flip the shaft and do it all again at the other end. Install in the car, and enjoy!2 points
-
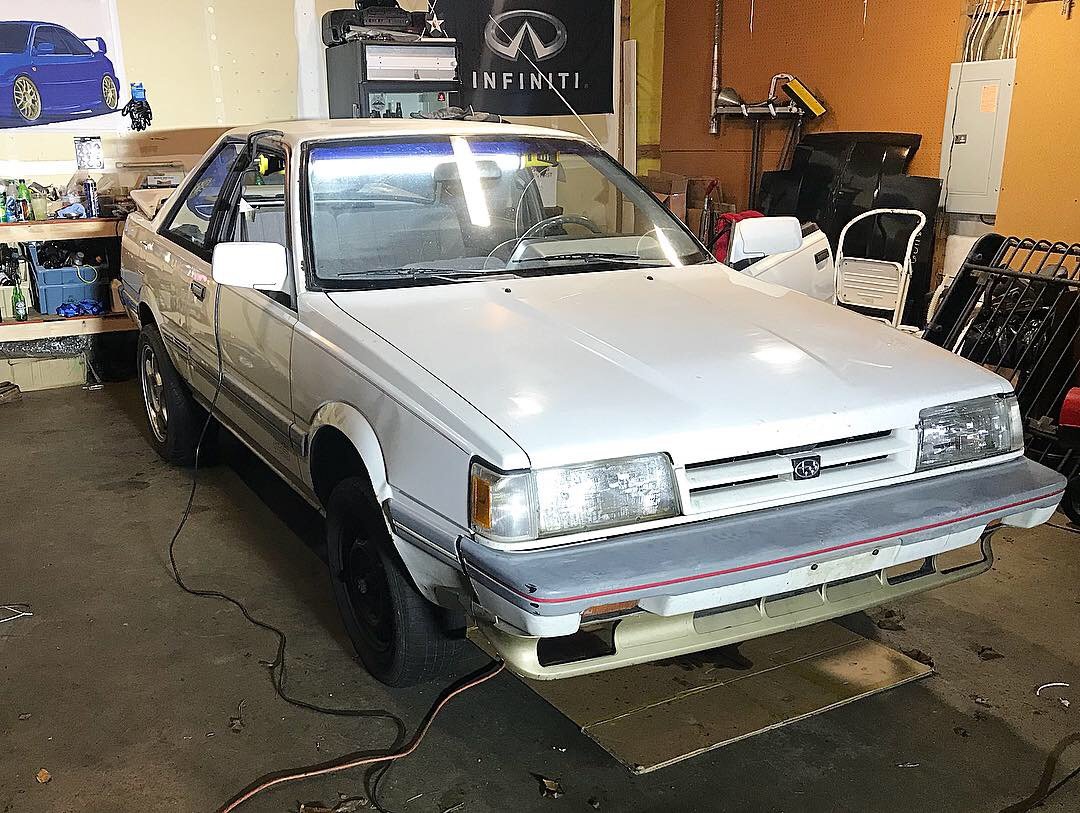
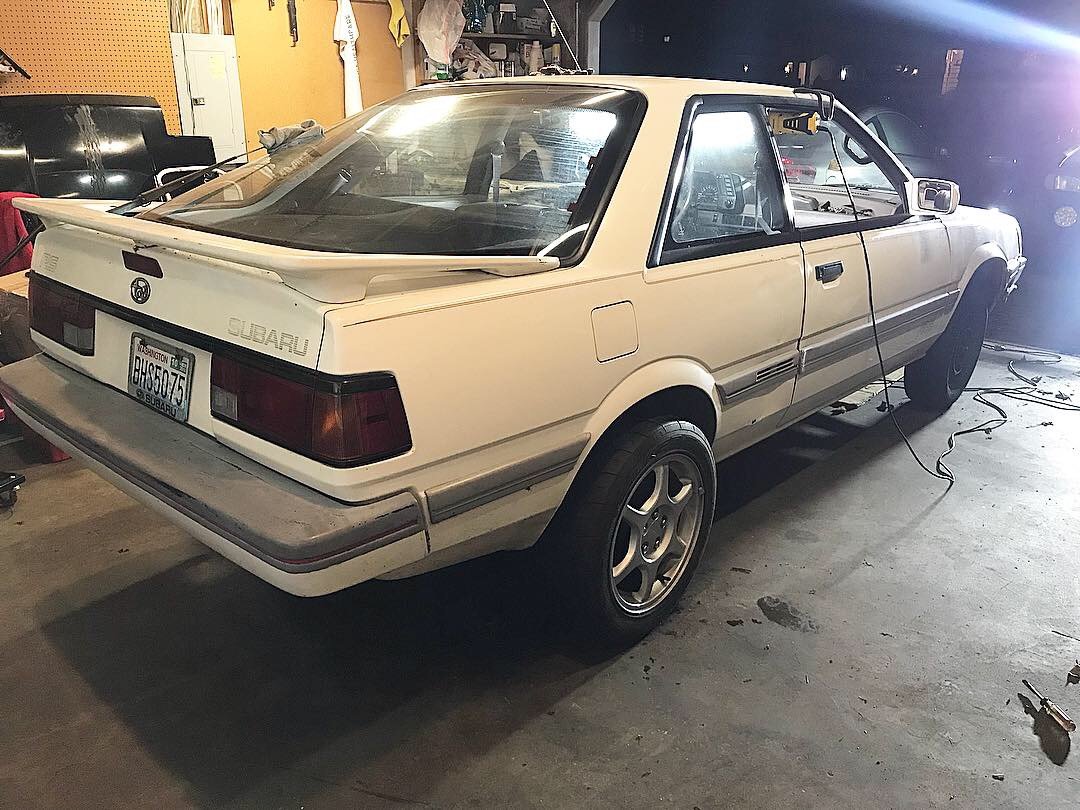
13 Sun, Gotta make a little bit of room in my garage for my neglected G35, I lowered the car down on all 4's for a Test drive. The track width and wheel size is crazy compared to the front. Cant test the 4wd in this orientation but I can still drive it. Great news! Drives just fine so far, had it up to about 40 mph no weird sounds wobbles or anything abnormal. Of course I wasn't driving it like a grandma and started tossing it around as much as I could to see if I could feel irregularities or weak points. Seems fine so far and the brakes work amazing. I will be doing something a little different for the front end swap of course he width will match.. stay tuned! P.s the last image shows exactly where the rear wheel sits because of the pump in width.


 2 points
 -
1982-83 Nissan 200SX, (maybe?): These cross over to 88921540 not 88921685. who knows but the pinout may be in different order(?) https://www.rockauto.com/en/moreinfo.php?pk=49874&cc=1208562&jsn=942 https://www.rockauto.com/en/catalog/nissan,1983,200sx,2.2l+l4,1208573,ignition,ignition+control+module+(icm),7172 1984 & up NA & turbo Nissan 200sx is same module as optical EA82, Std Prod #LX653. https://www.ebay.com/itm/Ignition-Control-Module-WVE-BY-NTK-6H1206-fits-83-85-Nissan-720-2-4L-L4-/123276988099?hash=item1cb3e18ec3 https://www.ebay.com/itm/Ignition-Control-Module-WVE-BY-NTK-6H1217-fits-83-85-Nissan-720-2-0L-L4-/263839904510?hash=item3d6e1572fe Maybe go look into the NGK/NTK search for crossover to 88921653...2 points
-
I just changed the spark plugs on my son's '98 Legacy EJ25D engine. Like FerGloyale said, remove the washer tank and swing it out of the way for the driver's side, and remove the airbox cover along with the MAF and intake tube to gain access to the passengers side. All I had was a 2" wobbly extension for my 3/8" ratchet and it was about perfect for the job, although a fraction of an inch longer extension might have made it easier. I wish the EJ25's had the plugs angled like the EJ22's.2 points
-
MINT! Cheers Bennie1 point
-
That's for factory installed gaskets. Replaced gaskets can additionally fail like the EJ25D's you mentioned. Also significant overheats won't do it any favors, which wouldn't be a huge surprise on a recently purchased craigslist special.1 point
-
Aisin will be all Japanese bearings and probably a Mtisuboshi belt - worth the money there are some dealers on ebay that will put together the kit you want if you want to delete water pump or something. One is mizumo auto, and I think the other is auto anything. Probably only a few dollars different from each other or Rock Auto though so, go with w'ever makes you comfortable.1 point
-
there is a link above to a site that has FSMs for pretty much all Subarus, including 1st gen Legacy specific info (90-94) link to the 90-94 specific stuff: http://jdmfsm.info/Auto/Japan/Subaru/Legacy_Outback/1990-1994/ Granted - the wiring diagram is labeled 1990, but it would be MUCH more useful to him than a Haynes or Chilton's could ever hope to be. 1990-1994 did not change much at all - a few minor, mostly cosmetic things.1 point
-
When purchased Getting it high....1 point
-
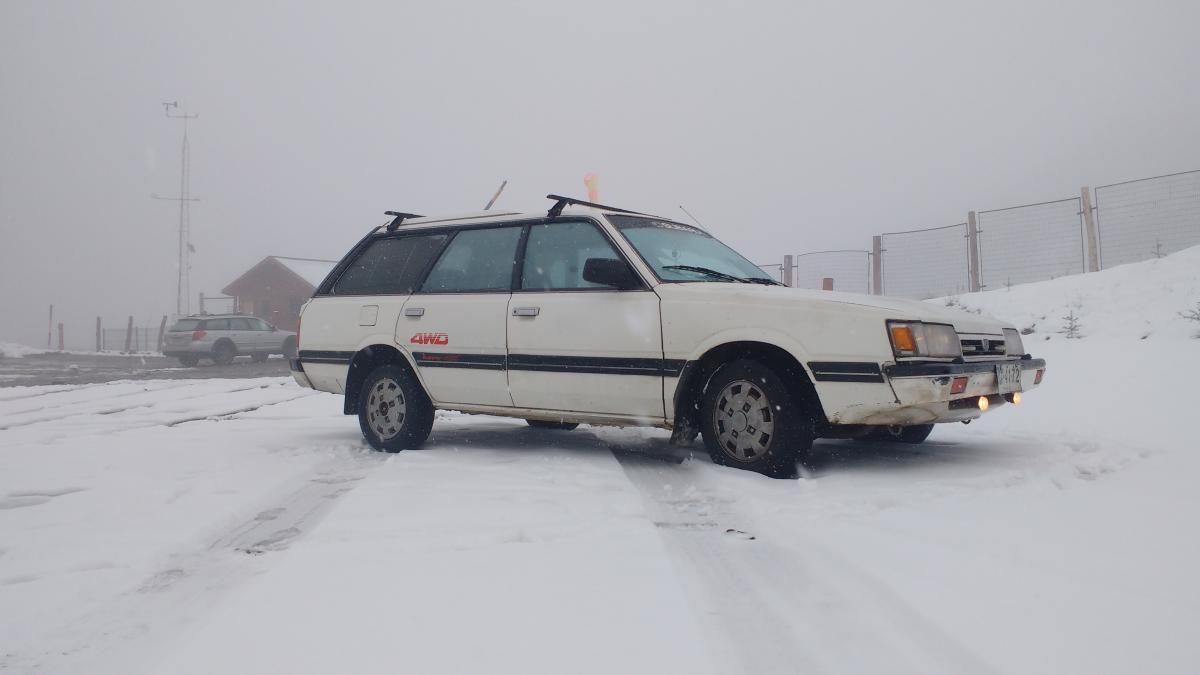
My 89 Wagon. It snowed the day we picked it up. 5MT- 4wd D/R transfer( i think, no push button, lever with to positions).
 1 point
 -
Excuse my weird expression but I took my 82 wagon to cars and coffee this sunday!
 1 point