Leaderboard


Popular Content
Showing content with the highest reputation on 10/25/20 in all areas
-
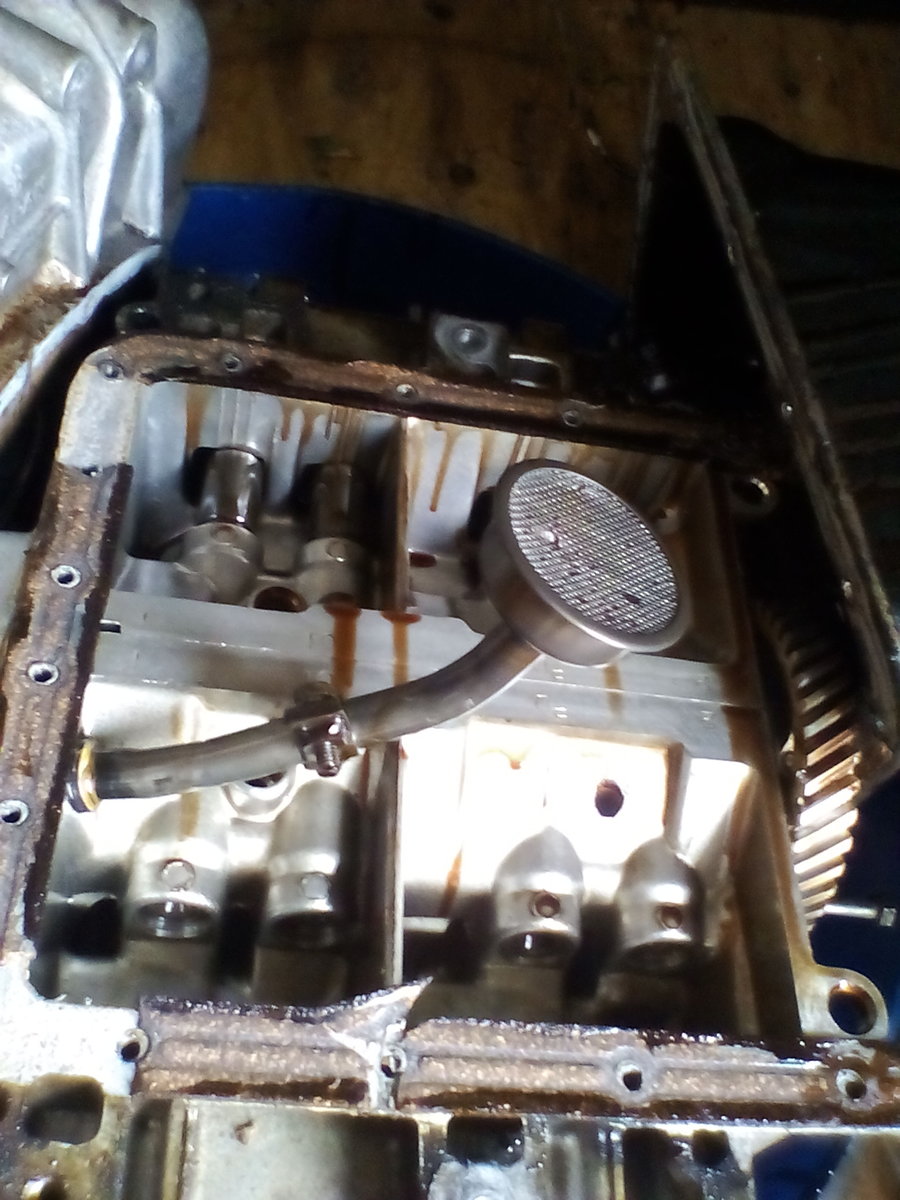
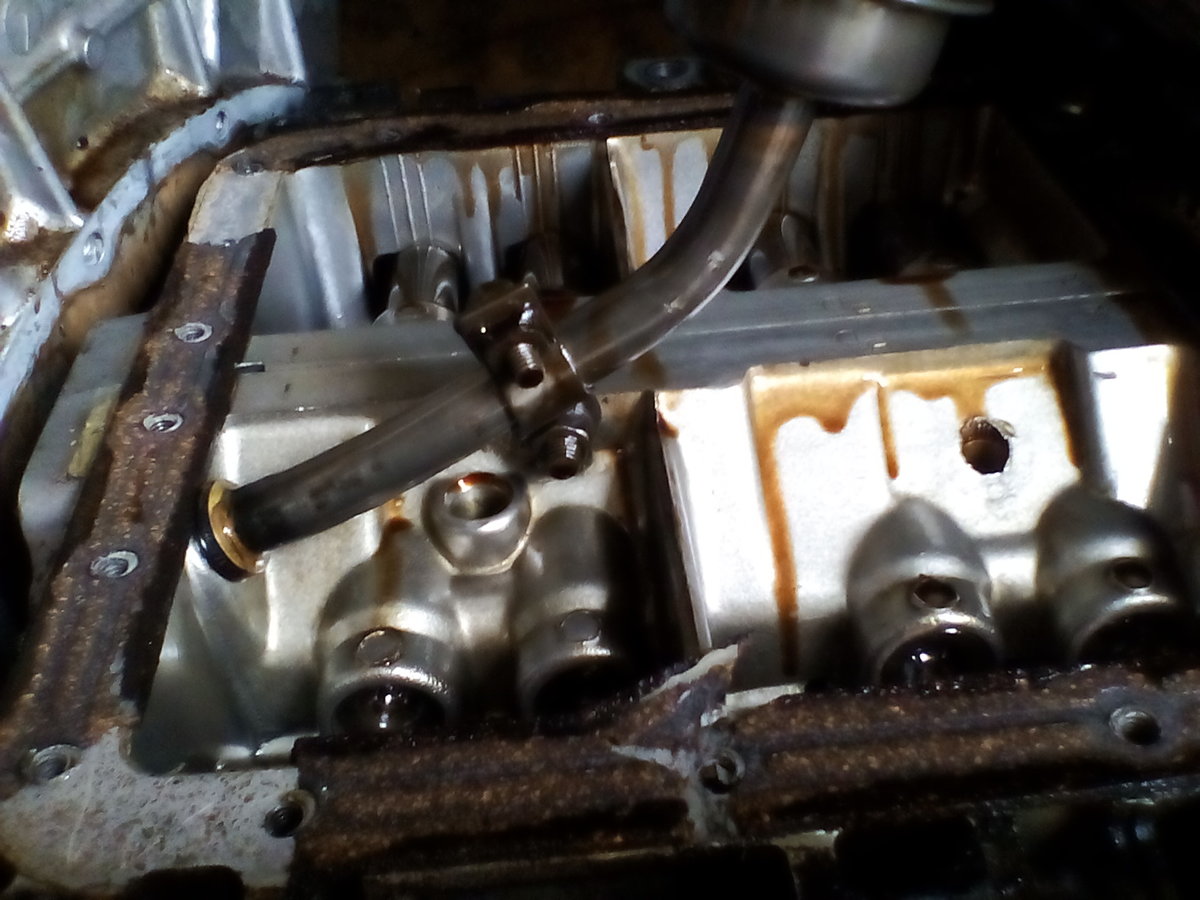
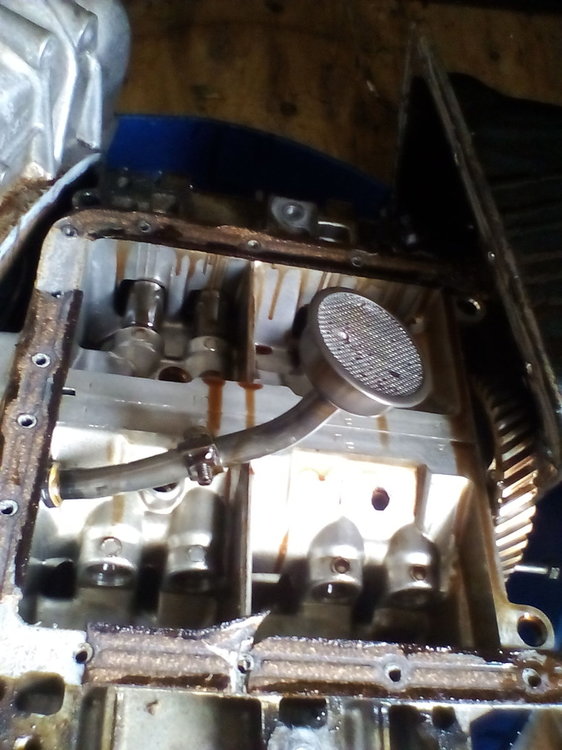
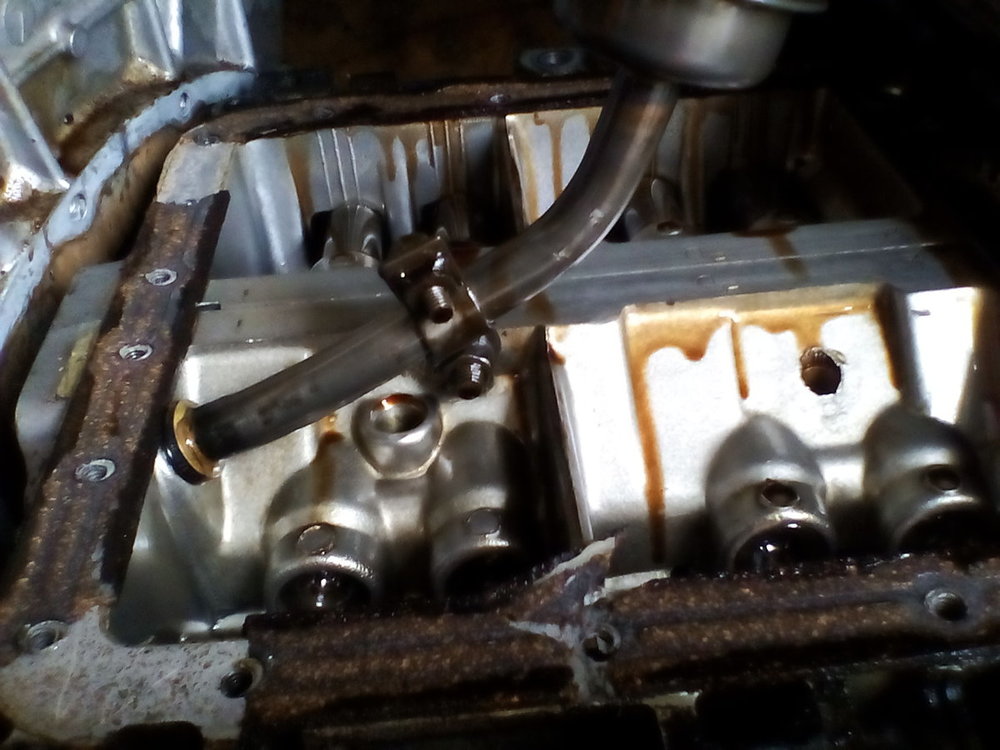
In a way I take a certain pride when I pull apart my builds. Built this in 2008 , 40 thou oversize slugs boxed as EA71,EA81,EA82 one size fits all "compromise" pistons 20/60 0.235" lift cam , solid lifters Ran it in on petrol mostly highway driving varying speed to bed the rings and bore together. Then dedicated propane via , eventually, a bigger bore EA82 spfi intake and EA82 carb y pipe. Over about 9 years , 120,000 km, mostly hard work towing a trailer and loads. Finally popped a gill and gave me a lot of buttermilk only in PCV system, think I got a lot of blow by as well. Oil and filter changes every 10,000 km Want to pull it's still shiny slugs out to inspect rings and bore
 2 points
 -
I have done nearly 700,000 km in EA Subarus and three water pumps. Not thinking of replacing them at that recommended interval !2 points
-
Oh wow. There’s an AC drain tube on the passengers side under the vehicle. Sounds like debris got pushed in there and clogged it. It’s probably not trapped water but that hose needs opened up to drain the HVAC. Try from underneath or pull carpet and remove it. I’d pull it out rather than attempt from underneath. Pull the carpet back under the dash to get it out and then leave the carpet exposed to dry. if you don’t have a warm low humidity garage to air it out in with a fan I’d be tempted to run a dehumidifier and fan in it if it’s cold and low sunlight in your area.1 point
-
On cheap aftermarket front struts I have seen the lower spring perch on the strut bend down, effectively lowering the vehicle and changing the Camber. A weak, bent or broken spring will do the same thing. It changes because of the control arm pushing out or pulling in the bottom of the knuckle. When the vehicle is on the alignment rack, you can raise and lower the front and watch the Camber change. A good mechanic will do that and readjust for it.1 point
-
Most newer alignment machines show them all the adjustments. If they can read, they should be able to find them. Might want to consider a different shop.1 point
-
If it's not broke don't fix it.1 point
-
The little piece that holds the cam seal is round where it goes into the carrier. You can twist it while removing / installing. Just have to line up the holes to get the bolts in. I put a little oil on the oring and the seal lips. Only press the seal in until it's flush on the outside - they will go in too deep. The bolts I have removed from these have always been clean with normal torque to remove, since they are oiled by the leaks.1 point
-
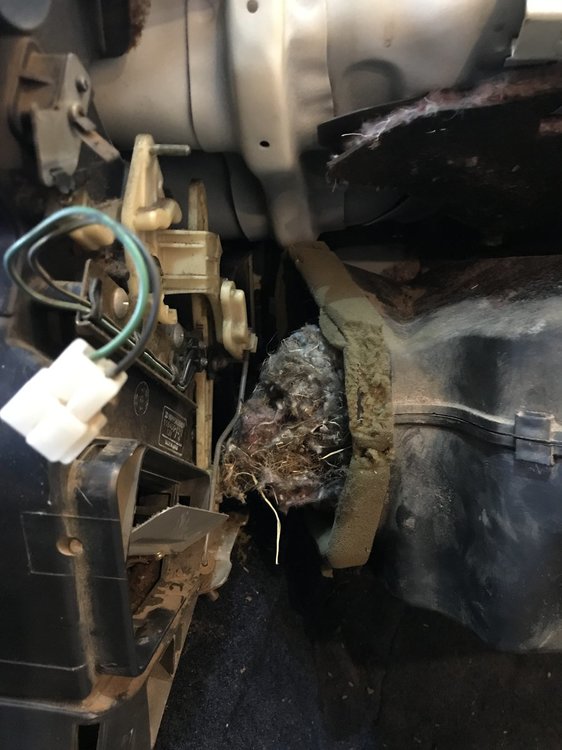
I had a similar problem and it was solved by removing a large mouse nest from the evap core. Good luck!
 1 point
 -
Second Part: Things you Should Know, before attempting to Lift your Subie: As I stated above in the First Part, I used lift blocks on the Struts and also on the Engine's crossmember of my Subie, to level it up the front, because the rear got a 2" lift with the Toyota shock absorbers + Honda coil springs. You must be Aware that there are some things that changes and / or might require certain amount of Modifications to work Properly, once you get your third gen Subaru Leone (EA82) Lifted, and those are usually untold on the Forums; the majority of things that needs to be modified, are in the FRONT of the Subie, so here I'll address that Area. For a Mixed style usage, like I do on my "BumbleBeast" being my Daily Driver on week days (60%) and Weekend Offroader Warrior (40%) the best lift is the one achieved by Lifting the Body two inches, and increasing the overall diameter of the Wheels another two inches; so it gains a total of 4" lift, but usually such lift is known as the 2" Lift. Going Beyond a 2" body lift means to loose stability and the Rear tires will get abnormally closer to the Body in front of them, also the front tires will get closer to the body in the rear of them, which usually requires modifying the body structure, and I don't like that idea, unless you'll not use the Subaru as Daily Driver anymore, only as offroader. Lifting two inches the Body, requires 2" strut top blocks, but despite that many USMB members doesn't drop the engine's Crossmember, in order to gain more Ground Clearance, to Drop it is Really Needed, unless you don't care of running your Subie with an increased amount of stress angle on the Axles, Steering & suspension parts, which usually means to wear axles ~ 10X faster, and having steering issues, alignment issues, and driveability issues. I strongly suggest to Drop the Engine's Crossmember 1½" if you're using 2" strut top Blocks, so you will remove the added Stress from the Suspension and Steering parts, while keeping the axles in a much closer angle to the Factory specs; this will keep the overall Geometry closer to stock specs; so you'll loose Ground Clearance, but You'll gain to maintain the Reliability and Maneuverability that the car had, prior to the Lift. Also, you'll need to drop the Rear Differential, to keep the Rear axles in a closer to Stock angle. What is Untold, is that if you Drop the Engine's Crossmember, five things will Happen: 1) In those EA82's with cooling fans driven by the Waterpump pulley, you must remove the surrounding Frame for the Fan, which is attached to the Radiator; otherwise the Fan's blades will hit it, damaging the Fan and Waterpump. 2) You must lengthen the Steering Shaft, I solved that problem by using one that is already lengthened from Factory, it came from a 1992 Legacy and was two inches longer than the EA82 one, but having same spline count and measurements. 3) The Shifter's Linkage will also be working on a stressed angle, and since it is attached to the Body with a piece of metal that has a Vibration's dampening Rubber cube, usually that rubber cube breaks... ...and the Shifter Drops... I solved that, by Welding a Metal Cube instead: 4) The whole drivetrain goes Backwards and inch (also that stressed the Rubber cube), so, the Shifter gets one inch to the Back, and even the Muffler's tip will get one inch farther from the rear Bumper. Here you can see how it moved an inch, this plate is not Centered anymore: It is Solved by Modifying the above pictured plate, like this: and also by Bending this part that I showed above, from each side, see: But then, the Cover for the Center console, where the squared (outer) Rubber boot goes covering the shifting stick, up to the shifter knob, will feel like is not centered anymore, but still will work; however I modified such center console's cover: but it is Not really necessary. 5) The jack to lift the vehicle will no longer serve anymore, barely lifting the tire from the paved roads due to the body lift, and even worse in some terrains, such like those unpaved roads where you go offroading; the original Jack can't free the tires, not even at the its maximum stretching; so you will need to carry a wooden block to sit the Jack, which is Dangerous, or Weld to the Jack a metal spacer on its base; or even better: get another, higher Jack. That last thing is what I did: I got a Jack out from a Nissan Frontier, which works perfectly in the Subie and fits in the compartment for the jack in the trunk of my Subaru, This one: After all these Modifications are done, the Lifted car really Feels Natural, and Awesome. Please check the two following web links to two different Discussion Threads regarding these suspension modifications; they has Further information, more Detailed photos and explanations, also feel free to ask Questions on those Discussion threads: Rear Modifications Here: ~► http://www.ultimatesubaru.org/forum/topic/130950-suspension-improvements-for-subaru-loyale/ Front Modifications, Here: ~► http://www.ultimatesubaru.org/forum/topic/113907-lookin-for-a-front-lil-lift/page-2 If you find this information useful, don't forget to let me know by hitting the "Like" Button I Hope this Ideas could be Helpful. Kind Regards.1 point