Cincy
-
Posts
16 -
Joined
-
Last visited
Cincy's Achievements
Member (2/11)
9
Reputation
-
1983 E81 Lock Washer for Rear Axle Nut
Cincy replied to Cincy's topic in Old Gen.: 80's GL/DL/XT/Loyales...
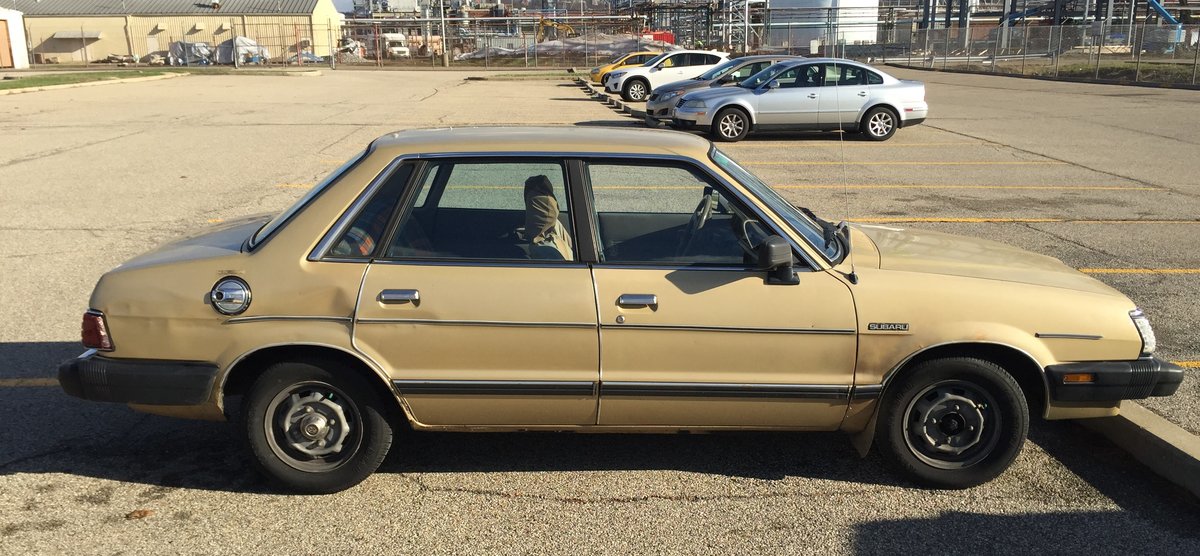
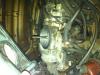
New washer arrived this week. I bought 4 of them, at $1.38 or something like that it'll be good to have some extras. In my humble opinion, I think the one I fabricated looks pretty good! I plan to put the new ones on in the coming weeks when the weather gets a bit better, also will be an opportunity to have my daughter do the replacement. She is currently driving the car and enjoys helping and learning about car repairs. I thought I'd add a photo of the Subaru.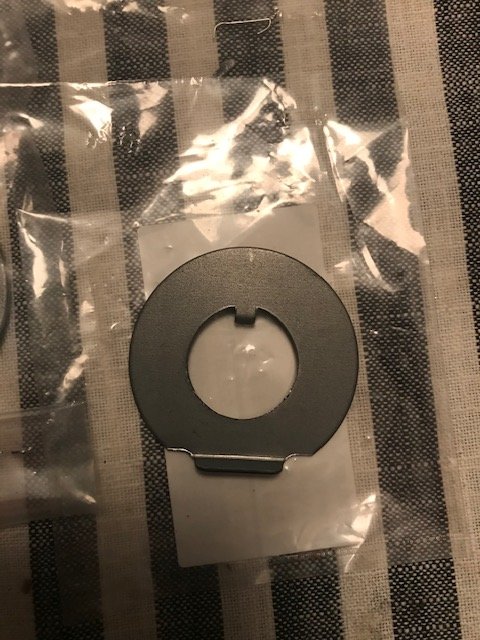

-
1983 E81 Lock Washer for Rear Axle Nut
Cincy replied to Cincy's topic in Old Gen.: 80's GL/DL/XT/Loyales...
Dwayne, Thank you for the update with the link, part number and for responding! That is the part I was looking for. I'm book marking the site for future reference. I feel good about the two parts I made, they were a huge improvement over what was installed and the nut stayed on the spindle, but I'm going to get two of them. -
1983 E81 Lock Washer for Rear Axle Nut
Cincy replied to Cincy's topic in Old Gen.: 80's GL/DL/XT/Loyales...
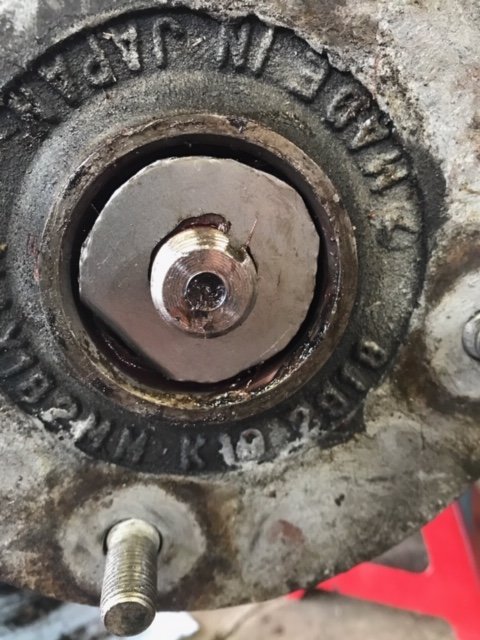
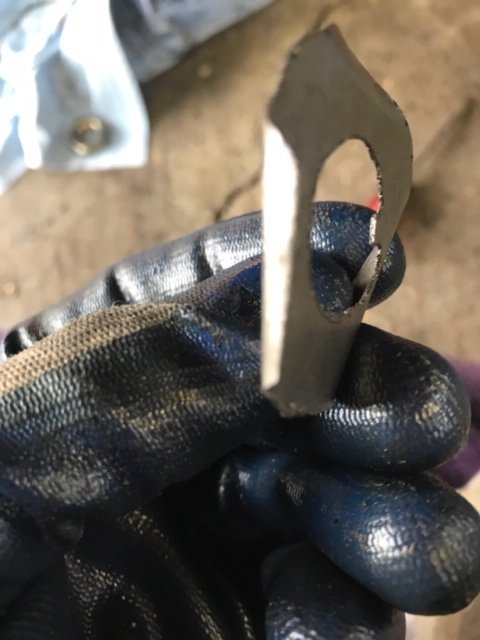
Thanks all for the responses! I had checked ebay, and a host of other sites. Called 4 Subaru dealers for parts diagrams, but none have any that go back to the 80s. It is item 10 in from Silverhelme's post. That diagram is from the Haynes manual. I ended up going with making a new one. Last night, I went to Home Depot, bought some clean Sheet metal stock, 22 or 24 gage thickness and traced over the with part #9 above to get the outline of the washer. I drilled out the center and filed out the Inner Diameter and was able to get the nib or tang in place with a small file and metal blade. I cut out the general circular shape and used that to get the job done. A little crude, but it worked! Using some pliers and other tools I scored the edge that fits against the D side of the thrust washer and was able to get a good bend to align with that flat side of washer. I scored two edges and got a bend going so once I put the nut on, I could finish tapping down the two edges against the hex side of the nut. Job done! The thickness of the metal I bought was about the thickness of a license plate and it was the same as the original washer. It was bendable enough to cover the nut. Again, thanks for the suggestions. If anyone finds them selves on this thread looking for a solution, I would recommend making your own. If the part number for this washer could be located, its possible it could be found somewhere, but without the number, its not locatable. Dorman's online catalog of 1000;s of parts has the nut, thrust washer and other part, but not this lock washer. Regards, Mal Updated with some pics of the hand made washer. Not perfect, but it fit well, has a full size nib to fit into the spindle slot as well as a good edge to align with the D side of the bearing thrust washer. These 2 points keep the washer from moving on the spindle. When the edge is then tapped down over the nut, neither one will rotate, thus preventing the nut from every backing off. Adapt, improvise and overcome to get the Old Subaru back on the road!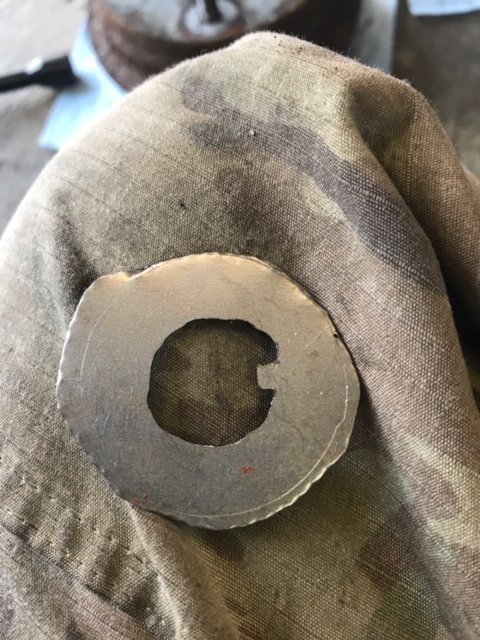

-
1983 E81 Lock Washer for Rear Axle Nut
Cincy replied to Cincy's topic in Old Gen.: 80's GL/DL/XT/Loyales...
Thanks all for the responses! I had checked ebay, and a host of other sites. Called 4 Subaru dealers for parts diagrams, but none have any that go back to the 80s. It is item 10 in from Silverhelme's post. That diagram is from the Haynes manual. I ended up going with making a new one. Last night, I went to Home Depot, bought some clean Sheet metal stock, 22 or 24 gage thickness and traced over the with part #9 above to get the outline of the washer. I drilled out the center and filed out the Inner Diameter and was able to get the nib or tang in place with a small file and metal blade. I cut out the general circular shape and used that to get the job done. A little crude, but it worked! Using some pliers and other tools I scored the edge that fits against the D side of the thrust washer and was able to get a good bend to align with that flat side of washer. I scored two edges and got a bend going so once I put the nut on, I could finish tapping down the two edges against the hex side of the nut. Job done! The thickness of the metal I bought was about the thickness of a license plate and it was the same as the original washer. It was bendable enough to cover the nut. Again, thanks for the suggestions. If anyone finds them selves on this thread looking for a solution, I would recommend making your own. If the part number for this washer could be located, its possible it could be found somewhere, but without the number, its not locatable. Dorman's online catalog of 1000;s of parts has the nut, thrust washer and other part, but not this lock washer. Regards, Mal -
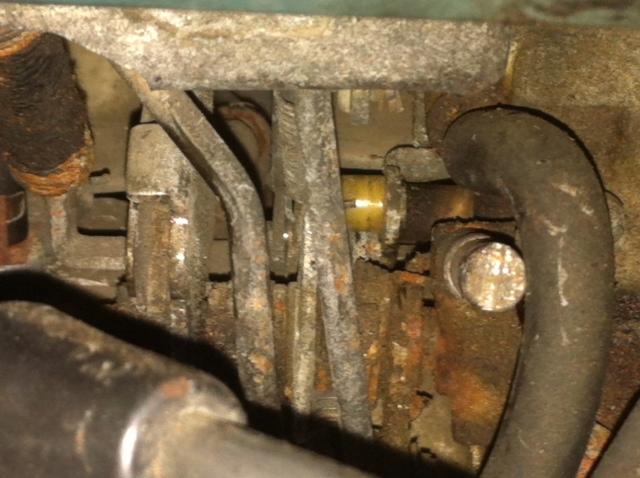
Looking for help to find replacement lock waster part number for the thin washer that goes in front of the thrust washer. This washer has a Nib or Tang that goes into the slot on the spindle which keeps it from spinning. The washer has a bend on the opposite side of the nib that goes over the D edge of the thrust washer. Once in place, two other edges of this washer are hammered down over the nut to keep it from backing off. My problem is the nib on my current washer is worn down and wont stay in the spindle slot, which will allow the axle spindle nut to back off. I've looked on the internet all over for this part but can't find one, Rock Auto etc, even Dorman Fastners. I have some parts manuals for this car that others have posted, but I don't have a section that calls out the part numbers for the rear drums and axel parts. I'f I had a part number I may be able to search for it. Also, if anyone knows the part and has any they want to sell, I'm love to talk to you. I've also tried a spindle nut retainer option, but there is not enough spindle length to allow that part to work correctly. Open for suggestions, ideas etc.
-
Hey folks, removed water pump from 83 GL. Need new mounting bolts and can not find them anywhere. Looking for help on where to buy replacement mounting bolts. The ones that came out are really rusted and don't trust them to go back in. Any help is appreciated.
-
The issue was two fold...really dirty linkages which were cleaned up with gum out and secondary was it would not open without the engine being under load....once I got it cleaned up, I could tell when it kicked in while driving. And yes..I did ID the carb incorrectly as a Carter ...it is a Hitachi.
-
Need Window Front Driver Side - 83 GL 4DR
Cincy posted a topic in Old Gen.: 80's GL/DL/XT/Loyales...
Vandals smashed my drivers side...front window out on Easter Sunday! Looking for replacement window....mounted with tracks and rails..not just the glass. Does anyone have spare window interested in Selling? I am in Cincinnati, Oho. -
Trying to ID the Carb on my 83 GL 4DR Sedan. I can't find the ID numbers, not sure if it is a Carter or Weber. Need to do a rebuild and looking for the right kit. Thanks.
-
Thank you for the suggestions above....will give it a go this week! Much appreciated
-
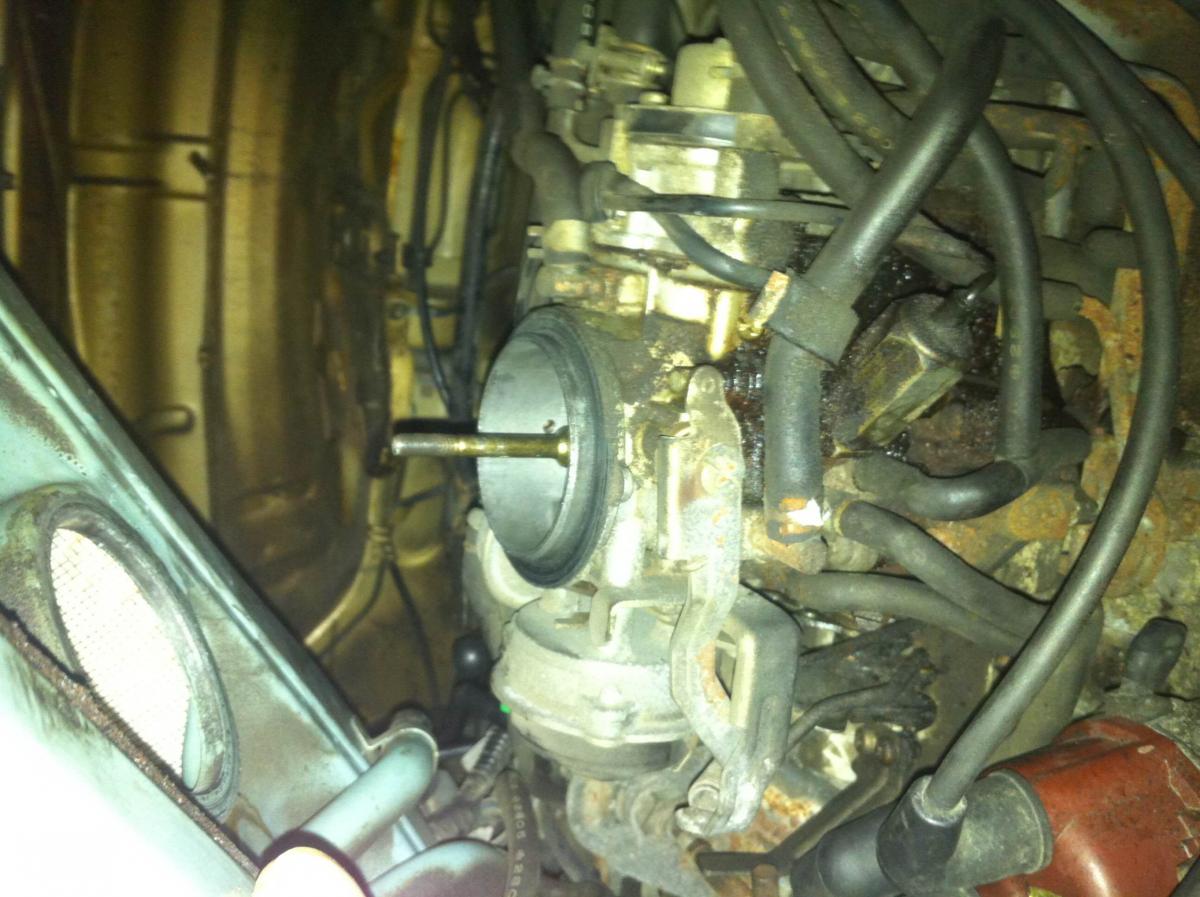
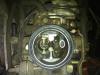
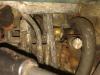
I have 83 GL, EA81 with Carter-Weber. The 2ndary barrel is not flowing any gas. When I rev up to high RPM manually, only the 1st is flowing gas. I can manually open the secondary with a screw driver, gas flows and engine revs. I don't know enough about these carbs...when should the 2nd open? I can't seem to get it to flow when revving up in the garage. I'm having stalling/sputtering problems and I think this may be it. Wondering if the mechanics are not working. Attached a picture.
-
Did you come up with any solutions to the Carb? I have same issue on an 83 GL. Looking for some solutions that worked vs trying a ton of suggestions. Thanks.
-
Yes, it has the Carter Weber carb. I've seen that comment on other posts....I'll look into that. Is that accessible outside the carb or an internal component? I'm learning quickly. Thanks
-
Yes, it has the Carter Weber carb. I've seen that comment on other posts....I'll look into that. Is that accessible outside the carb or an internal component? I'm learning quickly. Thanks
-
ECS light on...runs terribly!
Cincy replied to Allouez's topic in Old Gen.: 80's GL/DL/XT/Loyales...
Allouez....did you find anything to fix the issue, I have same issue with throttle stalling and bogging down.