Craigar
-
Posts
131 -
Joined
-
Last visited
Content Type
Profiles
Forums
Gallery
Store
Everything posted by Craigar
-

Noise in left rear hub - brakes?
Craigar replied to KiwiBrumby's topic in Old Gen.: 80's GL/DL/XT/Loyales...
mine is also passenger rear drum .. . comes and goes about 19 stops no noise to 1 stop with noise stops fine (if I remember to step on the brake pedal) -
meanwhile, back at the ranch...
-
I'm in a state of serious *suspense* waiting for the outcome to this chase scene (or conundrum)?
-
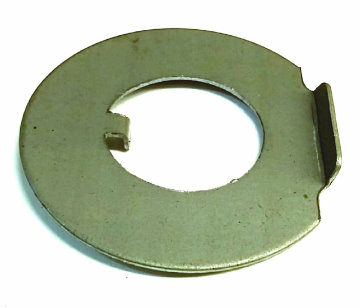
Like what their talking about in this post. https://www.ultimatesubaru.org/forum/topic/84405-lock-plate-lock-washer also fits Fits DL/GL/GL10/RS/RX, Justy, Loyale, XT - as long as front wheel drive
-
accidently poured 1 oz. of 5-20W oil in 3AT trannie
Craigar replied to Craigar's topic in Old Gen.: 80's GL/DL/XT/Loyales...
Yea, I was really concerned cause I was under the "mental delusion" that ATF was "vegetable oil" based but if their both petroleum based than, the viscosity is probably the main issue - I'm glad it was 5-20W rather than straight 40 weight - also I'm in L.A. so it never gets much below 40 degrees (so far - this was a noticeably colder winter..) Never had any shifting problems, just wish the 3AT had a 4th gear - but I put taller tires on and that helped (does 55mph at 3250rpm) Thank You -
luckily I noticed it was yellow & stopped pouring, I grabbed a quart of that instead of ATF - they were both in silver (plastic) bottles (Phillips 66)... and I drove it home about 15 miles seems fine ... Ooops?
-
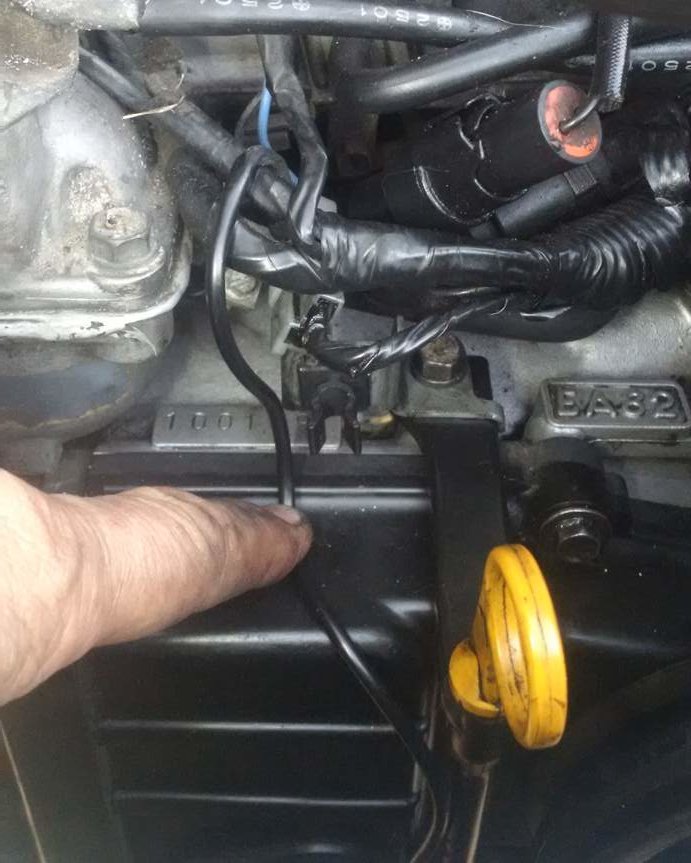
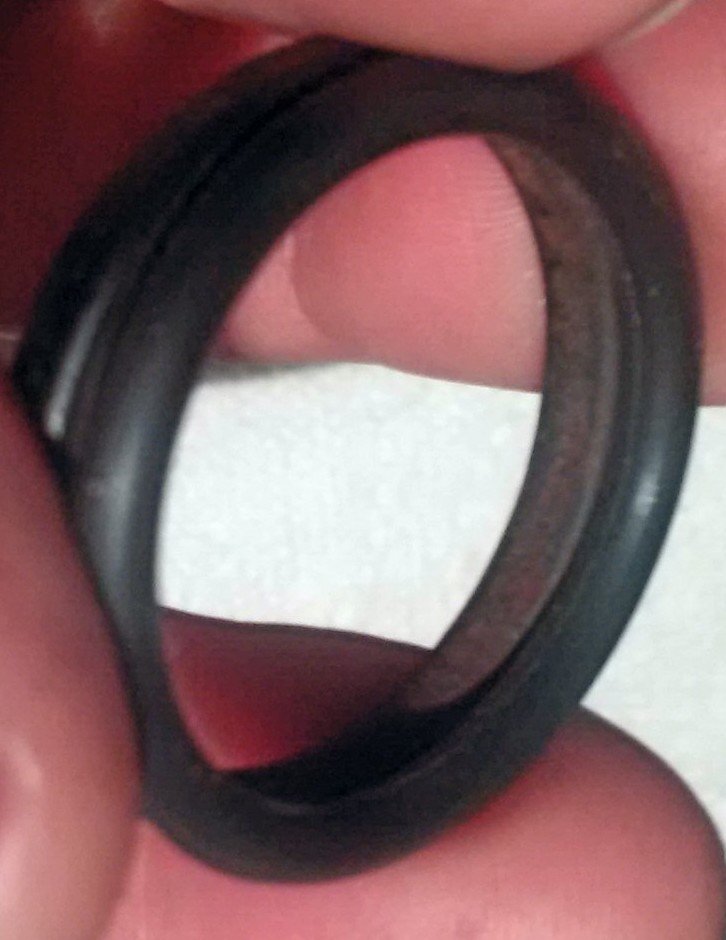
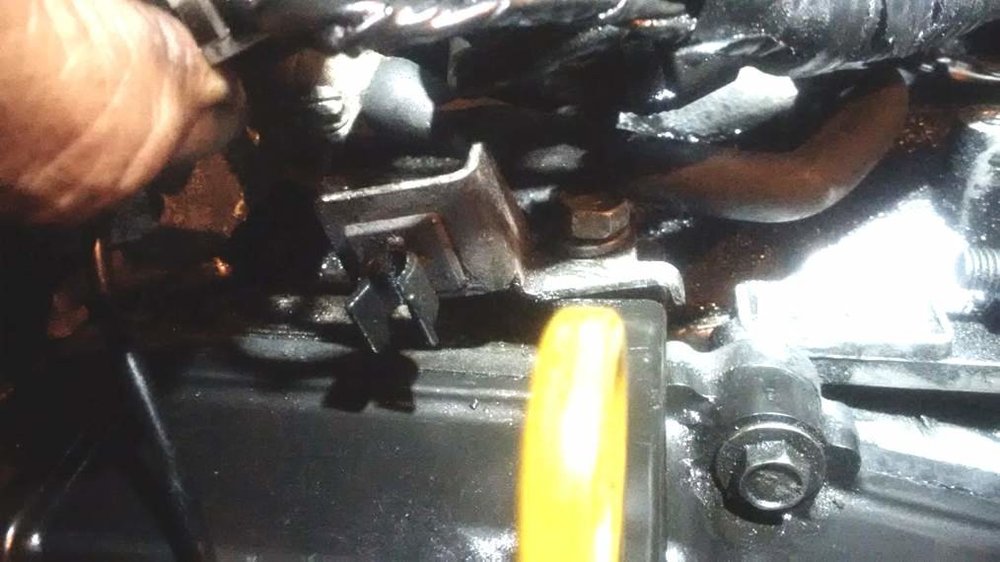
wish I read DaveT and somick's replies before I put it all back together - seems OK so far = no drips & holds pressure. The "extra thick" o ring felt pretty tight - and I loaded it up with lithium grease, debated rather or not to "rustoleum" it like I did the heater bypass pipe in this image
-
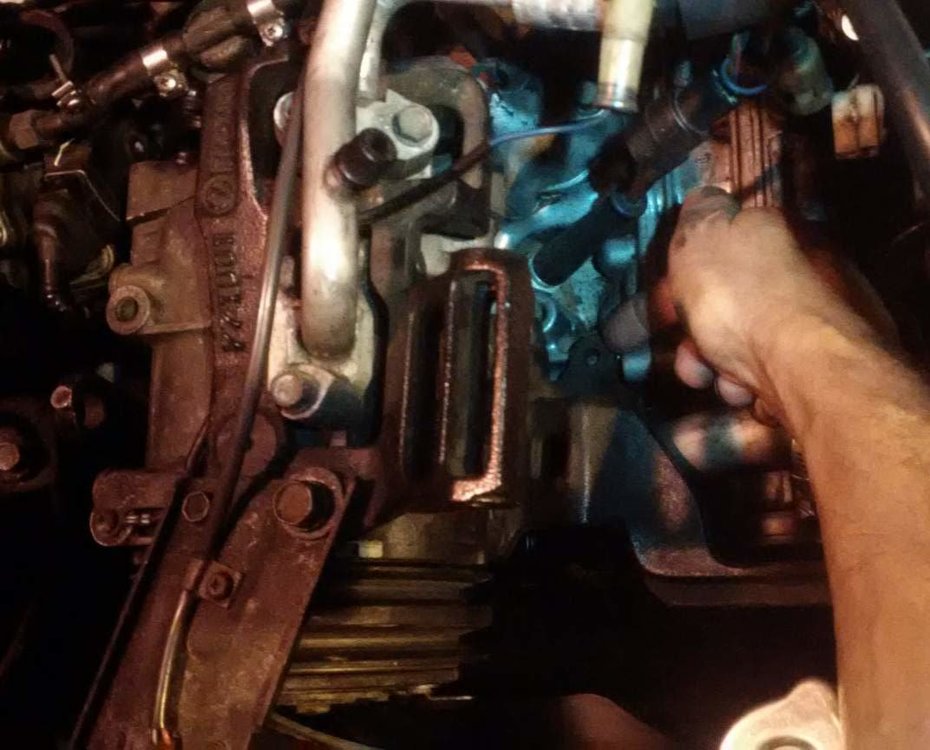
Really is a "farm tractor" quality & ease of maintenance motor - I heard this motor (maybe EA81) back in 1985 in a Fuji Forklift! really dug the way it sounds - kinda like a pair of harleys with more time between the pair of thumps (Harley maybe 40 degrees between power strokes and 180 on these ) especially if listening off to one side. Crazyeights - you are courageous, if you have SPFI (like mine) their single port intake heads (for pair of cylinders), so I think you gotta replace the heads.. and that makes it easy to do a whole top end rebuild!
-
Thank you all you great guys out here on USMB - I couldn't have done it right with out you - probably would have messed it up. I wasn't ticking too bad, but now ZERO - and super quite overall! Also did water pump, hoses and seal on metal pipe that goes into pump. Sealed up some cracks in my air intake snorkel with RTV, fixed anything I found along the way and now it's super quite and smooth. No "bubbles and water fall" sounds coming out of coolant system. No scary stuff with the temperature almost going into danger before thermostat opens. Im pretty sure the last couple of days before the belt broke it had lost at least a tooth and jumped a tooth cause it was feeling out of balance when idling - that's the main reason I kind of why I thought it might be a waste doing this job - and I REALLY didn't want to tear it all the way down, I would have sold it or junked it. It really feels like I have a brand new rebuilt motor! To me it's amazing there is such a difference. AND NO OIL DRIPPING (yet) all over the bottom of the timing belts, which would spread into the exhaust pipe and start burning & smoking if on the freeway very long! It's almost like a dream... Thanks again
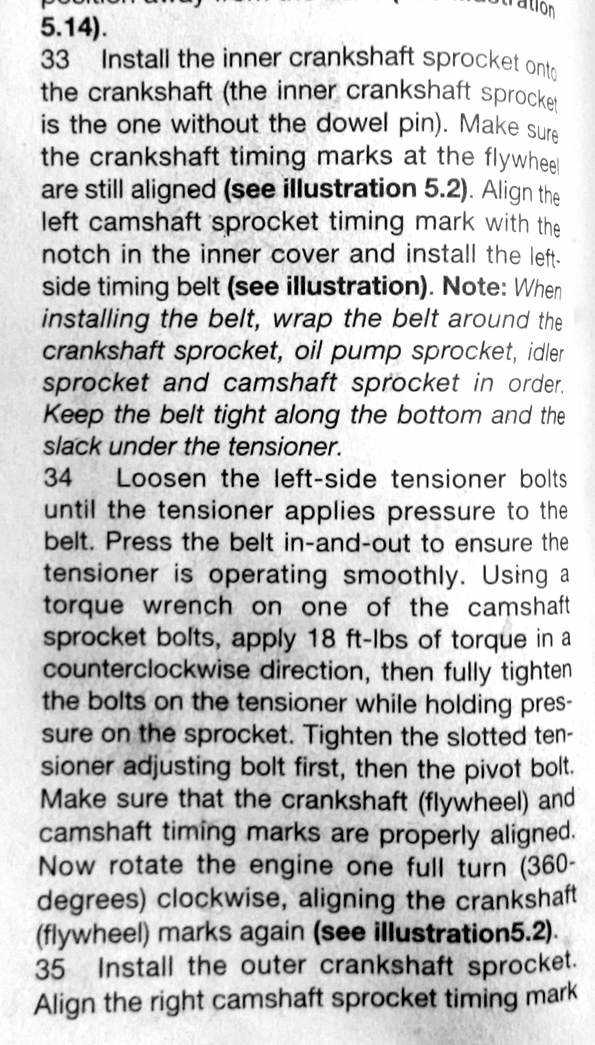
-
I'm sure your right, but I didn't see your good response - Thanks! & it came out easy following suggestions here - with a slight little different twist on my part https://www.ultimatesubaru.org/forum/topic/35018-easy-out-procedure/?tab=comments#comment-283038
-
Here was my broken AC mount bolt https://www.ultimatesubaru.org/forum/topic/168114-ea82-one-broken-off-bolt-in-top-of-head-that-ac-mounts-onto-is-it-important/ 1st Liquid wench, then followed suggestion here & got left handed drills, drilled a small hole about 1/2 inch deep - but the next one LH in the $12 set was too big so got a right handed drill 2 sizes larger and cocked drill motor to the right to compensate for previous hole being a little too far to the right - started slow and "all the sudden it looked like bolt HAD GONE IN FURTHER -about 1 turn.. stopped & got a steak knife, stuck it in my now chamfered looking hole, twisted CCW and it backed out!
-
The AC on this car hasn't worked anyways (and I'm in L.A. so not too hot (yet) ) and it felt solid even with this broke off bolt (level with the head) before moving the AC & its bracket out of the way to do the timing belts & front seals. Maybe this bolt doesn't matter unless I'm going to be off-road and doing cartwheels (don't have any bolts holding my battery either). should I try to get it out & put in a new bolt - or try something crazy like drilling a smaller hole in the center of this broken bolt and tapping it & use a smaller bolt - or forget about it ? Any other ideas welcome also - of course I could/maybe should remove the entire AC & run smaller belts? slid unbolted AC over about 1/4 inch for clarity
-
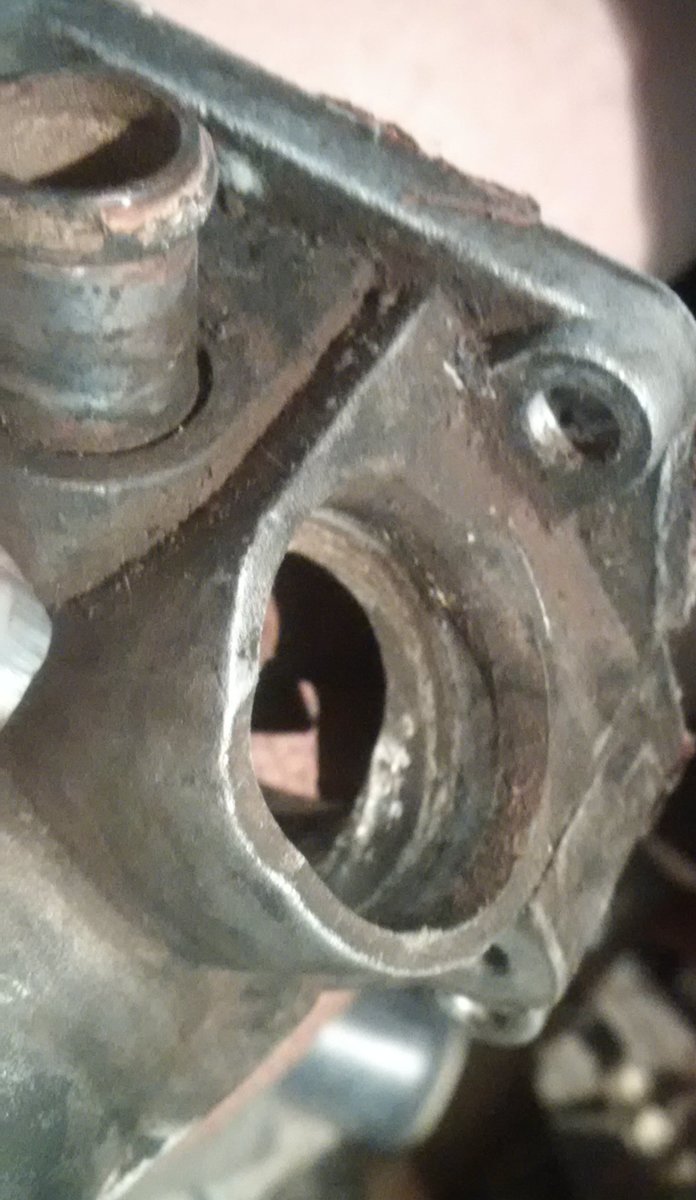
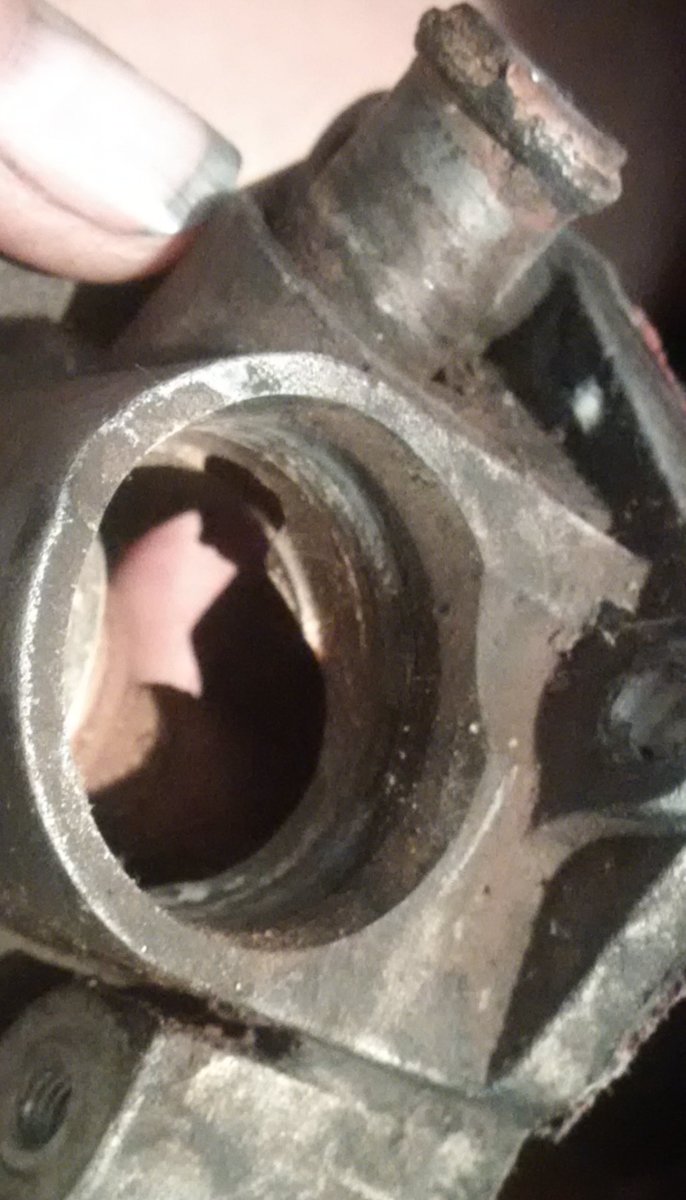
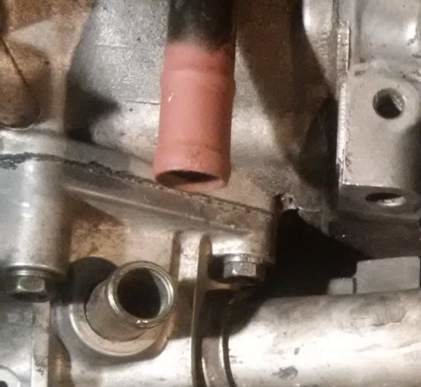
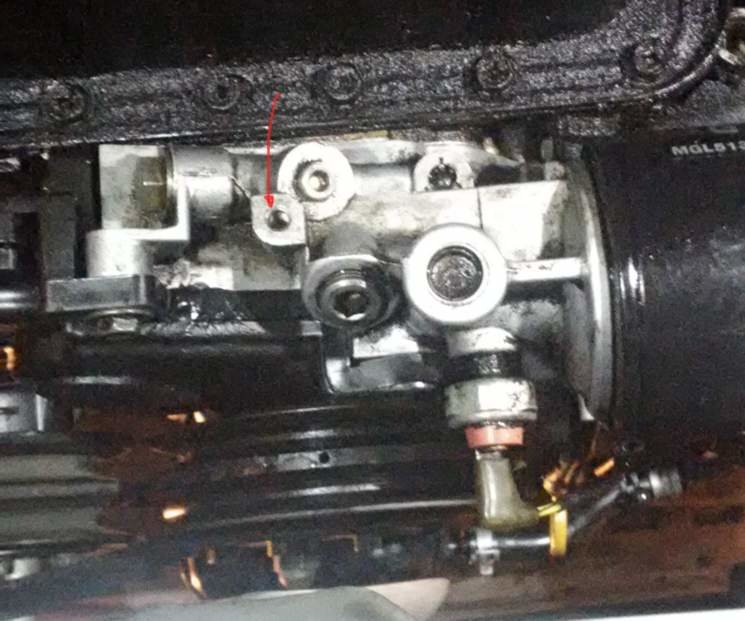
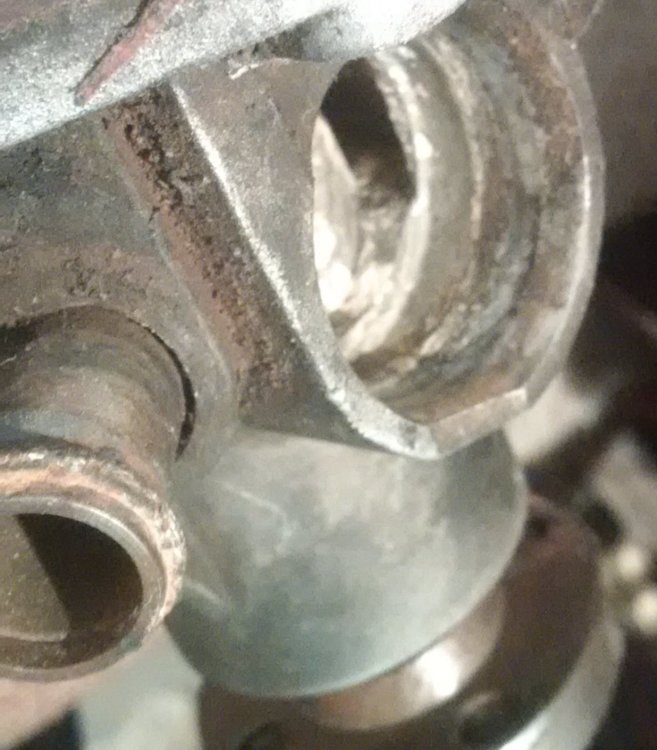
figured if anybody would know, you had too thanks! Do you have - OR ANYBODY? have an image of this shield , and is it important? Speaking of "shields and covers" I'm missing my "bottom center piece of timing cover according to FSM & Haynes manual exploded drawing - there is at least 1 bolt hole in the bottom of the oil pump housing for it from what I can see, here's image from underneath & arrow pointing to bolt hole. Seems like it would be good to protect this area?
-
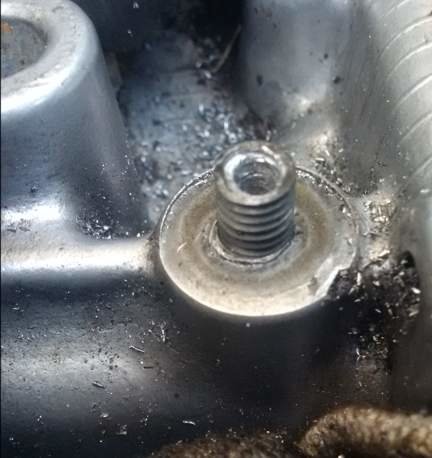
I think its original/stock cause its stamped from a punch "die" and fits perfectly over the dipstick tube's plate that goes under this bolt. I'm thinking maybe a version of Loyale has real oil pressure GAUGE sensor which might have a PAIR of wires - I only have an on/off "idiot" light on the dash with a single wire going to this sensor (down by the oil pump). Thank you
-
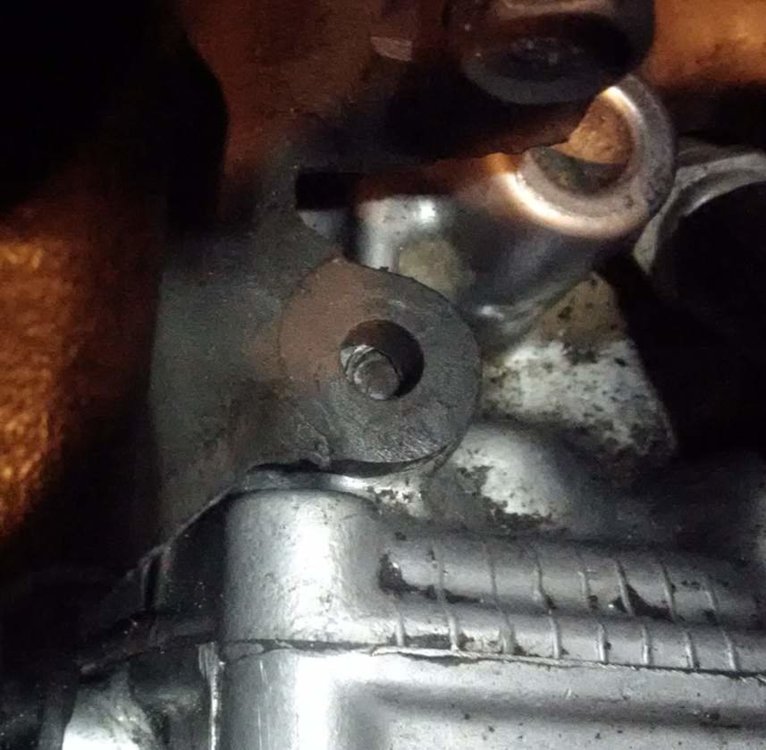
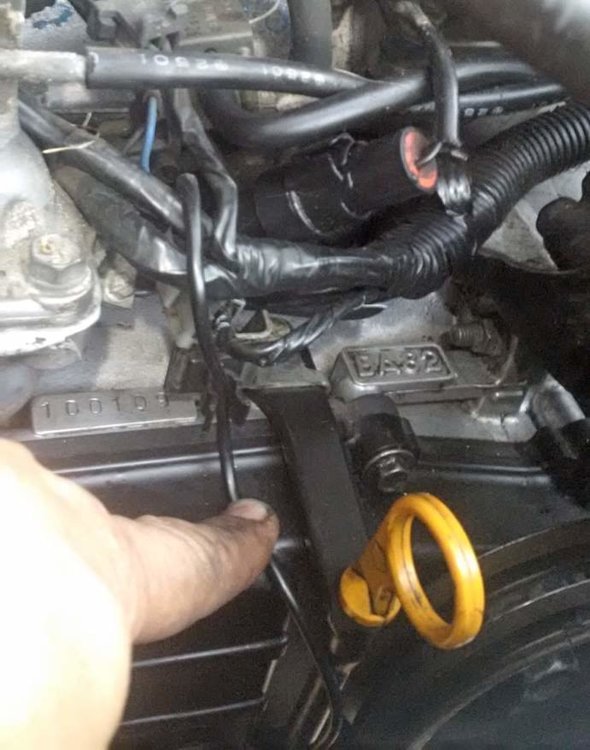
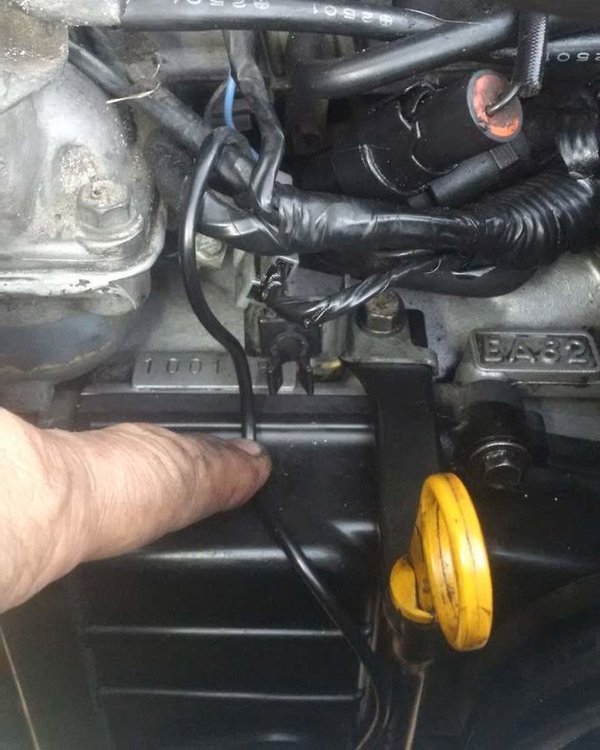
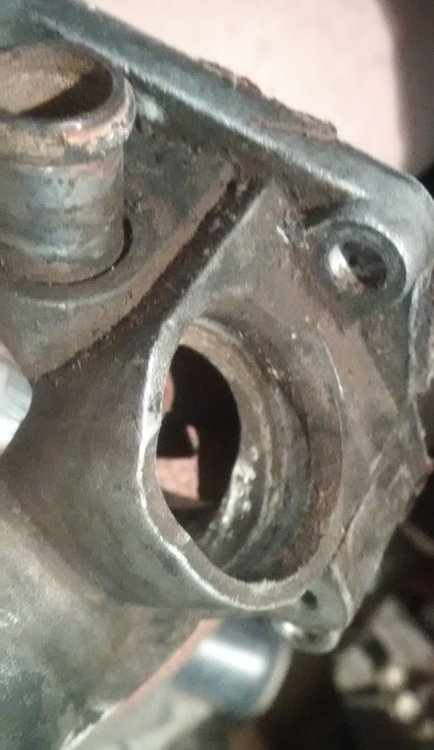
Man I feel stupid, and I even took a couple of (crappy night) pictures of this prior to disassembly but maybe already removed the wiring - or vacuum hose, - IF there was actually anything in the plastic "mount" > i also see a locking twist "tie down" down by the bottom of the dipstick tube that has, which seems obvious that it must be for oil pressure wire. I also thought/think this one here might be but it looks like it's for 1/4 inch whatever - and the oil pressure wire is only 1/8" so it will "fall out". Here'se holding the oil pressure wire in it (crappy night) picture of this prior to disassembly - of course view of clamp is blocked by other wiring seems like it must be important, took a lot of work to make the tooling to produce the metal mount.

-
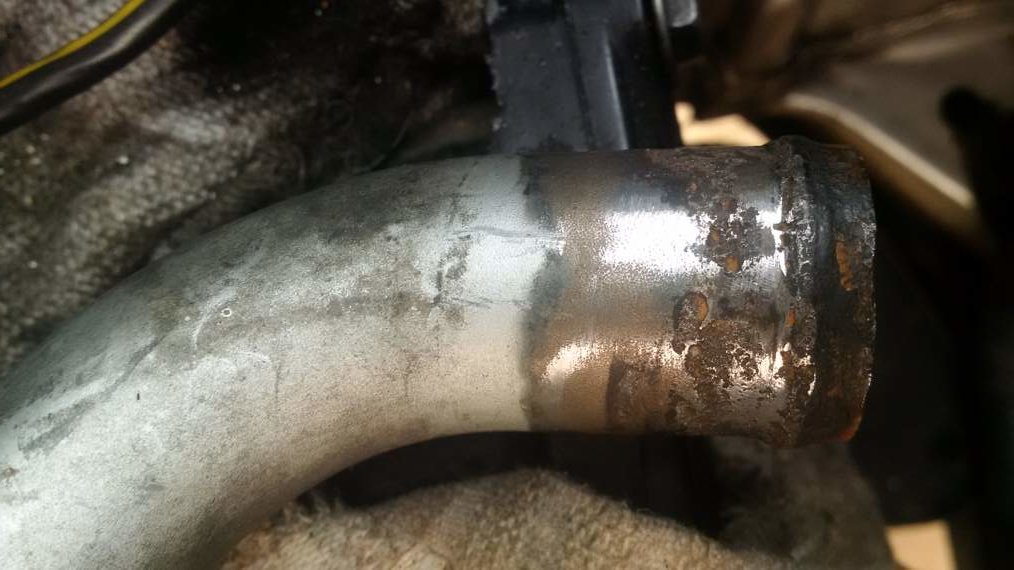
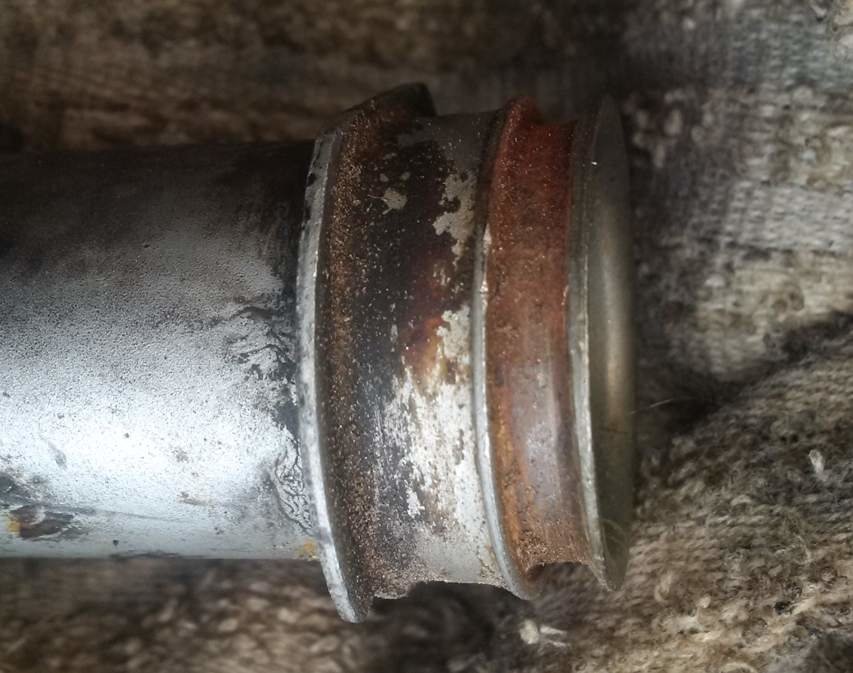
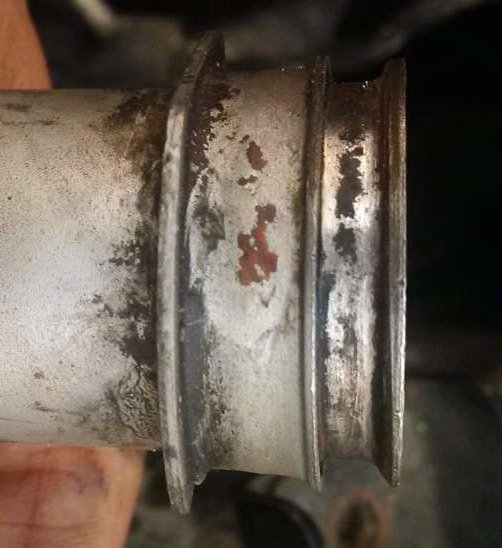
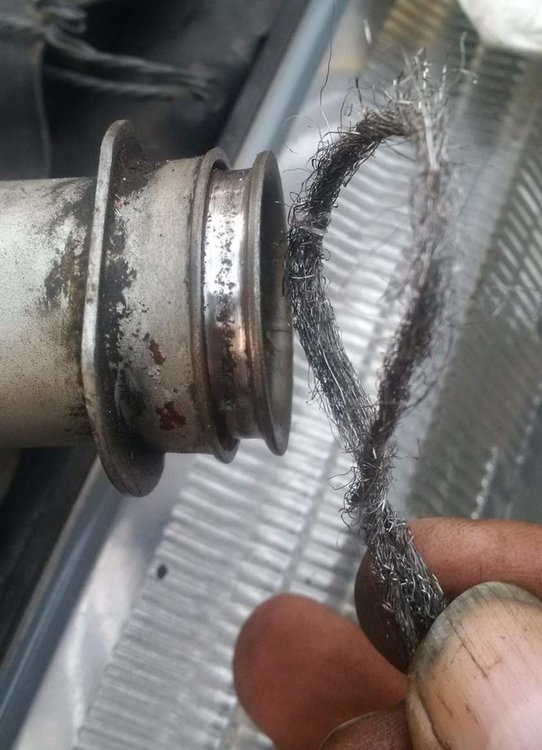
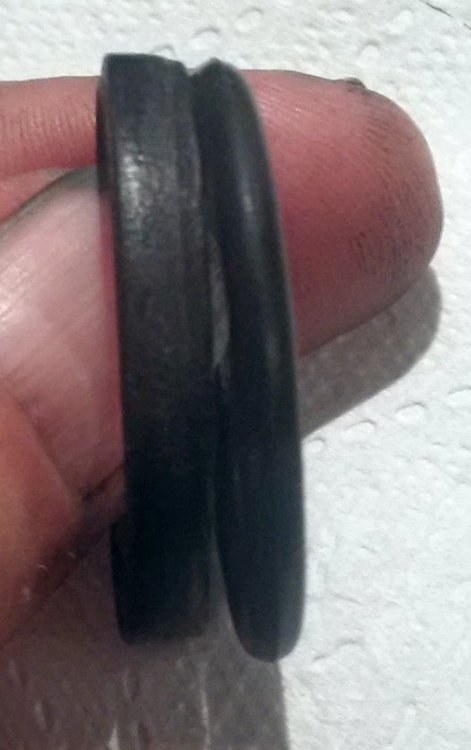
The new one I fished out of and Autozone assortment ended up feeling tighter than what probably was the stock replacement that czny sent me,which measures .115 in thickness with a micrometer . The old flat one was just slightly tight. I figured the thicker one might be safer with my old metal pipe cause it took a fair amount of filing to get it to where it was half clean metal again. I probably really ought to get a new pipe! filed.. steel wool lassoed, back & forth about 30 times here's the other end (rubber hose from bottom of radiator goes over it) - I think I REALLY ought to get a new pipe - (or maybe a new car)

-
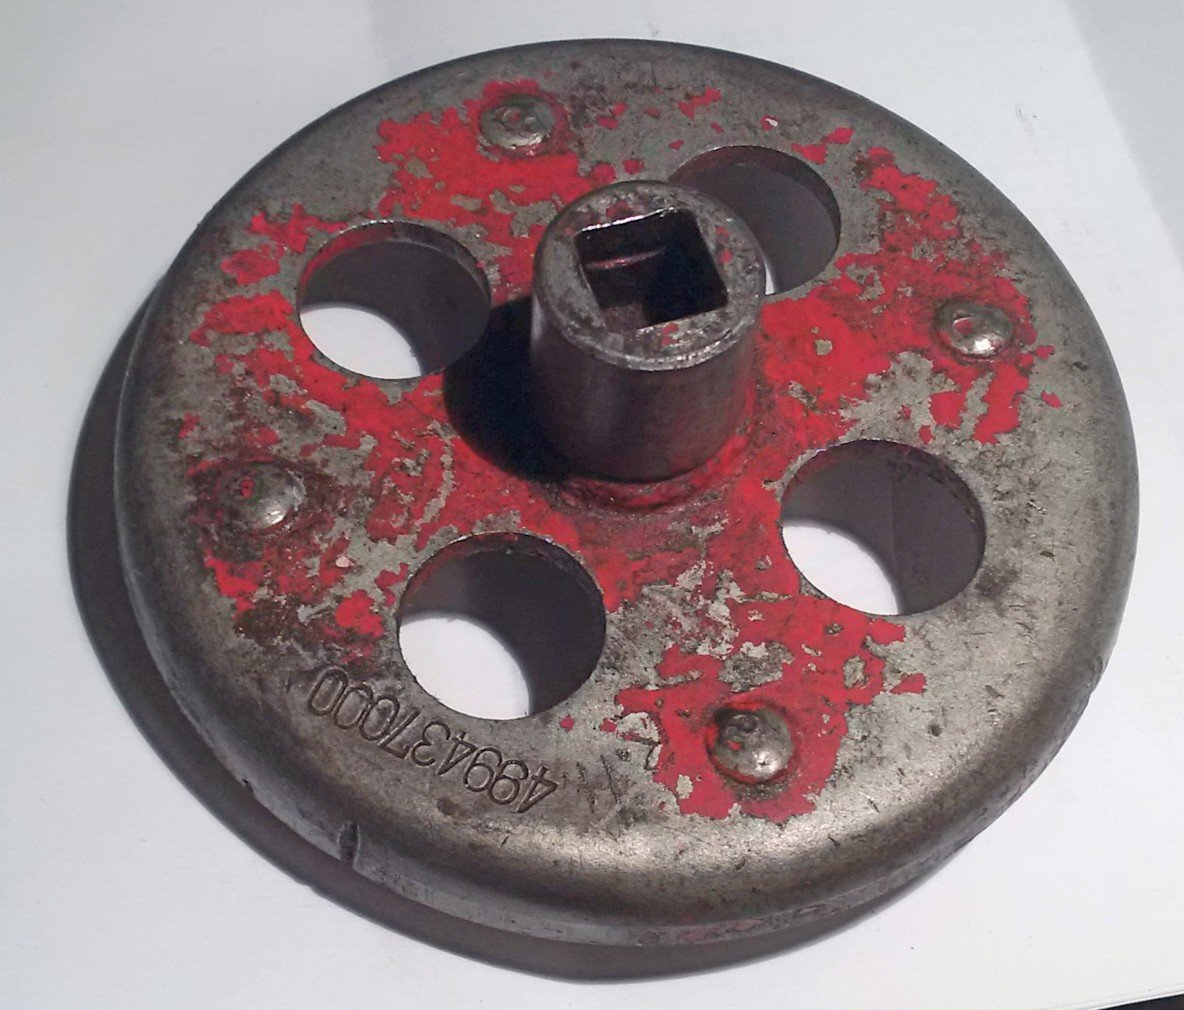
Man you guys are the BomB!! In the back of my mind I think I found it on the sidewalk over by "mecanics row" where I borrowed cam sprocket torquing plate. THANKS AGAIN!!
-
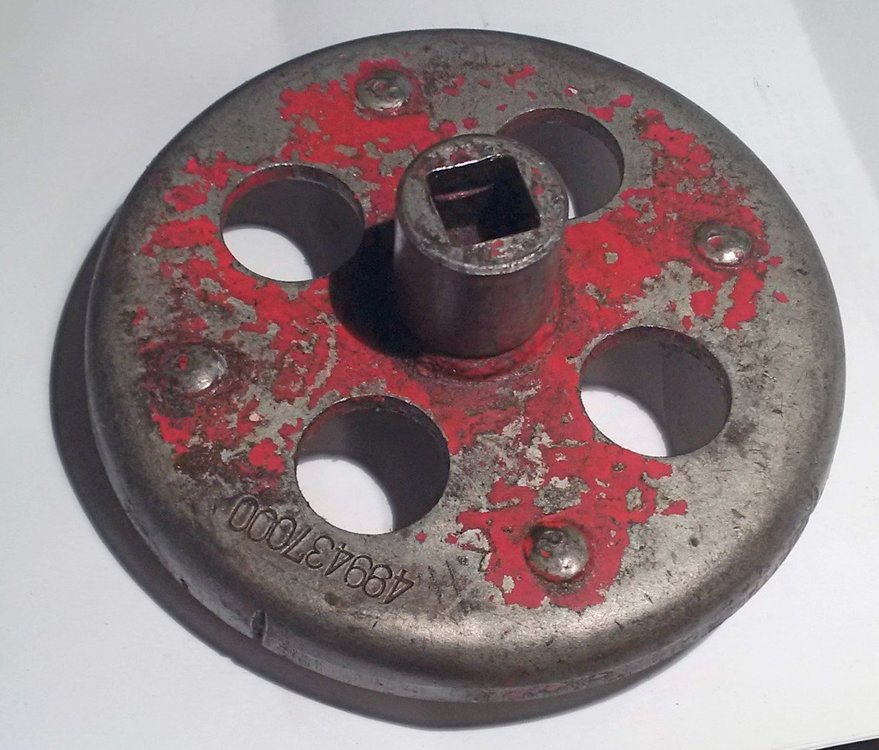
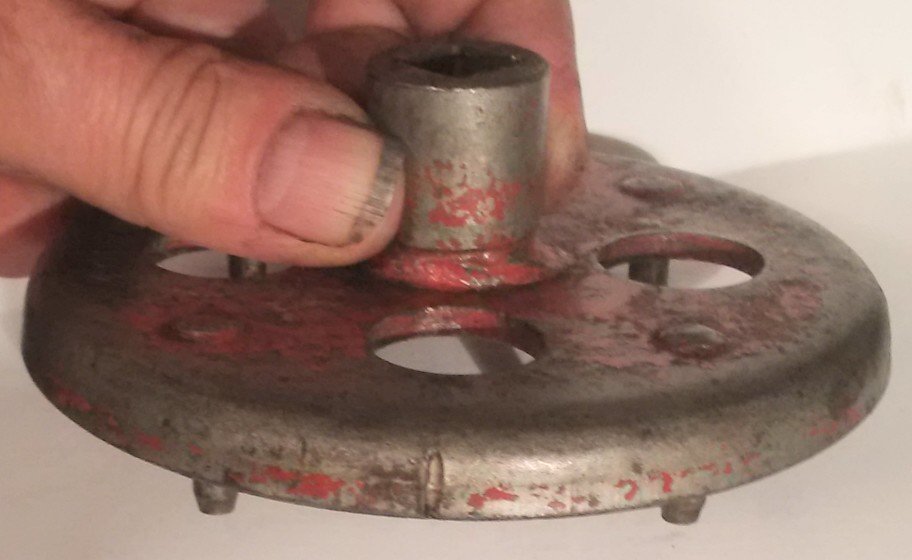
So I'm walking in & out my front door for the 10,000th time to try to move forward on my snail paced Loyale timing belt, water pump & front end re-seal job front end and I look down on my front door threshold and see this - but it may not be related at all to this project at all (I could have foraged it walking down the road & forgot) - does it look familiar to any of you Old Gen: guys? Thanks again (all I want fro Christmas is a properly rebuilt memory gland (and maybe another Loyale Wagon) )

-
Thanks again Dave, that makes sense and I'll give that a try also. Hindsight "is always 20/20" and you told me right from the start - "replace ALL 7 hose and this Oring.." When I woke up today I thought about how hard it is to physically measure something that has angles, distortions and curves and is rubber like - using a micrometer. So I weighed them on a digital gram scale and AT FIRST the old one weighed a little more (1.4 vs 1.3) - because I had just washed it with soap & water and dried it quickly with my T shirt... Well I figured maybe water is still deep in the "micro cracks" so I "roll snapped" it between my thumb finger a few times and then it weighed 1.3, same as my new candidate. Then I remembered I didn't throw out the old pump (it was working fine..., but replaced) and I thought I'd look into that hole WOW! That is probably why no matter what I did I could always hear bubbles in my water system when driving - REALLY AMAZING to me THAT this old motor kept "humping along" this long! Also glad overall that I had used Barr's Stop Leak (and almost 2 years earlier "Prestone AS663 Head Gasket Stop Leak with Kevlar" which had been completely flushed out a year ago ) and I seem to leave a white powder build up wherever there was a leak. Stupid joke of the day -- "Do ya think this was sucking air and leaking?"


-
the old one is about.110 average tall by .180 wide, the new candidate is .135 - seems maybe too thin? Got it out of oring assortment at Autozone.. Thanks

-
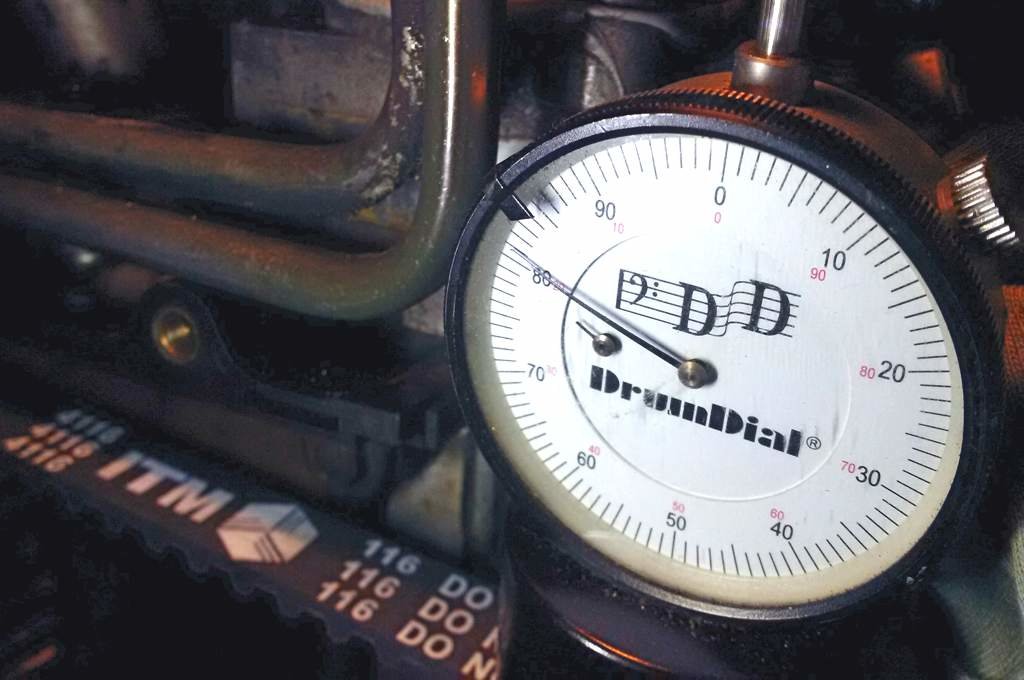
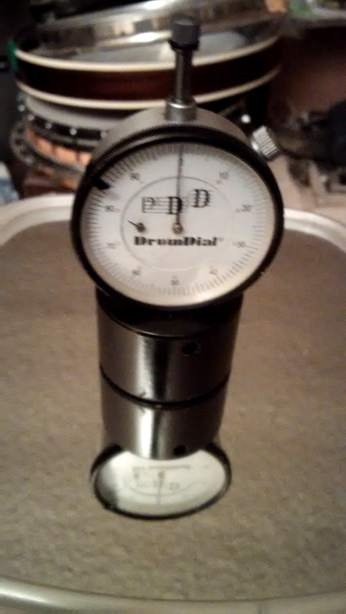
well I tested the belts "deflection" with the drum dial and it really responded to the tension on the belt that remained after the tensioner is locked down - my "guesstimate" by pushing pretty hard with my hand on the tensioner before I tightened showed 78 on the drum dial , without tensioning the belt and only letting the spring in the tensoiner apply the force , it showed 75 - measuring after following the FSM manual it was at 81(all on the passenger belt) here's the tool (red plate on the left) with the torque wrench on it - the torque wrench on the right is for the tensioner bolt. if the drum dial is sitting on a flat surface like a mirror, it should be at zero, here it is on a mirror

-
Ya all will never guess what THIS is ?? My local "independent Subaru Repair" guy, Chris Raffi LENT IT TO ME! What a nice guy and he keeps up a nice looking shop too, so if anyone is close to 90260 and they need pro service give him a call 310-674-5226 Raffi Motors. I'll also still see if my "DrumDial" shows differences in deflection. Now the only problem I have is I only have 3/8" torque wrenches - why they used a 1/2" female for just 25 ft/lbs. max is serious overkill IMHO.
-
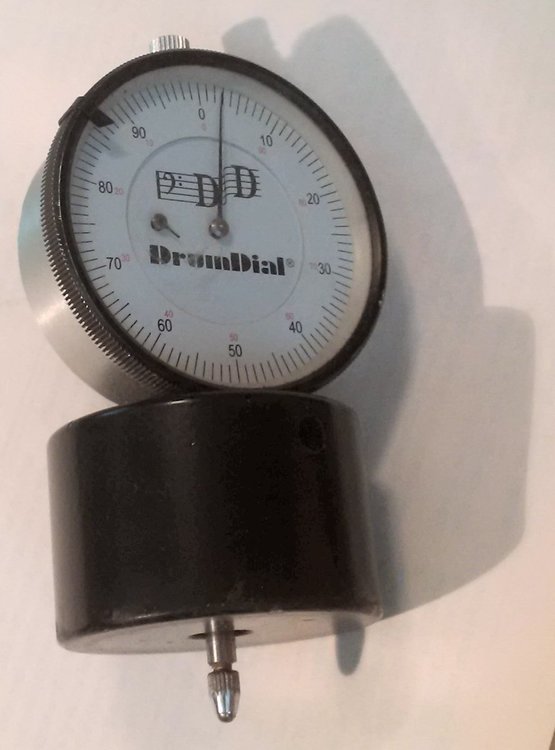
I agree with everything you guys said - including throwing away the Haynes manual - AND FOUND ANOTHER ERROR (wrong distributor firing order) , but that will be a new topic..and I actually (embarrassingly misplaced) have a printed FSM manual set I bought off fleabay about 2 years ago - I am so grateful we have the old online FSM manual for this car (nad Ej22 &EJ25) at http://jdfinley.com/file-downloads/subaru-manuals/ , I downloaded the .pdf and can flog myself with them at my leisure, even view them in my cellphone I *think* Subaru is probably trying to reproduce the spring tension of the valve springs pushing against the cam at the point of highest spring pressure (for either cylinder 1&2 passenger side, or 3&4 driver driver side at) if examining passenger side cylinders, it would happen at the instance that the intake stroke of valve of cylinder 1 is lifting, while the exhaust stroke valve of cylinder 2 is lifting - and about the same time cylinder 3 will be starting it's power stroke. So *if I thought this out right* now that I already have the belts on in the proper position cam timing wise I can rotate the crankshaft pulley bolt with a socket (clockwise to get tension on correct side of belt, opposite of the side with the tensioner) and feel this resistance (of course got to pull the spark plugs so the compression doesn't get involved.. and take cap off rotor to roughly calculate where the valves are)and I really don't want to pull them or the cap, cause I'm so lazy ) and it should even show on a "deflection" torque wrench.... I may even be able to show a "reproducible" deflection of the belt itself using a musician's tool for determining tension on a drum head/skin - or a banjo (which is my current obsession) it's called a "drumdial" it's just a dial gauge (with a heavier spring on the plunger) mounted through a hole in the center of a 2" circular base that has a flat bottom. -=- I want you guys to know this is more focused thinking that I have done since I can remember -=- so I'm gonna go and try it and maybe even shoot one of my infamous "technical vids.." if it shows on the torque wrench - then I'll hold it there & tighten the tensioner bolts. I'm sure Abraham Lincoln got much more profit and satisfaction out of splitting logs, than I will ever get out of ending up looking like I'm working on "splitting hairs"..
-
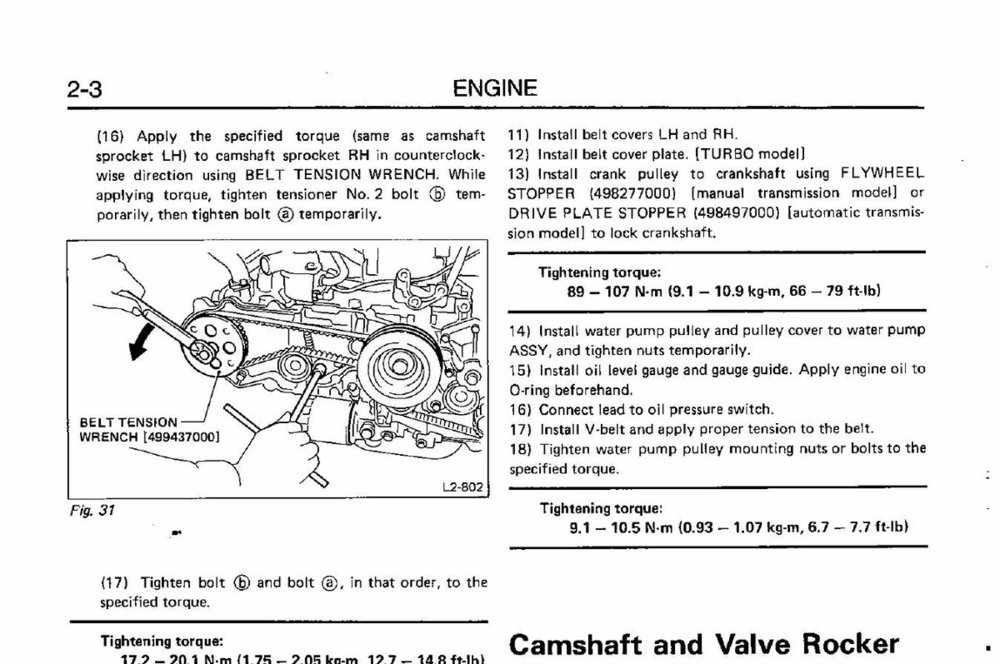
These camshaft sprocket bolts only get 7ft-lbs torque! how can you "un-torque or torque it counterclockwise " to 18 ft-lbs? it will unscrew! It's in section 34 from page 2B-6 - Haynes manual 89003 Subaru FSM says use a "belt tension wrench" that spans the sprocket (I assume?) & torque on it to 18 ft-lbs counter clockwise, then tighten tensioner.. so how do you guys get the tension right? Thanks again

-
cam seal retainer bolt hole stripped
Craigar replied to dltrial's topic in Old Gen.: 80's GL/DL/XT/Loyales...
No, this was MY FAULT, I saw "Cam Housing.." which is probably what we call "cam tower" and I half a** let my brain jump to the fabled land of conclusions thinking "of course it's the "housing" that supports the cam on the end where the sprocket is .. if only I had looked at the next line - which starts with "cam.." - and the next 3 lines also... then I would have seen "cam seal retainer" for sure. Being 62 years old & feeling kinda spacey & tired at least half the time don't help either. For Christmas I'd really like a brand new brain! (at least a good rebuild