
Dave Soslau
-
Posts
15 -
Joined
-
Last visited
Dave Soslau's Achievements
Member (2/11)
3
Reputation
-
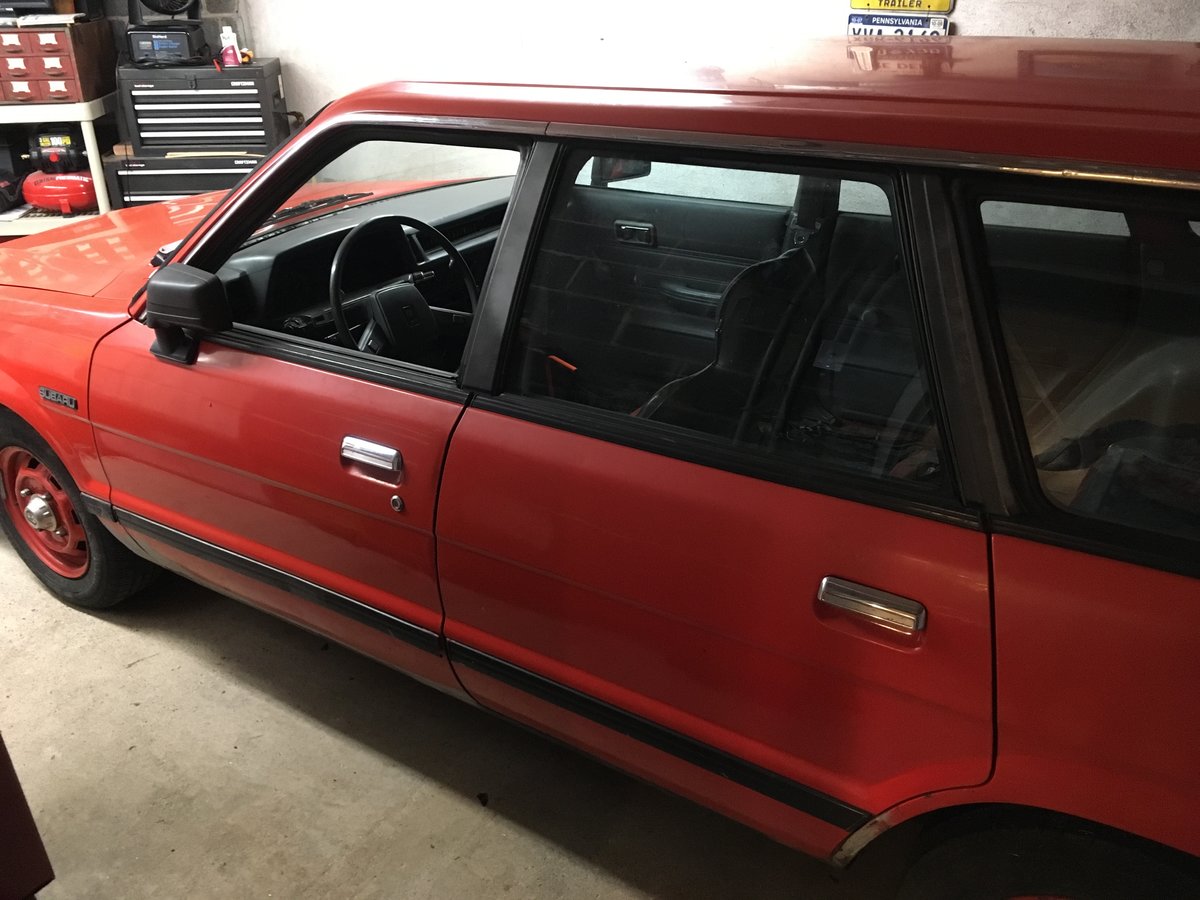
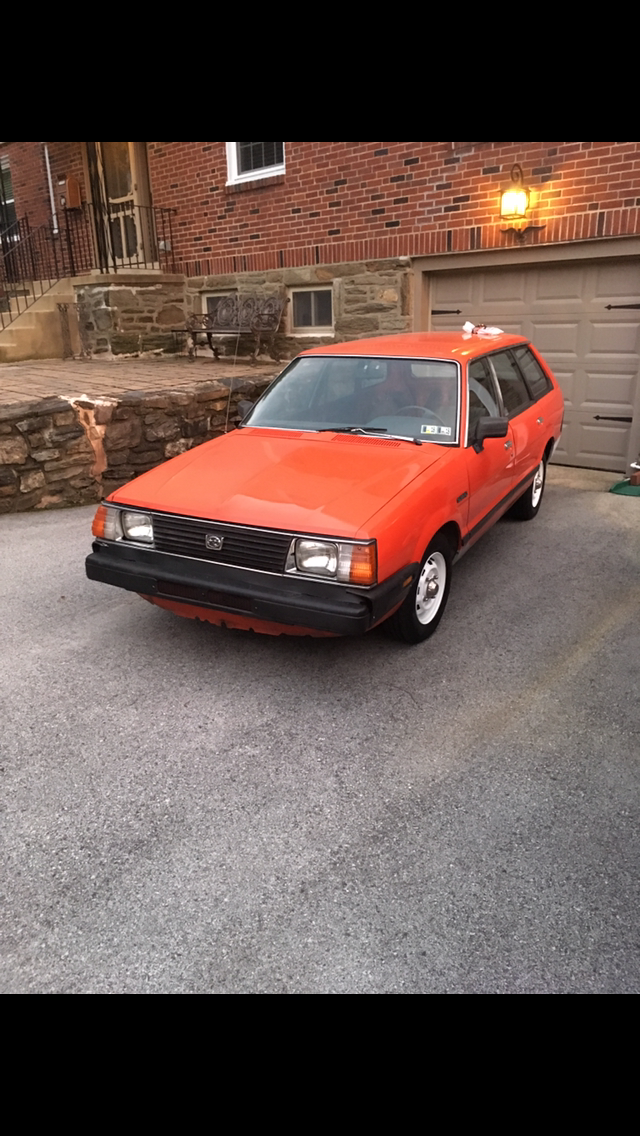
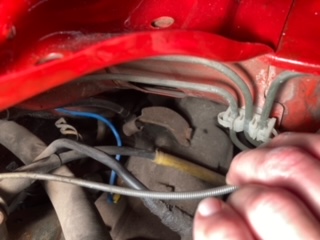
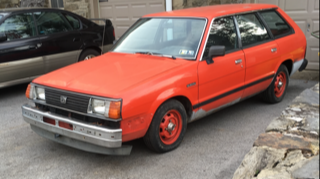
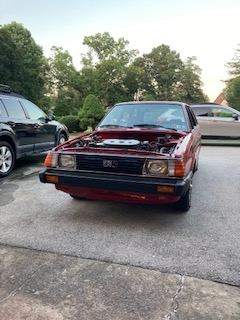
I'm working on my 1983 DL Wagon (5 speed manual trans, front wheel drive, 1800 engine). I bought it as a non-running basket case to challenge myself, fulfill the desire held since watching the 1980 Winter Olympics back in fifth grade, and go even balder by constantly scratching my head! So, as the first picture shows, the clutch cable just floats over the trans and there is a clip attached to the trans that I believe is positioned improperly. I would think the cable should go through the clip, but if it did, it would be heading down, away from the fork, not towards it. I've looked through the 800+ page manual for guidance, but found nothing that provides any clarity. Because the car had so many idiosyncrasies (like lamp wire attached to wiring in the fuse box for a siren), I've gotten a new clutch cable and want to install it correctly. I'm fine with the front and rear attachments to the fork and pedal, but really want to get it right in the middle without the guesswork of relocating the clip. Any guidance or pictures of the correct positioning of this clip would be greatly appreciated. ALSO, there is obviously an unoriginal wire (blue wire attached to front right bolt of trans top) that goes to the firewall. Is this correct? Do you have a wire there that goes to a different spot? Any help on this would also be GREATLY APPRECIATED! Thank you! Starting point to current pictures are included for your pleasure! I will get to the end-point (someday!!).
-
Thank you for this! This is crystal clear and I will make the appointment at my local Subaru dealer.
-
So I followed the coding directions in the manual and tried enough times to load the bad key, that the code from the good key’s code was erased. It still started the car, but the buttons just didn’t work. Then I opened up the good key to get the code number and programmed that eight digit code and it started working again (both the buttons and turning and keeping the engine on). I’m pretty sure this means that the bad key simply has a bad transmitter. It’ll start the engine for a second or two and then it just shuts down. At least I know what needs to be replaced now - probably, maybe, potentially?!?!
-
Yep, 2 master keys and a valet key. A master and the valet work on everything. One master key with the new battery does everything except start the car. I’m not sure if I need to try the coding process in the manual. And if did try that, would I be risking the deletion of the codes for the two keys that actually work. At this point, I’m probably just going to had this off to the dealer at an upcoming oil change/inspection. The last thing I want to do as an amateur is widen the problem. If there is a “for sure” solution, I’ll do it. But uncertainty never seems to work out!
-
I just bought a 2011 Outback. One key with 4 buttons works. The valet key works. I put a new battery in the other key. The 4 buttons work and the ignition turns so the dash lights up, but the car won’t start. Any guidance would be greatly appreciated!
-
Ignition Coil ground???
Dave Soslau replied to Dave Soslau's topic in Old Gen.: 80's GL/DL/XT/Loyales...
Thanks all for your guidance and I really appreciate learning about this. I bought the 800 page service manual on ebay last year, but I feel like a need a reading specialist to navigate it most of the time. That being said, yes this wire in question is a noise condensor for the radio signal. With the guidance of the specialists, I figured out what to look for in the manual!!! -
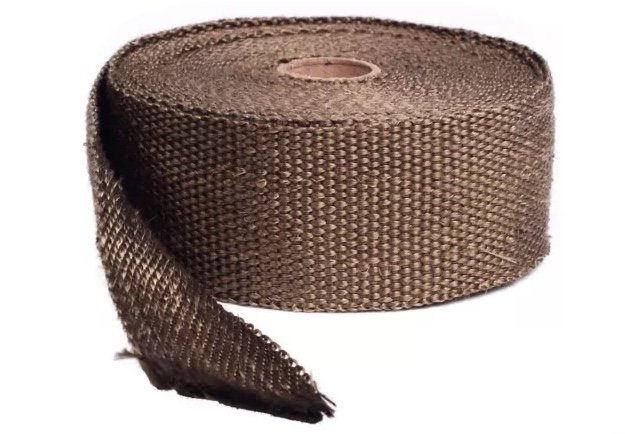
For what it’s worth, I replaced the entire exhaust on my 2000 Legacy Outback (long story). Everything was great for about a year and then the P0420 code popped up. It took me a while to figure out that one main difference between the old and new exhaust was the insulation before the cat, so I wrapped the exhaust tightly up to the front cat and the code has stayed away for over 1,500 mile so far.
-
Ignition Coil ground???
Dave Soslau replied to Dave Soslau's topic in Old Gen.: 80's GL/DL/XT/Loyales...
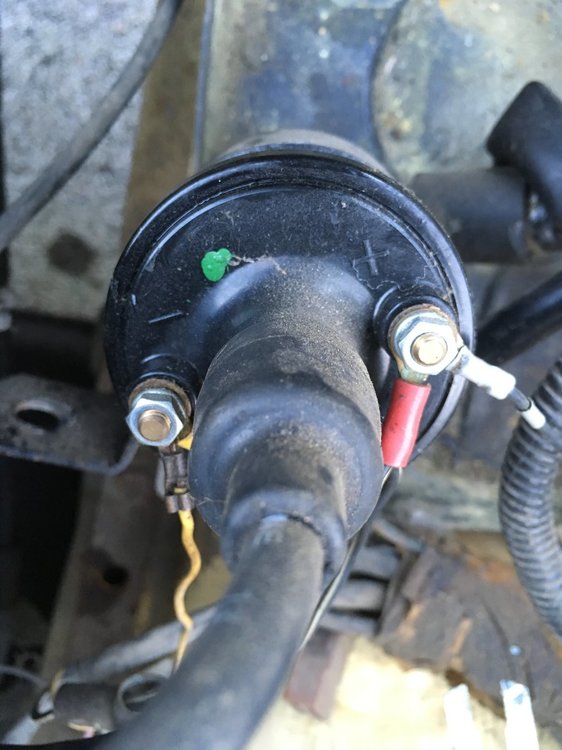
There is a small round cylinder-shaped part the wire has close to the middle and it’s mounted under the top mounting bolt of the ignition coil brace. I’m a newbie, so I assumed it was a resistor. In any case the wire goes from the postitve terminal of the coil to what I now know is a condensor to a small bracket attached right near the back side of the right cylinder head. I’d love to learn and understand this connection, but don’r want to be a burden. -
Working on my 83 DL and noticed a wire that goes from the positive terminal of the ignition coil to a brace on the back right side of the 1800 engine. Car runs, but it seems strange for a ground wire to go to the positive terminal. Is this actually correct? If so, any idea of the reason or logic? Inquiring mind wants to know.
-
Bump stop helper replacement
Dave Soslau replied to Dave Soslau's topic in Old Gen.: 80's GL/DL/XT/Loyales...
Well, finally cleaned the garage and found the helper base with the captive nut still attached. The thread is definitely M10 1.25. -
Your post about the constant power to the horn is one thing I definitely needed to know! The car I'm working on is an 83 DL wagon. The horns are the last electrical part that needs a resolution. Based on everything I've checked so far, I'm 90% sure that the horns are just frozen with rust and need to be replaced. The are two sets of green horn wires with female connectors (one of the sets has two lines to each connector). I'm guessing the pair of single lines goes to the center horn behind the grill and the pair of double lines goes to the horn behind the left headlight. Is this correct? Is there a positive/negative orientation for the horn pins - or does it not matter? Last question - there is about a 12' distance from the wiring to the center horn (which I think is the low tone) - do I just make male to female extensions to connect these? Any guidance would be greatly appreciated!
-
Bump stop helper replacement
Dave Soslau replied to Dave Soslau's topic in Old Gen.: 80's GL/DL/XT/Loyales...
Well, I’d like to give a clear answer, but the best I can do is say I’m sure that a 17mm socket was used on the nut. I think that means the bolt would be M10, but I’m not sure about the thread. If I find that nut again (still need to clean up the garage piles) I’ll try to find out for sure and post it. Thanks and stay well! -
Bump stop helper replacement
Dave Soslau replied to Dave Soslau's topic in Old Gen.: 80's GL/DL/XT/Loyales...
MANY THANKS! Seriously, I really appreciate the guidance. It was not easy or fun, but now I’m done. Used a dremel to cut notches into the plate (no room for anything else!). Chisled and chiseled. On the third rotation, the captive nut became “uncaptive” as in no longer welded to the frame. So I drilled a pilot hole to ensure the right spot to drill on the inside, then drilled a 1” access hole through the floor. Used an old broken long drill bit through the pilot hole of the plate and frame to lock the plate in place while undoing the nut with the impact wrench. The access hole, although annoying, validates using the $9 aftermarket bump stop/helper with a nylon lock nut versus the $60 OEM part. In reality, once I finish the moderate restoration, this will be a garage kept, good season, nice weather, weekend only car that won’t get more than a total of 1,000 miles during the next 60 or so years of my life... I’m 48 now, so yes, I’m definitely an optomist.
- 9 replies
-
- 2
-

-
- suspension
- rubber cones
- (and 2 more)
-
Bump stop helper replacement
Dave Soslau replied to Dave Soslau's topic in Old Gen.: 80's GL/DL/XT/Loyales...
I thought there might be access to a retention nut, but there are no holes or openings in the vicinity of this (after removing literally everything - seat, trim, side panels - everything!). So I'm figuring it's a captive nut and perhaps the best way is to drill through the center of what's left and use a bolt extractor. I'm just looking for any other suggestions from those with more experience before I create another problem. Thanks so much! -
I’m working on an 83 DL wagon with front wheel drive. The service manual refers to the missing part as a helper, yet the more common term is bump stop. This car is missing the rubber cone part of the helper on the rear right side. I know there are options for universal part replacement or getting an oem through Subaru, however, I’m lost on the best way to remove the mounting plate that remains. The plate is an octagon, but it’s about an 1/8 inch thick at best. Before I foul it up with what I think would be logical attempts, I think it’s best if I ask how do I get this out from those with more experience! Any guidance would be greatly appreciated!