Search the Community
Showing results for tags 'Sonar Loyale Sedan Backup'.
Found 1 result
-
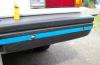
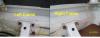
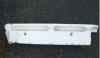
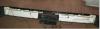
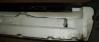
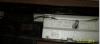
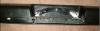
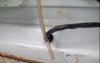
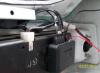
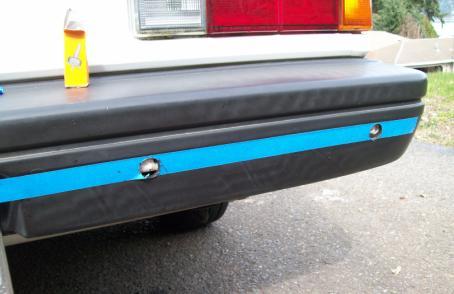
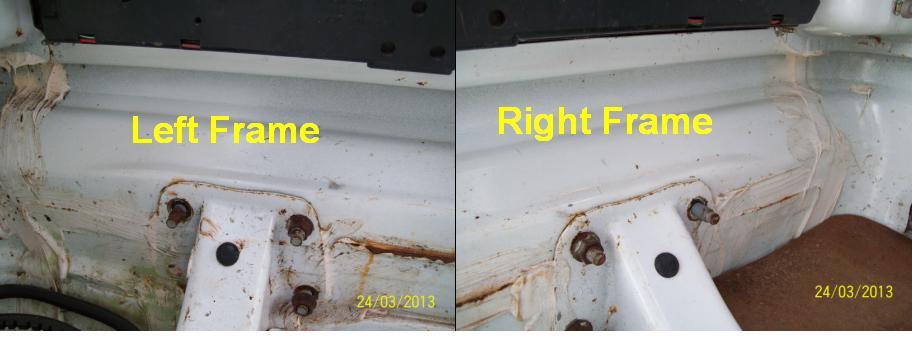
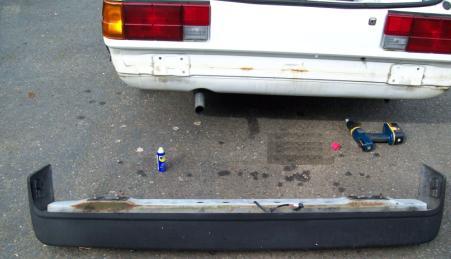
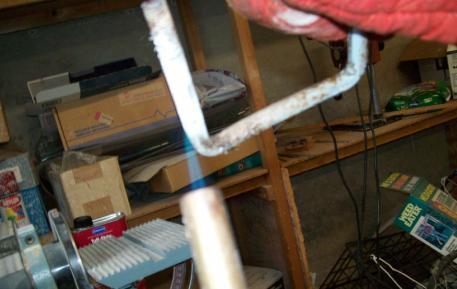
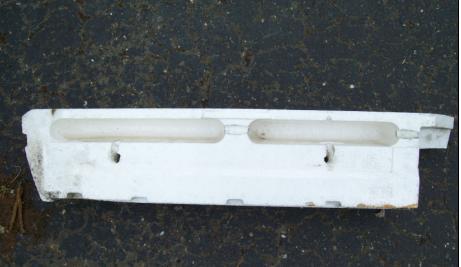
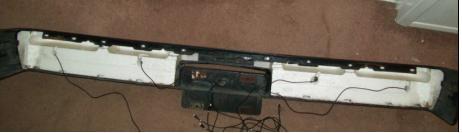
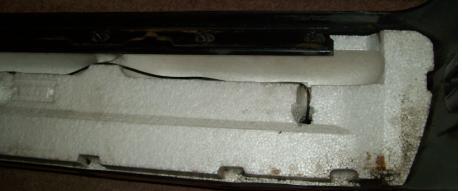
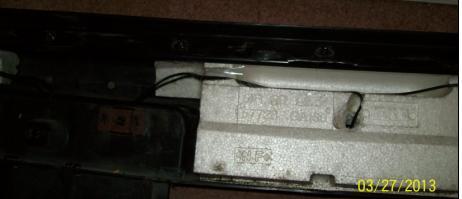
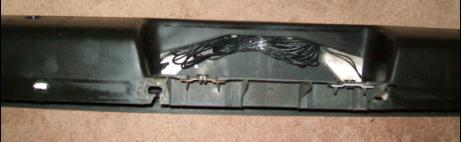
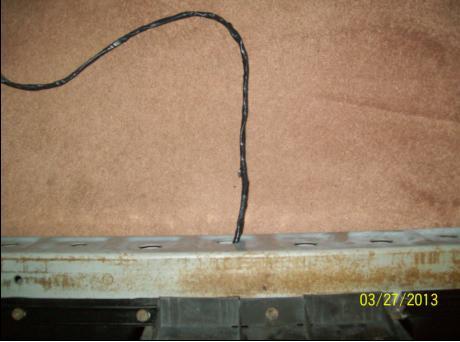
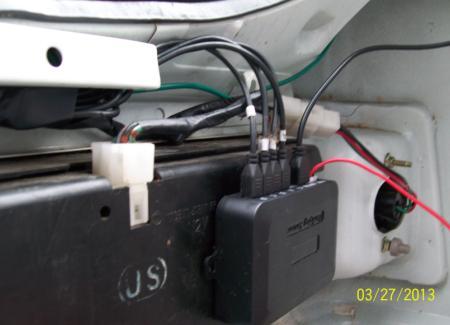
Recently while researching backup cameras on Amazon, included in the search list was something called the XD-066 LED Display Car Reverse Backup Radar with 4 Parking Sensors. Intrigued, I clicked the link to learn more about this "backup radar". As it turns out, it is not radar at all, but rather sonar. Radar uses radio waves whereas sonar uses sound waves. The XD-066 Auto sonar uses ultrasonic sound waves via 40Khz transponders (four of them) embedded into the bumper to determine the distance of any object within 2.5 meters (8.2 ft) of the rear bumper. It is activated when the car is put into reverse and an obstruction is within the 8.2 ft (2.5 meter) maximum range. Then as you backup it displays the distance in .1 meter increments. It has a green, yellow, red progressive led display warning system that as you get closer to the object, it begins dinging the bell more rapidly the closer you get. In this way you get both visual and audio clues as to your distance from an object. Since I am planning on a backup camera in the future, a sonar giving the exact distance to an obstruction might be a good compliment to the backup camera. I already had my backseat out for other projects requiring hidden wire runs, so one more wasn't a big deal. And for 24 bucks (available for about $14 now), I could hardly go wrong if it was a dud. What You Get Installation diagram Video of Sonar in Action Drilling the Bumper This project requires you to drill holes in your bumper. Not just teensy holes but darn near quarter sized holes. If you are considering doing this project, you should think long and hard how you feel about holes being drilled in your bumper because once you start drilling, there is no going back. Oh sure, you could put some sort of filler in there, but it would look like hell. Once you have made the mental commitment to drill into your bumper, you need to plan out how to dril it. You don't need a special drill bit, just the one that comes with the kit. It will easily drill through the plastic bumper fascia and into the styrofoam. However unlike professional hole style bits that include vent holes for removing the material that gets stuck in the hole saw, this drill bit will require you to pry the material for each hole frequently as it is a shallow depth hole saw and not deep enough to go all the way through in a single pass. Before you drill, you want to layout where each of the four holes will go. They should be equidistant from the center of the bumper. First, layout masking tape across the bumper at the height you will be drilling. The instructions caution that the sensors should be positioned parallel to the ground so the face of each sensor sits at 90 degrees. You don't want any tilt in the sensors or they will be off in their measurements. Consult the included instructions for more information. On my bumper I chose just below the crease line because it is almost vertical and there is a good reference in the crease line so that it will layout level in the horizontal. The Horizontal spacing begins by finding the center of the bumper and marking that on the masking tape. Now you need to position the mark for one of the outer sensors. It should be around 4-6 inches from the end of the bumper so there is good coverage. Too far towards the center and you won't be able to detect objects near the edge of the bumper. Too close to the end of the bumper and you will always detect things on the side rear of the car. Once you have made the mark for one of the end sensors, the rest are easy. The other end sensor is placed at the same distance from the center as the first end sensor you just mark. Then the remaining two sensors are simply put at half that distance on each side of the center mark. Once you have the holes drilled, you will need to remove the bumper and disassemble in order to properly route the wires. This is because it is necessary to create channels in the styrofoam behind the plastic of the bumper. Disconnect the license plate light wire from the connector inside the sedan trunk. Pull the grommet and wire out of the trunk gently so you don't damage the wire. Then remove the three bolts on the left and right side frame mounts that hold the bumper on as shown: Slide the bumper back off the car. It might be helpful to have someone else help you with this. Disassemble the bumper by removing the two screws holding on the lamp assembly (5 in fig 1). Remove screws on the lower holder (6 in fig 1). Remove nuts on the upper holder (2 in fig 1). Remove the rear beam (1 in fig 1). Lift the lip holding the upper holder against the E/A forms and lift them out. Figure 1. Loyale Sedan Rear Bumper You need to create channels in the E/A form (styrofoam halves) so the wires are not pinching on the rear beam. I used a U bolt that I heated with a propane torch and then pushed into the styrofoam as if branding them. Create channels that guide the wires towards the center of the bumper. Mount the E/A form back to the bumper face and tuck it under the upper holder to keep it in place. feed the sensors through the bumper face and route the wires into the chanels you create. Tape over the channels to keep the sensor wires from getting pinched when mounting the beam. Gather the wires and tuck away under license plate mount to keep them from being pinched. Mount the beam and run sensor wires through hole in beam where the lamp assembly wire was routed. Tape the sensor wires using electrical tape to keep them together. Mount the lamp assembly and mount the bumper on the car. You will need someplace to pass the sensor wires into the trunk. I used the trunk key hole drip tube grommet. I slit it on one side to allow fitting around the sensor wires for a nice seal. Mount The Display In the instructions they give you two options for the tiny half moon digital distance display - one the dash and on the rear view mirror. I chose the mirror. Decide where you want the display mounted and then run the wire to back end of the car under the door jamb trim panels. Mount The Control Unit All of the cords, the display, power and four sensor wires connect to the control unit. Figure out where you will mount the control unit. Because I ran my wires down the left jamb, I placed mine on the back of the left backup light housing as shown below: Connect Power Power consists of a ground and the reverse light connection. If you are not sure which wire is the reverse light wire, then use a test light on the wires. Testing Now try it out by putting the car in reverse. You should see the display light up, If the car is within 8.2 ft of something, a number will display along with the appropriate bar graph and chime alarm sounds. As you gradually get closer, you will see the digital number decrease, the dinging rate increases the closer you get to the object. I have found zero to leave me about 3 inches from an object. Installation Videos