Search the Community
Showing results for tags 'helicoil'.
Found 3 results
-
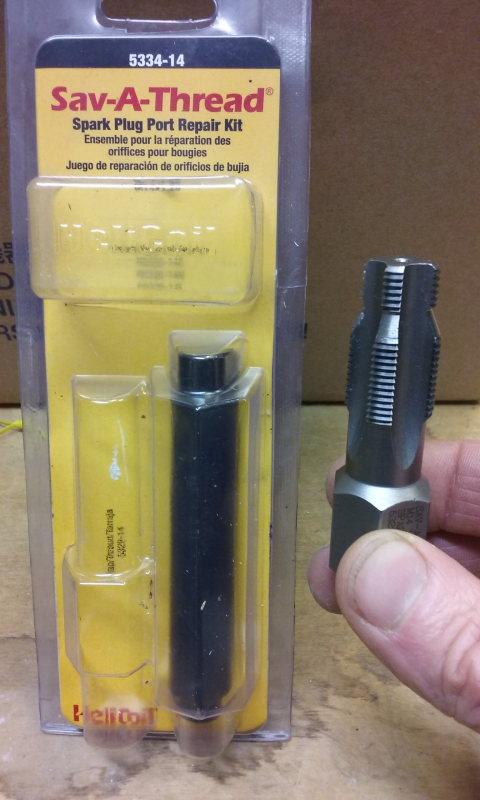
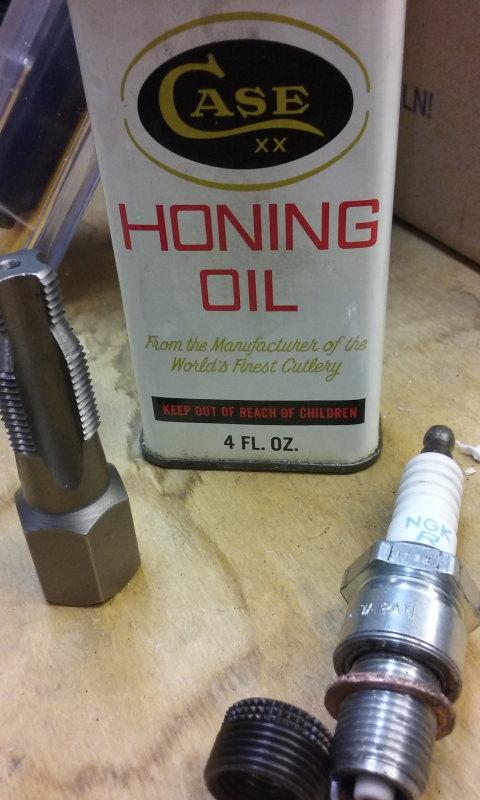
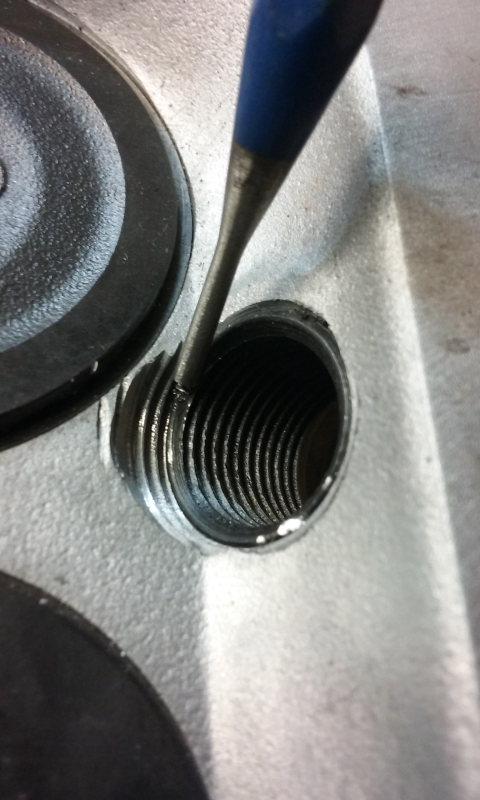
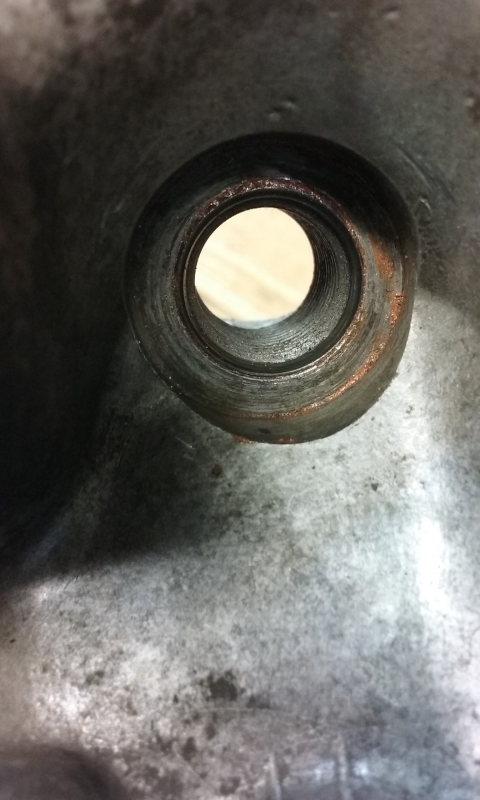
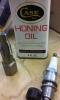
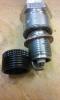
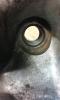
 Here are some notes from my project to replace bad spark plug threads with Helicoil thread inserts. I did this work on a 93 EA82 with the heads off the engine. Hope people find this helpful. I used the "Spark Plug Port Repair Kit" that is available in autoparts stores for about $50. See the first picture. The kit includes 3 thread inserts but only one of the 1/2 inch size needed to match the spark plug threads. Extra inserts are about $3. I did all 4. The tap starts with M14x1.25 threads which matches stock spark plug threads. It follows existing threads to guide the cutting of the larger threads. No drilling required if threads aren't completely gone. The tap produces a lot of chips. I'm sure glad I didn't do this with the heads on the car but others say it can work. I started by using WD-40 and that worked fine for the first 2 holes. On holes 3 and 4, the cutter seemed to get dull and was considerably harder to turn. The tap has a 3/8" hole for ratchet. Looks like a spark plug socket will work but I didn't try it and I think it may jam up on the chips. I ran the tap through holes 3 and 4 again with light honing oil which worked much better than WD-40. It was easier to turn and cut more metal. On the first hole, the insert spun in quite easily, less so on hole #2 and very hard on 3 and 4 until I retapped them with the honing oil but still not as easily as the first. The cutter comes very close to one of the valves but misses it and still keeps what seems to be plenty of metal around the valve seat. I drove the insert in using a spark plug. I did some trial fits first before putting hi-temp RTV on the insert threads as noted in the directions. Most of the RTV gets rubbed off and left at the top of the hole so very little is needed on the threads. To drive the insert in, I put a washer on the plug because the plug's crush washer gets stuck on the insert making it nearly impossible to leave the insert in place when the spark plug is removed. I got a copper washer sold as an oil pan plug washer and filed it to fit over the spark plug threads and not extend much past the plug diameter. This last part is needed so it fits into the spark plug recess without binding. See the second and third picture. To help the plug come out with the insert in place, I learned to put oil on the spark plug threads. On the most stubborn one, I also put some lateral force on the plug to put more friction on the threads as I backed out the spark plug. This put enough friction on the insert-to-head threads that the oiled plug threads release first. When the plug is out, the insert can be set permanently in place. On the first 2 holes, where the insert spun in more freely, I was able to get them further in the hole by using a punch to spin the insert a fraction of a turn by tapping the piston-side end on a notch I had previously filed. See the 4th picture. The idea is to get the plug-side edge down below the surface that the crush washer seals to. Seems like a good idea. Be careful not to close up the final thread, like I did, by hitting too hard or too much. This method didn't work when the inserts were hard to drive in. The last step is using the heavy "punch" included in the kit to flare the knurled plug-side end of the insert out into the head to secure the insert from spinning when running plugs in and out. It seems like a number of medium strength blows with a hammer is enough. The finish job is in the 5th picture. I am looking forward to the confidence of installing plugs without worrying about damaging aluminum threads.
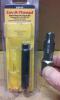

-
A few weeks ago I noticed a coolant leak, and tracked it down to an intake manifold gasket -- no problem, just pull the manifold and replace the gasket (or so I thought). I wound up busting a stuck bolt, and had to drill it out, unfortunately I managed to drill through a head mounting stud in the process -- I didn't notice this, however, until I tried to turn the engine over and wound up filling my cylinders with coolant. Now, I need to replace a stud, and probably the head as well -- I put a small divot in the bottom of the thru-hole while drilling through the stud, I assume that it is this combination of busted stud, plus divot, that led to coolant in the cylinder. Does anyone have any advice, or a head (left side, ea81) they can sell me? I'm in Albuquerque, NM
-
My former White Wagon, the Weberized EA82, (now my "BumbleBeast") Was Leakin' Oil, but the Surprise is that it Wasn't from the Usual Places... it Was comin' from the Base of the Pipe Used to Pour Fresh Oil on the Engine, the one that Goes to one Head ... One of the Threads was Damaged, I don't know How ... Maybe it was Loose and Vibrations did damage it. How to Easy Fix a Damaged Thread on Aluminum in a Engine's Head? Well... I Started Removin' the Pipe. Here you can see the Oil and dirt that came from its Base And to Prevent Small Metallic debris from goin' inside the Head, I placed a Small Cloth very tight inside the Head's opening, and Covered it with many Masking Tape Layers. Then, I Drilled the Thread! ... ... Yes, I Drilled it! Originally it Was Like 1/4" ... I Drilled it to 3/8" Here you can See a Closer Perspective: Then, I Remake the Thread, but in 3/8" ... See: Here comes the Solution: I Drilled inside a 3/8" Bolt... ...And I made the Original 1/4" Thread inside the 3/8" Bolt! (Important Note: Don't Forget that Stock are Milimetric Measurements, I wrote Here the Equivalence on inches for easy Reference) Then, I Just Used Thread Locker, to Screw the 3/8" Bolt on the New 3/8" Thread on the Head, then I Removed the 3/8" Bolt's Head. (it was Pre-Cutted in each side, to make Easier Removal of the Head) Finally it Looks like this: And it Solved the Problem, Absolutely! I Hope this Ideas Could Help many People with Similar Problems, If you find this Useful, don't forget to let me Know By hitting the "Like" Button. Kind Regards.