


mulletsquirrel
-
Posts
47 -
Joined
-
Last visited
-
Days Won
1
Content Type
Profiles
Forums
Gallery
Store
Posts posted by mulletsquirrel
-
-
Cool build! The Brat looks like an interesting chassis for a swap. Keep at it!
-
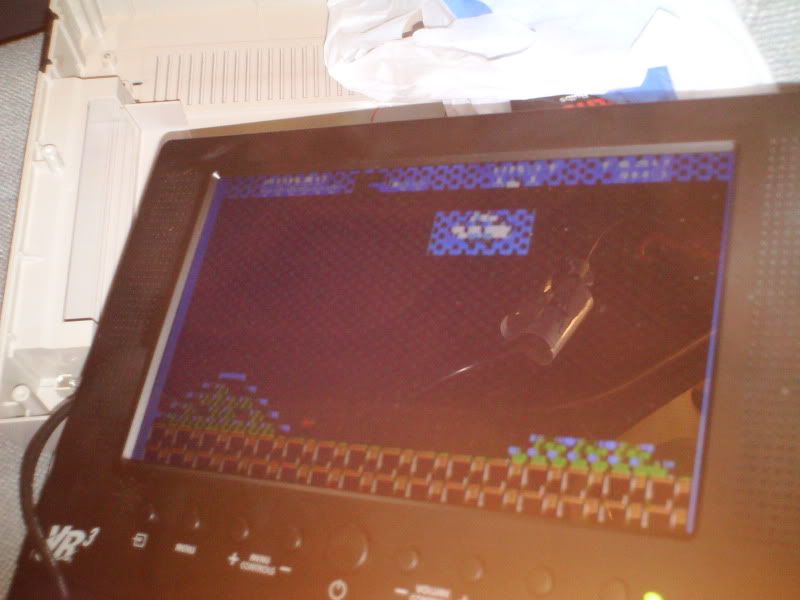
I re-soldered the connections today, got the thing to turn on on the first try, although it resets every second. It shows the menus to Kung fu and excite bike though, so thats a good sign. Time to get the multimeter out!
I fixed a few bad solders and a pair of wires that were mixed around. Still didn't work. Then I figured it out and fixed it using a piece of cardboard from a Ziploc box. Excitebike/Kung Fu start on the first try! So this is what having a Nintendo in 1986 was like!
-
I think it is called a diverter valve, my 2003 jetta had one.
-
I'd say get a different style muffler, that doesn't suit the car at all.
But welcome nonetheless, I have an 86 GL I use for winter.
-
I'd say get a different style muffler, that doesn't suit the car at all.

-
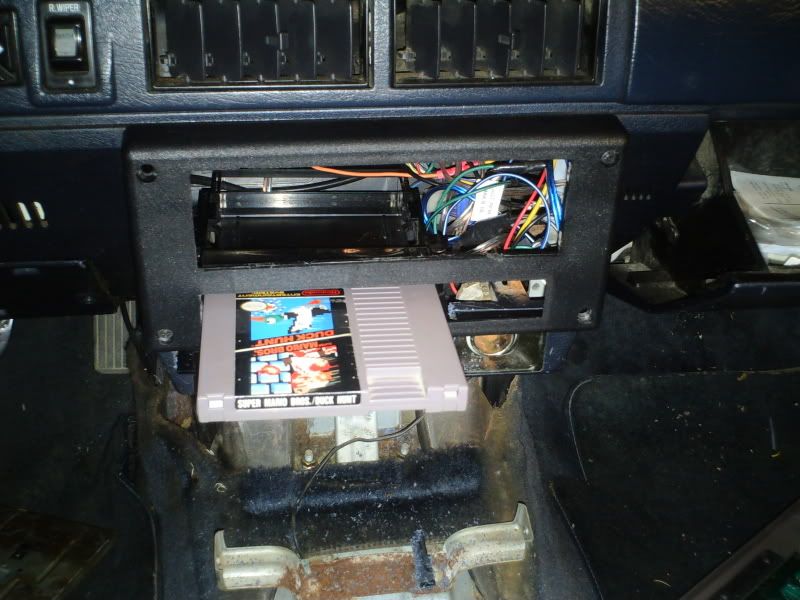
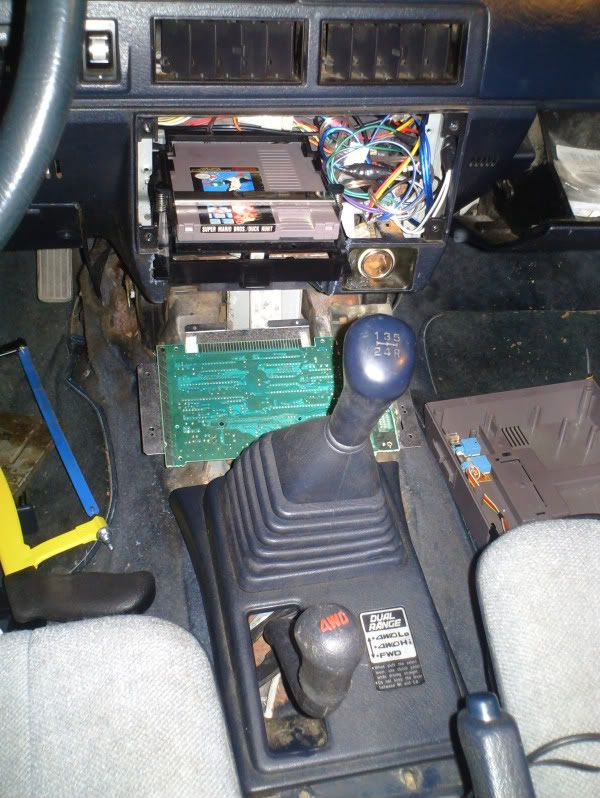
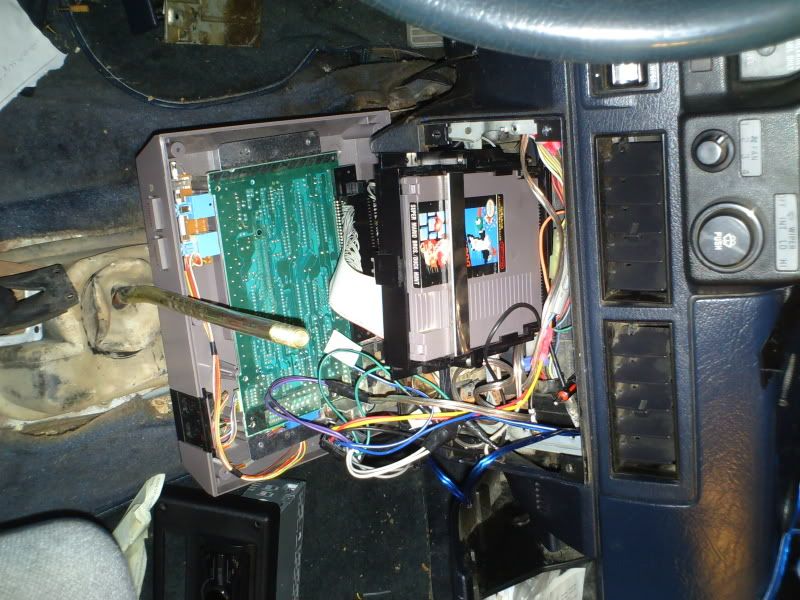
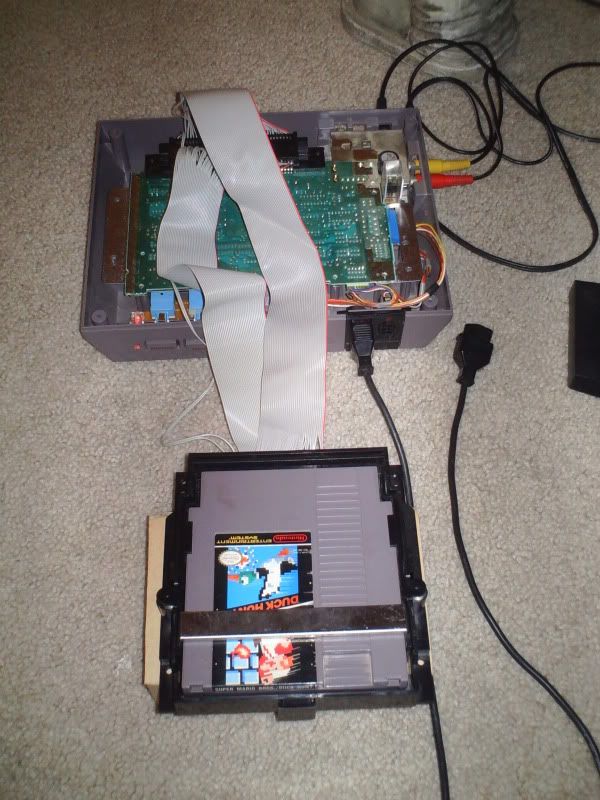
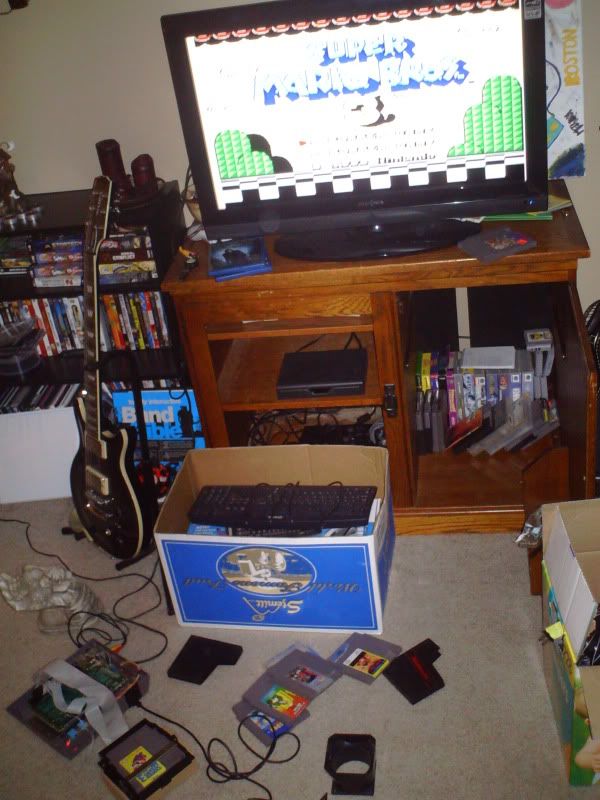
A bit more progress...
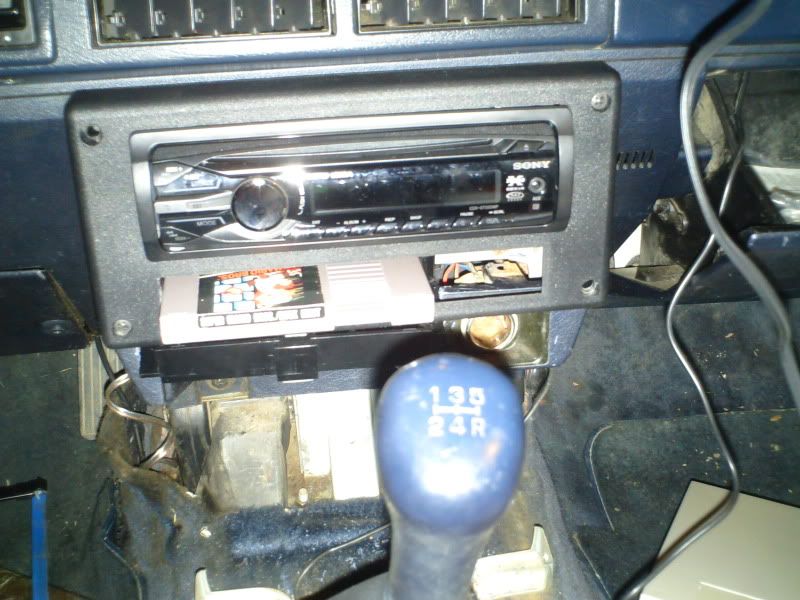
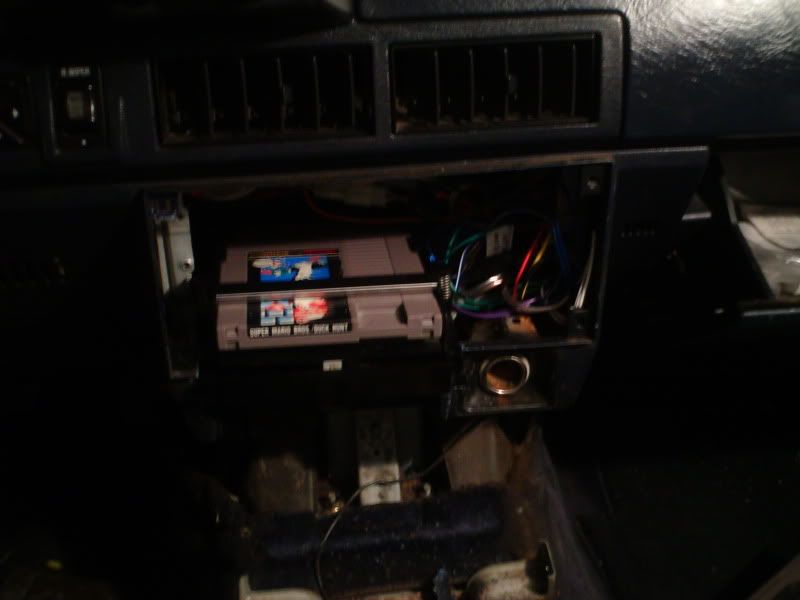
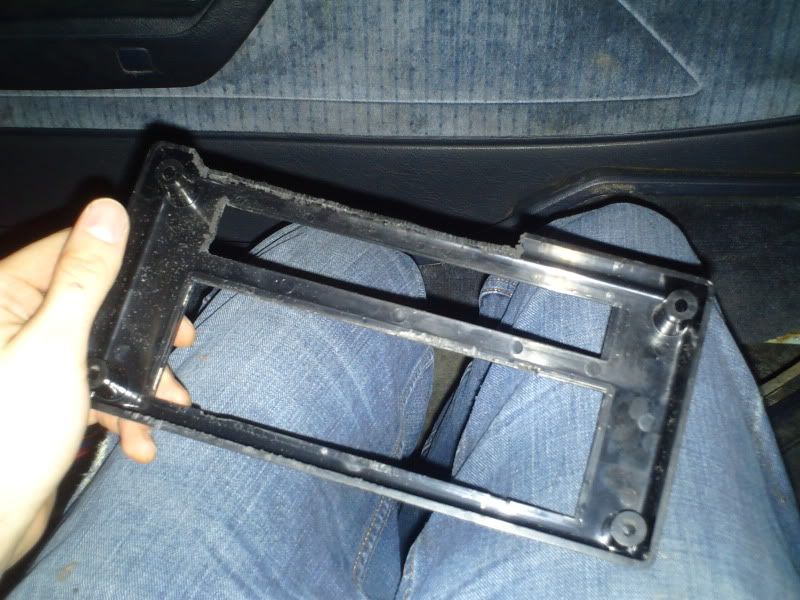
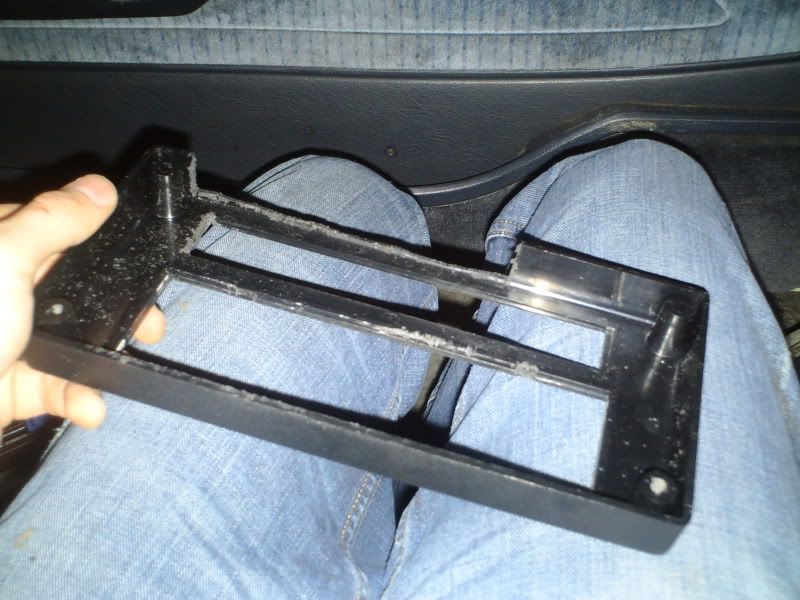
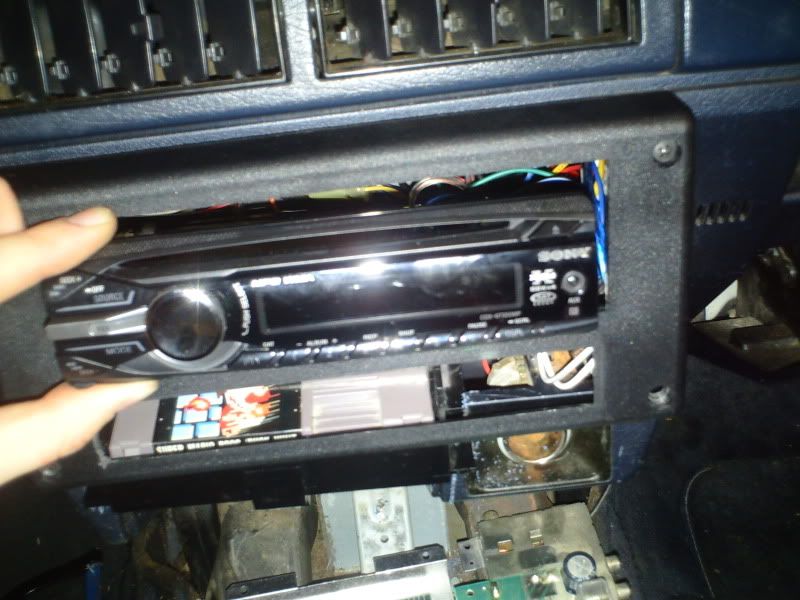
Managed to fit the cartridge loader into the dash along with the cd player (easier said than done with the limited space ).
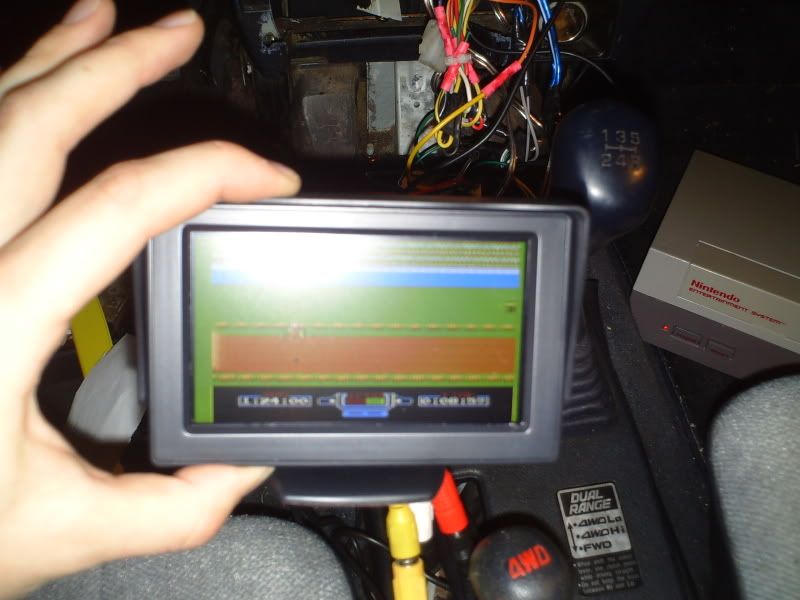
Received the second monitor ( for the front seat ) in the mail from Hong Kong (eBay) and hooked it up. I got a composite splitter so the game can be shown on both screens simultaneously. I was worried about signal decay, but it looks fine!
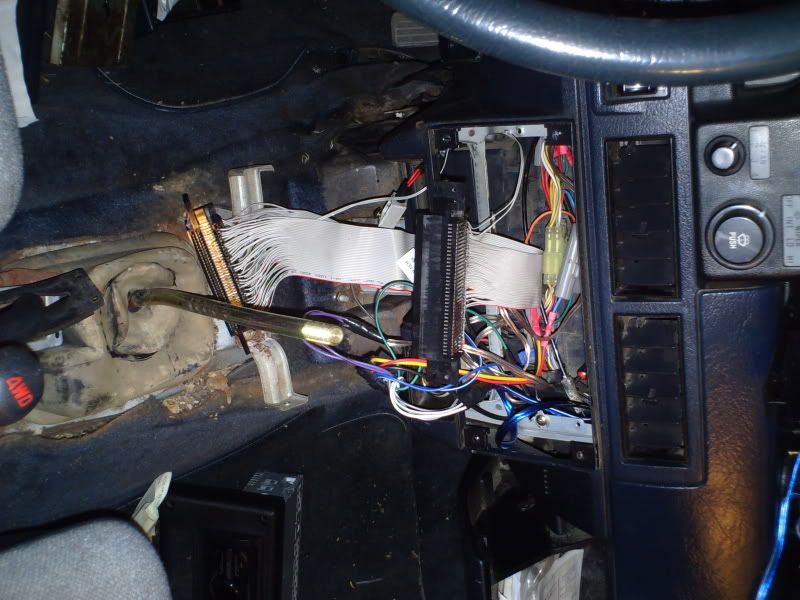
I have to rework the connector ribbon cable because it kept failing, so more soldering in my future. However, I have a spare NES to use for testing in the mean time
 . Here is what the setup looks like so far:
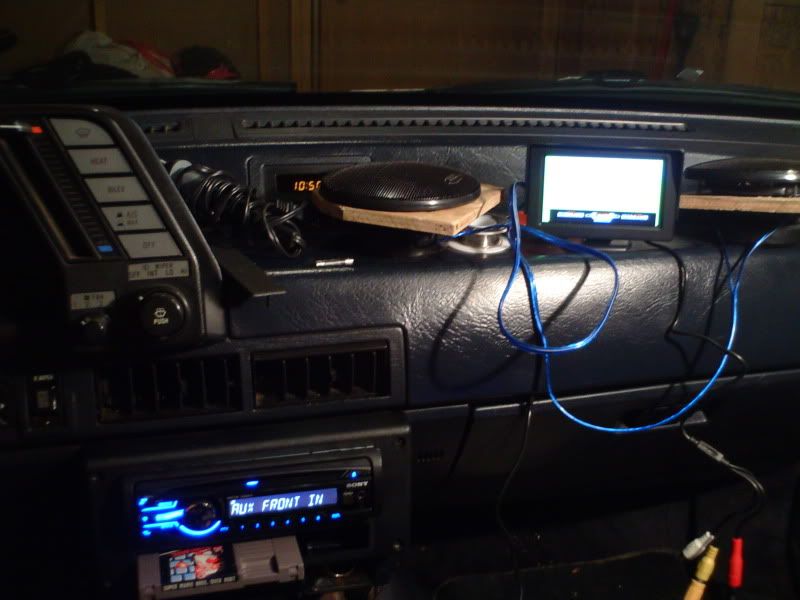
Things still to do:
- Solder Ribbon wire to connector reliably
- Mount NES under Dash
- Create a surround for the NES to clean up the look
- Create a surround for the speakers and display on dash
- Create a mount for the rear monitor
-
 1
1
- Solder Ribbon wire to connector reliably
-
I think I made some significant progress tonight!
I got the cartridge loader fit into the dash in approximately the correct spot.
VIDEO!!! sorry it is dark.

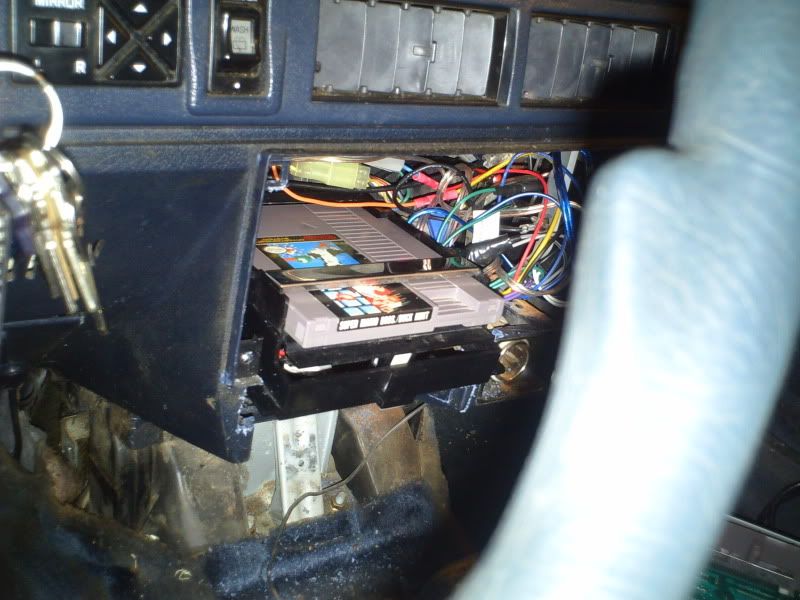
It is still a bit crooked...
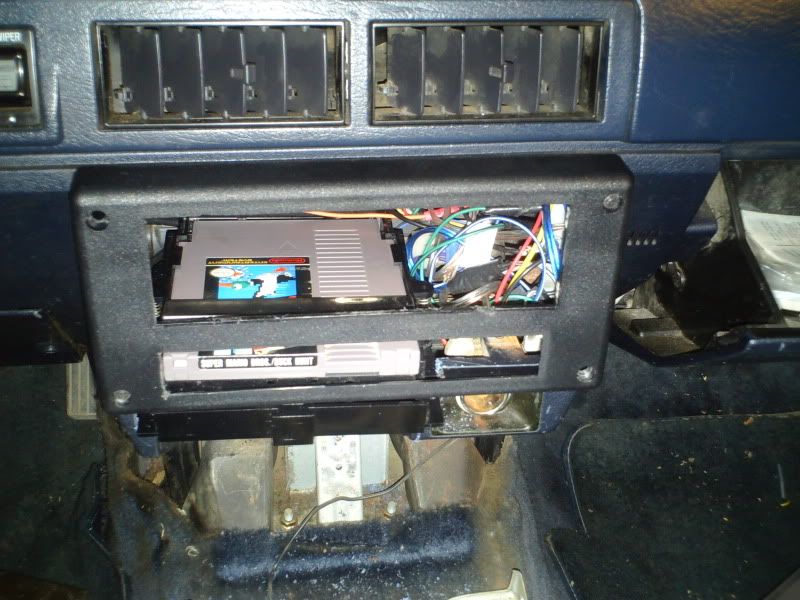
I might have leveled up in the car hacking skill...


I had to do some modifications to the faceplate. Used a hack saw. probably would have been faster if my Dremel wasn't dead.
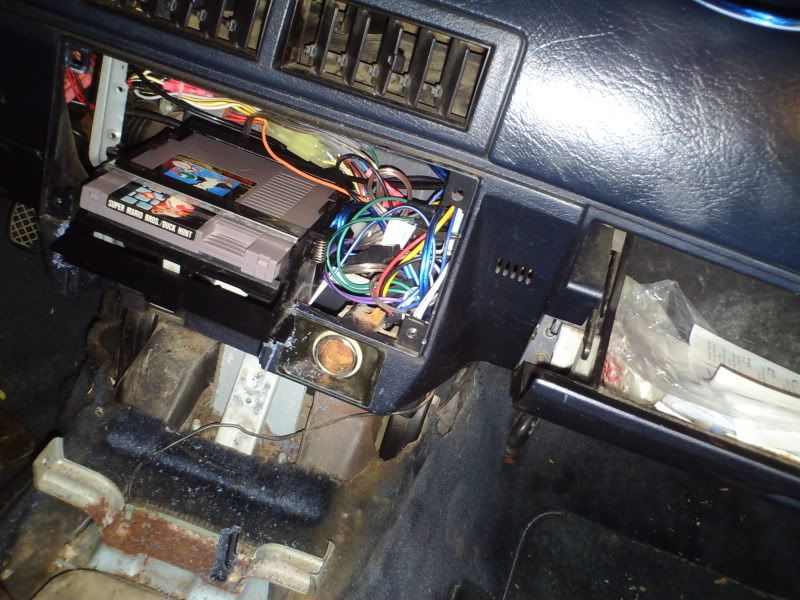
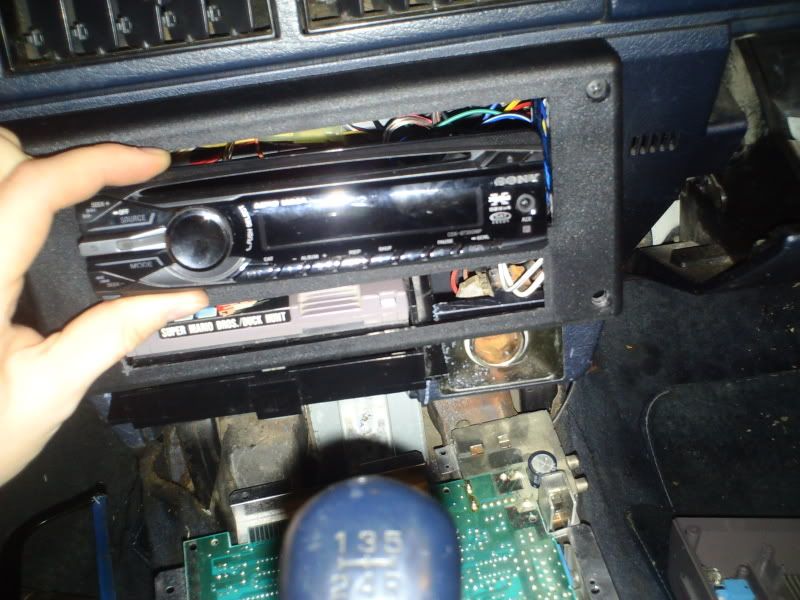
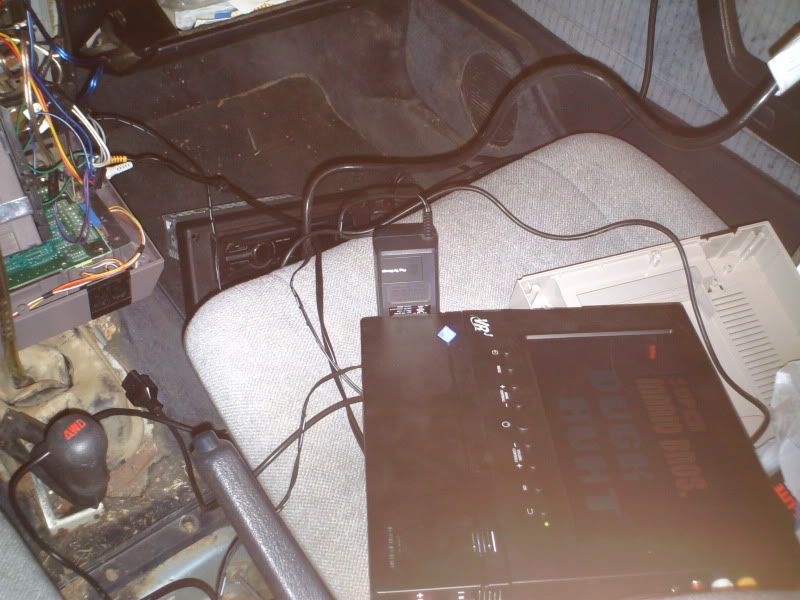
I didn't feel like wrangling the head unit into the dash and deal with all of the wiring right now. Here is a mock up.

Hope you enjoy my project!
-
Noted. Avoid urine and heat. Might be a problem in the summer when we have a baby.
-
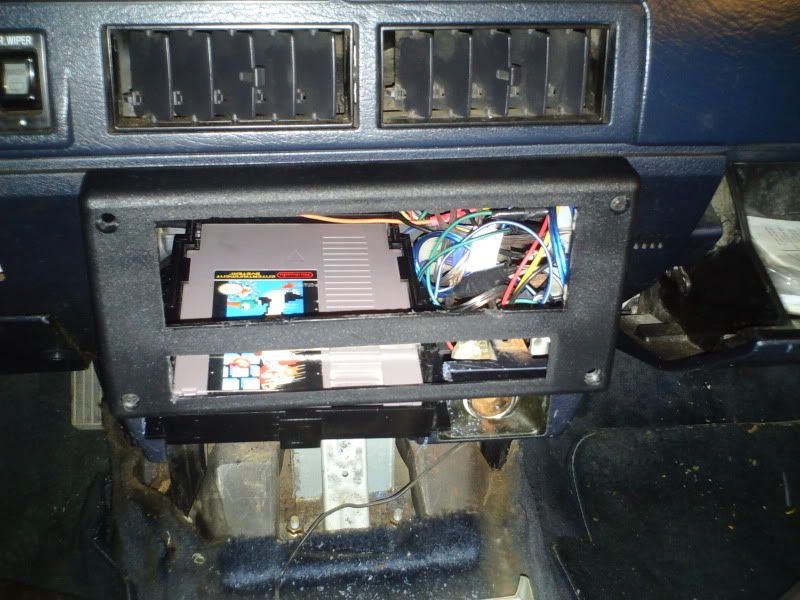
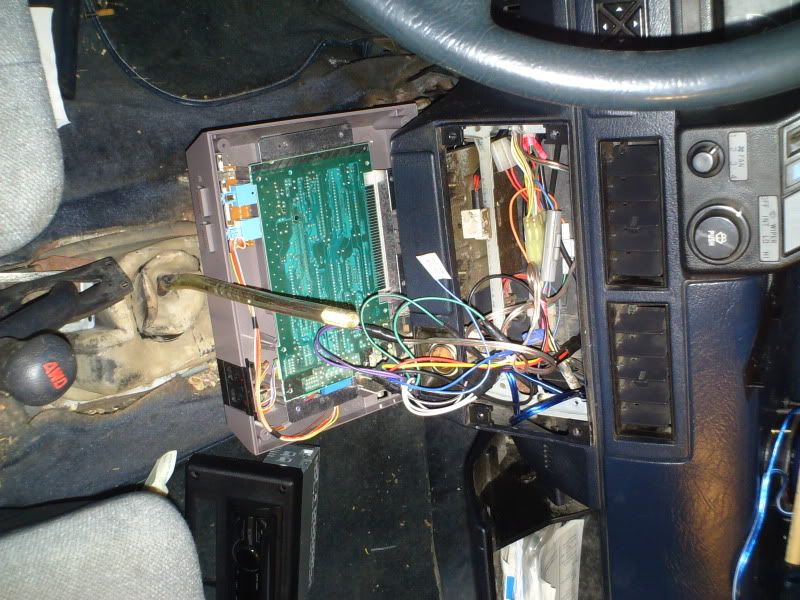
Wish I had more time to work on it. O well. Tomorrow I might be able to get it all hooked up and looking better. One tough thing is getting the spring tray into the dash and having it be inside of the faceplate. I guess we will see how that goes tomorrow.
-
More progress:
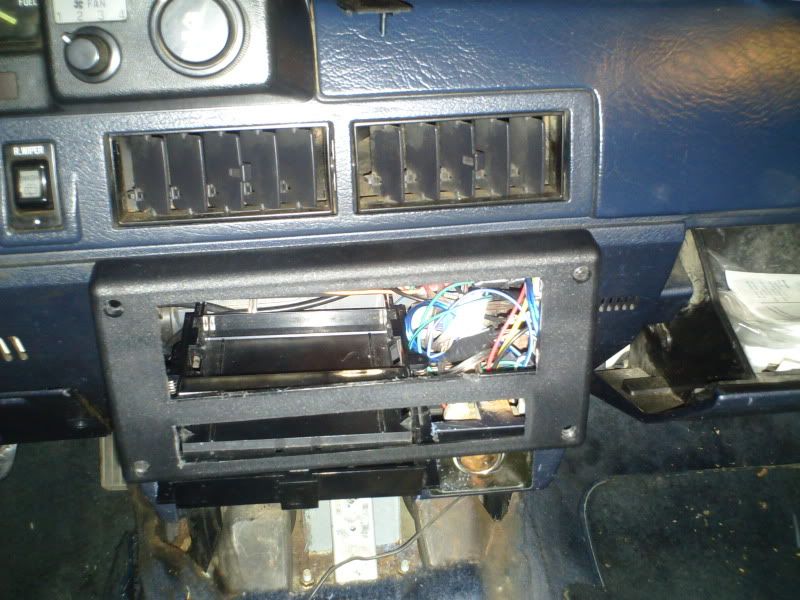
We go back into the Subaru!
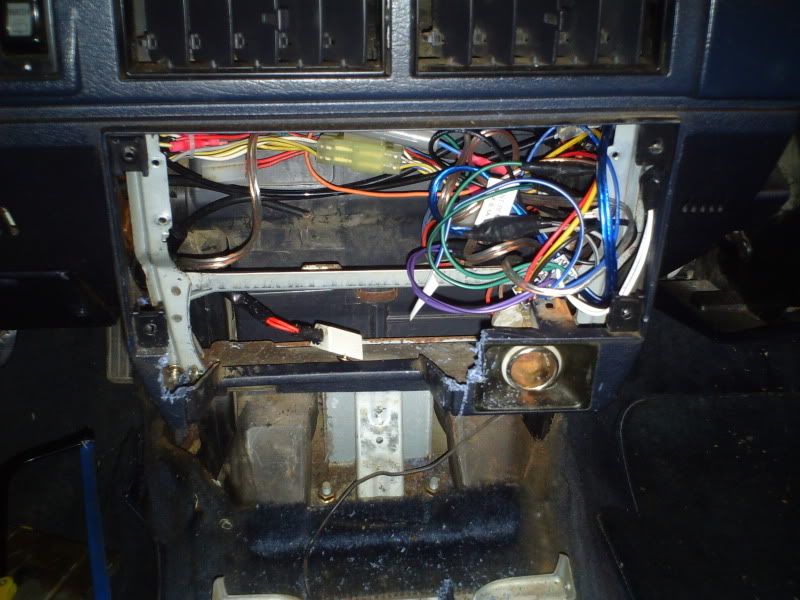
Got my dash apart a bit and did a quick test of where the NES would go. ( Notice that I still have it in the bottom shell for protective purposes ) Hopefully It will all be able to fit in there and I can put the center console back on top of it.
So many damn wires inside there. I'll do a better job of tucking those away tomorrow.
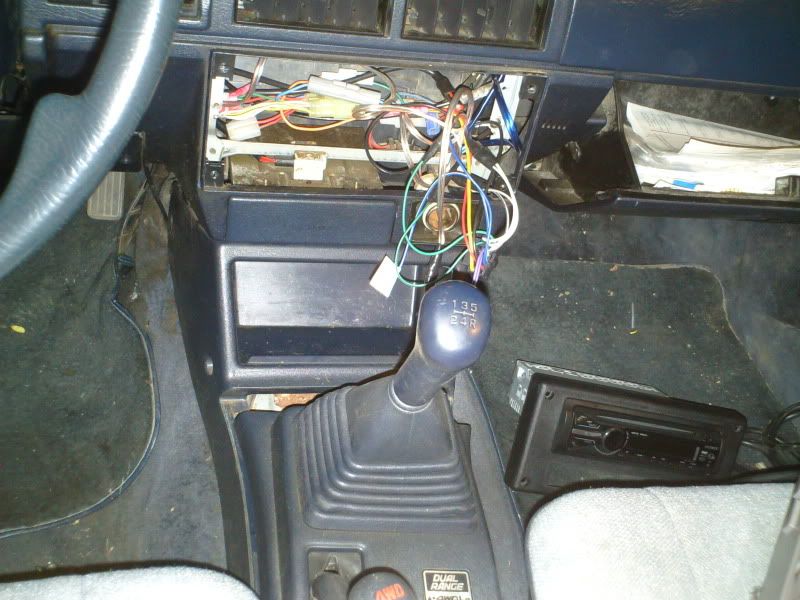
Note I am in first gear.
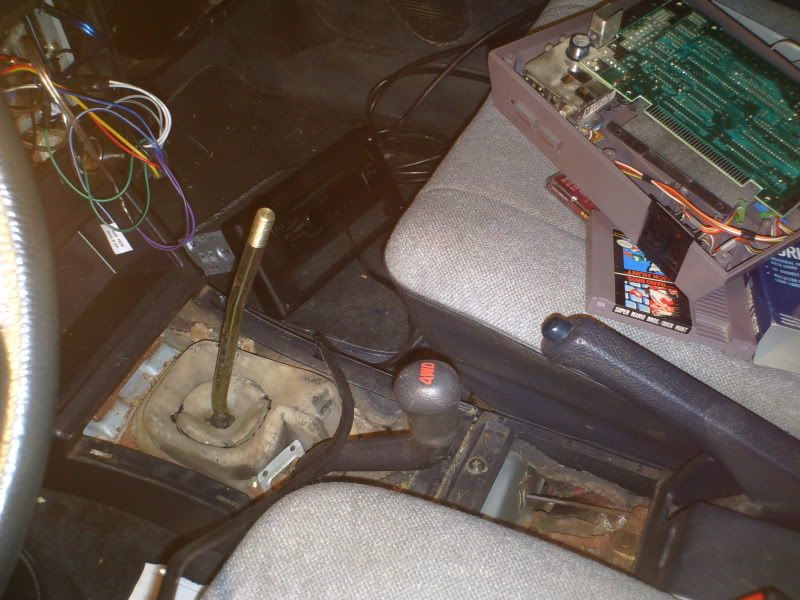
It works! Well kinda.
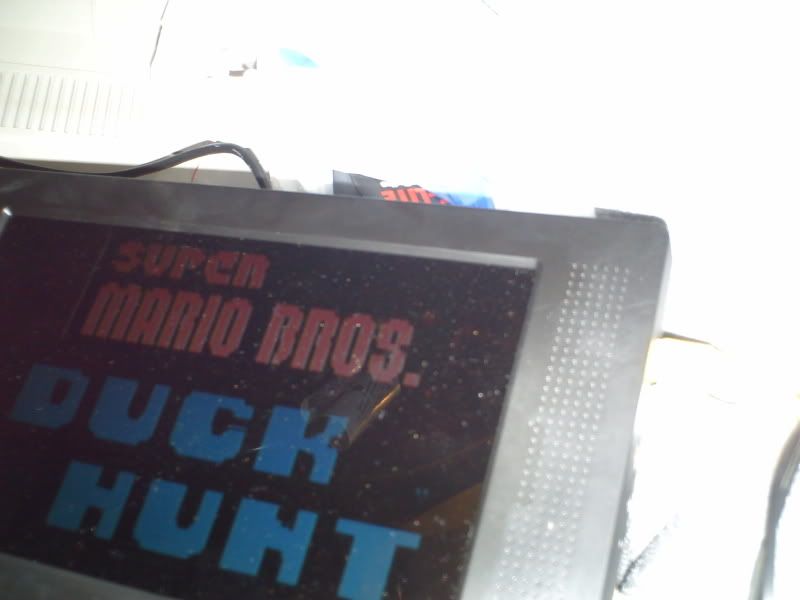
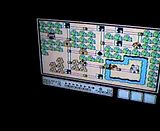
While moving stuff around, I broke some solders, notice the funky display. By the time I was done, it was just showing weird blocks.
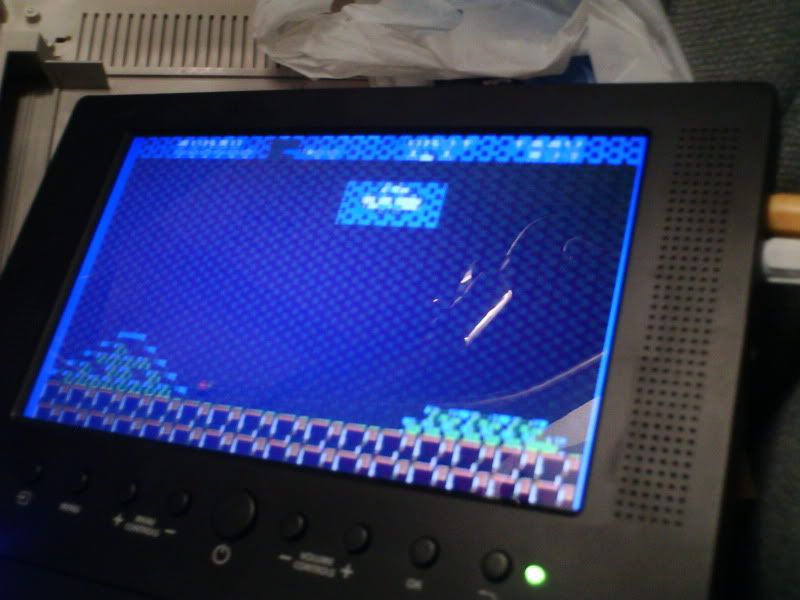
I brought the connectors back inside to do a better job soldering. Probably more progress tomorrow.
-
Thats pretty cool. I haven't tried building a guitar, but it seems like it would be fun and a lot of work. Later today, I hope to have more progress on the NES going into my Subaru. But that is after trick or treating

-
Actually its a Hamer not a hammer. It could be called an axe though.
-
Mine likes to do that when its really cold (when the choke is still on) might be a different engine/clutch between an 81 and 86 GL though.
-
-
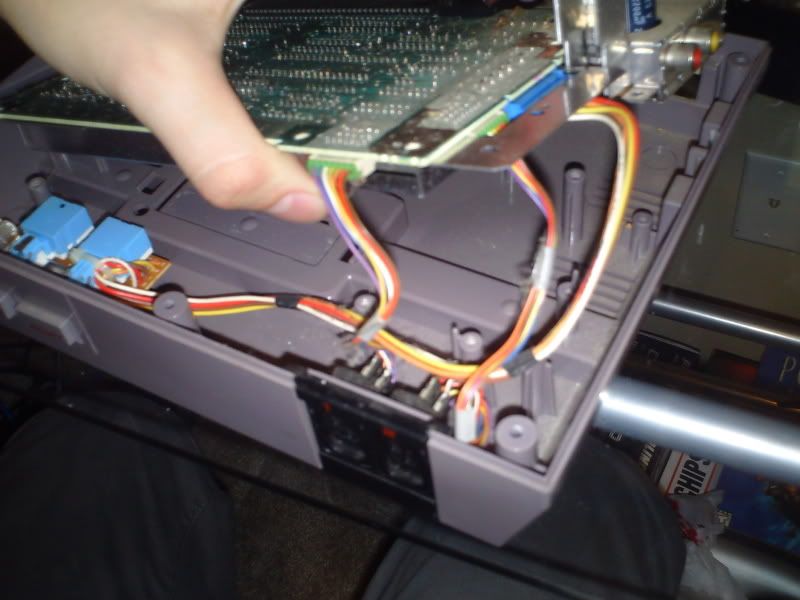
Finally finished the soldering on the NES. Wow was that a bee-hatch. 144 total solder joints, many resolders later..... EDIT: I now realize that I will have to resolder one side. My original NES cartridge slot thing is getting really crappy. I have some coming in the mail that I will solder. Then it should work as well as new!

Still have a few kinks to work out.... Click the video below:
-
Not a lot of progress today it would seem, but I resoldered all off the pins from yesterday, and finished the entire connector! 72 pins down, 72 to go!
-
In hindsight, I wish I would have purchased a head unit with a screen and AV input so I could have it all right there. That would have been really cool.
-
Well regardless of the ribbon type, I'll be happy once it works! Luckily I found the donor NES to mess with, leaving my original one free from Frankensteining. I should be able to get this running tonight (on the modular cartridge slot) if I can get another ribbon cable!
-
I must be using a floppy connector then, since it is 34. :-\
-
86 pin SCSI cables have more pins, and are generally longer than IDE cables
Of course you can use an 80 pin dual channel IDE cable, but you don't get as long lengths as the 40 pin ones...
I just had the IDE lying around is why I chose to use it. Should only need to go a few feet. The IDE I believe is 34 pins, 34x2 cables = 68, which means I should only have 4 extra wires besides the two ribbons. I think it should work fine ( as long as I re-solder the bad soldering from last night ).
-
It will probably be ok that this connector is bad. I will get to work on creating the cables to relocate the cartridge...
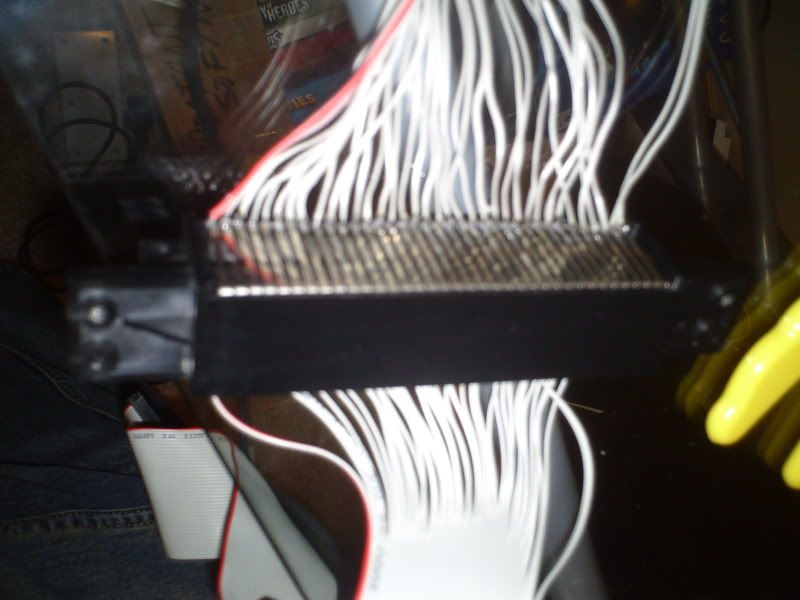
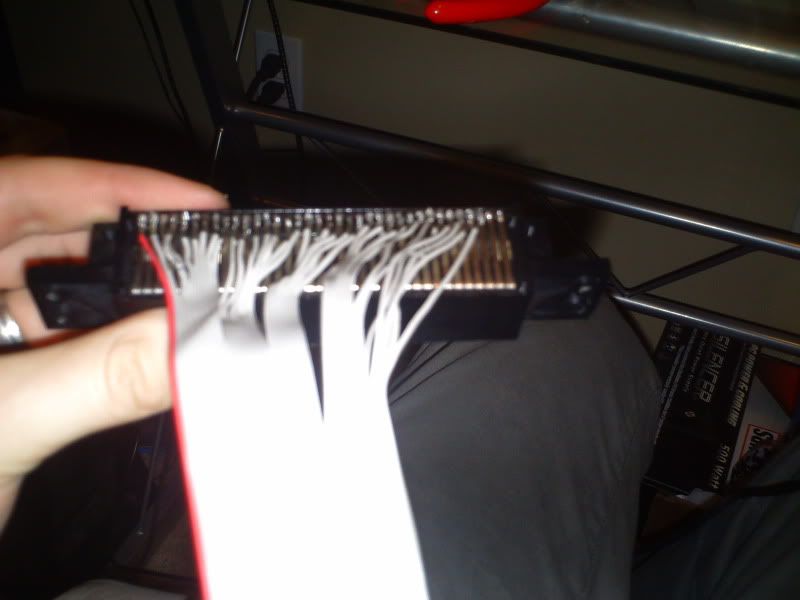
I am going to use an IDE ribbon cable. Stripping it wasn't hard.
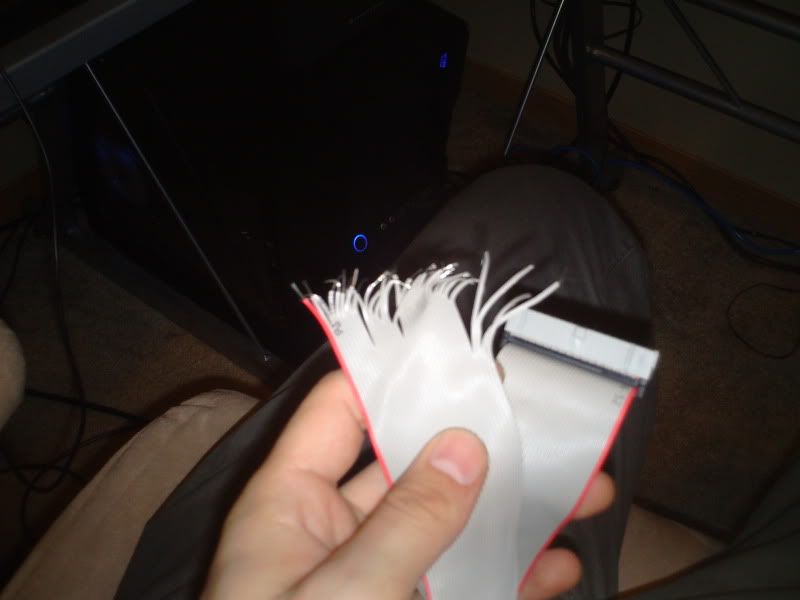
Starting to solder it to the pins.
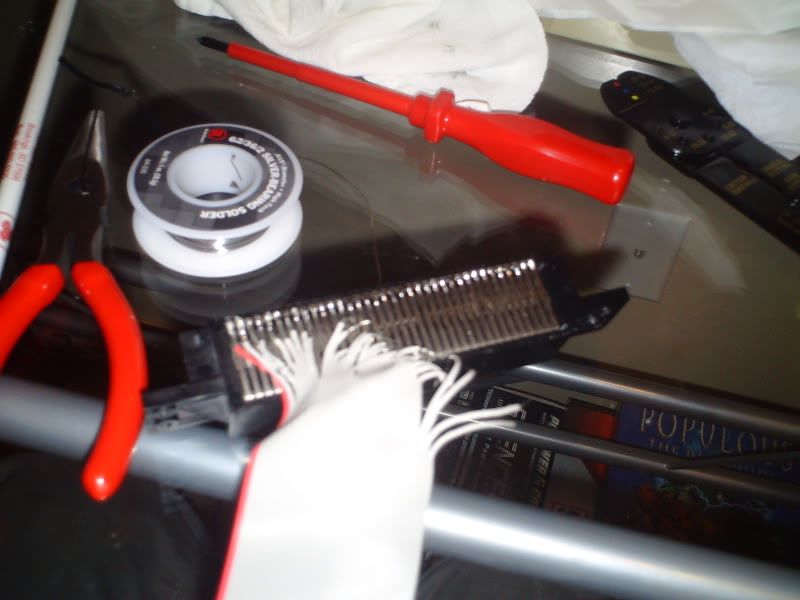
Whoooo that took a while to solder.... and a kinda crummy job too. I need 2 extra wires on this set of pins. There is another 30 some odd pins on the opposite side of the connector waiting to be soldered. I'll get another ribbon to do this tomorrow or something.
-
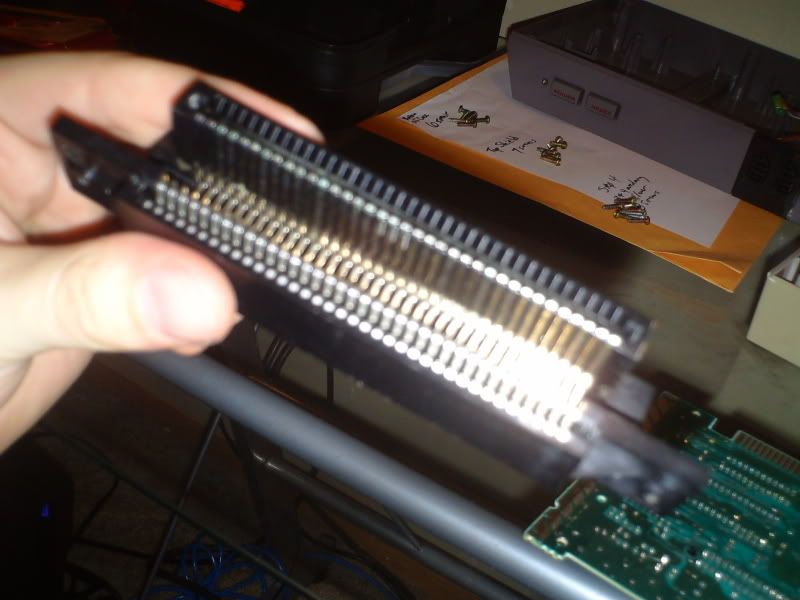
I got a hold of a used NES from someone today. Earlier I got it to show some garbled letters but now its just black and grey blinking. I'll replace the 72pin connector and it will be a-ok!
Here are some pics just for the heck of it.

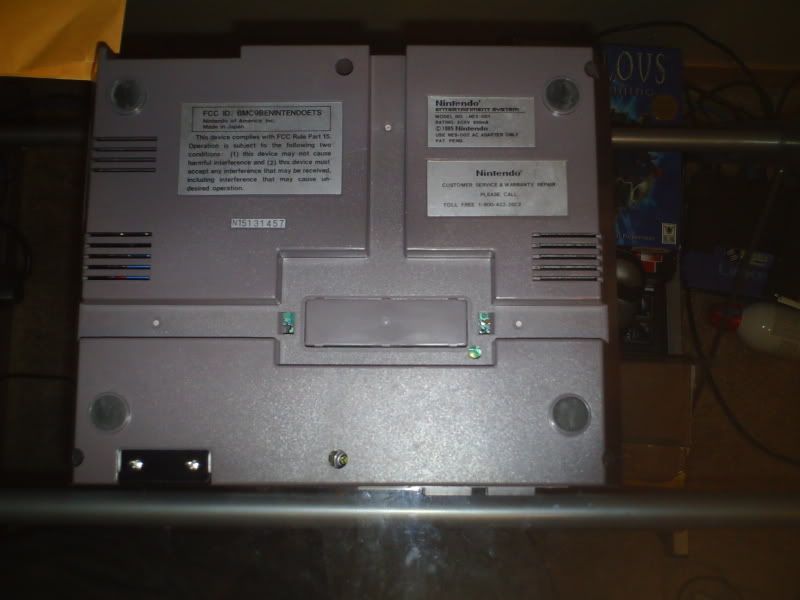
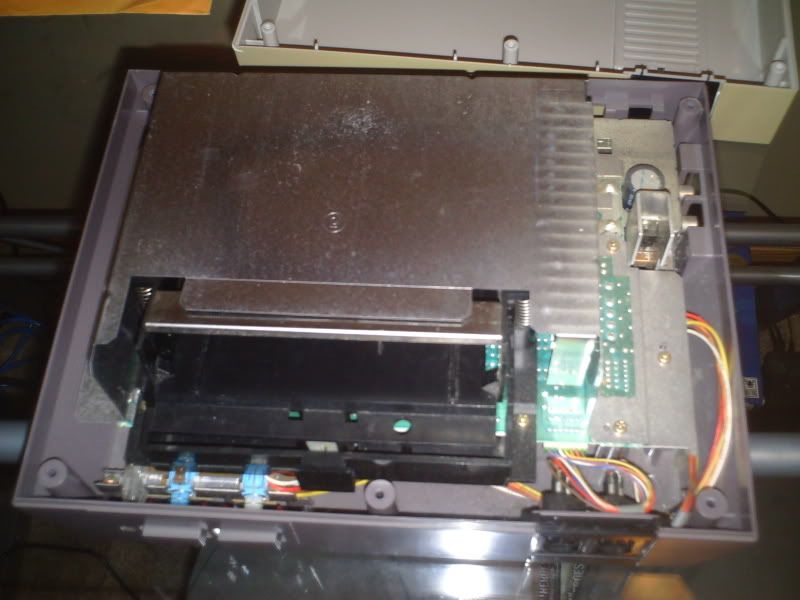


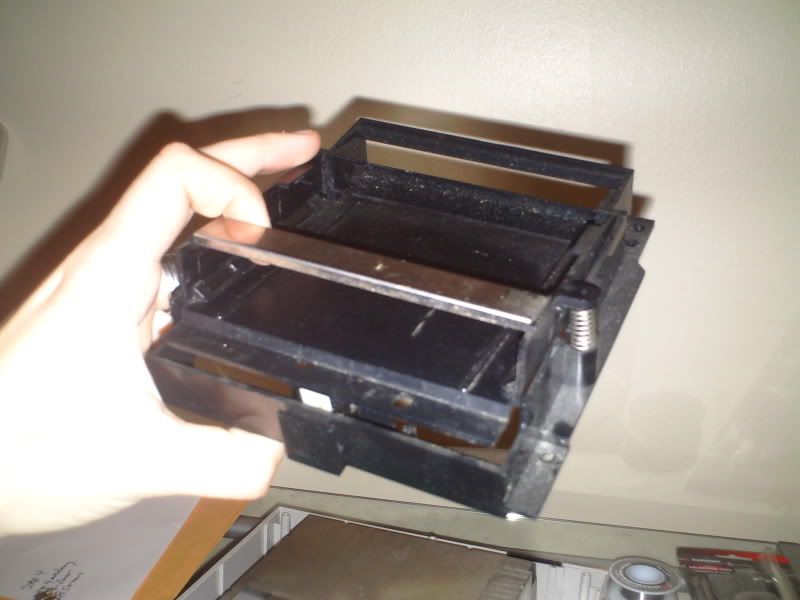
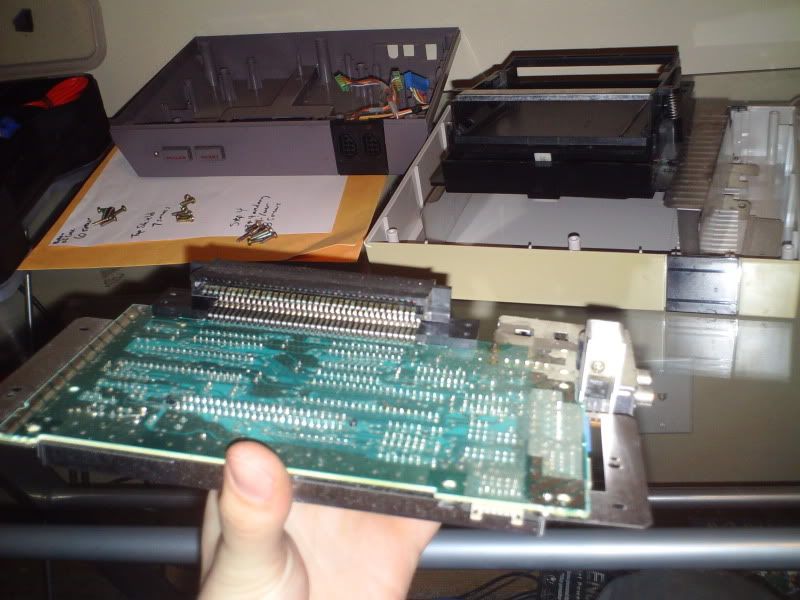
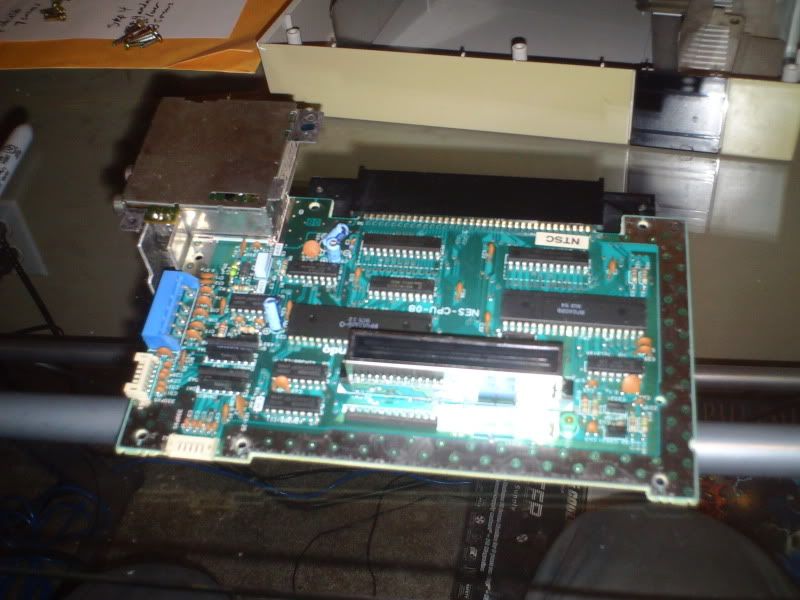
The motherboard. This is the heart of the NES. The only other parts I really need are the controller plugs and power switch. The rest is extra, taking up space in my GL.
This is the connector that is the weak point of Nintendo systems. I bought 2 replacements on ebay for about 11 bucks, should be here by the end of the week.
-
I am not mounting the speakers in the doors because:
1. They sound better on the dash
2. I've always wanted to try my hand at making a fiberglass custom speaker box
In the doors would be easier, faster, but I like a challenge (as you can see by my NES endeavour)
-
I chose the NES because
1. It is awesome
2. It is the same generation as my old car
3. I won't be afraid to break it
86 GL Wagon Mods (dial up warning: pictures!) NINTENDO!
in Old Gen.: 80's GL/DL/XT/Loyales...
Posted
Sorry for the late update!
I sold the Subaru in 2011. I still miss that thing. These days I'm driving a 2002 Miata.
Other cars I've had since the Subaru:
2006 Mazda RX-8
2011 Mazda 3 wagon
2012 Mazdaspeed 3 wagon
I haven't seen many of the 80's Subarus around lately, seems like they are a dying breed.
Maybe we'll meet again someday...