Astro12
Members
-
Joined
-
Last visited
Everything posted by Astro12
-
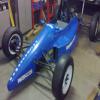
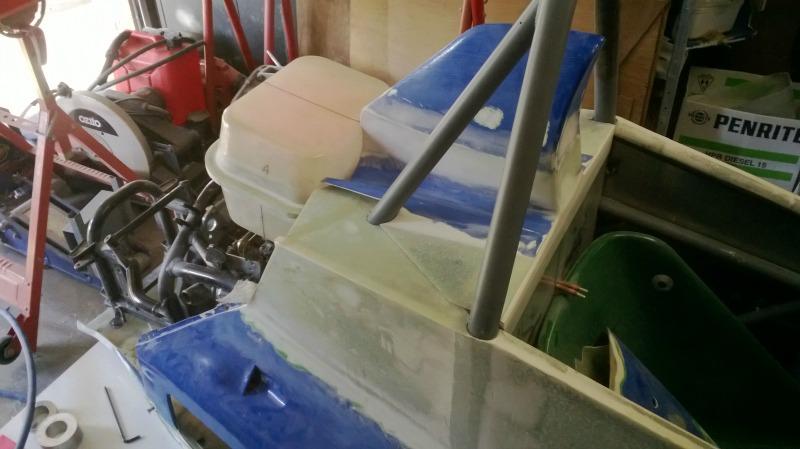
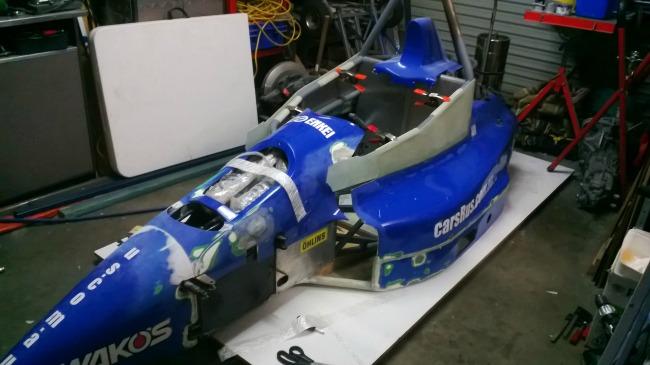
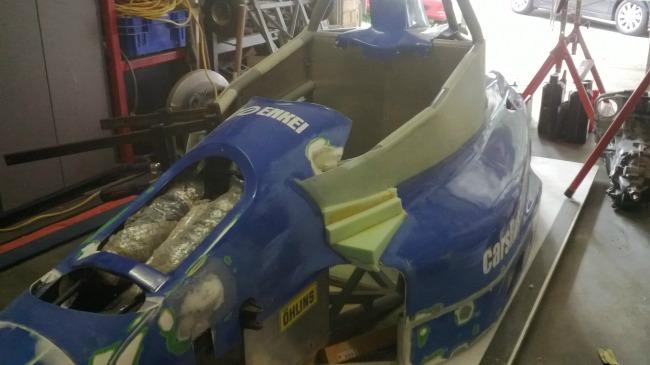
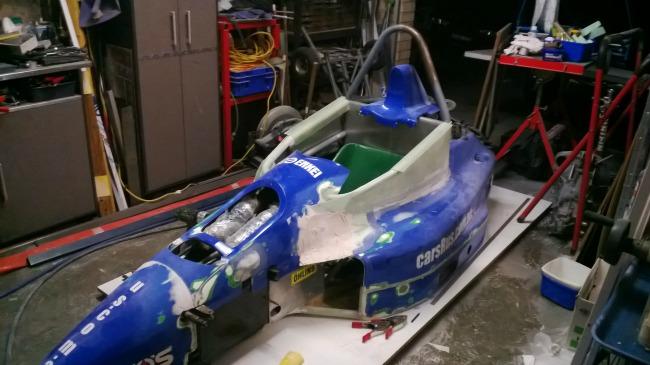
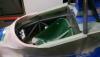
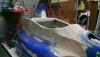
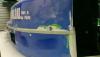
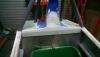
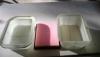
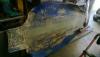
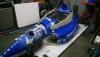
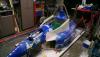
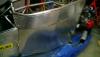
Hi All, After doing some more research on my car, it turns out that this car was manufactured by a company called Oscar, not Tokyo R&D as I had previously thought. The car is an Oscar SK94 Bullet. Dead giveaway is the billet aluminium pieces on each upright with OSCAR machined into them. Have a few updates since my last post. I have the fiberglass bodywork mostly complete but still some work to go. The original bodywork needed some freehand blending which was helped by the use of polyurethane foam blocks and some flat fiberglass sheet which I laminated. When finished to a final shape this was glassed over and the foam was removed from the inside and glassed on the inside. I could have left the foam in place but polyurethane foam creates a cyanide gas when burnt. Not that I intend burning the thing, but you never know. The side pod bottom edge was raised by 10mm to allow more support around the dzus fastener holes as the old ones were very close to the edge and cracked easily. Exhaust outlet flanges were fitted to the undertray and will be riveted on. New mounts have been made for the nose hatch which allows access to the shocks and pedal assemblies. An air box was fabricated in fiberglass, incorporating a flat panel filter to feed the two Hitachi carbs, as originally they were fitted with tall ram tubes and only a stainless steel mesh covering them to keep out the small rocks and insects. As I intend running this car at some less than ideal venues, I figured a filtered engine intake would be the way to go. The mould for this air box came from the local dollar shop in the form of a rectangular plastic tub. I plan to incorporate a couple of shorter ram tubes inside of the air box under the filter. Air inlets will be cut into the front and top of the air box when I finally have it bolted down. The original head rest was sectioned and raised in height and blended with the surrounding bodywork and air box. When I have finalised the engine related bodywork, the engine will be removed hopefully for the final time and rebuilt to ensure reliability. That’s about all I have for the moment so I’ll post some pics of my progress. Astro.


-
Hi Les, I'm in northern NSW between Nimbin & Byron Bay. You're welcome to call in if your ever up here. I've all but given up on further research. I reckon I'll just have to figure things out for myself like racers had to years ago, before the internet You're welcome also, to bounce some questions or ideas off me for repair or mods to the car. I have some photos of this car which you may or may not have. Taken before it was sold to George. I have a couple of spreadsheets in progress for my car,(parts & fasteners) some of which may be relevant to you. I'm a fitter/machinist by trade & hobby so I prefer to make parts myself, rather than pay someone to do it for me. Couple of questions for you. What tyres are you running and how much ground clearance do you have? Pete.
-
Hi Les, Congratulations on your new aquisition. I have tried researching these cars and have found information somewhat spotty at best. There is a Wikipedia page relating to them, but it is in Japanese, and I also found a webpage which depicts motorsport championships from around the world. http://www.thefullwiki.org/List_of_motorsport_championships There are quite a few youtube videos of them racing in Japan. They are still raced in the Phillipines, http://www.windsformula.com/ I have previously contacted Tokyo R&D by email to get some details of my car because I believed it was made by them. They replied that they did not have any records of the model I gave them. (SK 94 Bullet). Maybe they could provide you some information. I am not sure, but I now think that my car may have been made by Oscar. I assume you want this documentation to be able to run in a historic class? I would also like to do this but I think that proving the history would be way too difficult. I have rebuilt my car to current CAMS regs and plan to log book it as a new build. Pete.
-
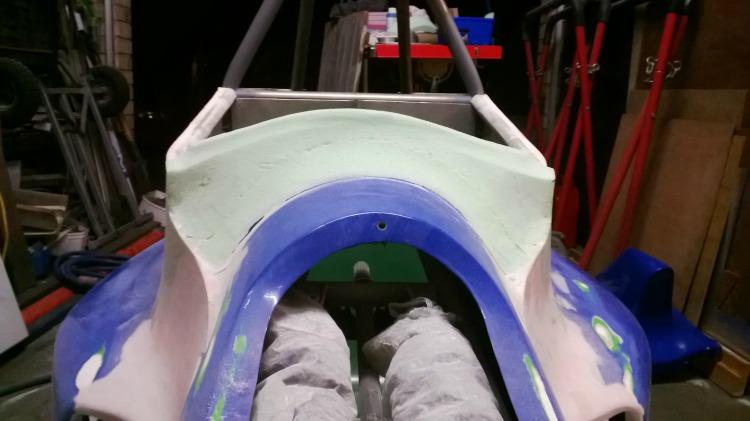
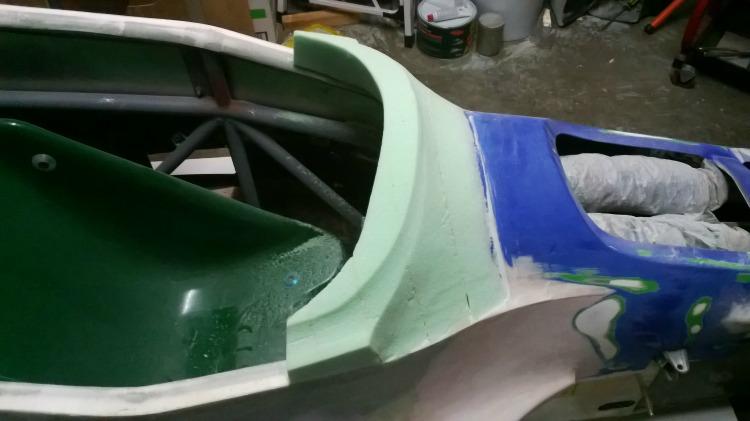
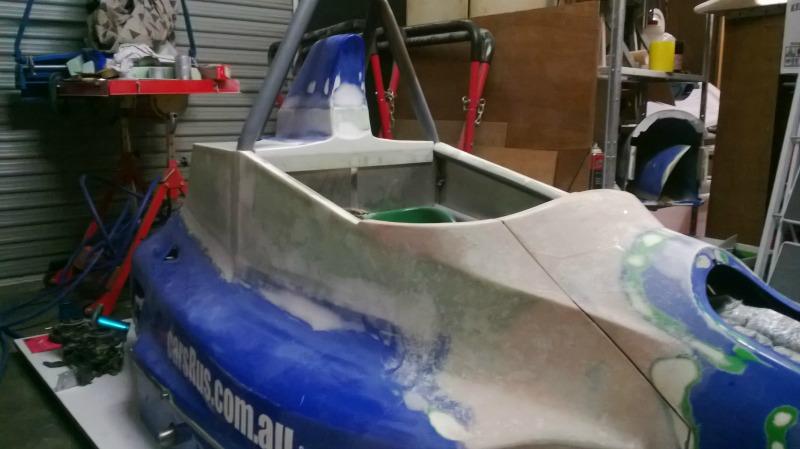
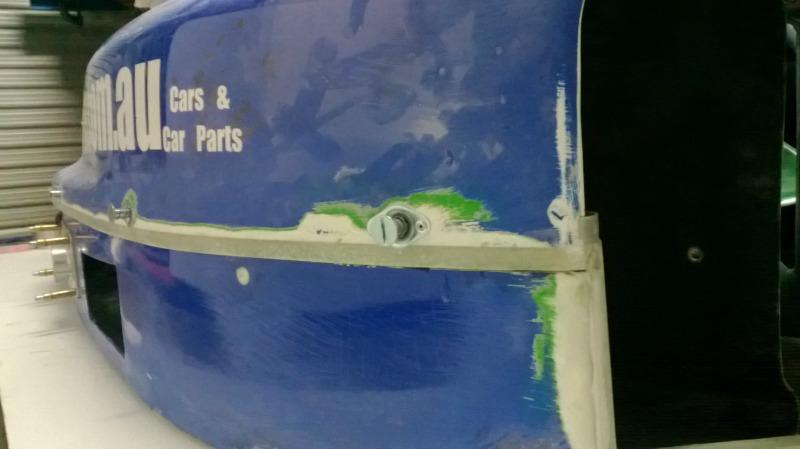
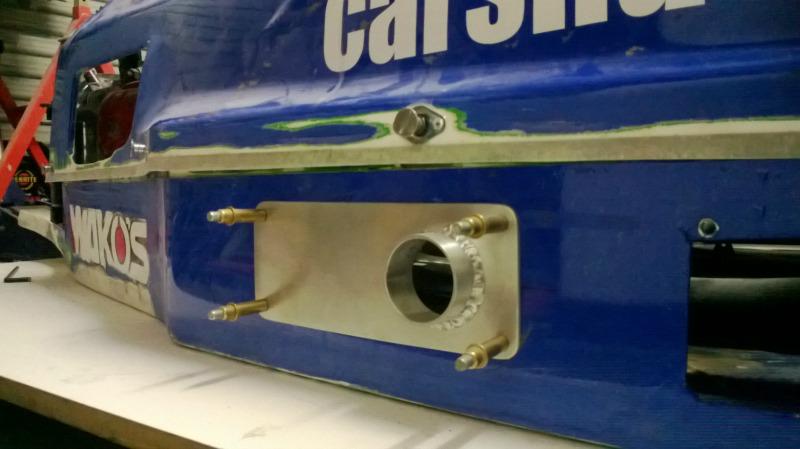
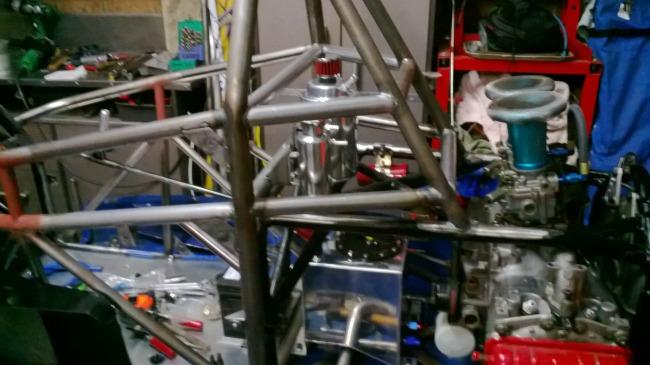
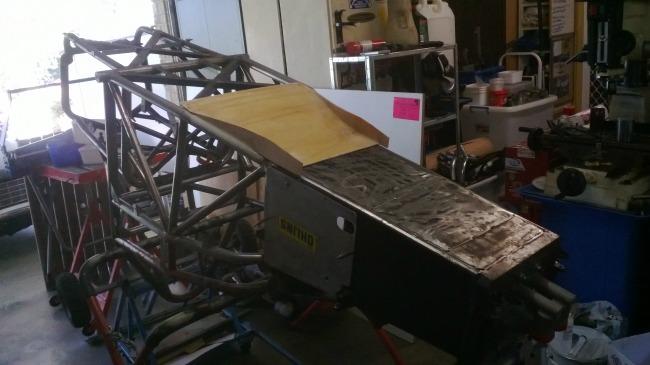
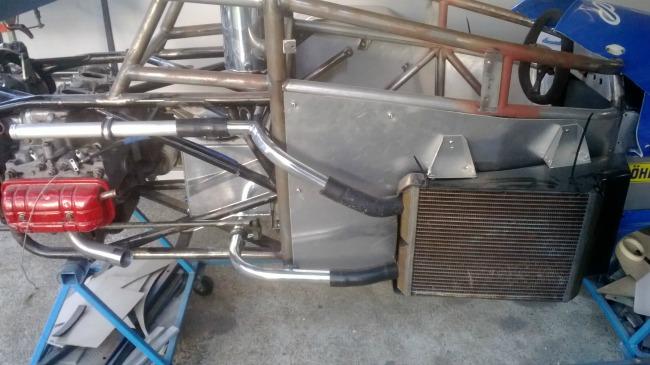
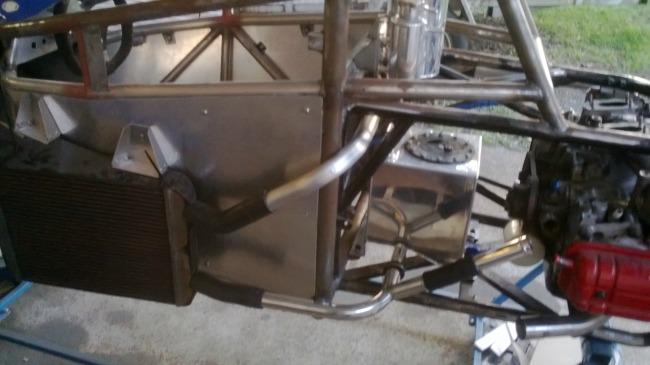
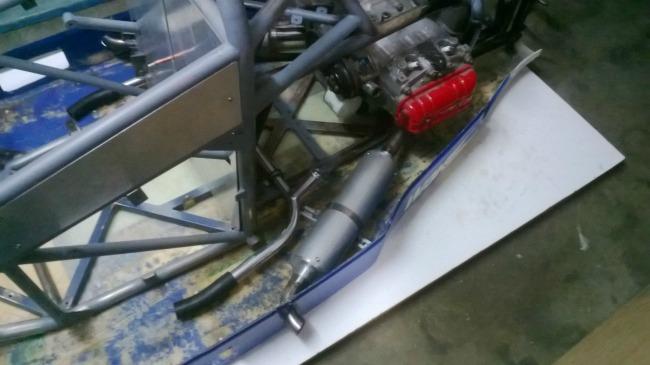
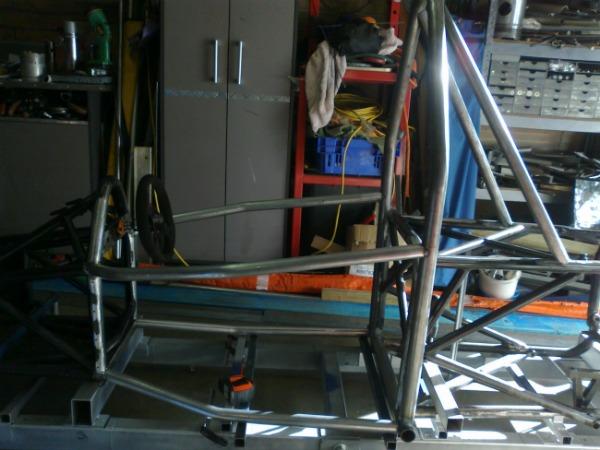
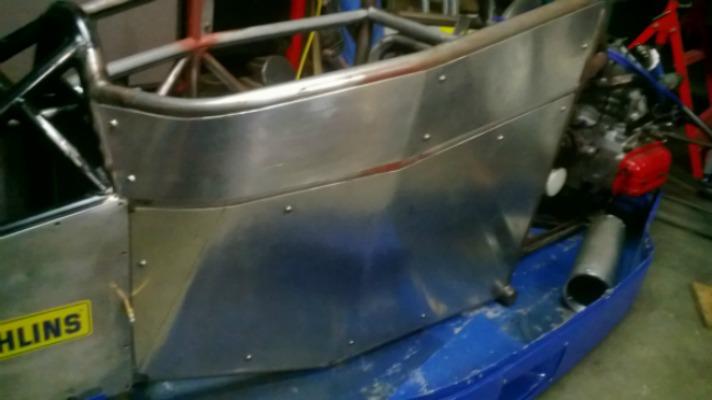
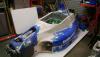
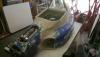
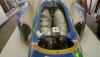
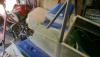
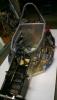
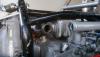
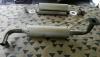
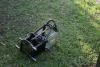
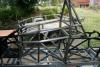
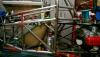
Hi All, It’s been a while since I posted on this thread. I can’t seem to find enough time to actually do the work let alone write about it, but it seems to be a popular thread so I’ll continue to post when I can. Work has been slow but steady and after completing the main chassis construction my attention turned to the myriad of brackets and fittings required to get this car back on the track. I‘ve fitted a new fuel tank, oil catch can and cooling system header tank. The cooling system itself required a major re-fit as the original had the twin radiators plumbed in series rather than in parallel. Parallel is a much more efficient configuration. New cooling tubes were made, as well as a reconfigured thermostat housing to accommodate the new layout. The battery was relocated from the nose of the car, to just behind the seat, hopefully that will improve the weight distribution. The old exhaust used to snake down under the engine to the rear and finish with a muffler which stuck out way past the back of the car. I decided to scrap the old exhaust system and make twin exhausts, running forward from the engine and exiting the bodywork on each side. This has made for an extremely short exhaust. The next issue I had was finding suitable mufflers which I searched for, but could not find anything which I liked, so I decided to build my own. The mufflers are all aluminium apart from the perforated tube, and are easily rebuildable. With the majority of the chassis completed, it was time for some modification to the fiberglass bodywork. As I had lengthened the chassis by 60mm and widened the cockpit by 120mm, the original bodywork was never going to fit well. I had to section the under-tray and the sidepods and blend the whole lot together, not an easy task, but I’m getting there. I plan to fit front and rear wings at some point so I have made mountings for these, but at this stage, I just need to get the car back on the track, so I will initially run without them. That’s about all I have at this time, so I’ll post some photos I have so far. Astro.

-
-
-
I have tried with no success to research a possible LSD to fit in my EA71 5spd gearbox. So if anyone out there has had experience with such a conversion, any information would be much appreciated. There are plenty of options out there for later model gearboxes, but I am unsure if they will fit my earlier model gears. My first question would be does anyone have experience or knowledge of dimensions of the crown wheel mounting flanges on early and late models? Are they compatible? I have not pulled mine apart as yet so I cannot measure. Second question, do all ratio crown wheels feature the same mounting flange ID? The reason I ask is that I have previously modified other live axles and they required different carriers for certain ratios. I would prefer to fit the highest ratio gears I can as the vehicle is not a road car and would benefit from a high ratio gear set. Will the centres from the rear axle, ie,R160,fit into the gearbox? Thanks in advance, Astro.
-
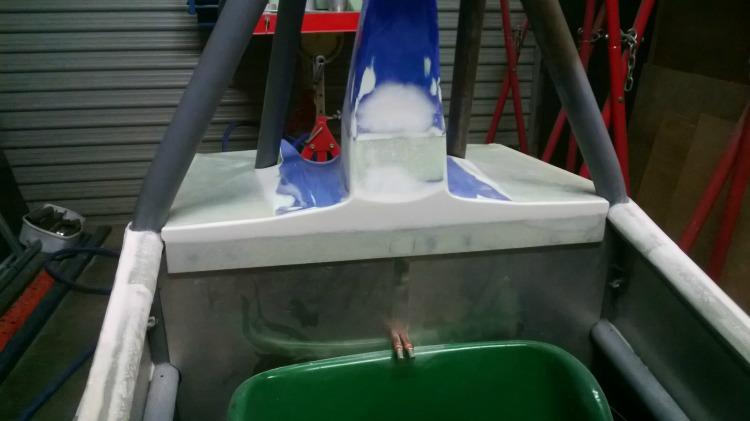
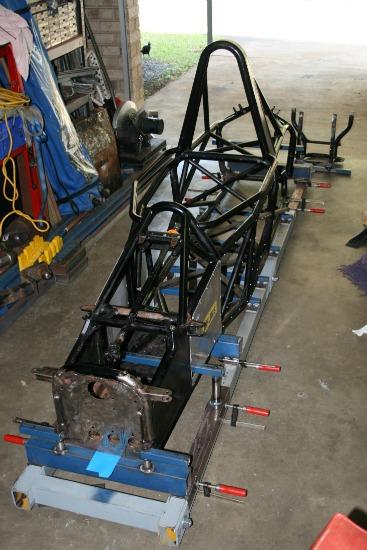
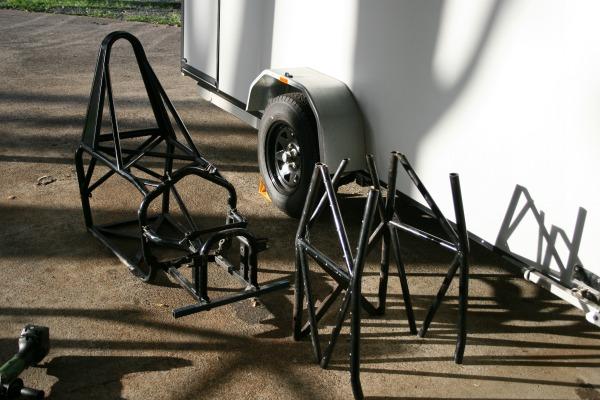
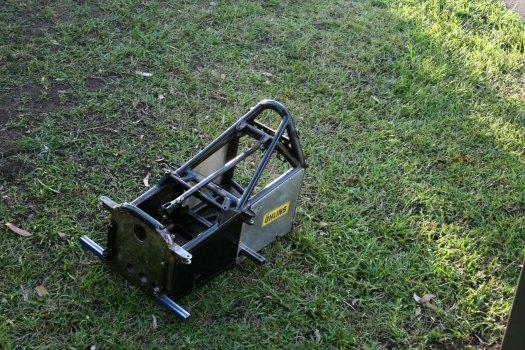
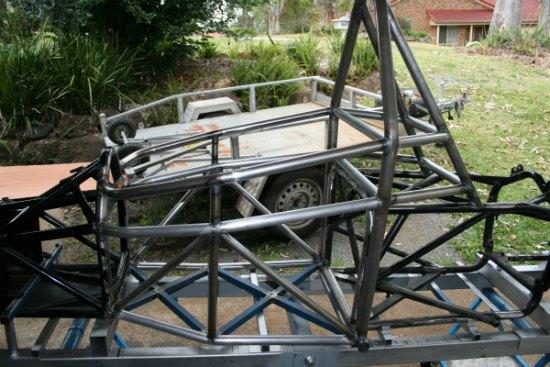
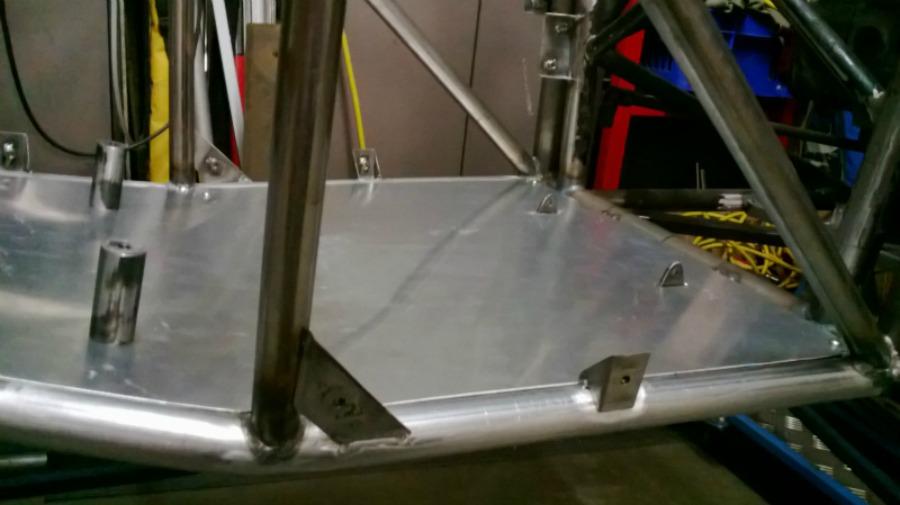
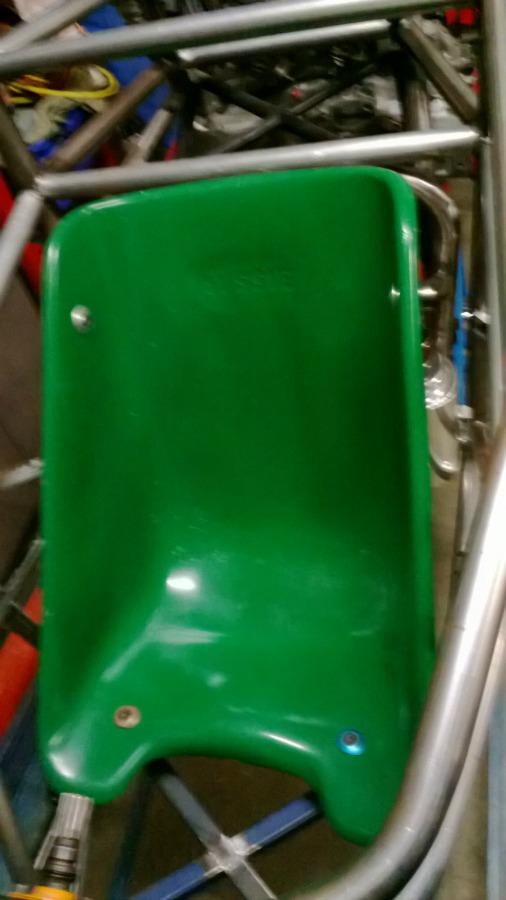
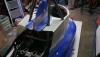
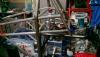
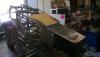
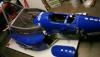
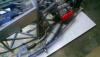
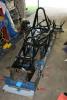
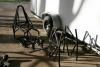
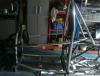
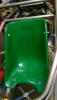
Hi All, I thought I had better update this post with some progress on my car. I have constructed a jig to bolt the car to, using suspension mounting points. Cut the car in half,( a lot of measuring and thought was expended prior to actual cutting). One essential feature of this jig was that I was able to slide the two halves of the car apart to lengthen the cockpit whilst maintaining the suspension mounting points relationship to each other. Mount two halves of car on jig and construct new cockpit section incorporating a new CAMS compliant roll hoop assembly. I then had to fab new aluminium floor and side panels for the cockpit along with all the associated mounting points. A fiberglass seat along with mounting points was added. I have progressed a little further than this but that will have to wait for my next post. Sorry for the random order of the photos, they were in order but this post decided to mix them up.


-
Thought I would post the only photo's this website will allow me to. Apparently there is a limit to how much content you can upload. Does anyone know of an alternative?
-
Hi Willy, If you can get them at that price I'd go for it if I were you. You need to be prepared to do some modifications to fit your size. Assuming that you can do the modifications yourself, you will end up with a car that is way cheaper than the equivalent racecar available locally.And also understand that these cars will not be world beaters, performance-wise, but if your goal is to have an affordable open wheel racecar, then these,FJ 1600's, I believe to be great value per dollar. BTW, I am compiling a parts list of my car so that future maintenance is made easier. I would gladly share this info with you. Keep me updated as to how you are going with the purchase of a car.
-
Hi Willy, These cars are built for junior drivers, so are very sparse as far as driver space is concerned. This was my major concern when purchasing mine. As it turns out I can just fit in the car, but I would not be able to drive it as my elbows do not have enough room to move the steering wheel. I am 175cm 100kg (not quite the racehorse that this car was designed for).The car itself, I am absolutely happy with. I could not build this car for the money I paid.These cars were made by many different manufacturers, resulting in several different designs. There is one available on Ebay in Brisbane at the moment for $15000. I plan to modify the driver cockpit to accomodate my larger girth. Which means cutting out bars and welding in new ones, modifying bodywork to suit, but I still think that I would be much further along than if I had built one from scratch as I had previously planned to do. Where are you located Willy?
-
Hi Guys, I know this thread is old but very relavent for me. I recently aquired an FJ1600. The car was driving when I bought it but I plan to strip it down and rebuild it for hillclimb and sprint use. This has been on hold whilst I bulid a trailer for the car. Researching these cars has not been easy but this forum has certainly helped. Also getting parts is not as easy as it would have been years ago when there were a lot more Leone's around. I have started a parts manual for the car so that future maintenance is easier. I hope to make contact with other owners of these great little racecars so that we may compare notes. ps will try to workout how to post photos.