Leaderboard


Popular Content
Showing content with the highest reputation on 09/03/25 in Posts
-
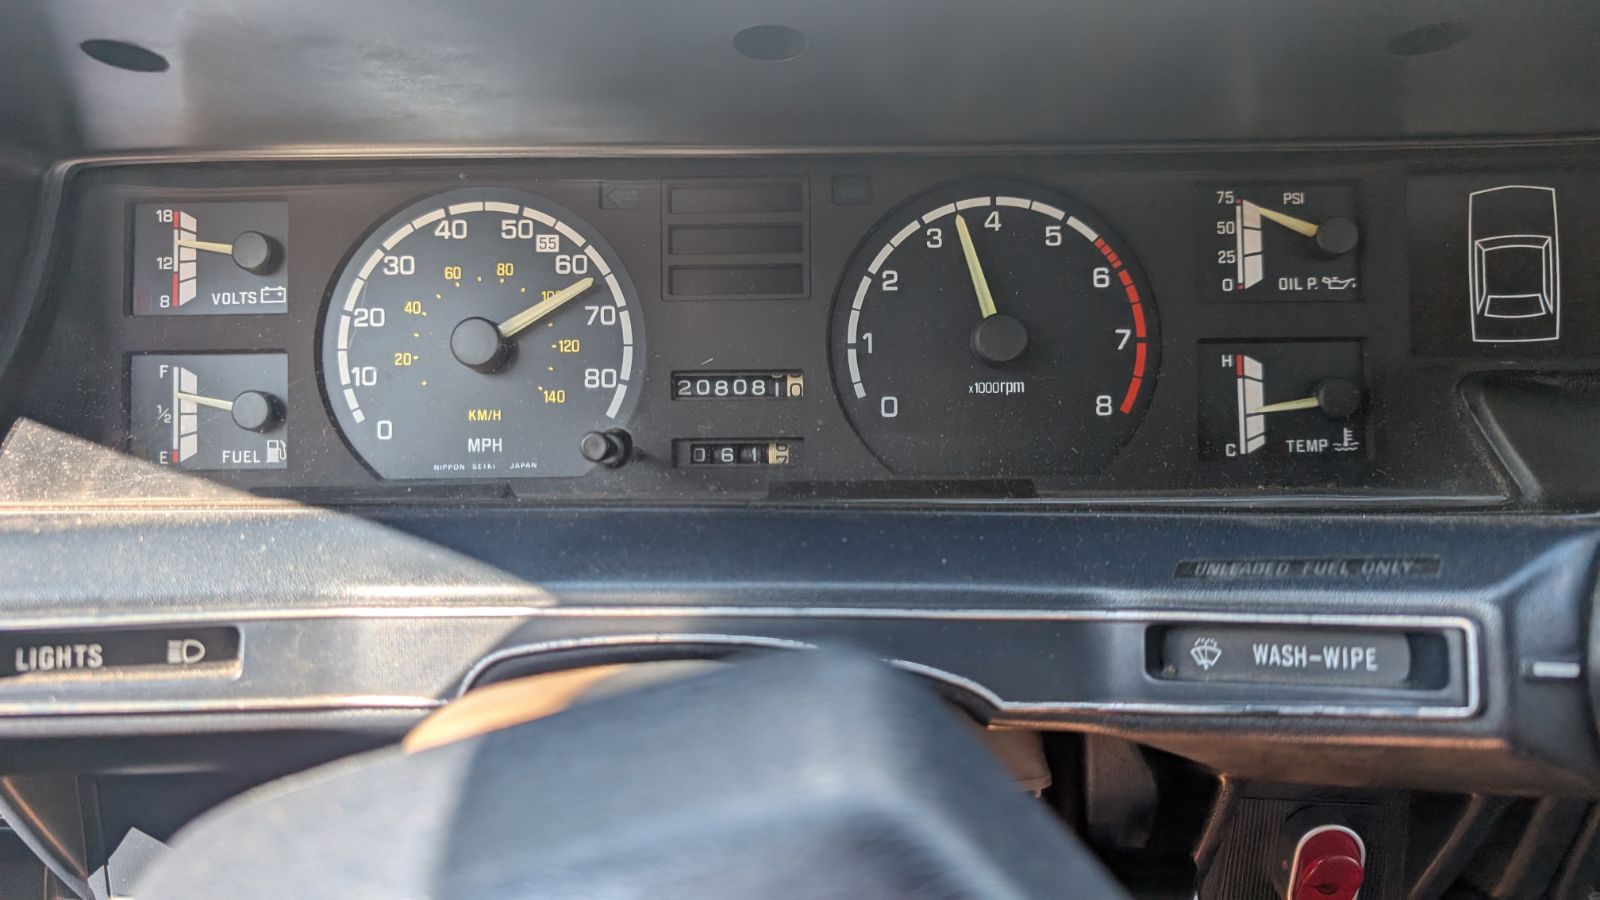
It'd be interesting to see the temp gauge at 65 MPH versus the last time you drove it. That radiator looks kinda bad, but I took one out of my car that was worse, albeit it was one of the later plastic tank ones. The cooling fins were literally falling out of it. I had a brass radiator welded/repaired like yours is after a wreck in a different vehicle, and that thing lasted nearly 40 years! Some of those guys do great work.1 point
-
The California Hitachi actually flows pretty well. It gets you several horsepower over the 49-state Carter version. There's also a 49-state Hitachi, but I've never seen one here in California. Unless you pair it with other upgrades, I don't think a carb swap will give noticeable power gains. It is, however, more complicated to work on.1 point
-
It should run best with the solenoids plugged in. Make sure the green test connector under the dash is not plugged together, then get your 'scope on the o2 sensor line. Keep in mind it's an unheated sensor, and you may need to rev it a little to get it to come to life. It should be switching between around ..2v and .7v every couple seconds. Check at idle, at a constant no-load slight rev, and during gentle driving. It'll always be rich at full throttle, by design. If the o2 sensor is switching at idle, but you have more power with them unplugged, check to make sure the power valve isn't stuck closed. On the topic of power valves, make sure not to damage the gasket around the tiny passage in the middle of the carb when taking the top half off. It's easy to tear, and will smoke and run like total spoob if you do tear it. Also check secondary is opening correctly - it's semi-vacuum-operated and can be sticky. And, of course, clean every single passage and jet in the carb... Also check timing. Rich mixture can hide overly advanced timing. Check timing with vacuum advance unplugged and idle set correctly.1 point
-
OK thanks. Yes, Fred, you nailed it suggesting the pedal box cracking. The metal tab holding the clutch cable to the pedal assembly definitely sheared. I already sourced another pedal assembly with a stronger design (upgraded from 1983 with this flimsy tab to a 1984 style), I'll get the pedal assembly fixed and the cable rerouted and it sounds like everything should be good. I was real worried that these springs didn't make any sense. Thanks for giving me more confidence the springs are not an issue. I will continue with repair.1 point
-
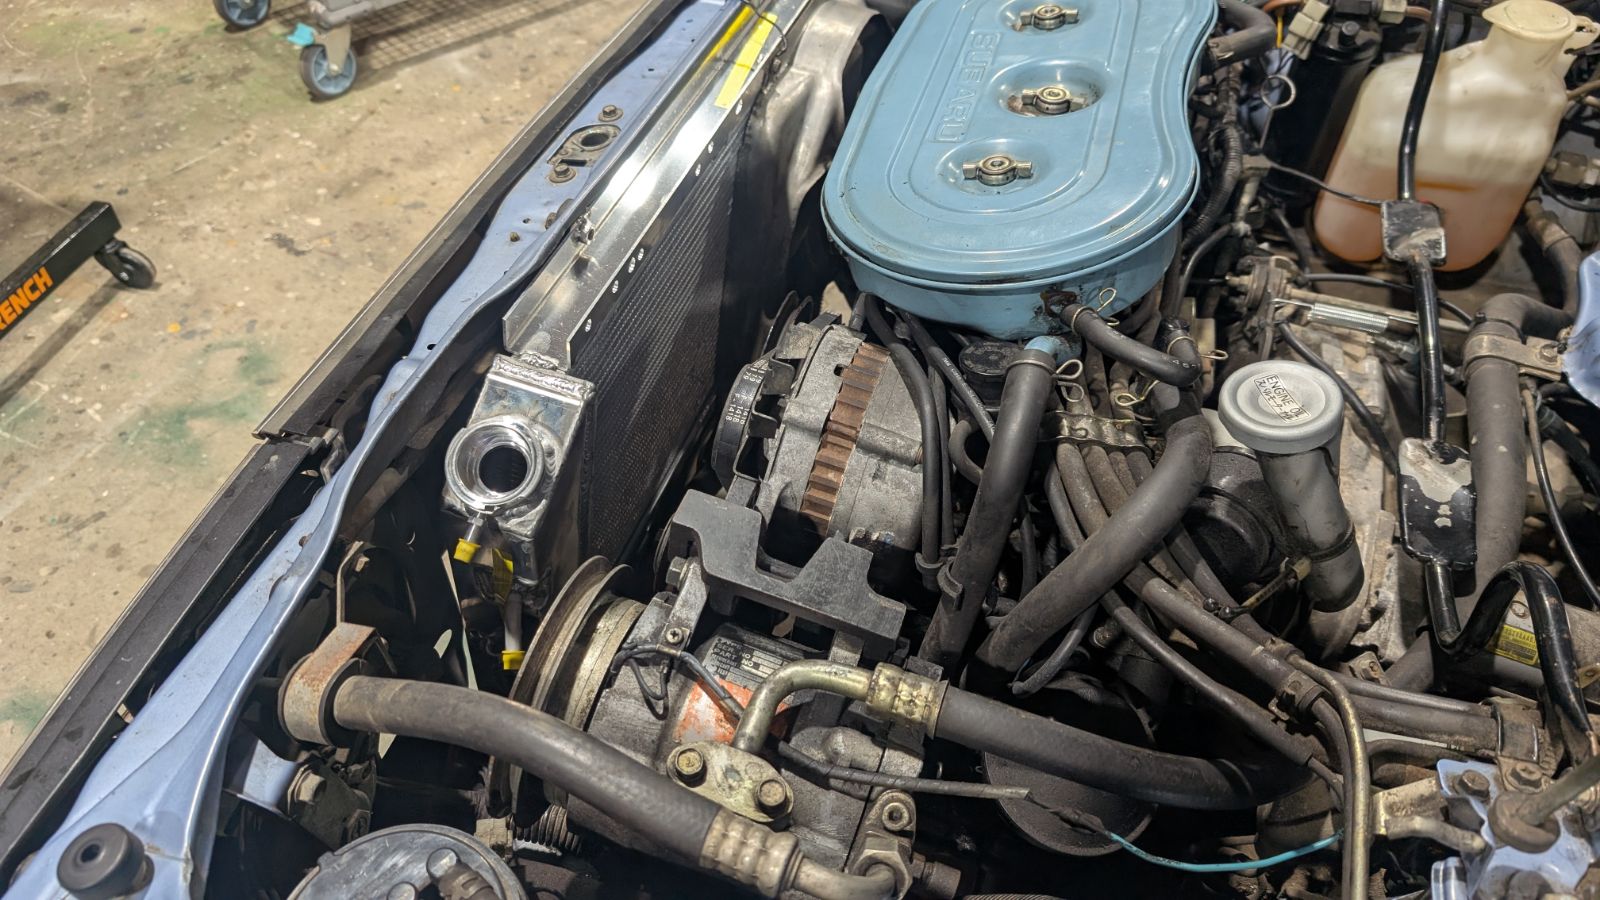
Wrapped up the cooling system project this weekend. I ended up going with this radiator: https://www.amazon.com/dp/B0DK323PVN. The fitment of it was good, not excellent, but good. I had to enlarge some holes at the bottom of the fan just slightly so I could get the bolts to line up with it. While I was in there, I replaced both hoses and installed an OEM thermostat and gasket. The real snafu was after I had pulled a vacuum on the system and got fluid in it to install the cap, only to find out the cap that I had ordered for my 84 was way smaller than this radiator could use. I did some research on here and found a GD post here that stated I needed the 82's radiator cap. Found an 82 cap locally and drove it up the road during a rain storm yesterday. I did notice the windshield seal is leaking so gotta get a plan on that, not that I'm going to be driving it much on rainy days anyway but we get quite a bit of rain here in the fall months. After the drive, I noticed my brand new Continental belt had some fraying on the sides of it. I did notice my alternator was quite loud and had planned on eventually replacing it. I threw on a spare that I had that came with the wagon and it was totally dead with nothing on the volt meter. Ordered one from Rockauto this morning.
 1 point
 -
I’ve never seen those devices before. Californian unit? We certainly didn’t get them in Australia! They almost sound like air pumps. Cheers Bennie1 point
-
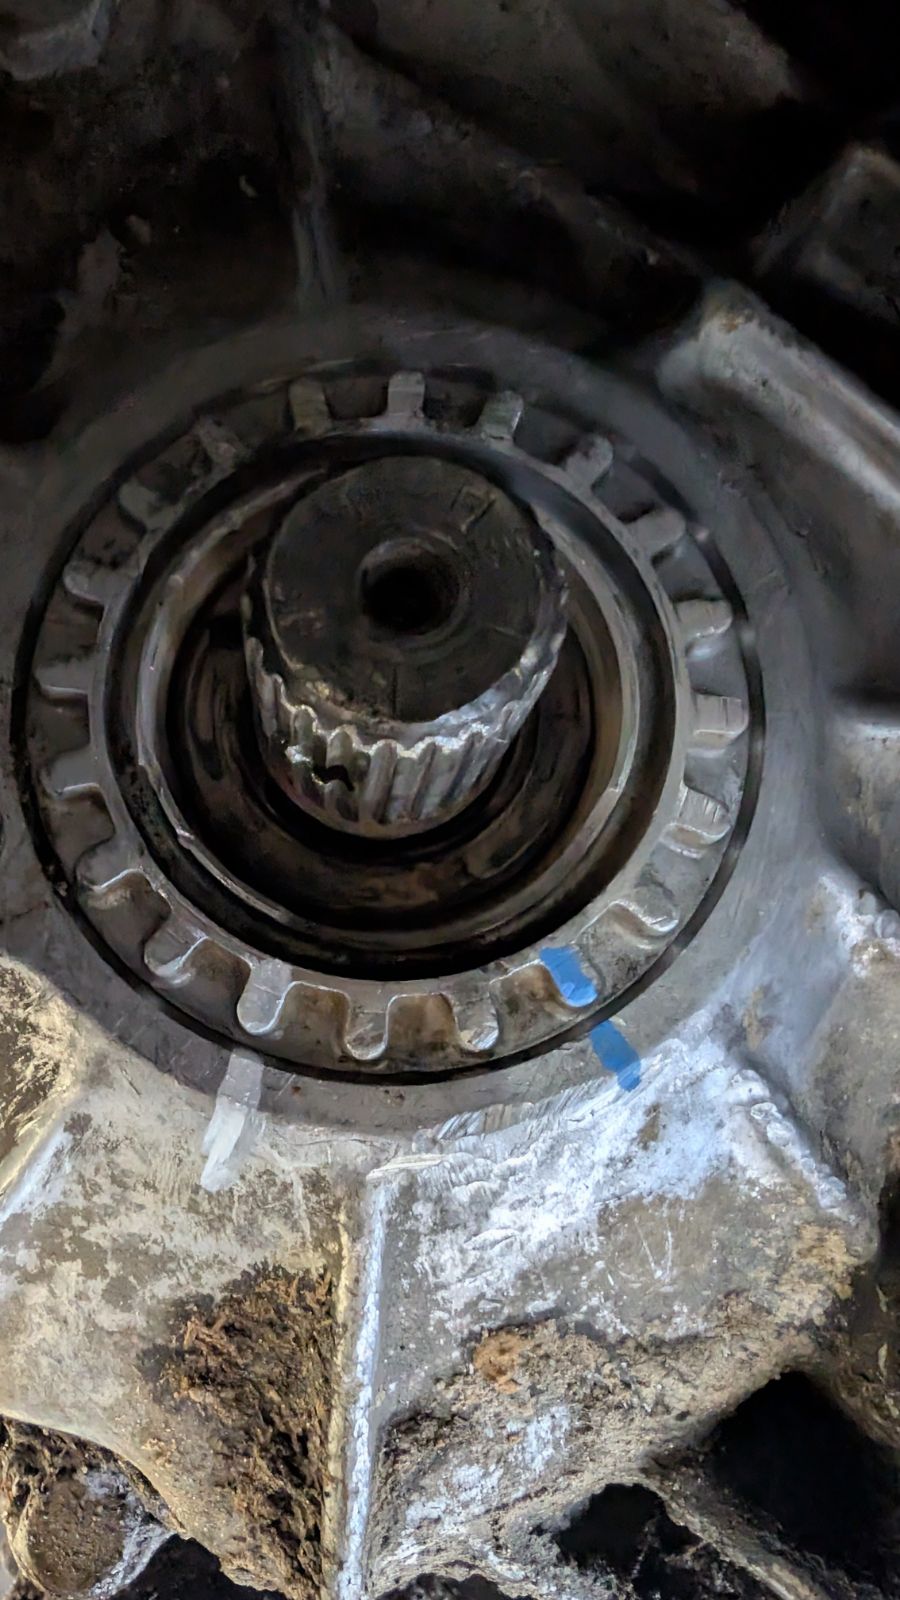
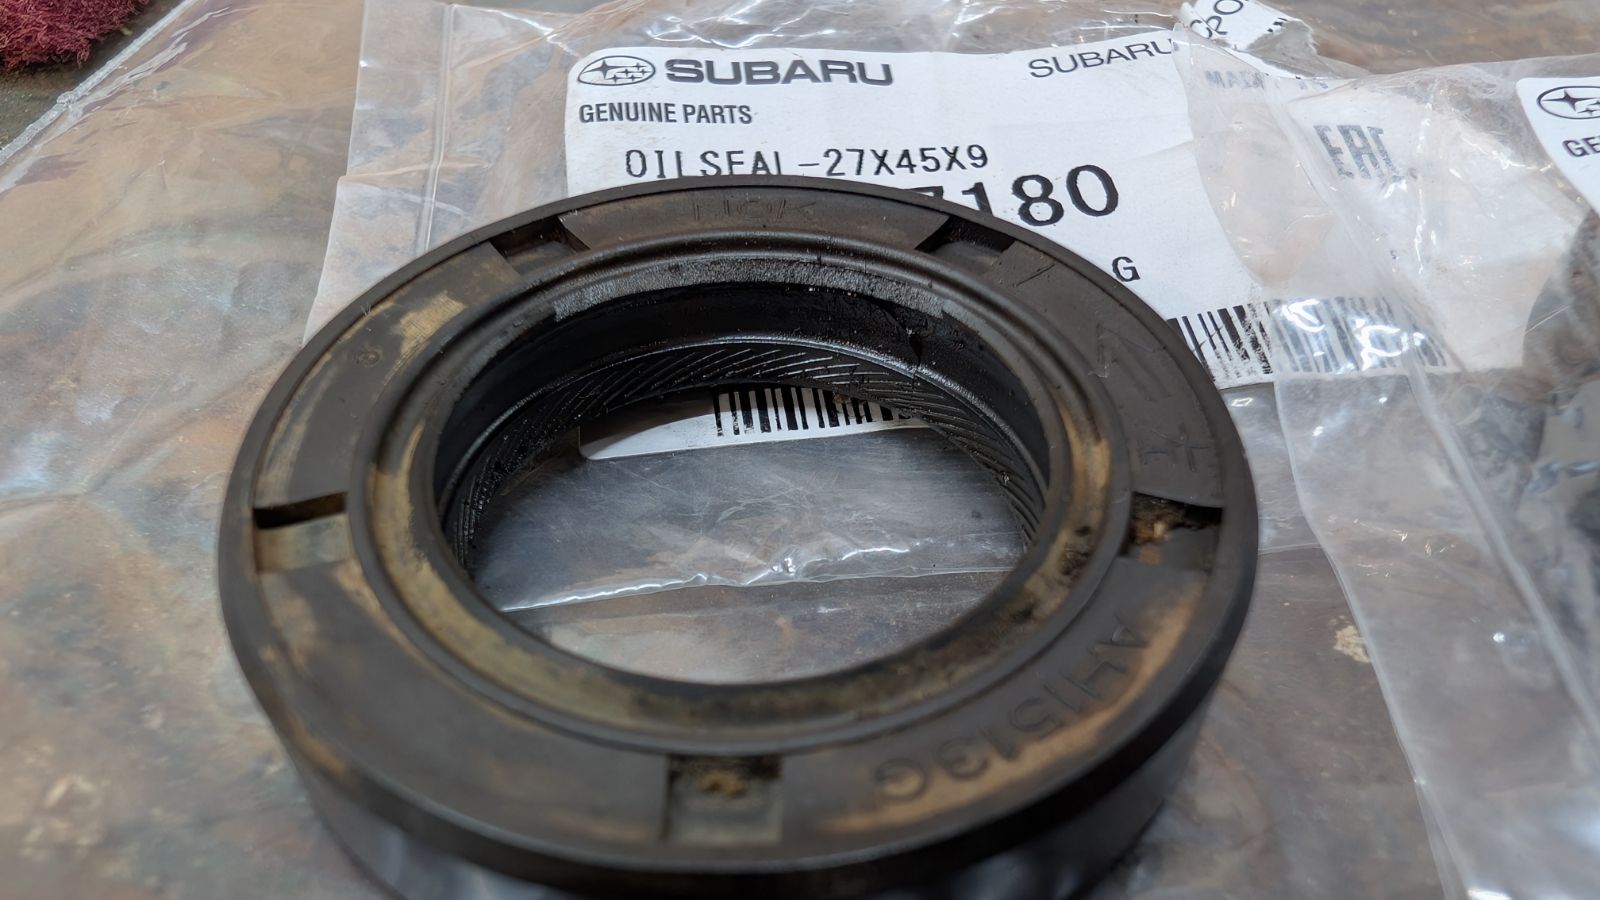
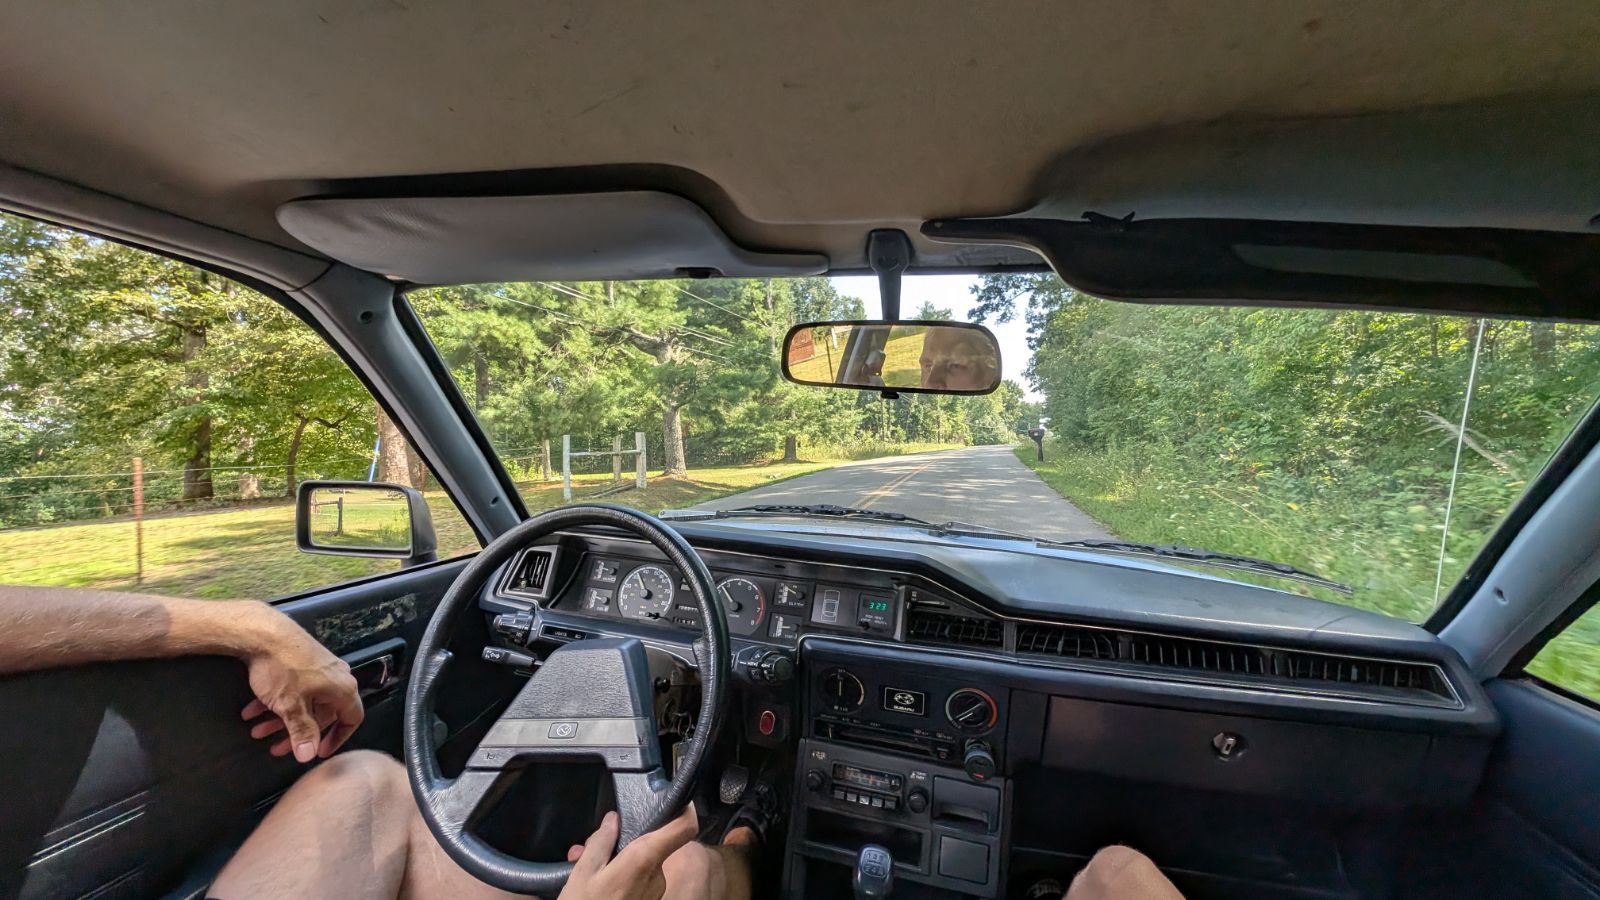
Changed the axle seal yesterday on the driver side. Now that I know how to do it, I could definitely do it again. I think having a shop press would making it easier in the future. I do have a Harbor Freight gift card burning a hole in my pocket. You can see the damage on the seal here. Fixed a flashing issue on the turn signals too. Someone stuck too small of a bulb in it. Took it for the longest drive it's had since I got it. Tried to give her some beans to get any junk ran through the carb. 806970020 Adding this for anyone else: CV axle seals/LHD Left/driver side is 806727180 Right/Passenger side is: 806727170 2 o-rings are 806970020

 1 point
 -
Well, I finally took the plunge after limping my 13" maypop baldies with belts showing along as long as I could, till one did pop. Just didn't want to buy any more 13s. So after many hours of reading about 6-lug swaps here, I decided that would be the cheapest, easiest route. The problem with most of the threads here is they are all about off-roading with lifted cars. There was very, very, little I could find about doing this swap on a stock height car with low-profile tires. What little there was had no pictures anymore because of photosucket. So I took a trip to the only pick-n-pull in the area. Really, a terrible yard, with absolutely no organization whatsoever. You have to go over the whole yard usually, just to start and see what's available. And many of the cars are so packed together, you can't even walk between them. I found one set of 15" steel Isusu 6-lugs in the offset I figured I would need. 60 bucks for the set... pretty happy about that. And they were actually going to charge me extra for the mixmatched, flat, half-bald tires that were on there (??) but they removed them for free. Now, these wheels are well made, but HEAVY!! The center flange that I had to drill was 3/8" steel and the rest of the center was a healthy 1/4". I was gonna weigh them before I got them on the car, but I was too excited to stop and do so. Really, part of me just didn't want to know. I was gonna hit up someone here to send me a front hub, maybe one with stripped splines, to use as a template, but I ended up just taking one of mine off, and bopping two of the studs out. I then made a drill bushing with a nut by first drilling out the threads with my pilot drill bit, and then, with the nut spinning on the pilot bit, I dressed down the OD with a right-angle grinder (shadetree lathe), till it just pushed inside the stud holes. Bolted the hub to the wheels, drilled the pilot through the bushing, then drilled to 1/2", Bob's your uncle. After hours of brooding over tire size, I finally settled on 205/50R15s, which are ever so slightly taller than stock, and filled out beautifully on the 7 inch rims. Wallyworld got me Hankooks for 50 bucks each, and they really look like great tires. Took hardly any weight to balance, which is a good sign for the rims and tires. Fit without issue on the front, but it gets close in a couple of spots. The rear... was going to rub the inner fender lip under compression. I've never rolled any fenders, but I remember an old hot rodder telling me about using a baseball bat to do so. I couldn't find a full-size wooden bat anywhere locally, but I did have a piece of 2" PVC electrical conduit. Started out driving the car forward with the conduit rolling between the tire and body. With a stick and a string on the loose end of the conduit, so I could guide it (would work better with 2 people). Then finished by letting the car roll back down the driveway while levering the conduit down to push the flange up. Worked great. Then, after some cleaning and Krylon, I can't stop looking at it!! Now, I have yet to try and drill a chamfer on the new holes so it will accept a traditional lug nut. For now, I just have regular nuts and lockwashers on the drilled holes, and center the wheels on the car with the factory holes. It's smooth as glass at 80 mph, so I think I can go back now and chamfer the drilled holes, as long as they are perfectly centered around the stud. Or, I could just get some flat-bottom chrome acorn nuts, and leave well enough alone.1 point
-
This thread is dedicated to all of those who are still running stock 13 inch wheels on their EA. I personally find that the white wagon style wheels are hard to beat for our old cars, and are something that scream 80's subaru. The problem, as we all know, is the decreasing list of brands and sizes available in 13". I have found that the only viable option in my area is the Douglas Xtra Trac in 175/70/13. These are not the best quality, and a size too small for a 4wd ea. I am currently running Cooper Cobra 185/70/13 raised white letters. These are far past their life expectancy, and getting thin. I was very happy when I found them used two summers back but they're getting worn. I did like the 195/70 and the 205/60 for larger options, but those also seem to be out of style. 205/60s can still be had via eBay but are expensive and low quality. Raised white letters seem to be a thing of the past. So, I ask the community, where are you buying your tires, and what size?1 point
-
I also like running the stock 13". I was able to get a junker brat with 3 sets of tires and rims. About 8 of the tires were still good like brand new, 185x70x13 Some of the last tires I bought were from Les... and was able to get 185x80x13, but didn't notice any real difference, My BRAT handles real well on 185x70. I don't like that these tires are passenger car and also only 1 ply sidewall.1 point