


monstaru
-
Posts
3836 -
Joined
-
Last visited
-
Days Won
14
Content Type
Profiles
Forums
Gallery
Store
Posts posted by monstaru
-
-
Unfortunately , I agree with uberoo. But the only reason would be that it would impede on welding the two together. WElding thinner stackedd sheet to plate sucks, and unless you have lots of practice is very difficult.
Short circuit welding is about the only option here once you have the right settings.
I think that 12ga or 1/8th would be sufficient.
However, If it is just a bolt affair, make sure you chamfer the corners of the steel so that hard edges are not wanting to poke holes through the under carriage.Round your corners as well.
cheers
-
I dunno about Gnarly. But for a driver, FUN.
cheers
-
-
I drove it back and forth between the wet side and Spokane for about a year every other weekend, and to work 60 miles a day 5 days a week(almost every week) for almost three years now.Has been in two cars so far, working on putting it in a third this weekend.
 Shite, maybe is closer to 50k!!
cheers
-
Plating both sides and tying into existing body parts around them.
Only thing you can do usually, at least to maintain any type of strength.
cheers
-
Done it at least 20 times. Nice wire brush on both surfaces works a hoot.
screwdrivers are not gonna work to spread that gal apart. you need a prybars width, with a little nudge fore and or aft.
You'll get her.
cheers
-
 1
1
-
-
93 Dodge with 12 valve.Guaged, exhausted:), and stock suspensioned. 160 some thousand miles.Pull your house over. No spoob.
53 Willys overland wagon. All stock. Missing the seats. I know where they are. Could be all ooriginal. Gonna happen.
98 OBS. Bent , in all kinds of bad ways.Fuckt
08 Nissan Rogue LS. Moonroof, AWD , 47k, Want leather interior.LOL
CVT drives AWESOME.
Subara tube chassis setup for ej suspension up front, solid axle out back, Ej motor, D/R transmission, Suzuki transfercase
85 Toyota truggy
Fixin to trry and race it. Gonna need a new suspension SOON.lol
-
If you want people to take your "do"ing seriously, learn some internet etiquette . It helps alot when people can decipher what you are saying.im a doer not a typer
Otherwise, just go do, and don't type. LOL
cheers
-
nothing fancy, here man. A rush to try and make this has left style behind.lol
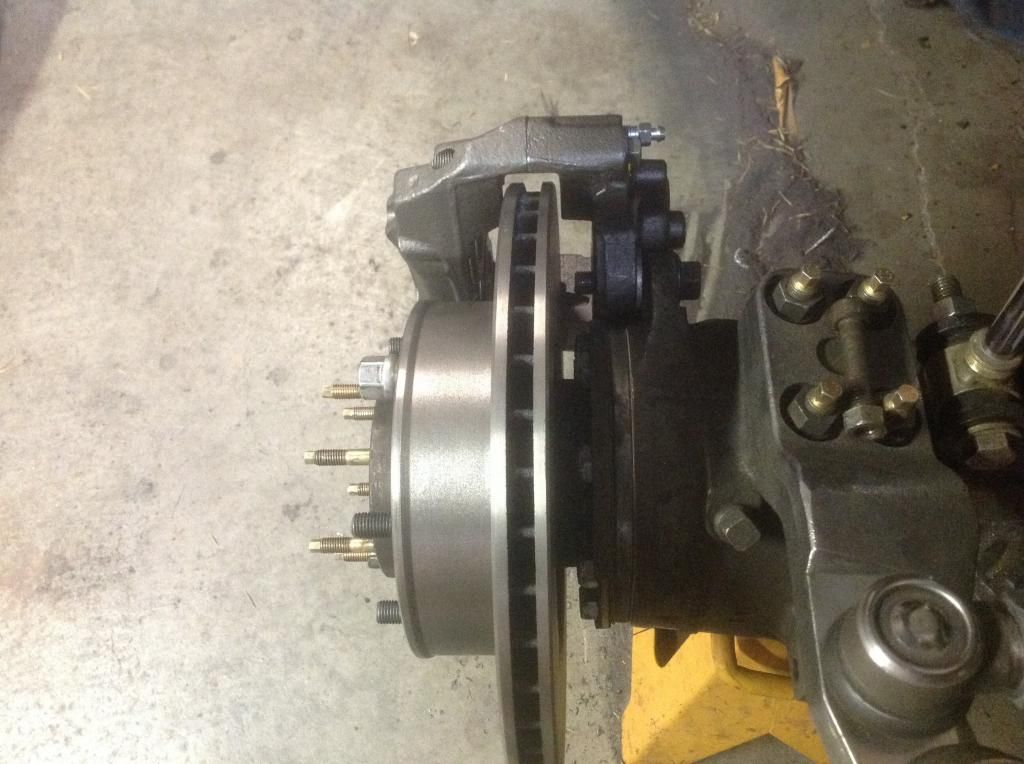
truck side

new studs.Just got lugnuts as a stocking stuffer. Axle is going together for "good" tomorrow.
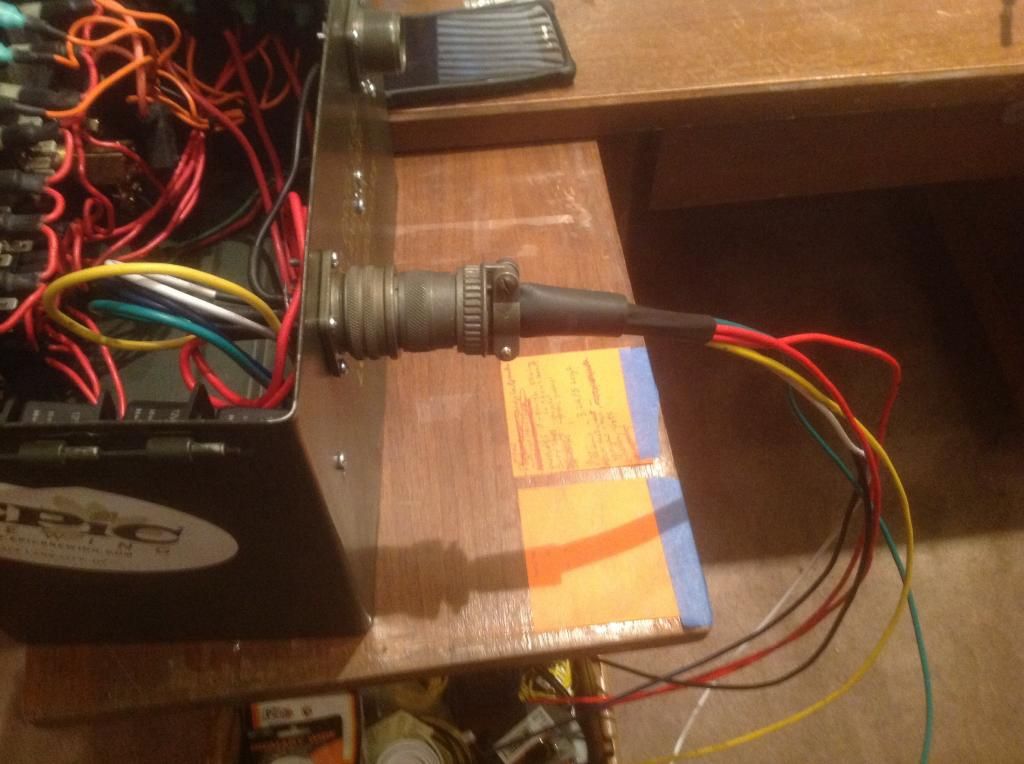
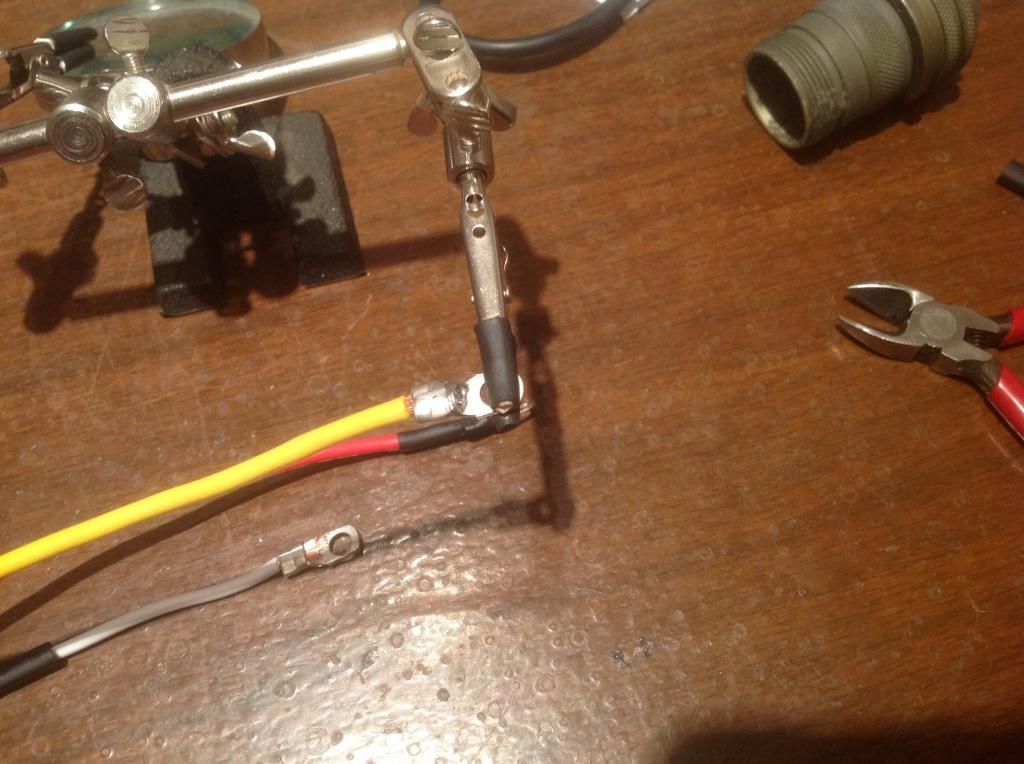
All of the electronicals are soldered then heat shrunk w/ adhesive stick shrink.
cheers
-
1
-
-
Generally, bias are better for more wheeling. radials are better for more on road driving. either one will wear like iron on a Subaru.(unless a shite ton of road miles.)
"flat spotting" is due to the softer compound of the rubbers involved in the manufacture process.hence the better gription you get when wheeling and hit something hard, like rocks. Just go radial . It will make your life easier.
cheers
-
2
-
-
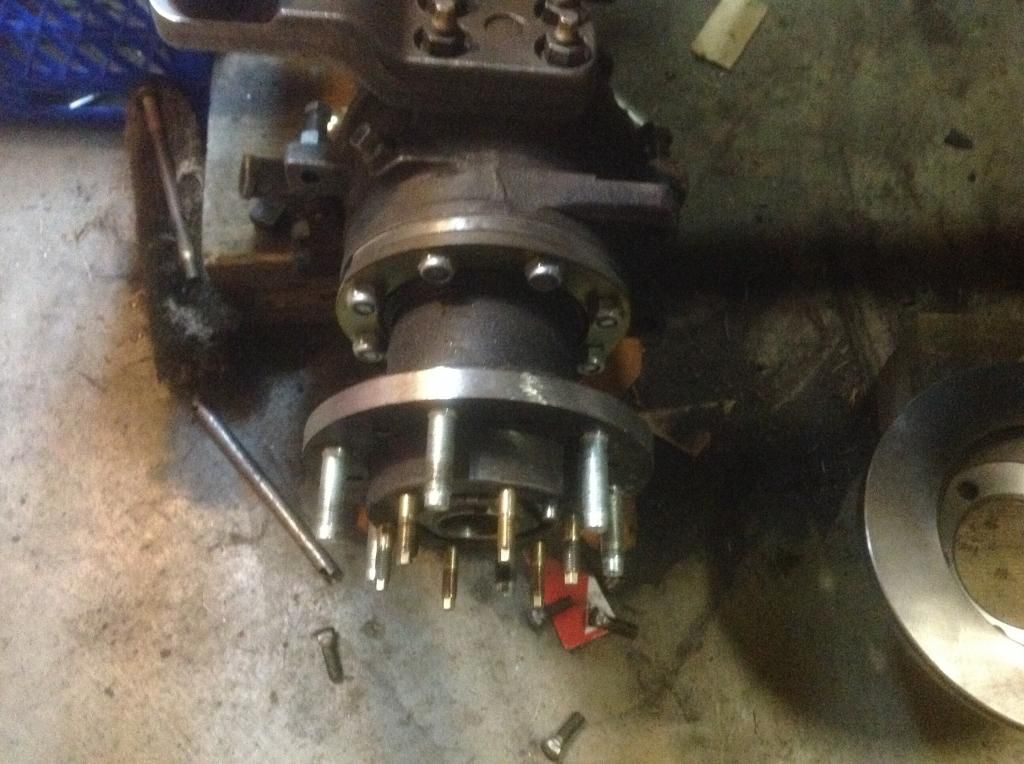
Installed the wheel studs.
Found the other two spacers I needed for the drivers side brake caliper. ground the calipers to allow my rims to fit.LOL
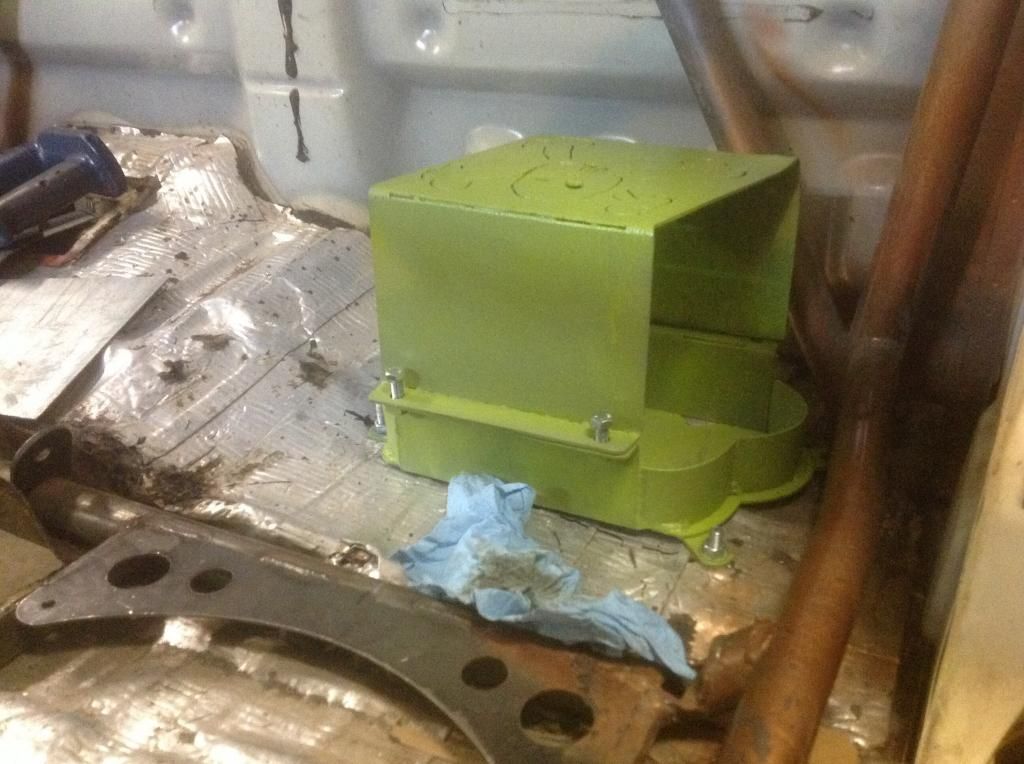
Umm, made a battery box and mounted it.
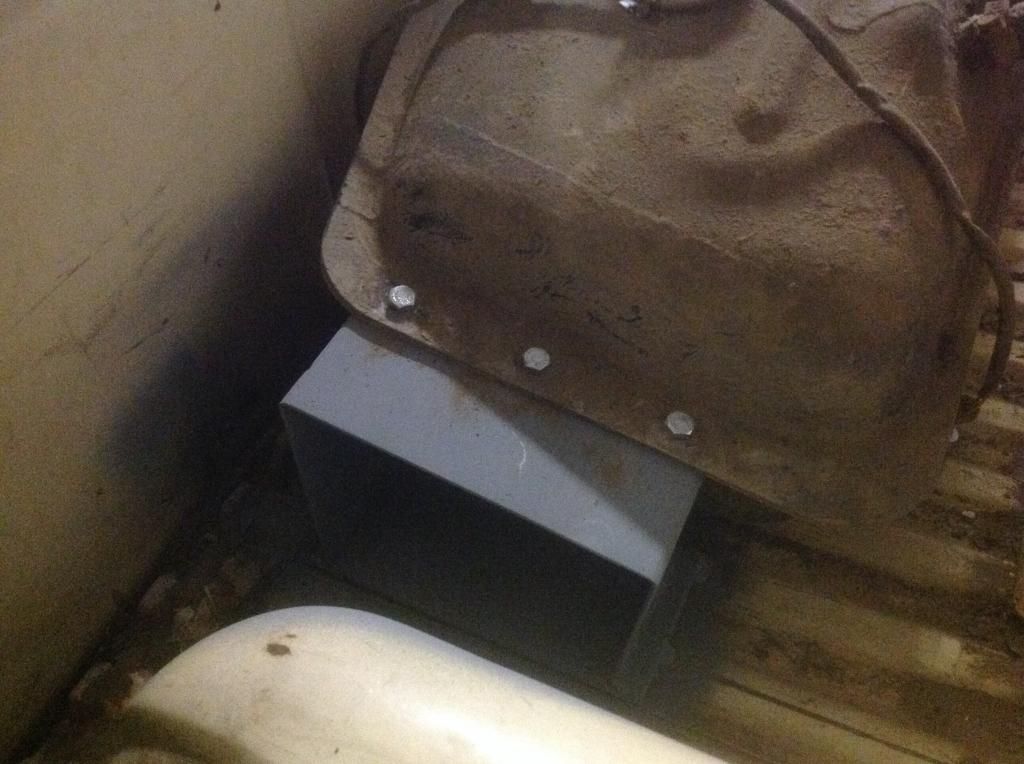
Mounted the fuel tank in the bed.
Wired and mounted the plug for the electrical box( there will be two, but this is just main systems)
Turned down the yokes for the rear driveline, cut some material, and did a test fit. half assed tacked it to see what it would look like.
Got the doghouse supports welded in place.
think thats about it. lol
Gotta start laying out electrical.
need :
actually assemble the front axle now that the brakes are done.
run fuel lines
finish routing wiring.(make said wiring waterproof?)
change fan plugs
make raadiator hoses
finish power steering mount.
fluids
adjust my front bump-stops and burn them in
I May have to give the rear driveline clearance at full stuff. got get it built then
anyways. cheers, I will update pics when I don't need to go to bed for work.LOL
-
1
-
-
anyone got a seat?
-
you gonna go to Utah Scott? because telling someone how to weld over the internet is like punching a monkey in the face. It just doesna work.lol
cheers
-
I really say that if you still think you need plans, you should probably not tackle this. Just a waste of money and time. Just my .02 cents.
cheers
-
I turned down the rear driveline yoke last night. Ground the V6 calipers so my re-centered HMMV rims fit , I need to order wheel studs this weekend.
umm, what else. My goal this weekend is to move the fuel tank to the bed, get the electrical box finished up and start working on a mount for it.
I am gonna buy some mechanical gauges on the way home tonight, so at least get those in a mounting situation.
yeah, coming along.
Also I will tack in the bump stop stuff, start looking at the interior trans tunnel again. I think I would rather build a frame for it off of the existing interior cage.
cheers
-
1
-
-
Search my frankenmotor build. has over 40k on it now.
needs a reseal, and a tune up. Maybe a valve adjustment. But other than that GOOD.
cheers
-
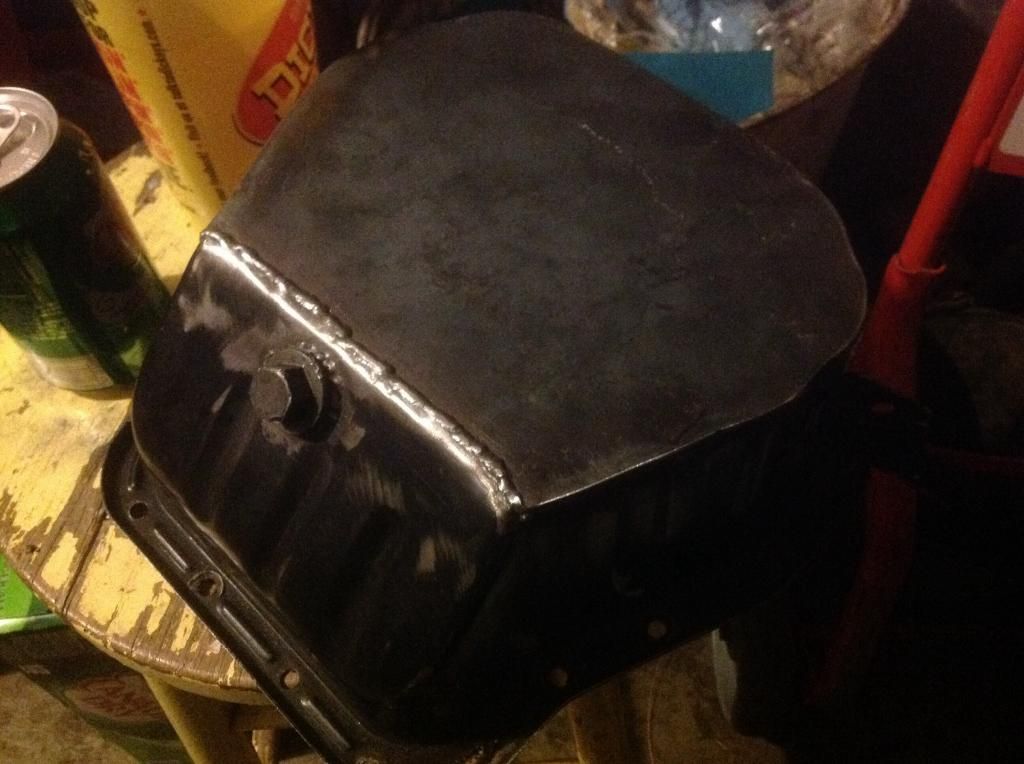
I made the oil pickup tube, mounted the oil pan for clearance testing. And, in turn found where I need to mount my bump stops. That's next, then I need to turn down the ends of the driveline yokes a skosch so I can make the rear driveline.
cheers
-
1
-
-
Tits is right! NIce.
cheers
-
1
-
-
I have built several bumperss for many a Subaru. Unfortunately what you are going to run into , is that the mounting points almost never line up with just measurements. Over the years, the dies they use to press thhe sheet metal get worn, etc..
Bolt holes are hard to line up without doing it on the car.
just saying.
Cheers
-
yeah , I got ya. I found I just needed more purchase on threads with the rotor on the outside. I am also not using stock style rims either.
I am sure that hhas something to do with it.
-
yeah, totally not talking spoob. i just found I needed longer studs. i ended picking some up today, and have not put them in yet.
I had read that I might need longer studs. then realized I did. I picked up 54mm studs, Was just wondering if you had a different experience.cheers
-
nice, I just got done grinding my IFS hubs to accept Taco rotors. What Wheel studs did you use ?
Looking Good!! Plan to come up to Straddleline on Jan 17 , I am going to race(hopefully!)
cheers
-
Damn, Galaga is my jam!I loved that game. And Spy Hunter.Space invaders was always cool.
I hate to sauy it , but I wish I lived on the eastcoast.
cheers
-
Thanks guys, It has been/is fun learning how to build stuff.
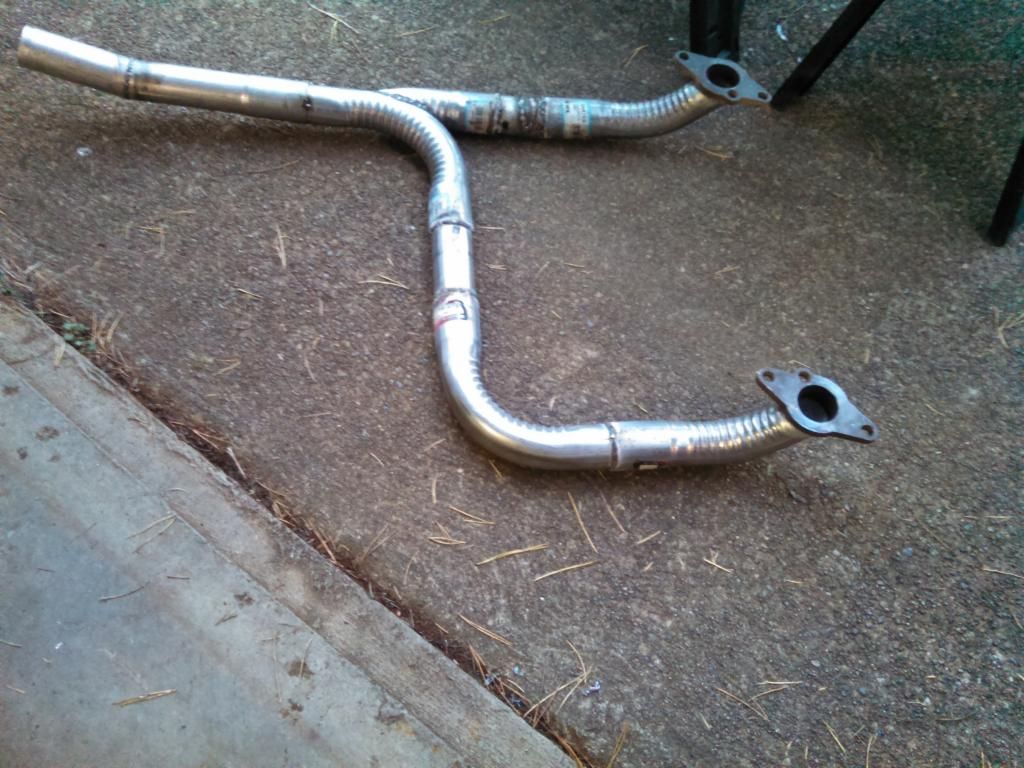
I have been on hiatus from this for long enough. I went and watcheedd some racing on Saturday and have the itch again.SO during this time I have ordered the wrong header, changed my mind about design ideas about a million times,and figured out what color I want to paint it lol
I made a couple mistakes ordering exhaust, so I threw together a headder from the crap you can buy anywhere. It actually came out pretty good.lol
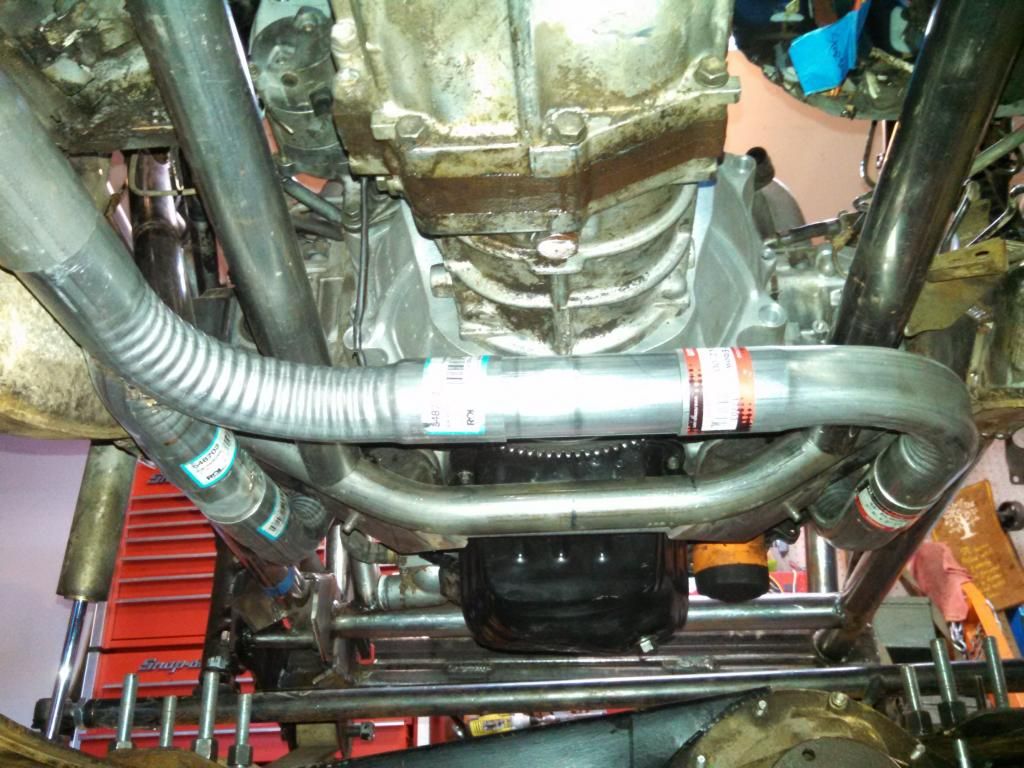
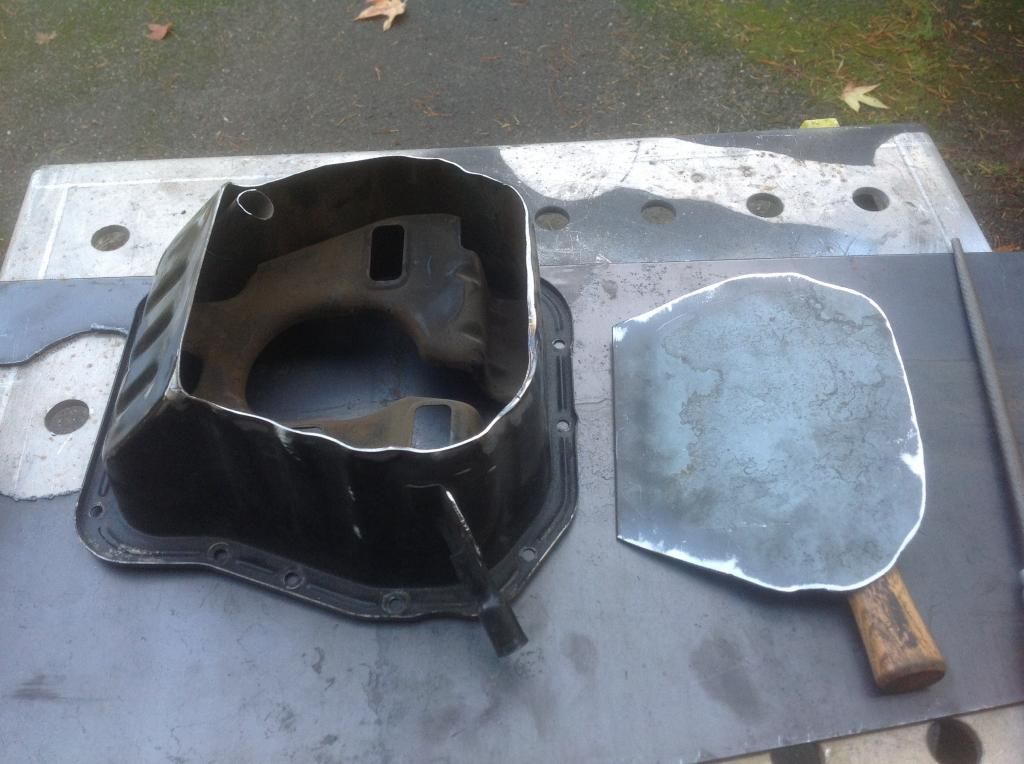
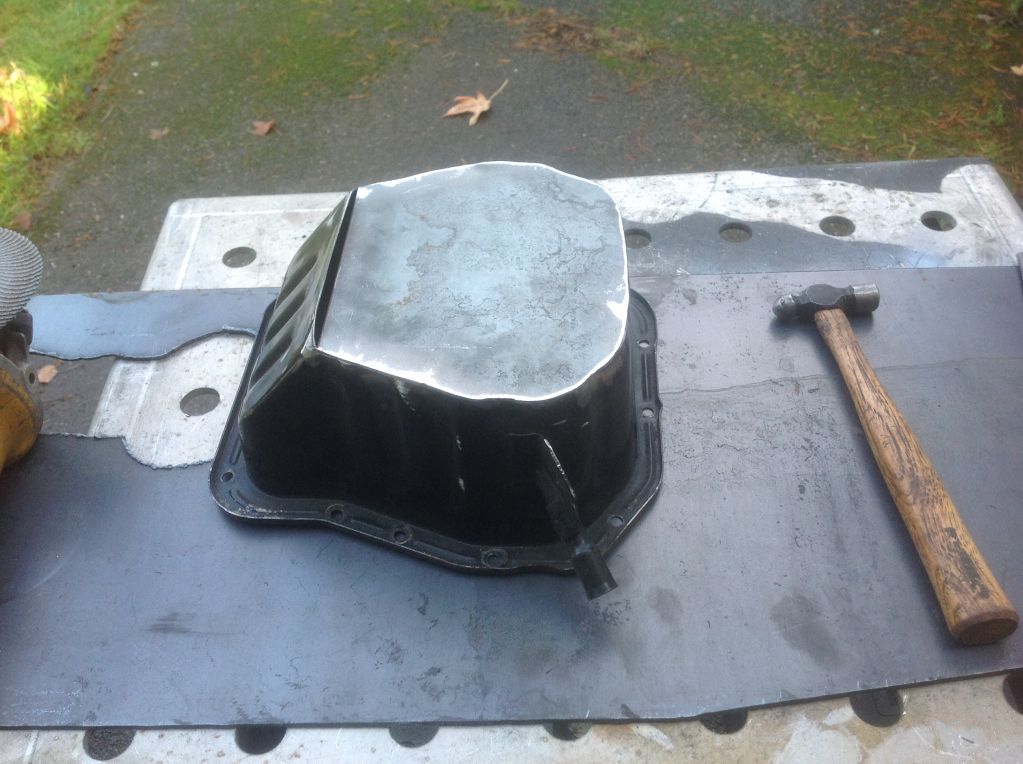
I sttill need to address the oil pickup shortening
So, insted oof notching the oil pan I decided to shorten it. It is something that the VW guys do in sandrails, and mainly Vanagon conversions. I got the oil pan figured out today.
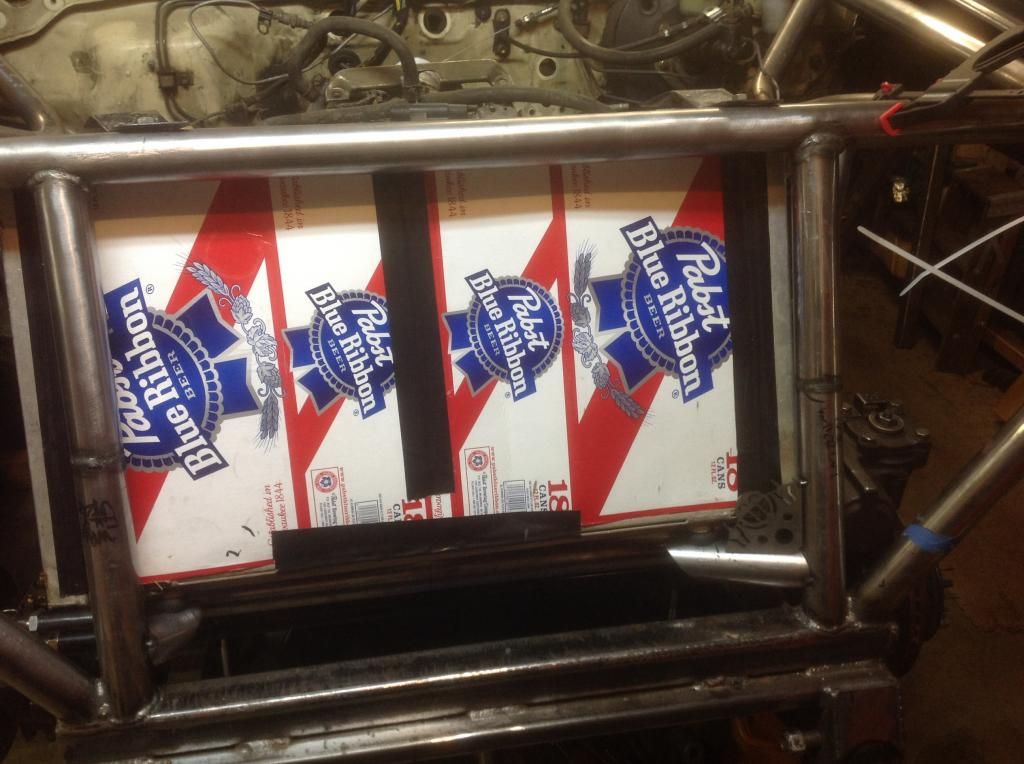
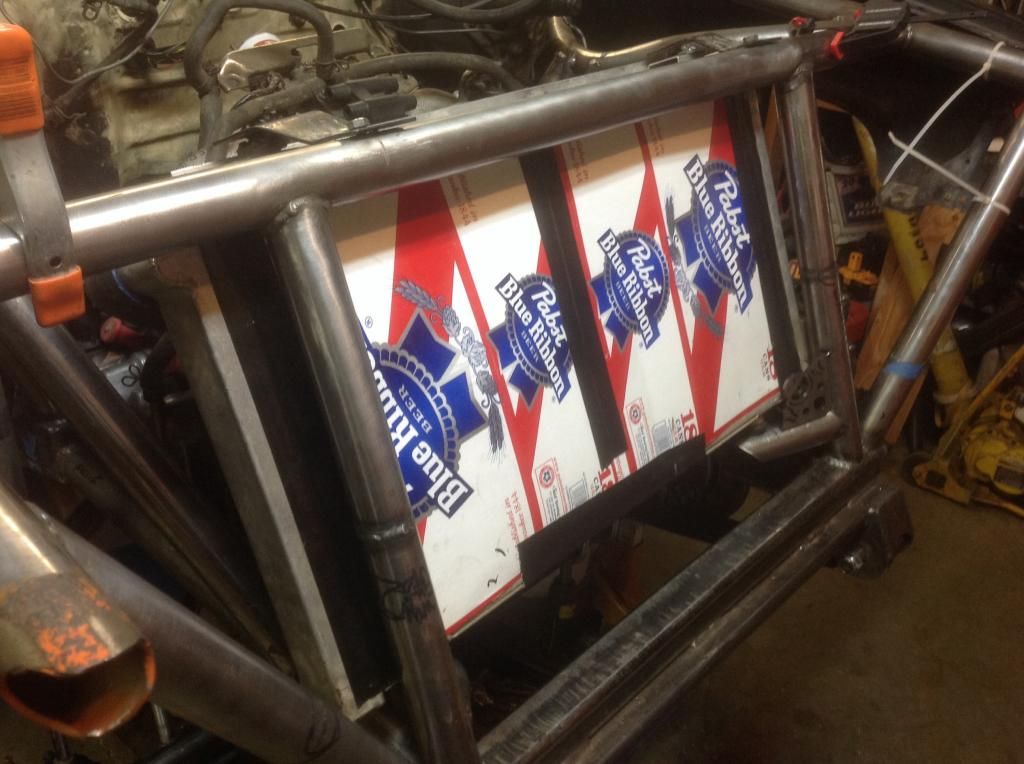
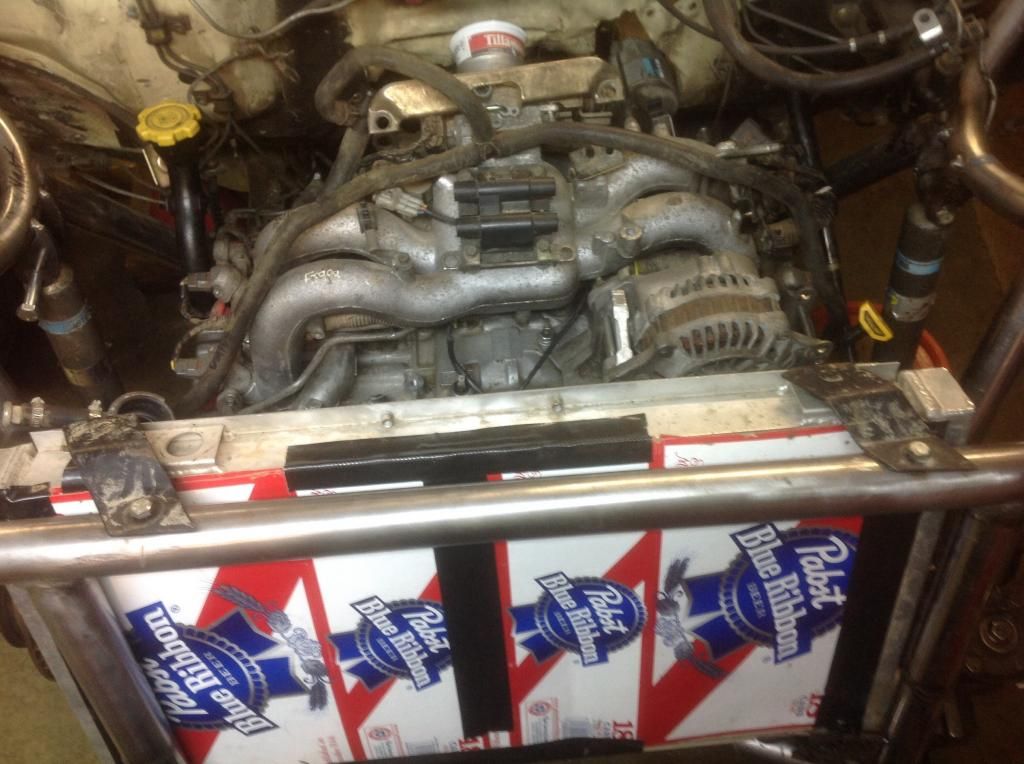
Then I changed my mind about the rear mount radiator.
So I started the mounts .
It feels good to be making some progress again.
cheers
-
4
-


Anybody wanna check out Reiter this weekend?
in Off Road
Posted
You weren't going up the right roads then. lol