Resurrect Dead
-
Posts
10 -
Joined
-
Last visited
Recent Profile Visitors
1667 profile views


Resurrect Dead's Achievements
Member (2/11)
12
Reputation
-
 It all pertains to surfboards, but the techniques are the same. Everything I learned was either off www.swaylocks.com or youtube. Mostly it was a lot of trial and error - I fixed a lot of my own surfboards and built my first two surfboards in my backyard before moving into a professional facility. Lots of learning what doesn't work and what causes more work for you. You can also check out foamez.com for some cool tutorials on different techniques. If you want to start doing any real pro body work, look into vac bagging
 -
Sport Grill and Skid Plate
Resurrect Dead replied to Resurrect Dead's topic in Offroad Modifications
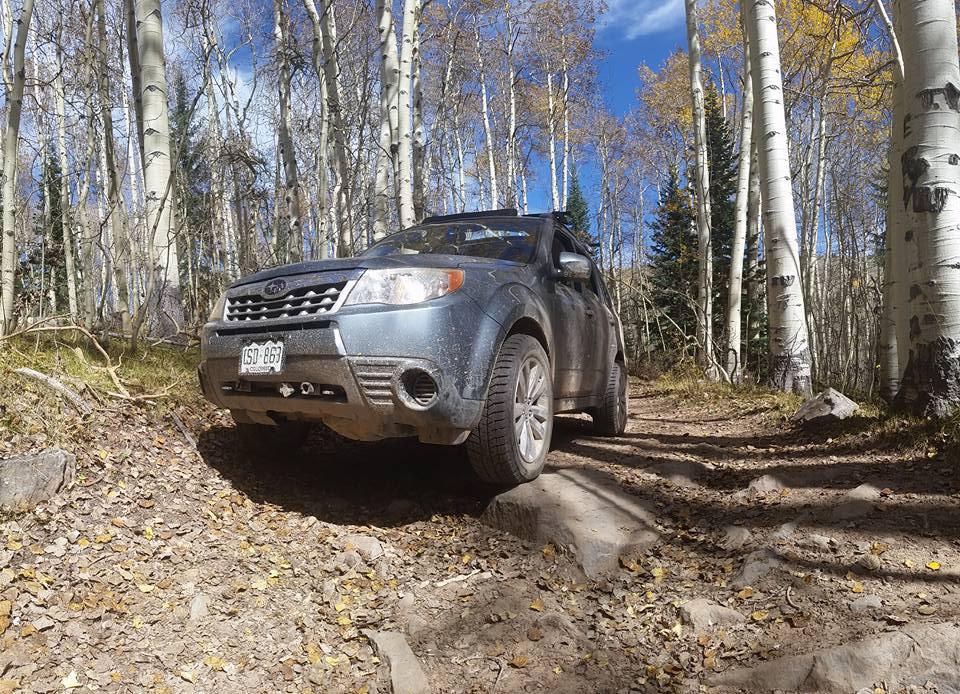
As for the grille, I took it apart cut out all the center space and painted it Then I put it back together, cut the honeycomb steel to fit, marked the bends and went to town. Once it was properly fitted, I zip-tied it down and bonded it with Automotive Goop. -
Sport Grill and Skid Plate
Resurrect Dead replied to Resurrect Dead's topic in Offroad Modifications
Here's the construction process for the plate - mocked it up with cardboard first, then outlined onto the metal. Marked out the two front holes, test fitted, bent, test fitted, bent some more, test fitted. The final test fit before marking the back holes I slid it in as if it were going to be mounted, screwed in the front and then marked the holes where it would bolt between the subframe and frame. Measuring is for the birds, I eyeball that stuff because I'm awful at math - easier to just hold it up there and mark the holes. Untitled by Jim Ferrigno, on Flickr Untitled by Jim Ferrigno, on Flickr Untitled by Jim Ferrigno, on Flickr Untitled by Jim Ferrigno, on Flickr -
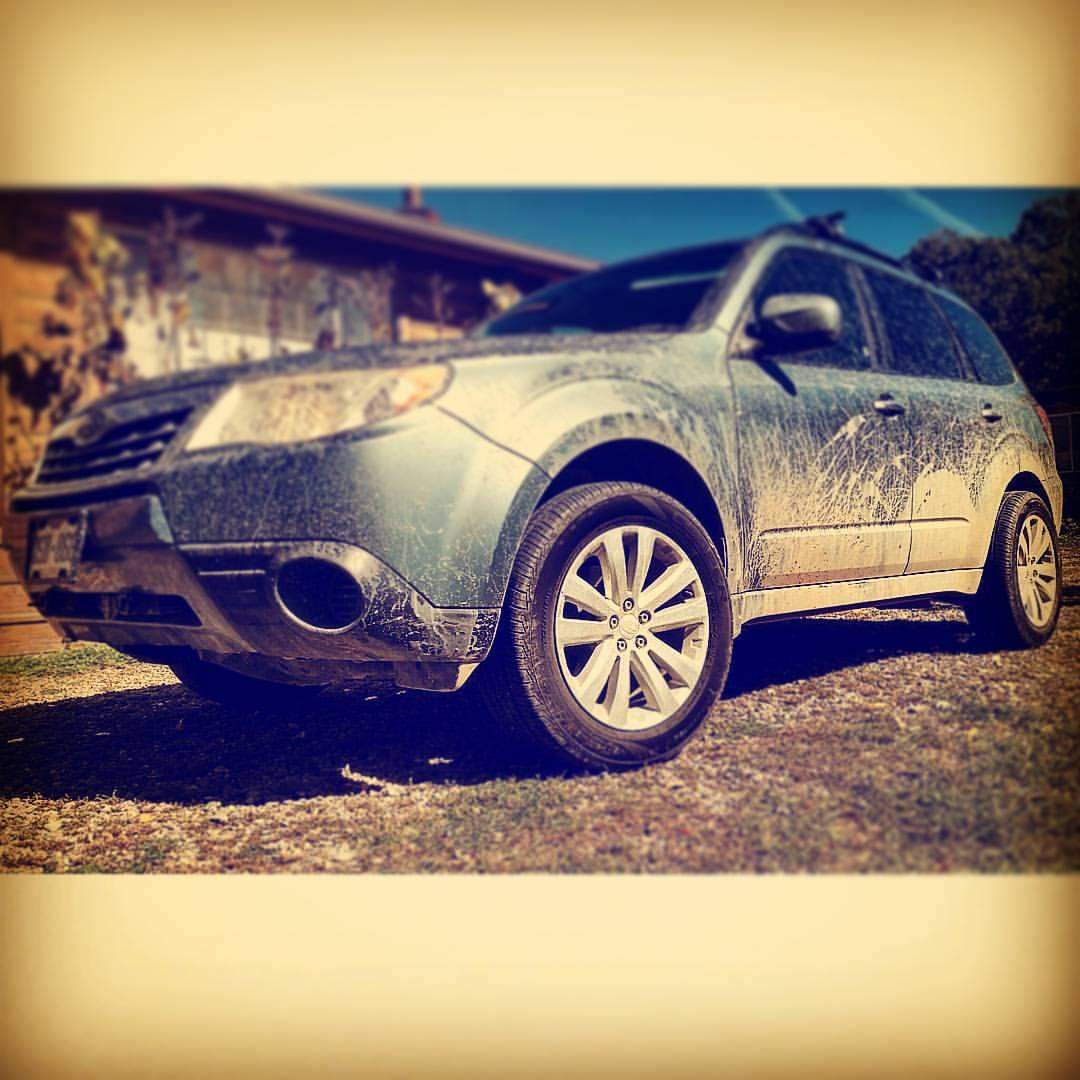
I got a little mod-happy yesterday. It started with pulling my sway bars and sort of snowballed from there. I made a mesh sport grill by cutting out the old silver parts on the stock grill, painting it black and cutting some honeycomb expandable steel I got from the metal supply place. I also grabbed some aluminum to make a lightweight skid plate for the bottom. It isn't gonna support the weight of the car or anything, but it'll definitely protect against rocks and stumps in the trail. Tomorrow I'm going to the junk yard and pulling a grill guard off a Rav4 to see if I can make it fit on the foz. I'll let you guys know how it goes! Before After The front attaches to the stock threaded holes form the plastic splash guards. Bent it to wrap up the front and tuck it under the towing receivers. Attached the back under the existing subframe plate
-
What the acetone trick? Nah, though once upon a time that was found out by accident, it's actually something we use in surfboard repair to determine whether a board is made of PU or Styrene foam. The PU (polyurethane) can handle the acetone but the styrene will disintegrate. The spray can stuff is usually PE (polyethelyne) which will aslo get eaten up by the acetone. The same thing will happen if you use the wrong resin as well. Using Polyester resin on Polystyrene foam will have a similar reaction, but it will increase the endothermic nature of the reaction - I've accidentally done that and it goes off so hot that the board starts to smoke.
-
Yep, sounds about right. I knew my advice was late. For that kind of repair what I'd do in the future is actually take a dremel and a metal cutting wheel and cut off the parts that are rusted. Then, prep the leftover metal around where you cut and prep it by sanding with a very coarse grit (you want it to be rough, and maybe even slightly below the level of the surrounding metal). Then just use some epoxy to adhere some drywall mesh to the hole and spray your foam onto that. This will add a little structure. Sand the foam so that it's ever so slightly lower than the surrounding metal (almost back down to the screen basically) and then follow my earlier steps to encapsulate the foam in fiberglass and finish it out with sanding. Rust is crazy, the stuff is like cancer. It just spreads so fast.
-
I know my responses are late but hopefully someone finds them useful - if anyone is every trying to do this again in the future: Acetone will disintegrate the foam faster than a spaceship floor in the movie Alien.
-
See, if you're doing this right you should be encapsulating the foam with fiberglass. Then it's as simple as a little bondo, sandpaper and paint and you've got a body-shop quality repair. I'm a surfboard shaper and I fix surfboards so if there's one thing I know it's foam and fiberglass. The best way to do it is to use the expanding foam to fill your gap. Make sure you've prepped and sanded the area around the repair, otherwise it won't stick. Sand down the foam to just below the level you want it, then mix up some epoxy and apply the fiberglass. The best technique is to use a brush to paint a small amount of epoxy where the glass will go, then stick the glass to it - the epoxy will help keep the cloth from falling off. then, lightly paint epoxy onto the fabric, just enough that it turns transparent. If you do this properly you will still be able to see the texture of the woven fiberglass. If you use too much it will drip or pool and you'll have the biggest pain in the rump roast ever sanding - less is more. Once it's cured lightly prep it with some 80-120 grit and then apply the bondo, sand, reapply as needed, prime, paint, polish... you get it. Super easy and that's how the pros do it. It's way easier than you think, the tricky part is just learning those mistakes the pros already know like not laying down epoxy too thick, avoiding brushing the edges of the cloth so it doesn't fray, etc... The same technique is used for boat repair, surfboard repair, body repair, model making... pretty much anything you can think of.
-
Forester in Florida
Resurrect Dead replied to Chris from Tampa's topic in Meet n' Greet. Your USMB Welcome Center
Forester in Florida eh? The Florister? -
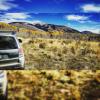
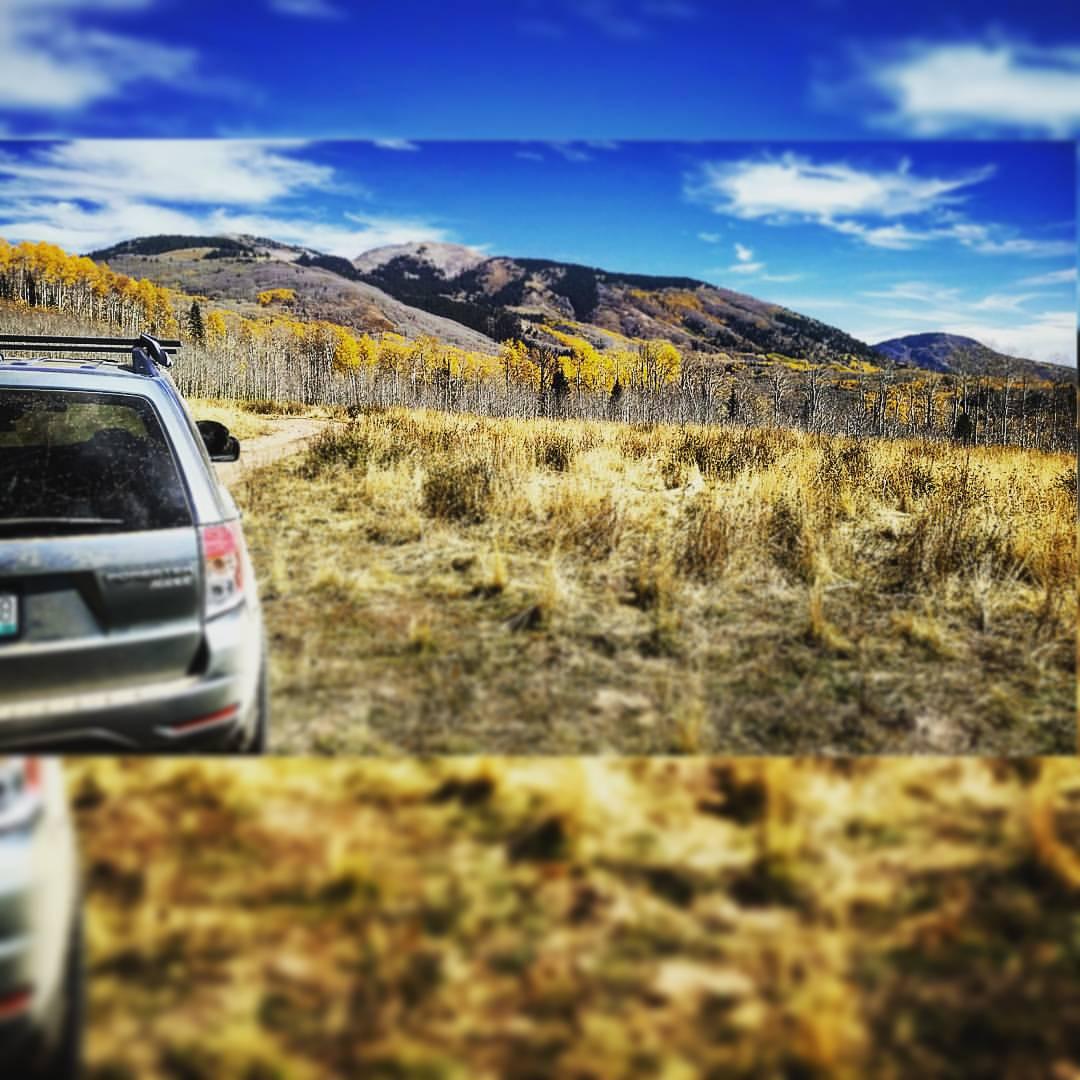
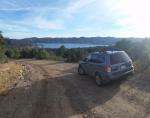
30 years old and this Foz is the first adult thing I've ever purchased. I've been going through a rough patch lately and taking this out on the trails is the only thing that's been keeping my mind off things. I originally went to the dealership thinking I could scoop up a 2016 Wrangler Sport for my first real car, but finding a base-model Jeep at a dealership is like looking for a unicorn at a pony show. They showed me a 2008 Forester and I was hesitant but I went home and looked into it and decided it would work for me, even though I'd be settling on it. It was sold out from under me and I thought I had made a huge mistake hesitating, but then this 2011 came in the next day with only 70,000 miles and $100 cheaper, so when I bought it I felt like it was meant to be. Every time I hit the trails I'm shocked how far this can take me. So far I've spaced the wheels out 2" each and gotten slightly larger Blizzak WS80 winter tires (which make surprisingly good trail tires by the way). Next will be removing the front sway bar and setting up quick-releases on the rear, and lifting it 2" - once it's taller I'll get some 16" rims and some big Cooper Discover AT3's for shoes. Also thinking of buying an arc welder so I can put together a steel front bumper and increase my entry/exit angles. Then maybe a snorkel, diff breather and some fender flares. Basically I'm trying to turn my Subie into a Subeast