Leaderboard
-
GeneralDisorder
Members1Points23391Posts -
Numbchux
Members1Points7630Posts -
JGromada
Members1Points76Posts -
1-3-2-4
Members1Points3806Posts


Popular Content
Showing content with the highest reputation on 10/15/18 in Posts
-
1 pointI generally don't agree with posting to criticize a sale price. I prefer to let the market bear what it will bear. But GD is right. I've owned 3 SVXs, 2 had great engines (other problems, admittedly, but excellent engine donors), for a grand total of $800. I probably wouldn't scrap it, but I wouldn't pay much more than scrap value. Nothing on craigslist near you now. But here's one relatively near me: https://minneapolis.craigslist.org/ank/cto/d/92-subaru-svx/6721027602.html Still not a bargain, but what I found after about 5 minutes of searching. And you could still have it shipped across country, sell the lights, gauge cluster, wheels/tires and a few other things, and have an engine with known history, wiring, ecu and good head gaskets for less than $1100. But yea, good luck the with sale. Might have better luck in the "For Sale" section.1 point
-
1 pointLoL. You can buy whole SVX's for less than that. And with a blown HG no less? Bonus points that count toward sitting at the cool kids table no doubt. LOL. JDM import EZ30's with a warranty cost about that much. What exactly do you think you have there? Looks like a big question mark looking for an anchor chain to me. Scrap it.1 point
-
I completed it last night I replaced the hose with new and a new slave at first I still had issues but my wife came and she helped me out I was using a speed bleeder but I think what was happening was I opened the speed bleeder too much and air was getting in past the threads.. when I was pumping and about the time she came out to check on me the brake fluid was very foamy looking going up the tube into the bottle finally it was all clear about 5 min later and now the pedal feels better than before the CMC went out.1 point
-
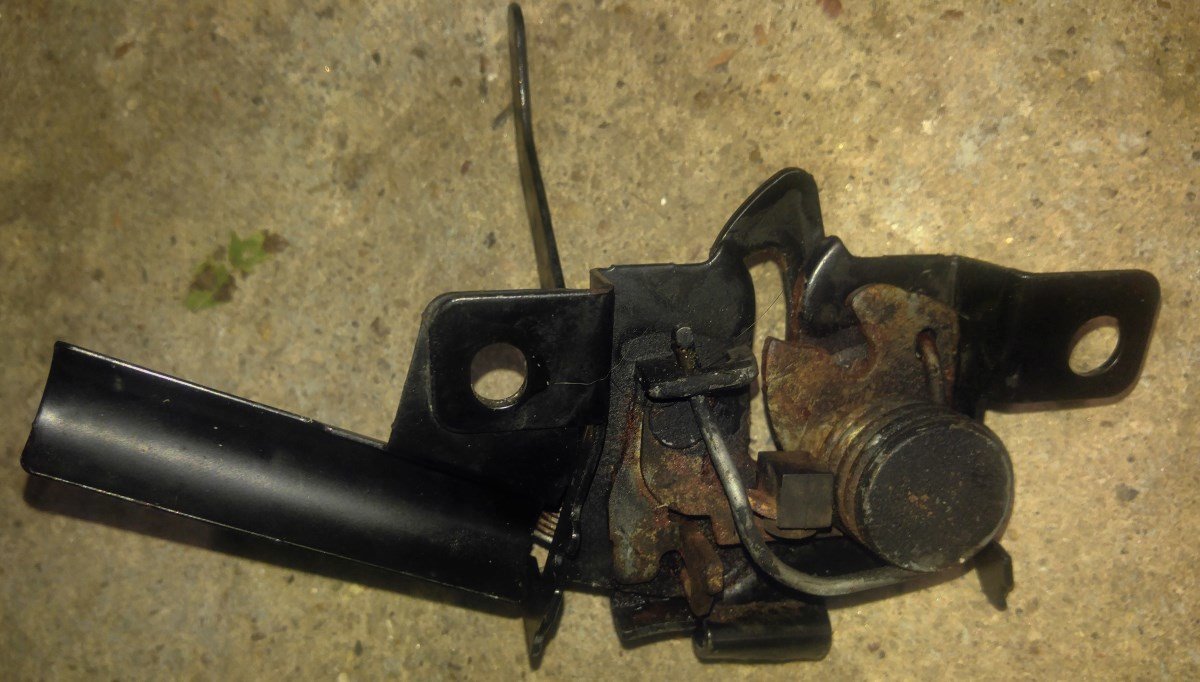
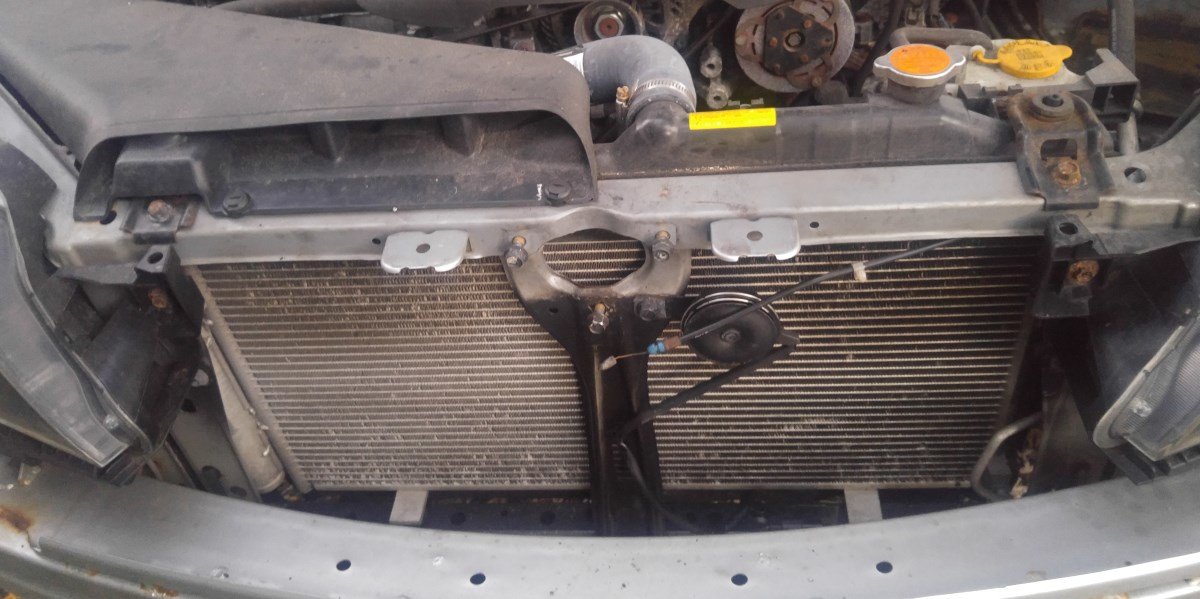
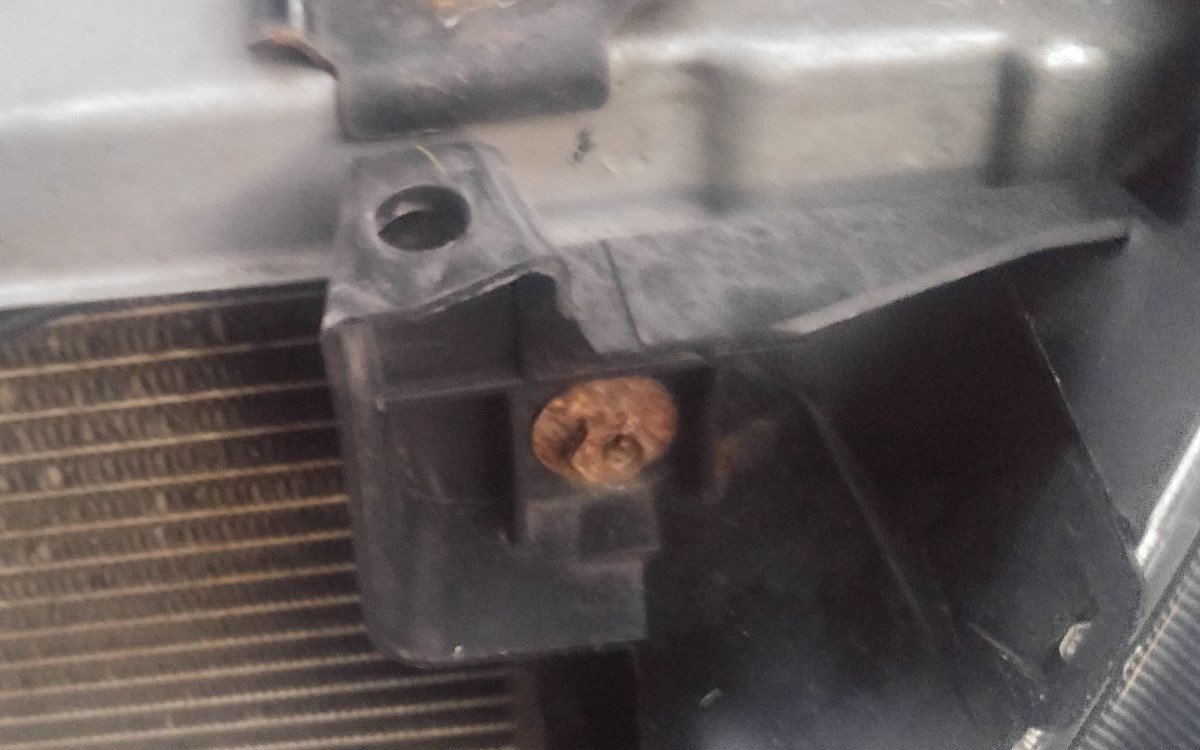
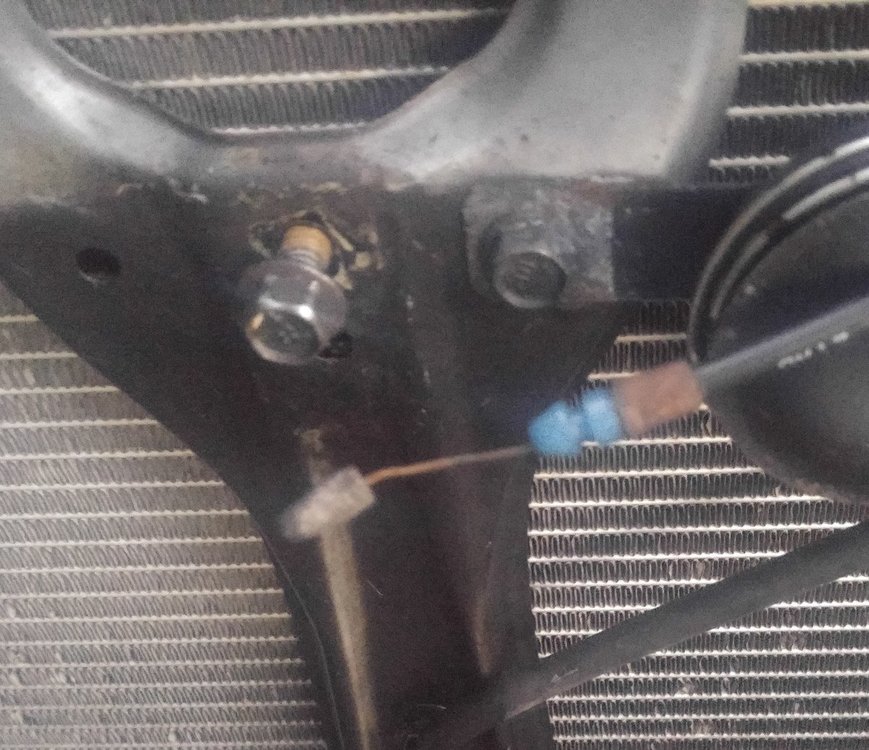
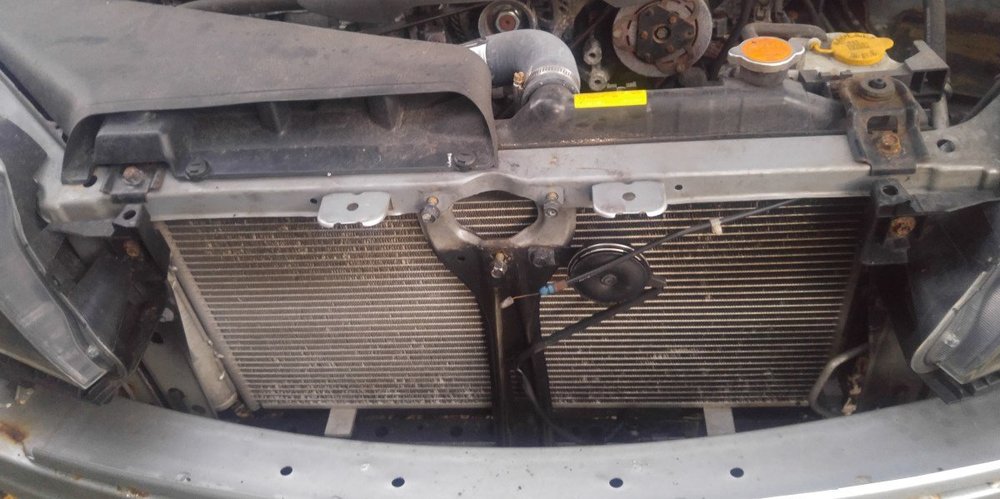
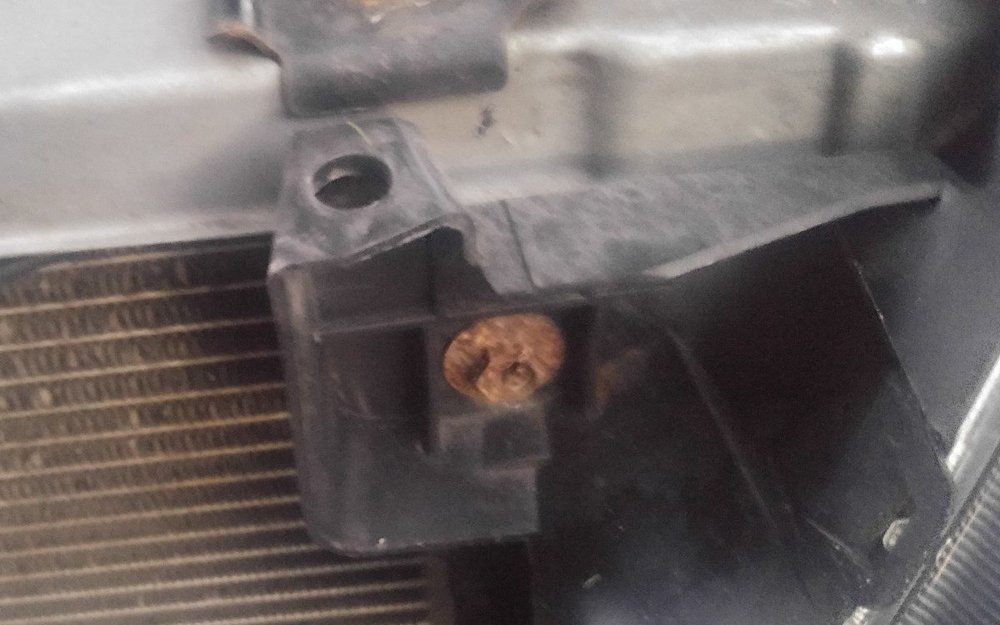
Thank you for your input. I ended up fixing the problem, but it took removing the front bumper cover to do it. Let me document the steps so that anyone in the future might benefit from my thread and make it a bit easier to proceed. Let me reiterate this was for a 2011 Impreza but i am thinking the WRX in the model series would be the same as well. 1. Start by removing all push-pin clips from the side wheel wells. I used a small phillips to slightly turn the clip and then a small flat blade to pry each of these out. 2. Remove all clips from under neath the bumper cover. There are ones at each corner and some more that were underneath the car. I had at least one that was missing. I used a special tool i had gotten from Harbor Freight which made this much easier. (i have another one from Blue Point) and this one is just as good) 3. I then removed the four push pin connectors from the top of the grille section by reaching in from the bottom. I did jack up the car and put it up on jack stands for extra clearance. The center two are pretty easy to get out and even fell below once i pressed on them. I have a picture of the grille-less front of the car to show where these push-pin clips are but you can easily see the center two from below. The side ones are much trickier. They are kind of tucked away into the bracket that also holds the headlights in place, I added a picture to show how it configured. I had to basically break away the bottom part of the push-pin clip to remove these clips. (I am planning on replacing any clips that were messed up or missing anyway) 4. At this point bumper cover is still in place being pinch by the hood. If you watch any of the myriad bumper cover removal videos out there they show the process which sounds like you are "ripping" the cover but the two sections basically clip together and you are just pulling them apart. If you successfully remove the top 4 clips you can start pulling the bumper cover directly away from the car. Before you completely remove it you will want to disconnect the fog lights connectors (if you have fog lights). 5. With the grille removed it is relatively easy to remove the 3 bolts holding the hood latch assembly. This was impossible with the grille in place and in fact the following steps would have been impossible with the grille in place. 6. Now the hood can move up a bit but is limited by the hood release cable that is still attached. Getting this off was a bit tricky since the cable is attached to the rear of the latch you cannot see. I got a mirror to help me a bit there. I removed the first part of the cable from the right hand side of the latch and this gives you a bit more slack in the cable. Removing the clip which holds the cable in place to the top of the radiator support gives you a bit more support as well. 7. Eventually after fiddling around with the end of the cable I was able to remove it entire from the latch assembly and the hood was free! I am leaning towards replacing this cable as the end looks kinked and a bit rusty although I do not relish doing this task. 8. So now the hood is open but old latch is still attached to hood the piece of hood that is retained by the latch. To remove this I took a pair of large "channellock" type pliers and squeezed between the two points where the cable was attached. It took a considerable amount of force to squeeze this together as the latch was very rusty. I included a picture of the rusty latch below. This obviously had not been visible prior to its removal. 9. So it is evening now and I am going to have to order another latch assembly, push-pin clips and a hood release cable as i mentioned. I did see a video that ChrisFix did where he suggested that the new cable be drawn in from the hood release inside the car after taping the new cable to the old cable. I shall try this. Let me know if anyone has any questions, but as they say this worked for me!

 1 point
 -
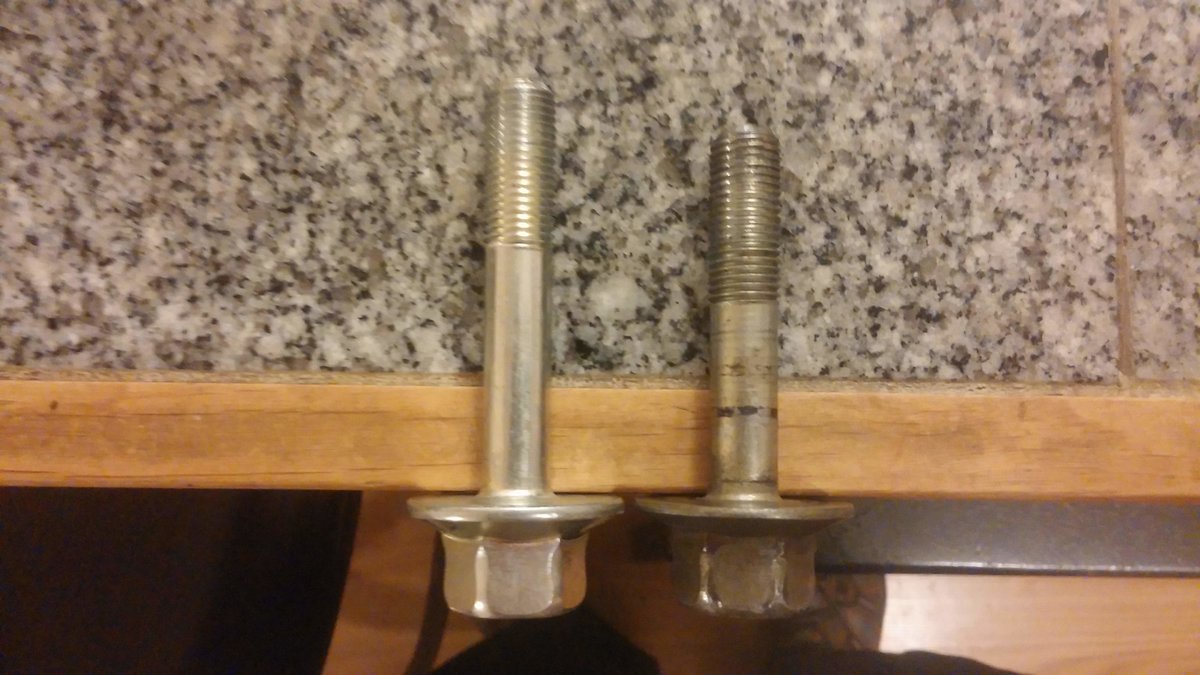
1 pointI just wanted to follow up and say thank you again for the info! I got the 73mm crank bolt for the 2000 2.5 and wala the extra 6mm or so was perfect. I also got a 13mm "bottom tap" to clean up the threads in the back of the hole but it was not needed. My mechanic got it torqued down , he was really impressed. Everyone was thinking the engine was toast or we needed to try one of those threaded inserts. And 13mm is a non standard bolt size so "fastener" supply type places just laugh when I asked. Its nice to have an alternator and power steering again. Fingers crossed it keeps the car on the road a few more years.
 1 point
 -
FINAL CHAPTER (I hope): Well, after months of the car starting just fine (after cleaning all the outside connections), it finally stopped starting altogether. No amount of cleaning would fix it. So I went ahead and yanked the starter and replaced the contacts inside the solenoid. I was going to replace the plunger too, but naturally the cheap-o set of parts I got on eBay included the WRONG size plunger (too short)! Too late to anything about it, so I just shined up the old plunger (which thankfully wasn't too worn) and re-used that. Once I got the old copper contacts out, it was obvious why the car refused to start. One side was was worn down to almost to razor thin and the other side about halfway (see pic). Put it all all back together and VROOOOM! Instant start, just like it's supposed to. Hopefully, I can get another 219K out of those contacts. :-)
 1 point
 -
With due respect, Why are you still active on a forum for a car that you clearly have now formed a great aversion to? Its those negative comments that drive people away. If you are going to attack someone for wanting a specific vehicle, perhaps your time would be better spent on the sections of the forum not specifically for THAT vehicle? Just seems like that behavior is Insane, but maybe I'm just grumpy today. -Charlie1 point
-
First disconnect the battery cable, very important. Then remove the two cables from the starter, the big high current cable and the spade connector. I think the big cable is held on with a 10mm or 12mm nut. The bottom starter nut has a 17mm head and is a slight pain to get at from the top. You can use a long socket extension and swing the socket wrench between the starter and the firewall, it's a bit easier to get it from below. The top starter bolt has a 14mm head and is pretty easy to remove. After everything is disconnected, the starter comes out the top. You have to play Tetris a bit to get it past other hoses and whatnot, but it's not a big deal. Important: The starter grounds through the top bolt, you'll notice the ground wire is bolted in there. It's extremely important to clean the mating surface between the starter and the transmission, and the surface between the ground lug and the starter. If you don't do that, it probalby won't work due to corrosion.1 point