bushytails
Members
-
Joined
-
Last visited
-
Good luck! I'm more of an lift-and-big-tires wolfy myself, so have never gone to such an event.
-
bushytails changed their profile photo
-
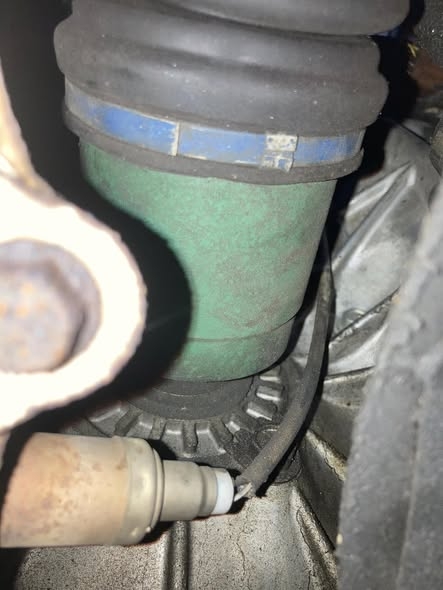
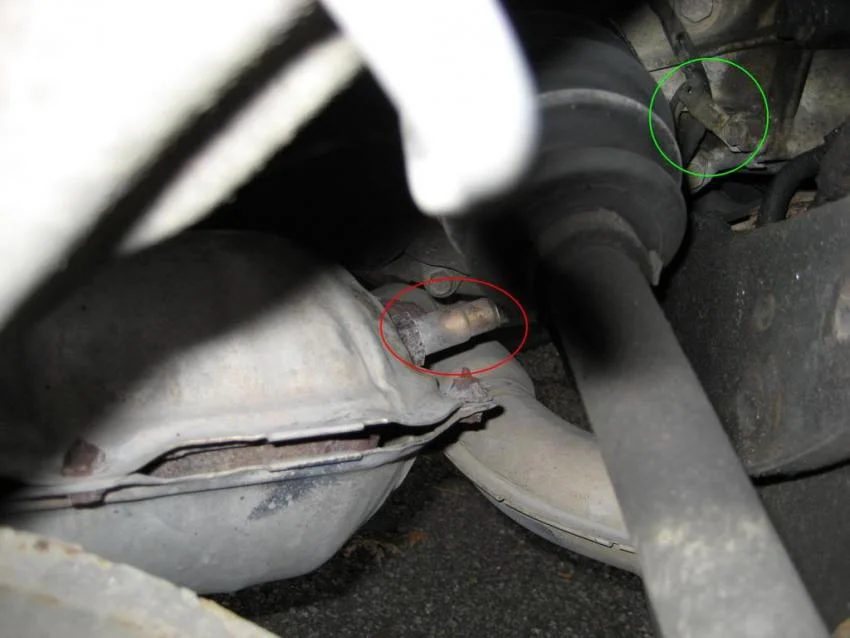
bushytails replied to DarkenLX's topic in 1990 to Present Legacy, Impreza, Outback, Forester, Baja, WRX&WrxSTI, SVXIntact factory wire routing keeps it away from the joint, but the clips and such tend to go missing after the first mechanic works on it... Attached is a couple more googled pics, of stock routing on a similar subaru, and of what happens when it's not in the clip. Just zip tie or otherwise secure the wire away from the joint.

-
bushytails replied to DarkenLX's topic in 1990 to Present Legacy, Impreza, Outback, Forester, Baja, WRX&WrxSTI, SVXI don't have one of those, but here's some google-fu. The sensor wire is always pretty close to the cv joint, and I've seen more than one get wrapped up and ripped off.
-
bushytails replied to 89Ru's topic in 1990 to Present Legacy, Impreza, Outback, Forester, Baja, WRX&WrxSTI, SVXCould be a broken cam between 1 and 3.
-
yay! :)
-
And did it fix the problem?
-
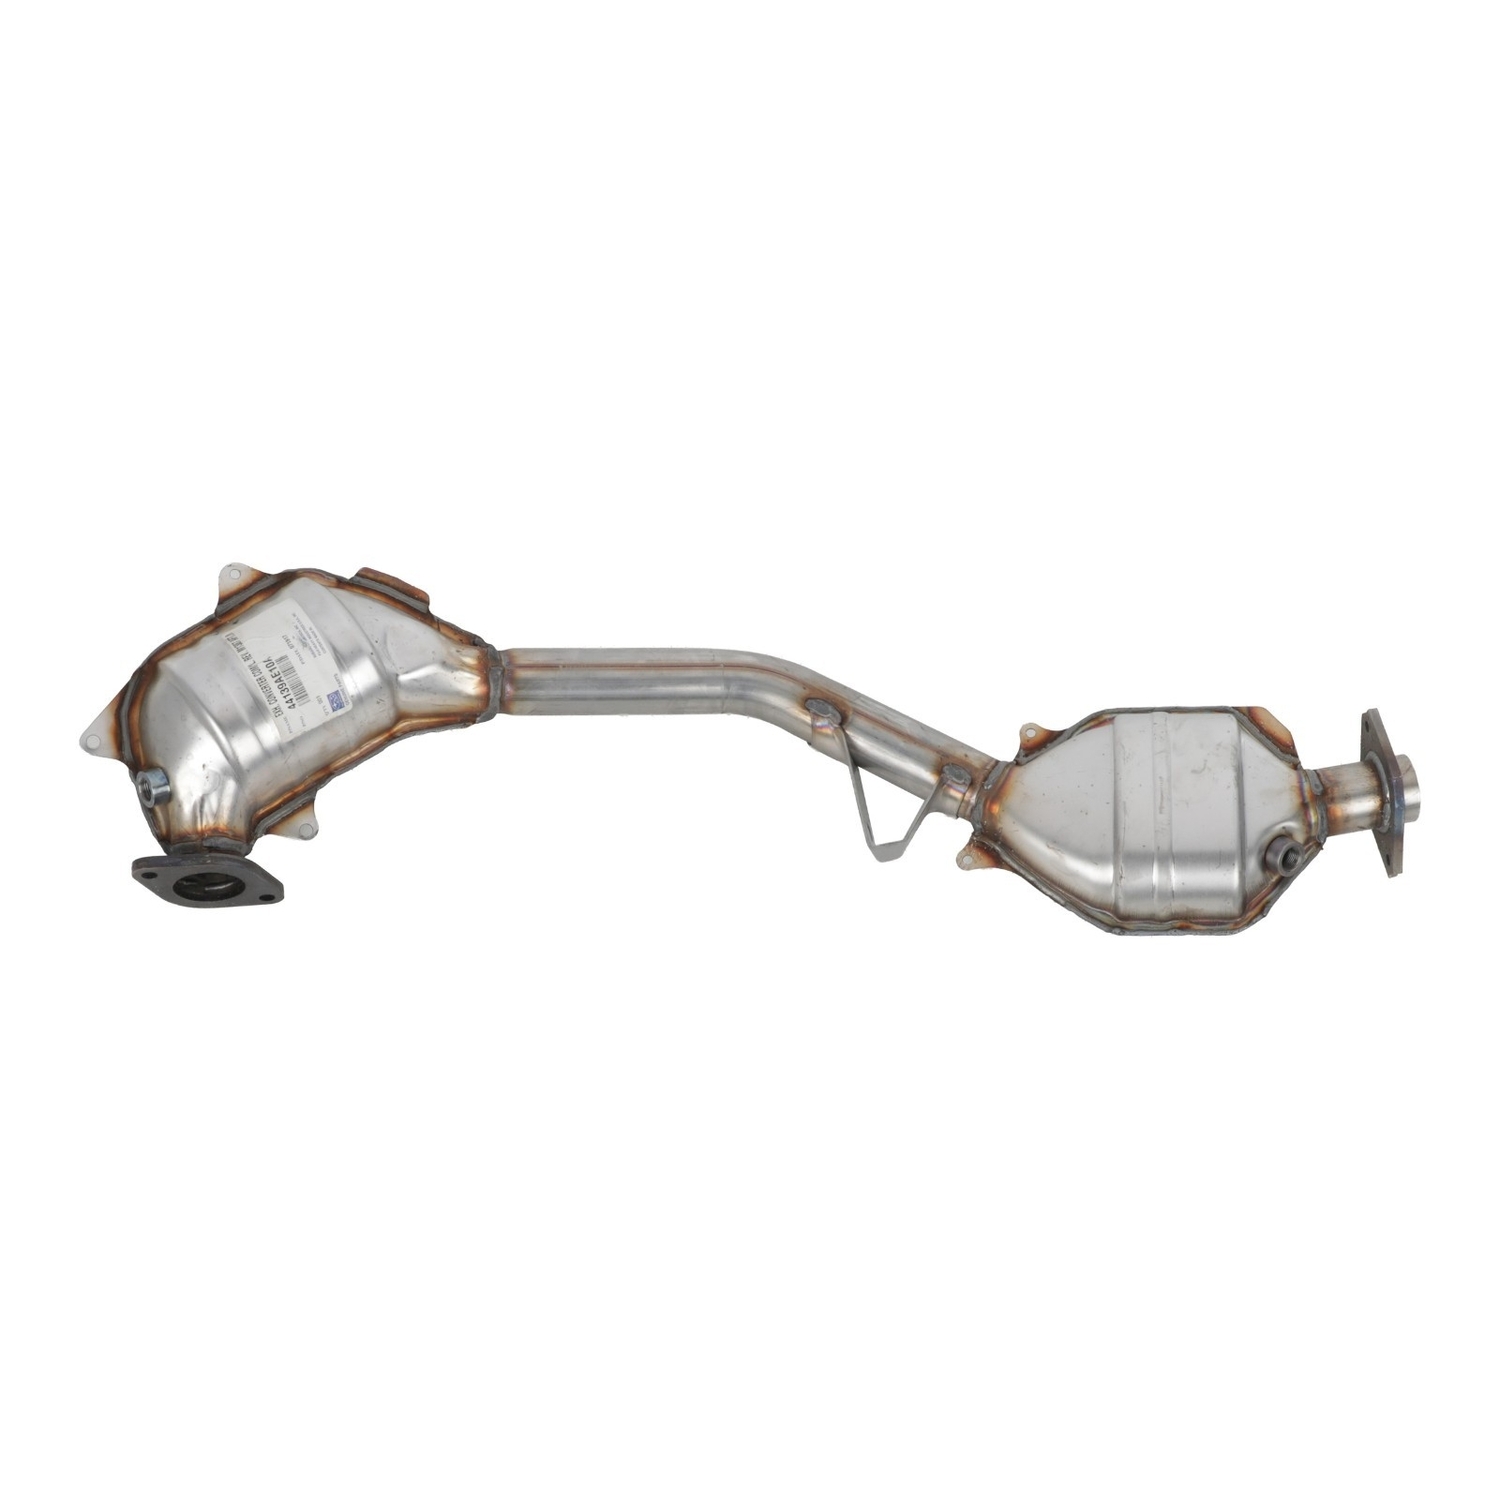
"Any suggestions on common causes" The most common cause... it's almost 40 years old. :) Lucas can help slow oil usage, as can switching to 10w40 or 20w50. If the turbo is leaking, replacing it is probably a good first repair step.
-
Your wheel bearings are shot, the hub nut (big 36mm hopefully with a cotter pin) is loose, or both. Jack up the wheel, release the e-brake, grab the wheel top and bottom, and wiggle. If the whole axle wiggles, including the cv joint cup, your wheel bearings are bad. If just the drive flange wiggles on the axle, your hub nut is loose. Remove cotter pin, put tranny in 1st, tighten until engine starts to turn, put e-brake on, tighten until e-brake slips, lower down, tighten really bloody tight (150ftlbs), keep tightening until cotter pin goes back in. This multi-step tightening process is to make sure the drive flange ends up centered on the shaft and bearings - if you just crank it down with weight on the wheel, I've had them end up crooked. Edit: Another thing I've seen is your caliper has come loose (bottom bolt backed out) and is rubbing on the wheel, but that usually causes loud clunks and occasional lockups, not grinding and occasional lockups.
-
I too hate drum brakes... That's why I don't have any anymore! :P
-
That's for the fairly rare Carter 1-barrel carb. You could get a matching Carter 1-barrel, or slap anything else on for a good horsepower gain. A 49-state Hitachi is the easiest manifold+carb swap, and parts are easier to get. EA81, not EA18, BTW. If you have access to TIG welding, you could probably weld on a generic Weber converter kit. Here's a Carter that might bolt directly up: https://www.ebay.com/itm/168145191200 Listing doesn't say what it's from, but it looks like the right mount, and even the correct subaru plugs, so it might be an exact match. But, as I said, you'll get better performance with a Hitachi intake swap, and much much much better parts availability.
-
I had an EA81 for a while where every couple months I had to add a bit of oil to the dist to keep it quiet...
-
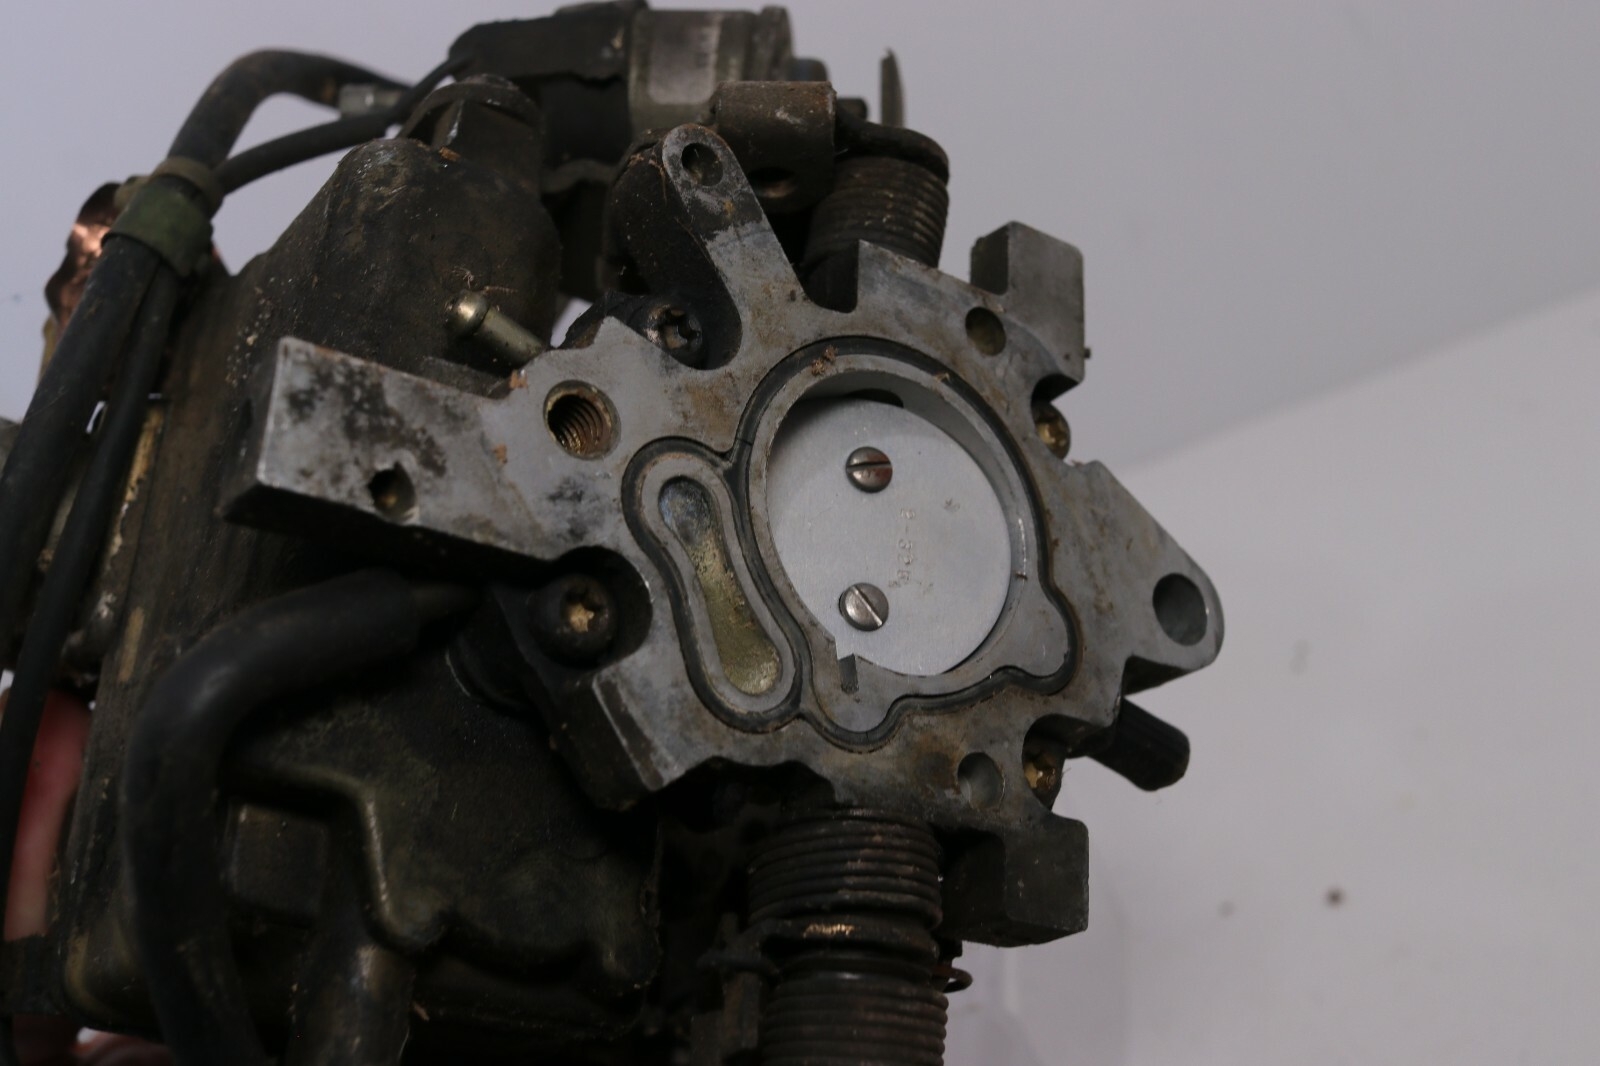
It's plugged on GLs, and has a switch on DLs, as the text says. Note the thread is 1/8 BSPT, not 1/8 NPT, but they're similar enough it usually fits. Also note if you swap in a DL engine into a GL, and then plug the wire into the switch, where the wire is exactly the length and position and connector to plug onto the switch, you cook the dash gauge. Seen that done twice now...
-
The spring clips need to be pushed in so they go in the notch in the pad, not sticking out on top.
-
I think there's a hidden filter in the injector. You might try seeing if it's got a chunk of decaying fuel line or something stuck in it, that might happen to the new injector.
-
The IAC has no effect at open throttle, so it's easy to rule out anything to do with it.