Leaderboard
-
GeneralDisorder
Members4Points23391Posts -
Subaru Scott
Members2Points610Posts -
Sir_wankel
Members1Points10Posts -
moosens
Members1Points7873Posts


Popular Content
Showing content with the highest reputation on 07/17/18 in Posts
-
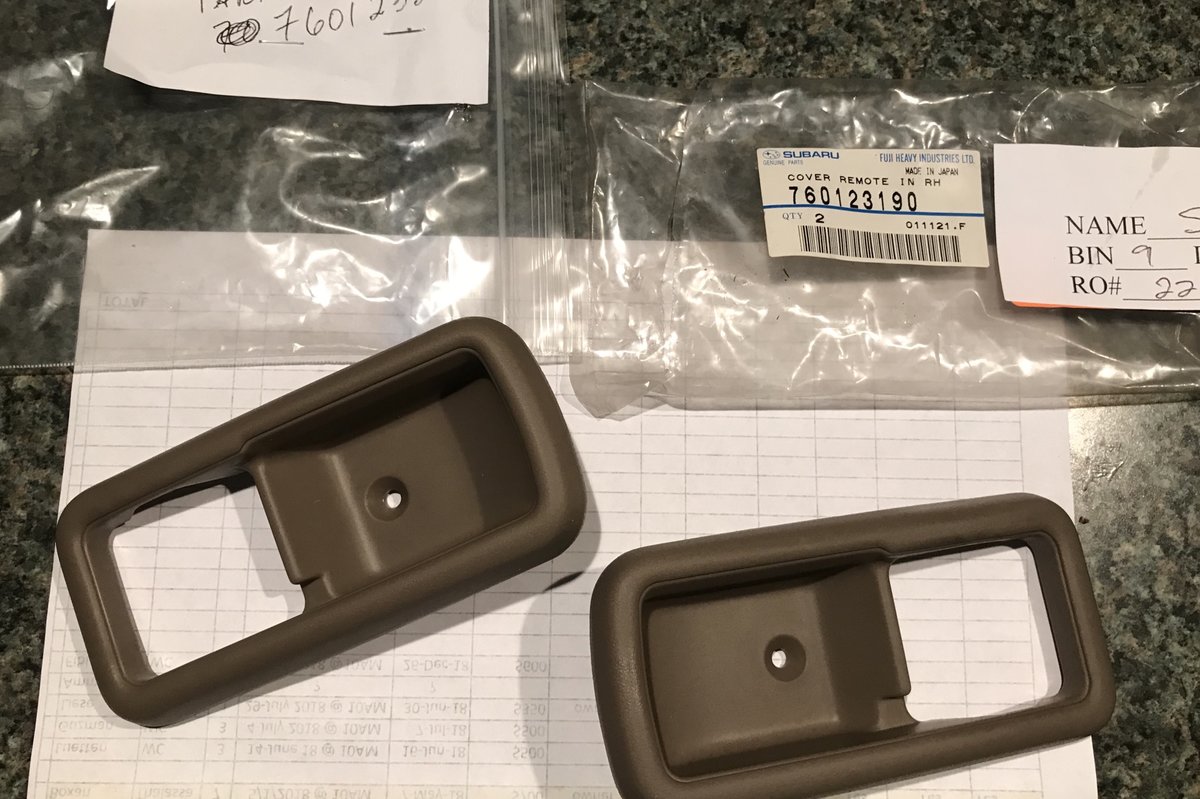
Have a look at these, boys! Still available from Subaru in tan.
 2 points
 -
2 pointsThey introduced the HD model when the 3.6 got the CVT. It's also used on the 15+ WRX's. I am not sure when they quit using the non-HD unit on the NA 4 cylinders. Subaru is replacing the older CVT's at an alarming rate. They extended the warranty to 100k on all of them. We do believe that some of the rate of failure is due to extended fluid intervals. Fluid is cheap - transmissions aren't. We recommend all auto's - CVT or 4/5EAT have the fluid drain/fill done every 60k with synthetic or every 30k with the stock fluids. We prefer Amsoil ATF and CVT fluid and are comfortable with it at an "extended" interval of 60k. GD2 points
-
Old lug nut, fender washer, and some grease is the easiest DIY way. Or pull the hub off and hammer it in with a socket supporting the hub on the threaded side. GD2 points
-
1 pointI've had four late 90's subarus. The only thing that caused stalling to a stop was a failing MAF. Cleaning the MAF is a waste of time in my opinion. The problem is in the solid state electronics. In my case, it didn't set a code for the first 4 times it stalled the car. Finally it did. The OP is in a position that he has to start guessing. The first guess should be to go get a used MAF and put it in. It only takes 5 minutes.1 point
-
I use a set of right angle needle nose pliers to turn the bearing carrier. If you're concerned that it's not done up tight enough I'd be lifting the wheel on that side, gearbox in neutral and while applying gentle pressure with the needle nose pliers in the direction to tighten up as you rotate the lifted wheel in the same direction. You can't over tighten this really unless you're reefing on it with a bar and a suitable attachment. The pressure you apply will be playing against the other bearing carrier that by the sounds of things hasn't been touched. So you should be able to get this sorted for trouble free running for years to come if it still feels loose after this fix I'd say there's another issue or you're being highly critical of the vehicle since you did the work yourself (I used to be like this too). Cheers Bennie1 point
-
1 point
-
Thanks guys for the tips. @ebarb @jono @DaveT @Dee2. Had a friend of mine who's good with older cars look at it. Seems that the distributor was firing in the wrong order. Moved it a few teeth and aligned with tdc and it turned right over!1 point
-
1 point+1 Both compressors have roughly the same internal volume for moving freon, but the Lexus has a variable displacement compressor where the old school Brat compressor is a fixed displacement compressor so it's pumping full tilt all the time (unless the pressure switch shuts it off). The variable displacement may be mechanical or ECU controlled and is based off system pressures, flow and temp to yield acceptable cooling with minimal load on the engine to keep your MPGs up. Add to that, as you stated, the cabin size difference (Lexus being 2-3x the volume of a Brat) and the fact that R134 does not coll as well as R12 and there you have it. Your Lexus may also be having issues. Low charge, sticky temp door, plugged or stuck orifice/TXV or a cooling fan or condensor air flow issue. Give me old school AC any day.1 point
-
A few hours before you posted I did the hack method. Installed new alternator previous evening , left battery unhooked , then came back the next afternoon with my fusible link and hooked it up and looked and listened. All seemed well. My personal “meter” showed GO ! And so I did. So many things going on I’ve only got minutes sometimes , at certain moments , to evaluate , diagnose , and repair. Chunks of time are tough right now. So I really appreciate all the help !!! Sorry to be a bit frazzled at times. I work the worst possible hours and sleep is naps. Makes for difficulties with memory , vocabulary , ambition , etc etc Thanks for understanding.1 point
-
1 pointProgress on the speedomater head Here's the back when I started. Note the back of the speedo unit poking out of the box on the right side half in pic. IMG_2962 by Dans Subaru, on Flickr Here's the unit broken down with The electronic speedo head installed. Note the amazingly conveniently placed screw in the top right of the speedo arc. Tiny pilot hole and a scavenged tiny trim screw and it's perfect. Thank Subaru! IMG_2967 by Dans Subaru, on Flickr IMG_2970 by Dans Subaru, on Flickr And with the bezel installed IMG_2969 by Dans Subaru, on Flickr Here is a pic of the back. I simply drilled holes in the plastic directly over the new speedo units screw/mounting holes where the plastic trace makes its electric connections to the unit. All nicely labeled on the board, although I didn't get pics of that. Check out the convienient location of the ground pin that allowed me to use the XT6 trace. I will probably run a jumper from the actual wire to a new ring terminal direct just in case. But I thought thanks again Subaru! IMG_2971 by Dans Subaru, on Flickr And pics of the Tach swap, 6cyl to 4cyl. 2 units side by side. I swapped just the Tach unit because the gauges in the 4 cyl cluster had some significant corrosion, so I opted to keep the better ones form the car. Hopefully the tach works. this part was a direct swap requiring only a screw driver. IMG_2966 by Dans Subaru, on Flickr Testing soon to come. Still have to attach the wires for the Speedo. Should be no problem, although I might want to make a few spacers to slide in under the plastic. There is a gap that won't ever pull tight, and I don't want tension on the connections to the board. So some work there still. I'll get pics before it goes back in of the final wiring. Gotta find a Dropping restior pack for the trans!1 point
-
1 point
-