Oregon Bugaru
-
Posts
28 -
Joined
-
Last visited
Content Type
Profiles
Forums
Gallery
Store
Everything posted by Oregon Bugaru
-
valve covers are pretty easy, and Elite was right about changing the grommets, is a simple extra step to give peace of mind that it was done right. If you go with the liquid gasket it's really easy to put too much on the surface. Just be mindful of that. I had a first gen legacy that would leak oil right onto the exhaust manifold. Whenever the car would stop smoking after going up a hill I would know it's time to check and add more engine oil... Cause there wasn't enough in there to leak out....
-
Whoah! long time for me not to reply on this build! sorry about that. But yeah the weight now that you mention it should be really close to the same. Just double the ponies about. I'm gonna put up some more photos this week of all the rest of the progress that I have been making. I have a goal of a mid May test run. Fingers crossed!
-

EA82T plumbing question
Oregon Bugaru replied to Oregon Bugaru's topic in Old Gen.: 80's GL/DL/XT/Loyales...
Thanks man! I got the fan enclosure idea from a couple other people who had installed the radiators up front. My main goal with that is to keep from superheating the fuel tank. And yeah, the front end is soooo light on that thing, cornering will be a definite challenge. I'm thinking that it will require stiffening the rear suspension and lowering the front end a little bit. and putting something heavy up front like a bag of cement or something hahaha!! I almost finished up my plumbing of the fuel system on sunday, but I got caught up riding the motorcycle instead. I'll update the thread this week sometime with some more photos and info of the progress. Thanks for the interest in the build though man. It's a long going project needing to get finished. -
EA82T plumbing question
Oregon Bugaru replied to Oregon Bugaru's topic in Old Gen.: 80's GL/DL/XT/Loyales...
Dude its been so long since I've been on here, I completely spaced that I had posted pics and progress of my bugaru on here... kinda feeling stupid now. I'll update my vw/Subaru thread later today with some good pictures and info. -
EA82T plumbing question
Oregon Bugaru replied to Oregon Bugaru's topic in Old Gen.: 80's GL/DL/XT/Loyales...
Oh snap! Nice dude! That just made my day! So connected to that port is an evap line from the tank then? The engine is in a 74 vw super beetle. I'm plumbing all the fuel lines yes right now. So I'm thinking if that's the case, I could run my evap lines from the fuel tank, to the third port, and utilize the original Subaru canister. That sounds reasonable right? I have a thread going on TheSamba to watch the build going if you wanna check it http://www.thesamba.com/vw/forum/viewtopic.php?p=7155977&highlight=&sid=cc7b5fde6dd495ca1179e63e99b20848#7155977 Thanks again man! I owe you for that fast reply. -
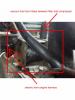
I have a 1.8L EA series MPFI turbo model engine. It's out of an 87 gl-10 sedan four door. I am re-plumbing the thing after its been apart for years and need some help. Next to the fuel pressure regulator there are three steel lines. One is high pressure fuel from the pump. The second is coming off the regulator and going back to the fuel tank as return. But the third... No idea... Any hunches on what needs to be connected to it? I traced it to both the throttle body and thermomvalve. Other than that I am stumped.. http://images.thesamba.com/vw/gallery/pix/1196390.jpg"
-
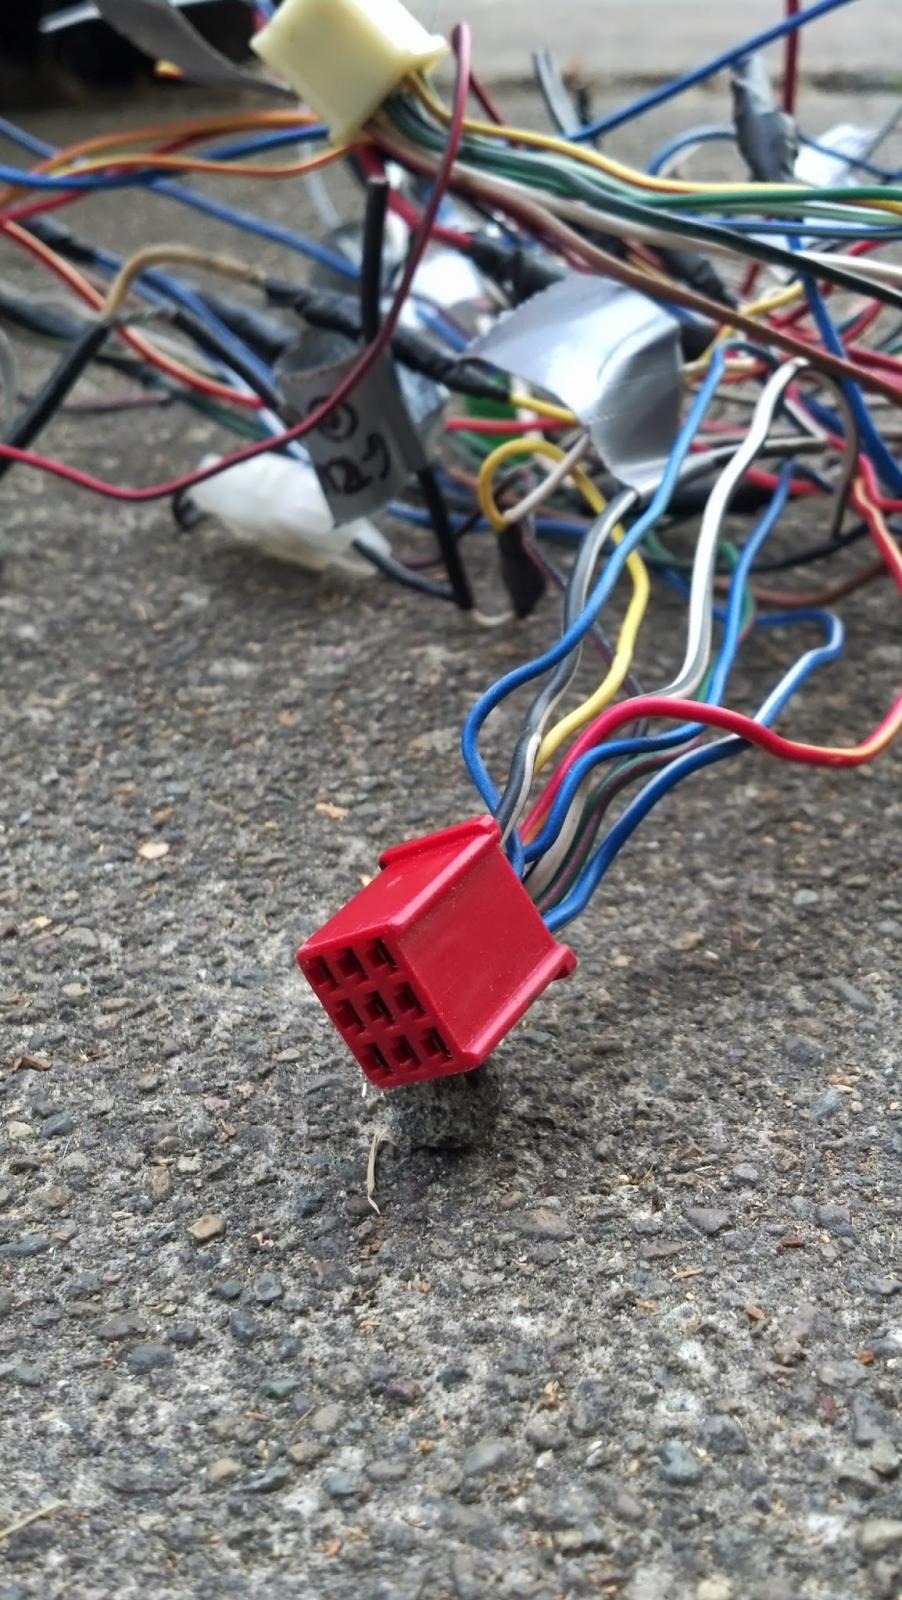
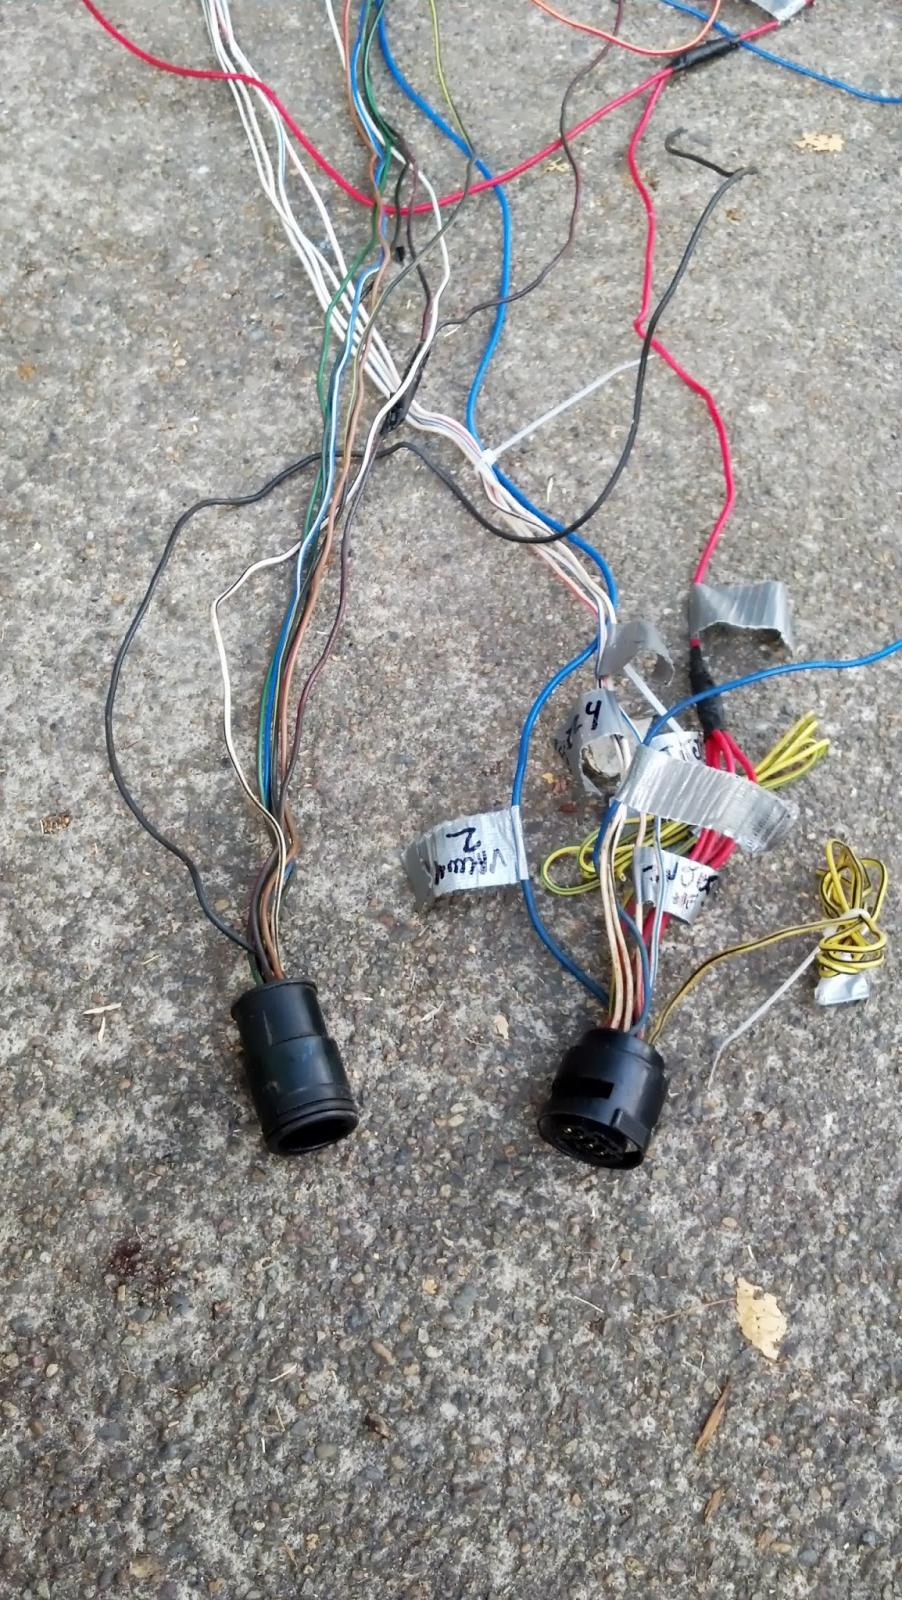
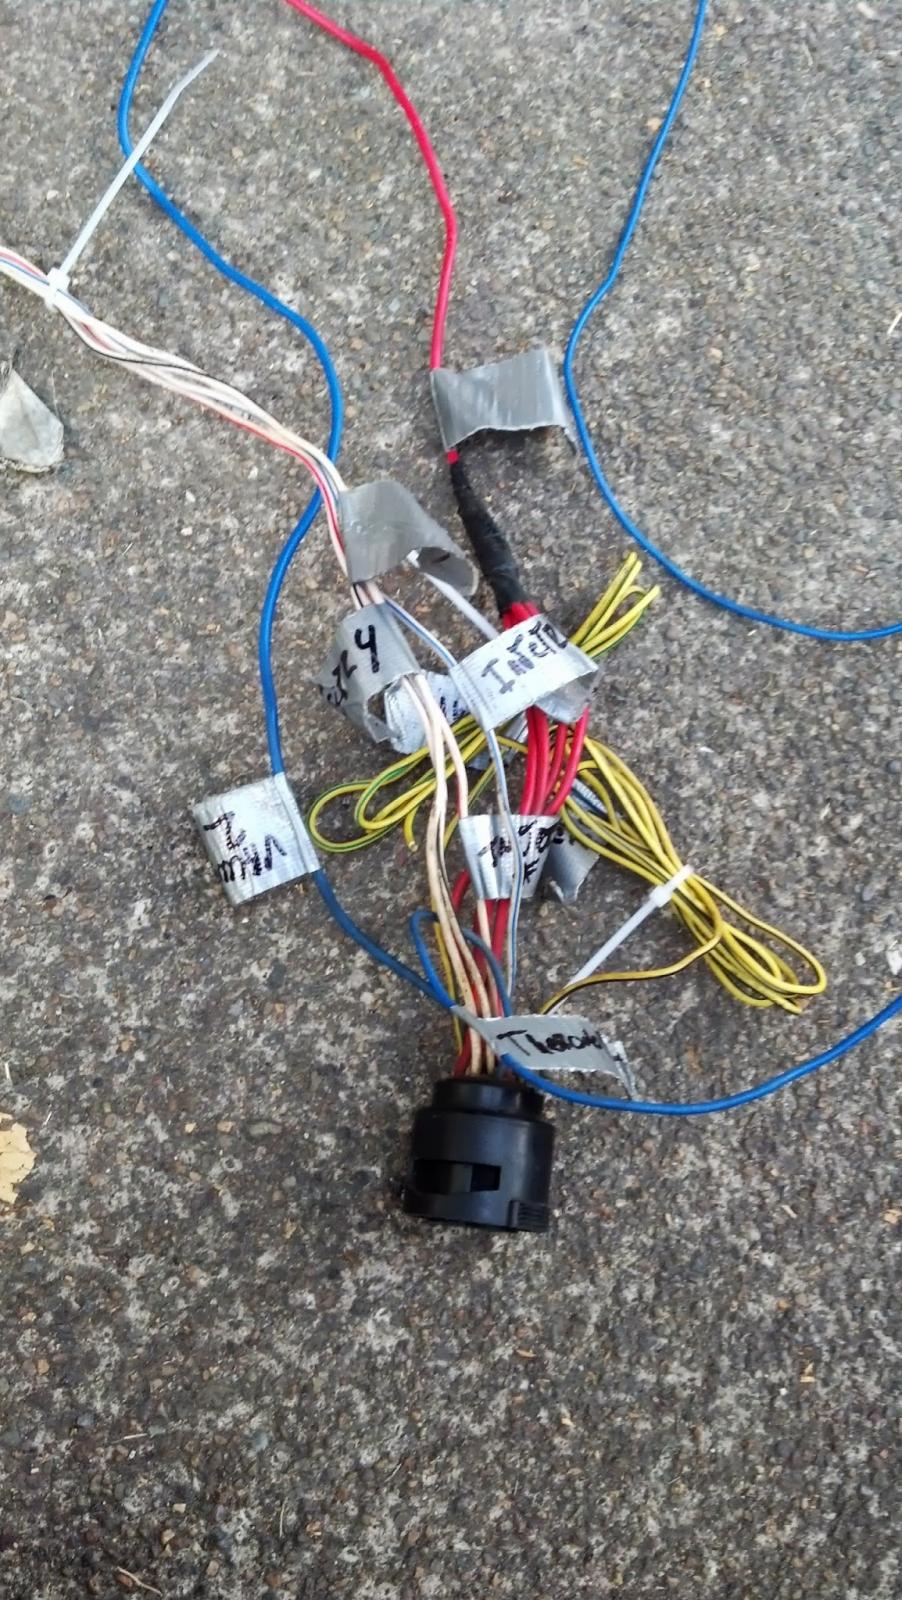
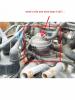
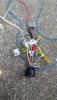
I need help again.... Its been about two years since these looms were taken from the vehicle and my photographic memory needs some photoshop... This red connector... Its right next to the ecu, and is pretty integrated.... Any ideas on where it connected to?

-
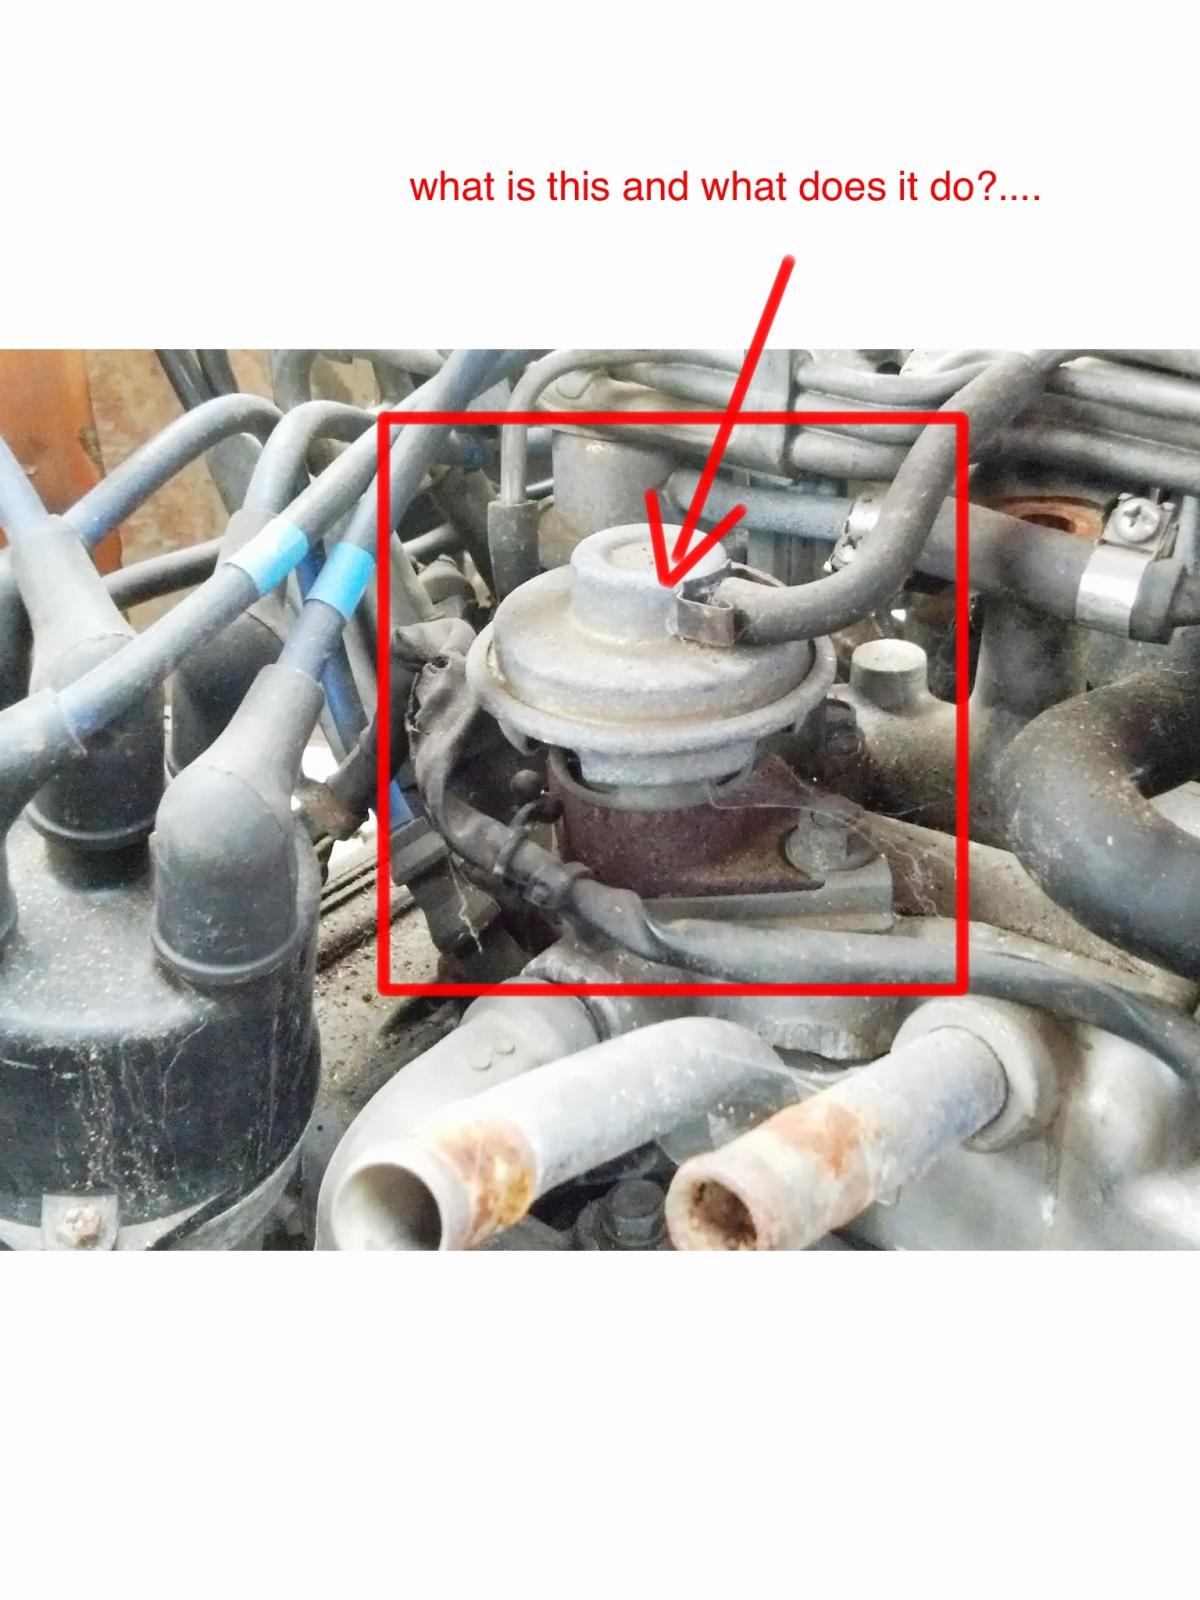
Sweet!! Thanks man!!! I may be moving to portland area or Boulder CO, so keeping it emission compliant is a must. In goes the charcoal canister, egr, CAT, and so on. Thanks for second pair of eyes. My guess is that the computer tells the solenoid to open up to the egr valve when its not boosting and when the o2 sensor sniffs and says it needs some dirty air in the intake
-
Successfully got the essential wiring for the suby engine isolated. Just need to add a new circuit from the bus bar up front to power the ECU, injectors, and ignition system.

-
New to the crew
Oregon Bugaru replied to Oregon Bugaru's topic in Meet n' Greet. Your USMB Welcome Center
Thanks Timber! I should try my desktop then for sure, I tried to do that copy and paste tactic with phone and iPad and couldn't make it work. -
That's an awesome platform to work with! Tons of room for modification.
-
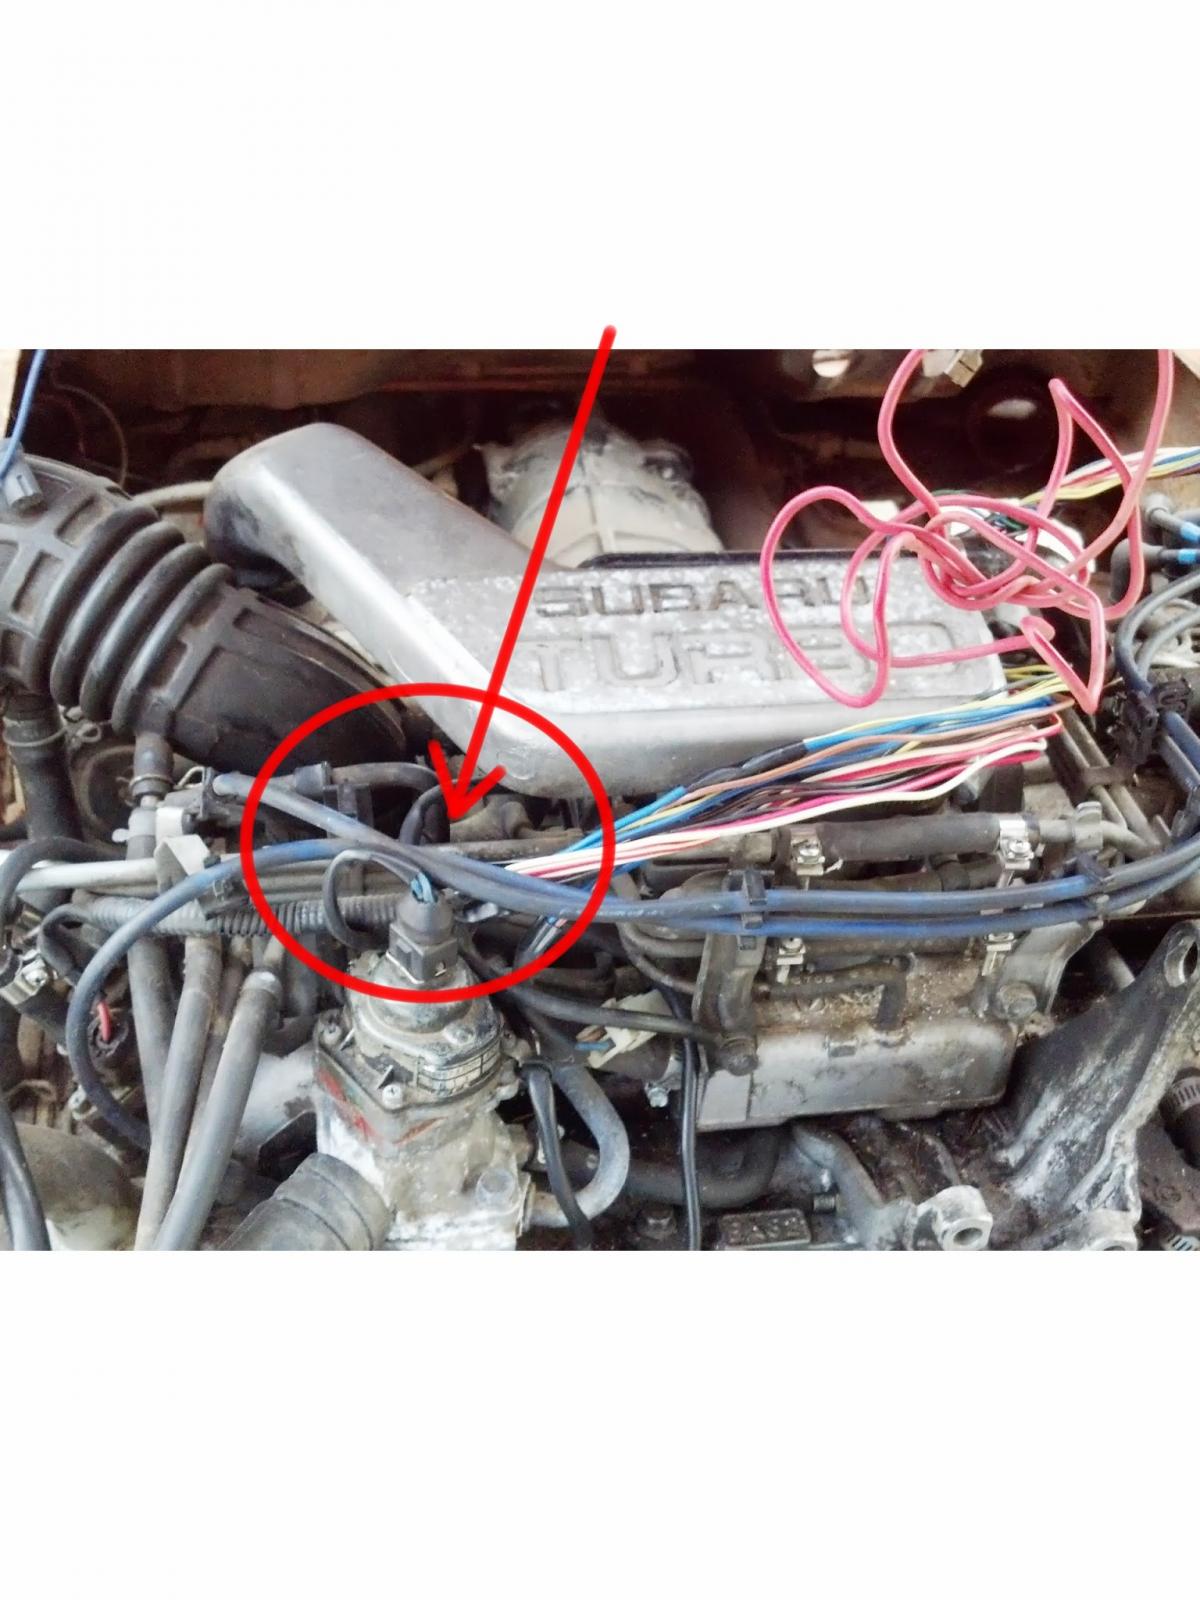
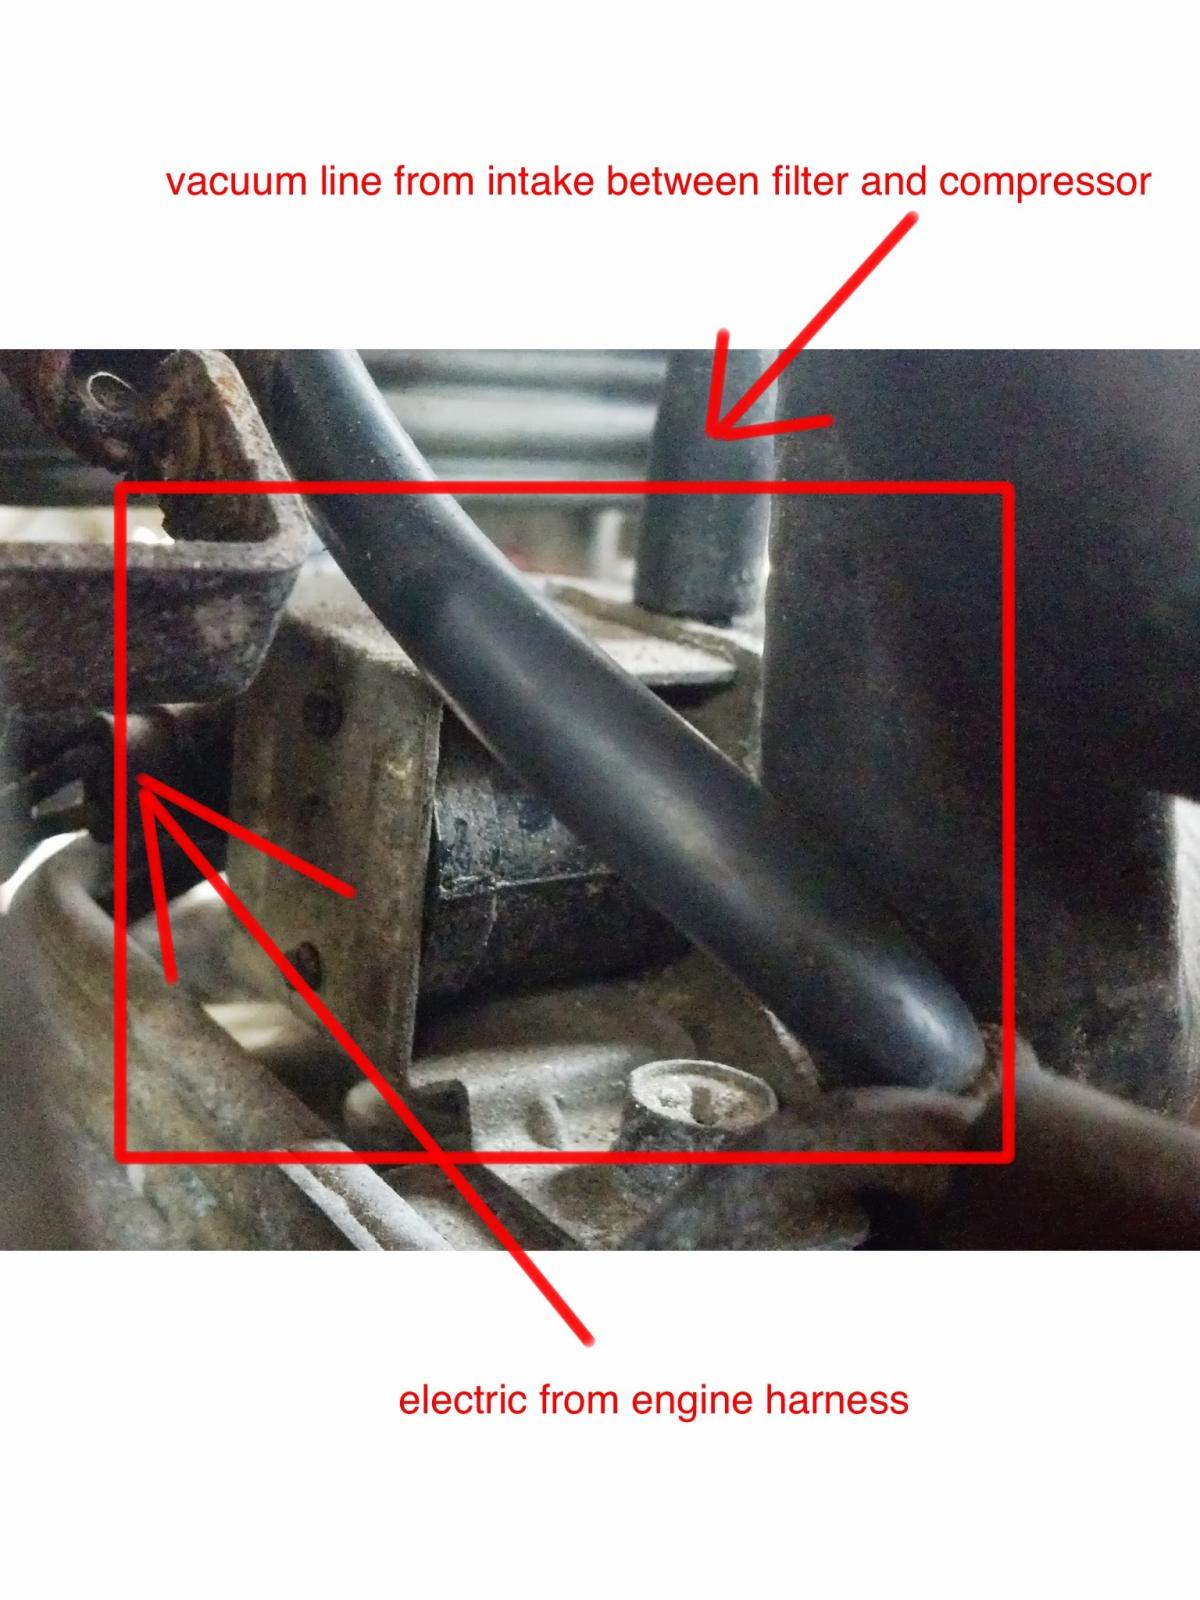
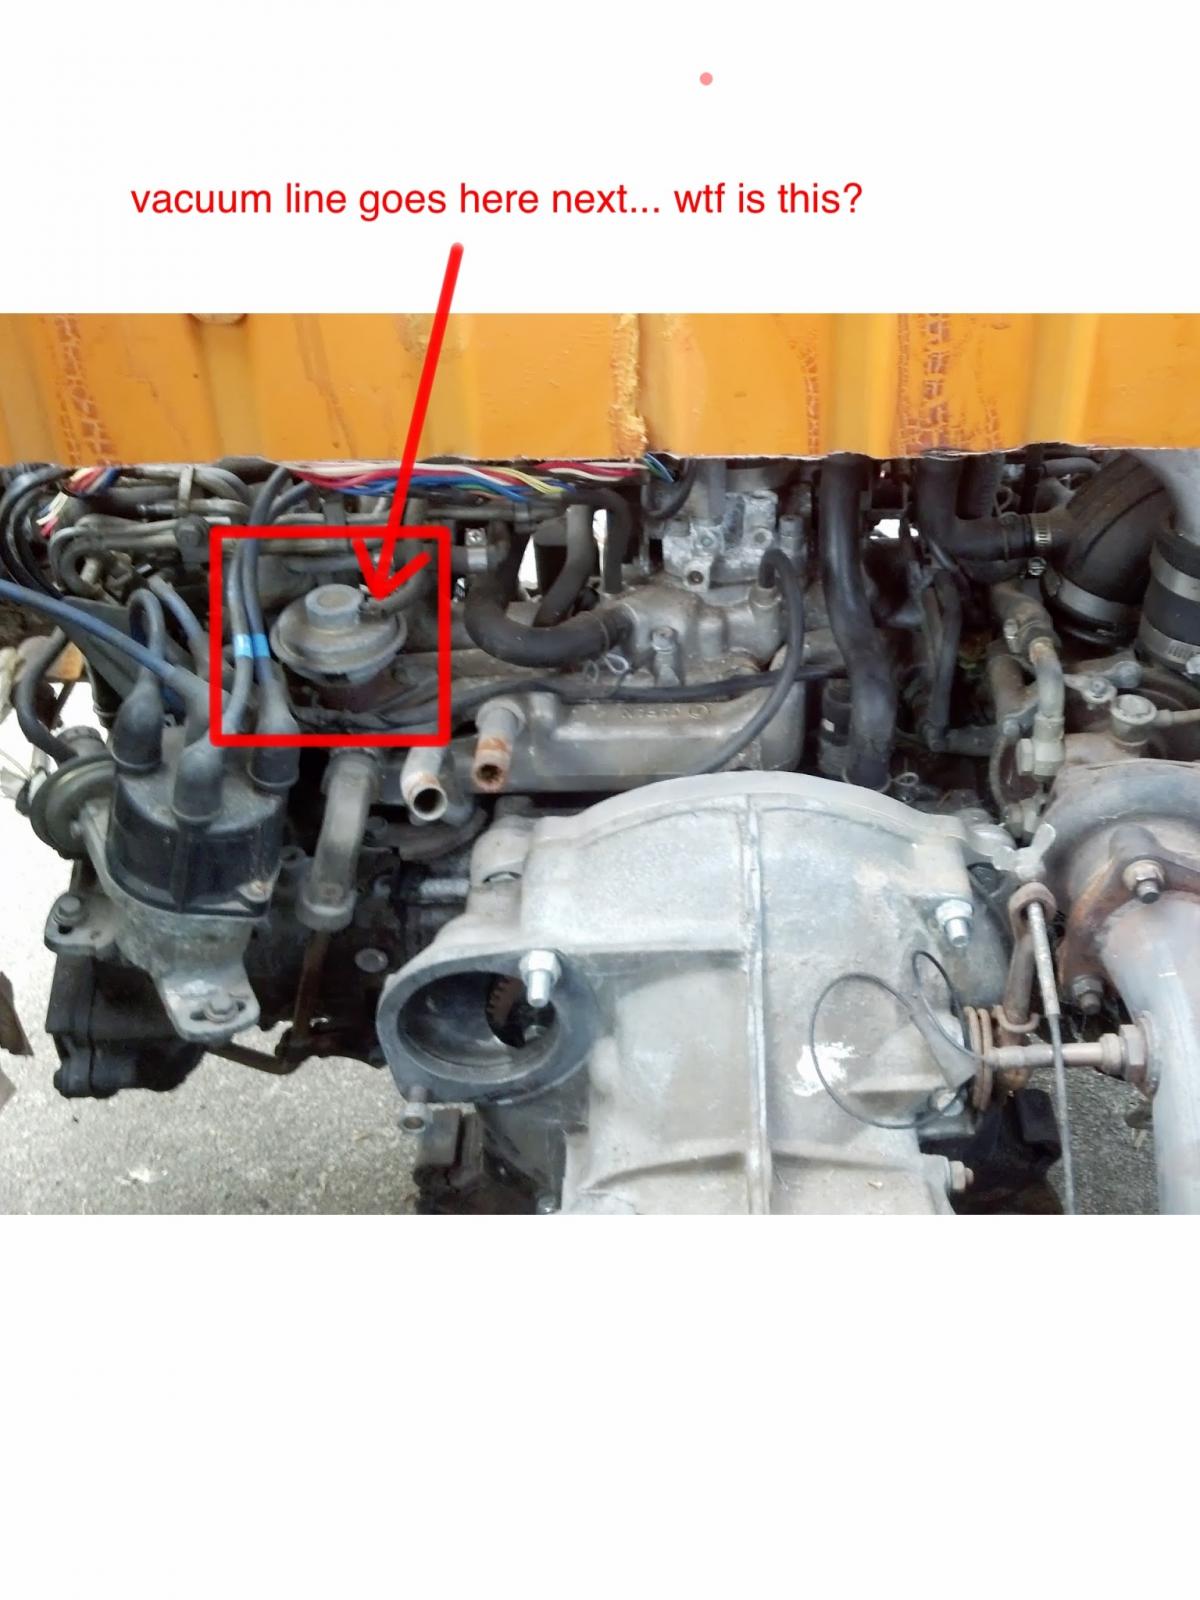
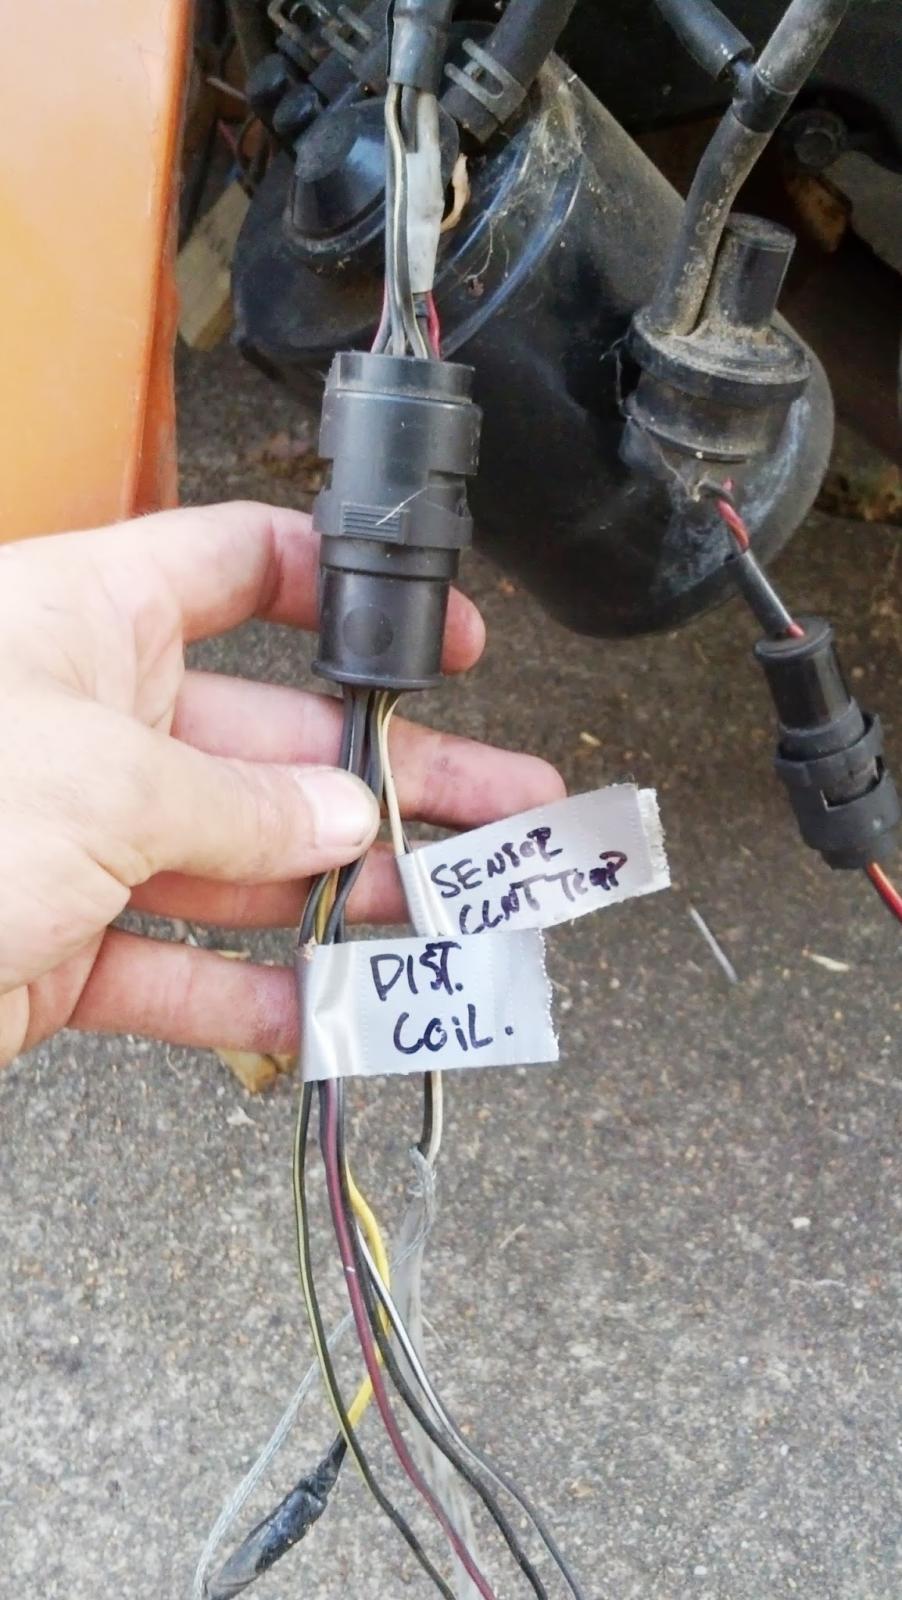
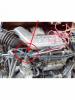
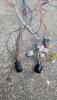
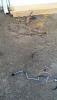
Alright suby folk! I have triva for you! It's a game of "WTF is That and What Does it Do?" Following the photos from left to right. 1> two wires go to this solenoid looking deal that has vacuum lines going to it... 2> from the solenoid an air line travels to the backside of the engine where it pulls on this vacuum device.. 3> what the heck is this circuit and what does it do? Is it part of evap picking up exhaust has and dumping it back into intake for emissions? (I should add that from the vacuum device near the distributor there is a copper line going down to the exhaust port where the manifold bolts up...) Help would be awesome! Im don't have any literature to guide me along, so I'm swimming just as far as i can see.


-
New to the crew
Oregon Bugaru replied to Oregon Bugaru's topic in Meet n' Greet. Your USMB Welcome Center
Sooooo I am feeling pretty Un-savy right about now.... How do y'all get photos to paste into your 'replies' full size? I see photo, photo, photo, comment, photo.. Etc. I'm working with my Ipad and all i've figured out is 'attachments'.... They don't quite tell the story the same.... Any ideas? Do i have to use my desktop computer and just paste the photos in? -
Thank!! Me too!! Kinda wish it would work on itself while I'm at my day job but I keep forgetting to push the autopilot button when I leave...
-
Had you discovered the cause of why the 1.8 loyal was blowing head gaskets? I'm working with a 1.8 turbo mpfi and haven't before. Just wondering if there are some things to look out for.
-
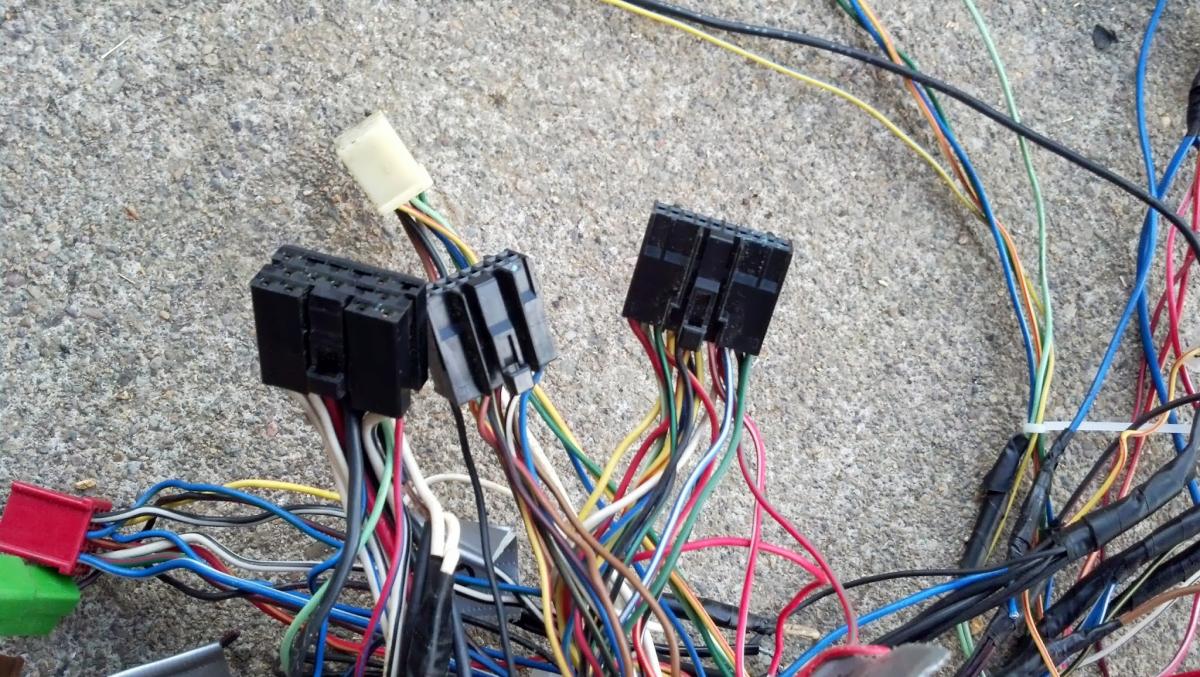
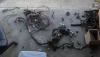
I managed in a couple hours after work to narrow down and label one side of the engine harness for all the injectors, instrument readouts, and ignition. I cant wait to button everything back up in newer tidier looms tomorrow is labeling all signal wires for the sensors. I may have a question or two before i am done with this stage i feel.... When i am all done with wiring It is an ambitious goal of mine to map my looms for anyone who wants to follow in my footsteps (with jetpack speed). Let me know if you have questions or advise on is wiring switch. My main concern right now is making sure i get power bussed out to the ECU, injectors, and coil correctly. More updates soon.


-
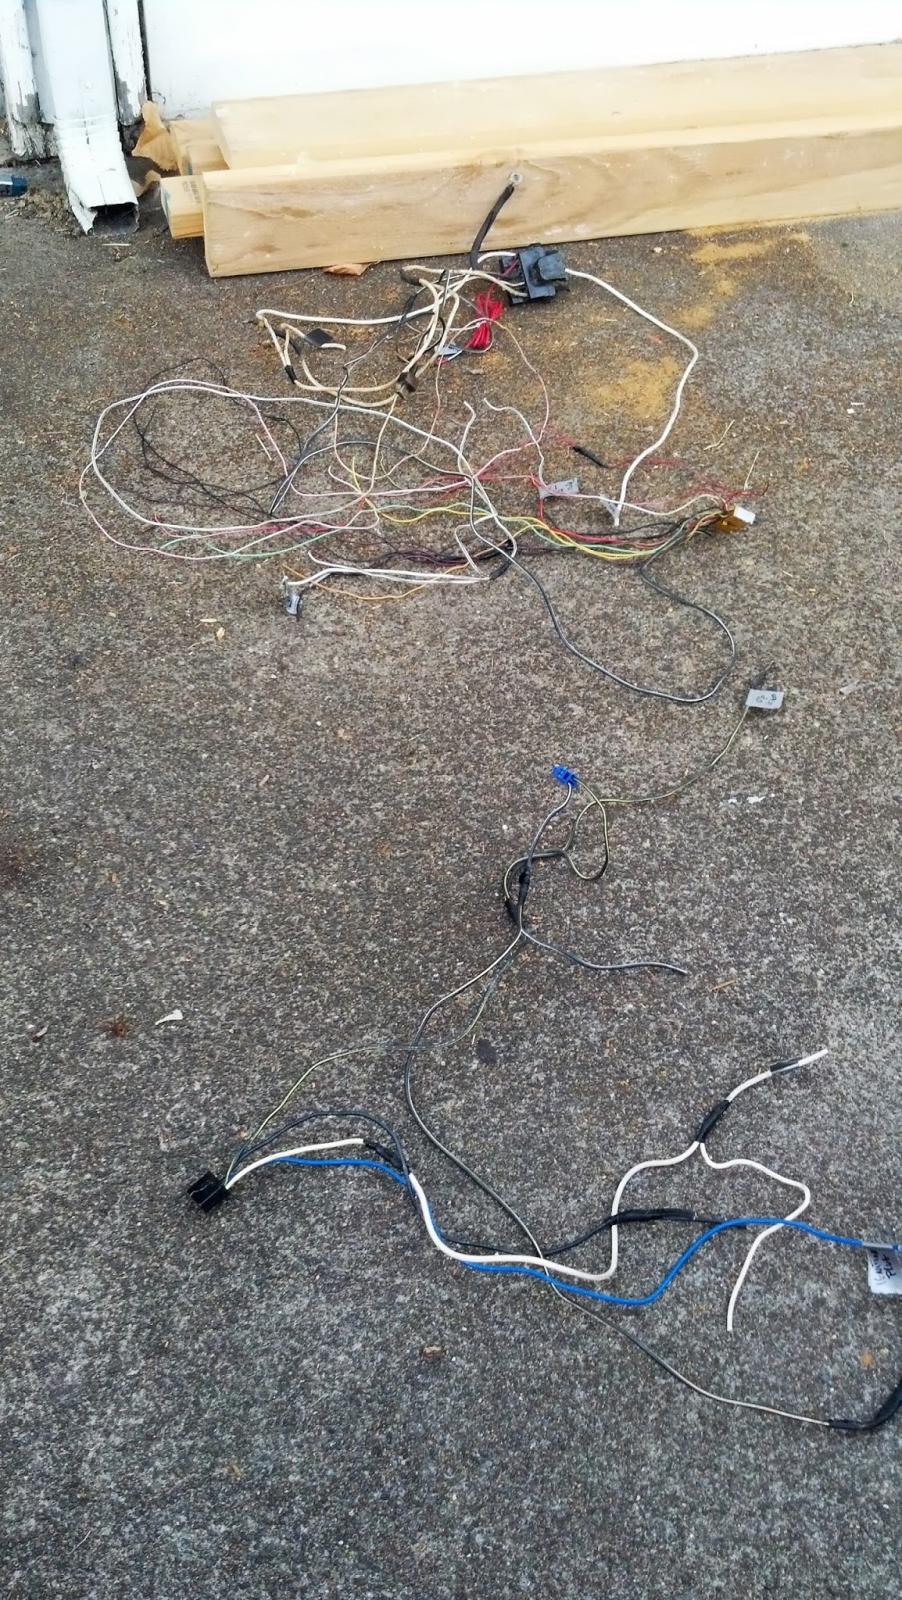
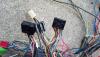
More wiring that will not be making it to this build. Isolating one wire at a time is tedius work but i want to ensure I dont emliminate the wrong harnesses. These are mostly headlights, keyswitch ignition, A.C., blinkers, fans (the new ones will be wired into a new dedicated harness), and some other mumbo jumbo connectors that were never used on the model car they came on. Also most all cluster harnesses are getting deleted one wire at a time as well.

-
Great question! The VW 1600 cc engine was steel and weighs in around 250lbs. The 1800 cc suby engine is aluminium and weighs in at about 200lbs. So more power, less weight, all around better. While on the topic of weight distribution, the super beetle has been on record for doing subaru swaps quite often, as well as having steering shimmies at any speed above a stop light pace.... These i've read can be remedied with better /newer suspension and bushings all around the vehicle. ( I won't mention it but a quick duct tape fix to that is dropping a cement bag up front with the gas tank... Thats a last resort though). So far the bug sits the exact same as it did stock. It's so light though it resembles a go cart. Im thinking they put the spare tire up front not because of the available space, but instead to counter the understeer...
-
Thanks man! It's been a long dream coming. I've always owned Subarus my whole driving career. They're super reliable and have never let me down. So my thought is why not take out the most unreliable part of the super cool Super Beetle and make the car run like a champ. Tge bug is less than half the weight of what the GL that the engine was pulling around previously.
-
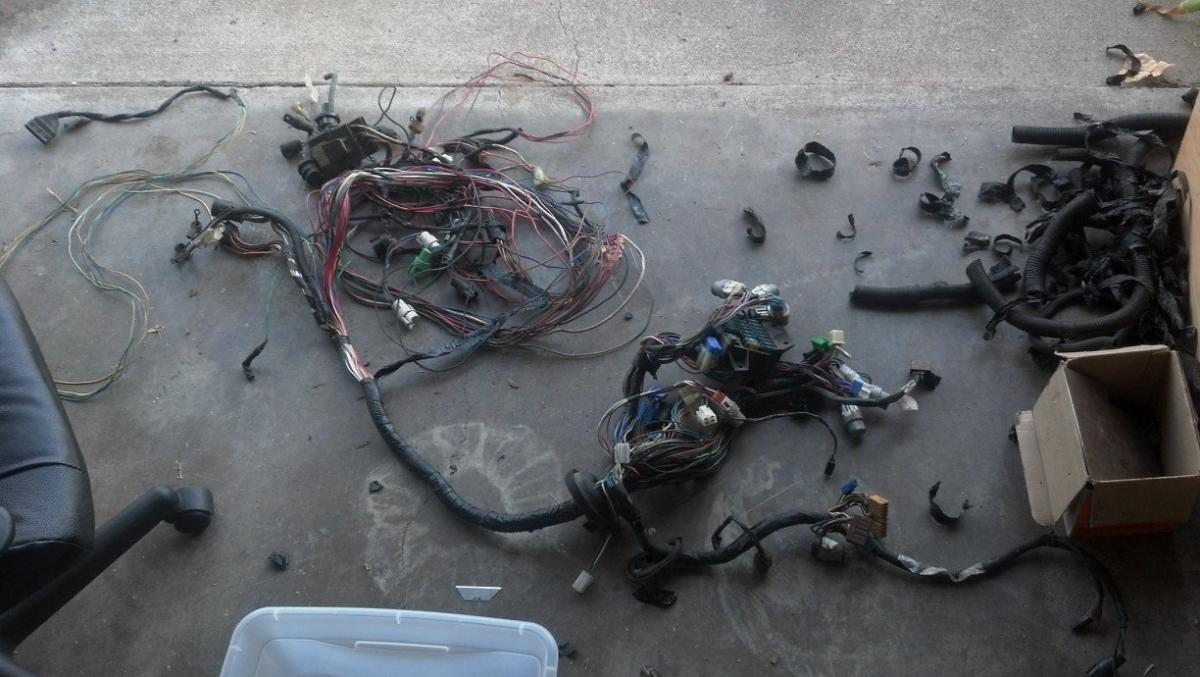
So after months and months of not doing any work on the bugaru and not having funds to work on the body and suspension, Im in the process of thinning out the wiring harness to just critical engine wiring. Since this material was on hand and needed to be done sooner or later i figured i might as well knock it out. The wiring harness is complete from the subaru gl that the engine came from. Im trimming down to just ignition, injection, and sensors for the ECU. And keeping anything that would otherwise hinder the engine from starting without. If anyone knows online resources for the diagrams for this model car (86 suba gl sedan turbo 1.8L mpfi) it would save me a great deal of time. Thanks!!!
-
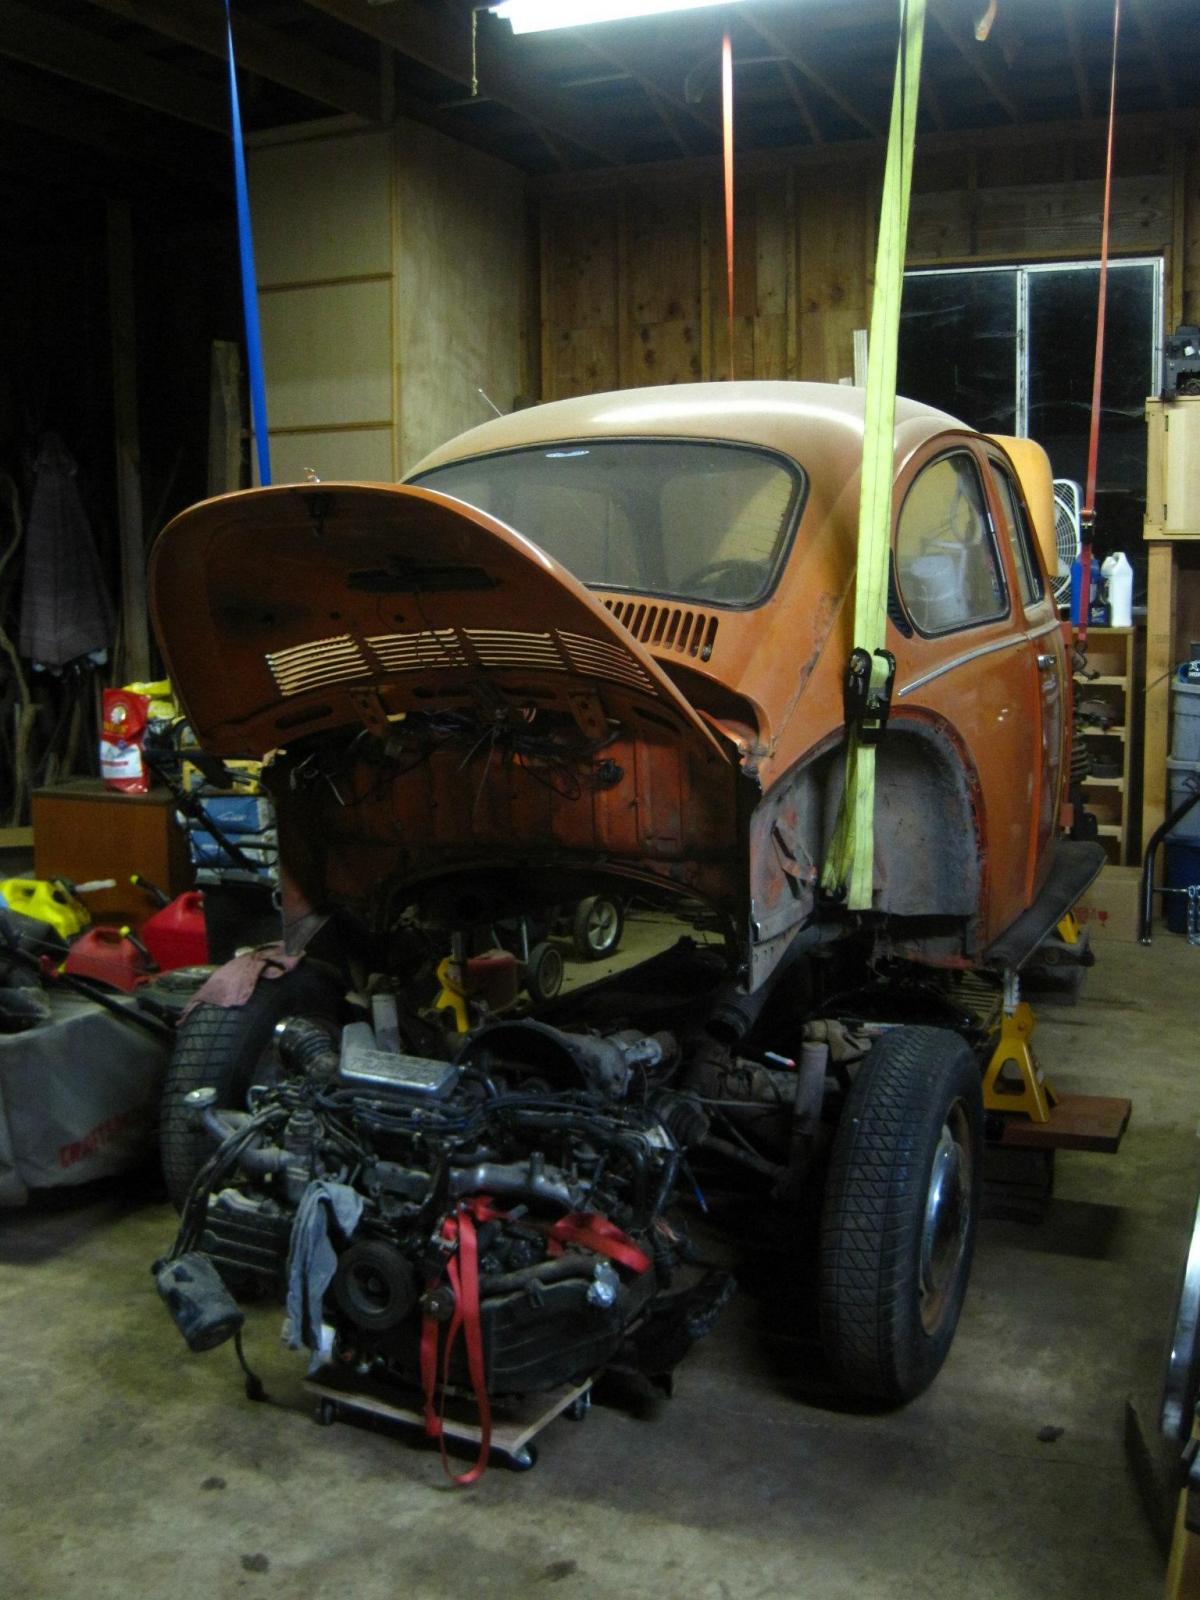
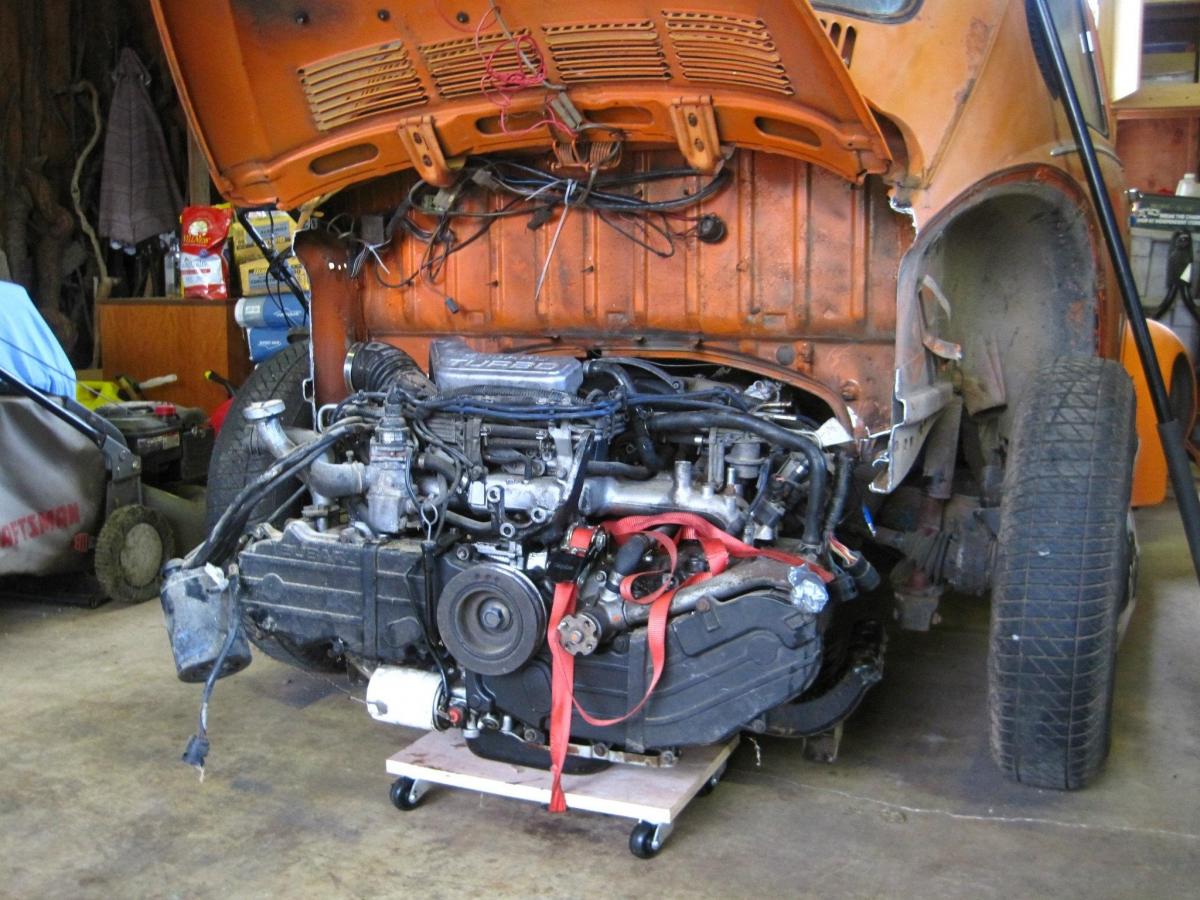
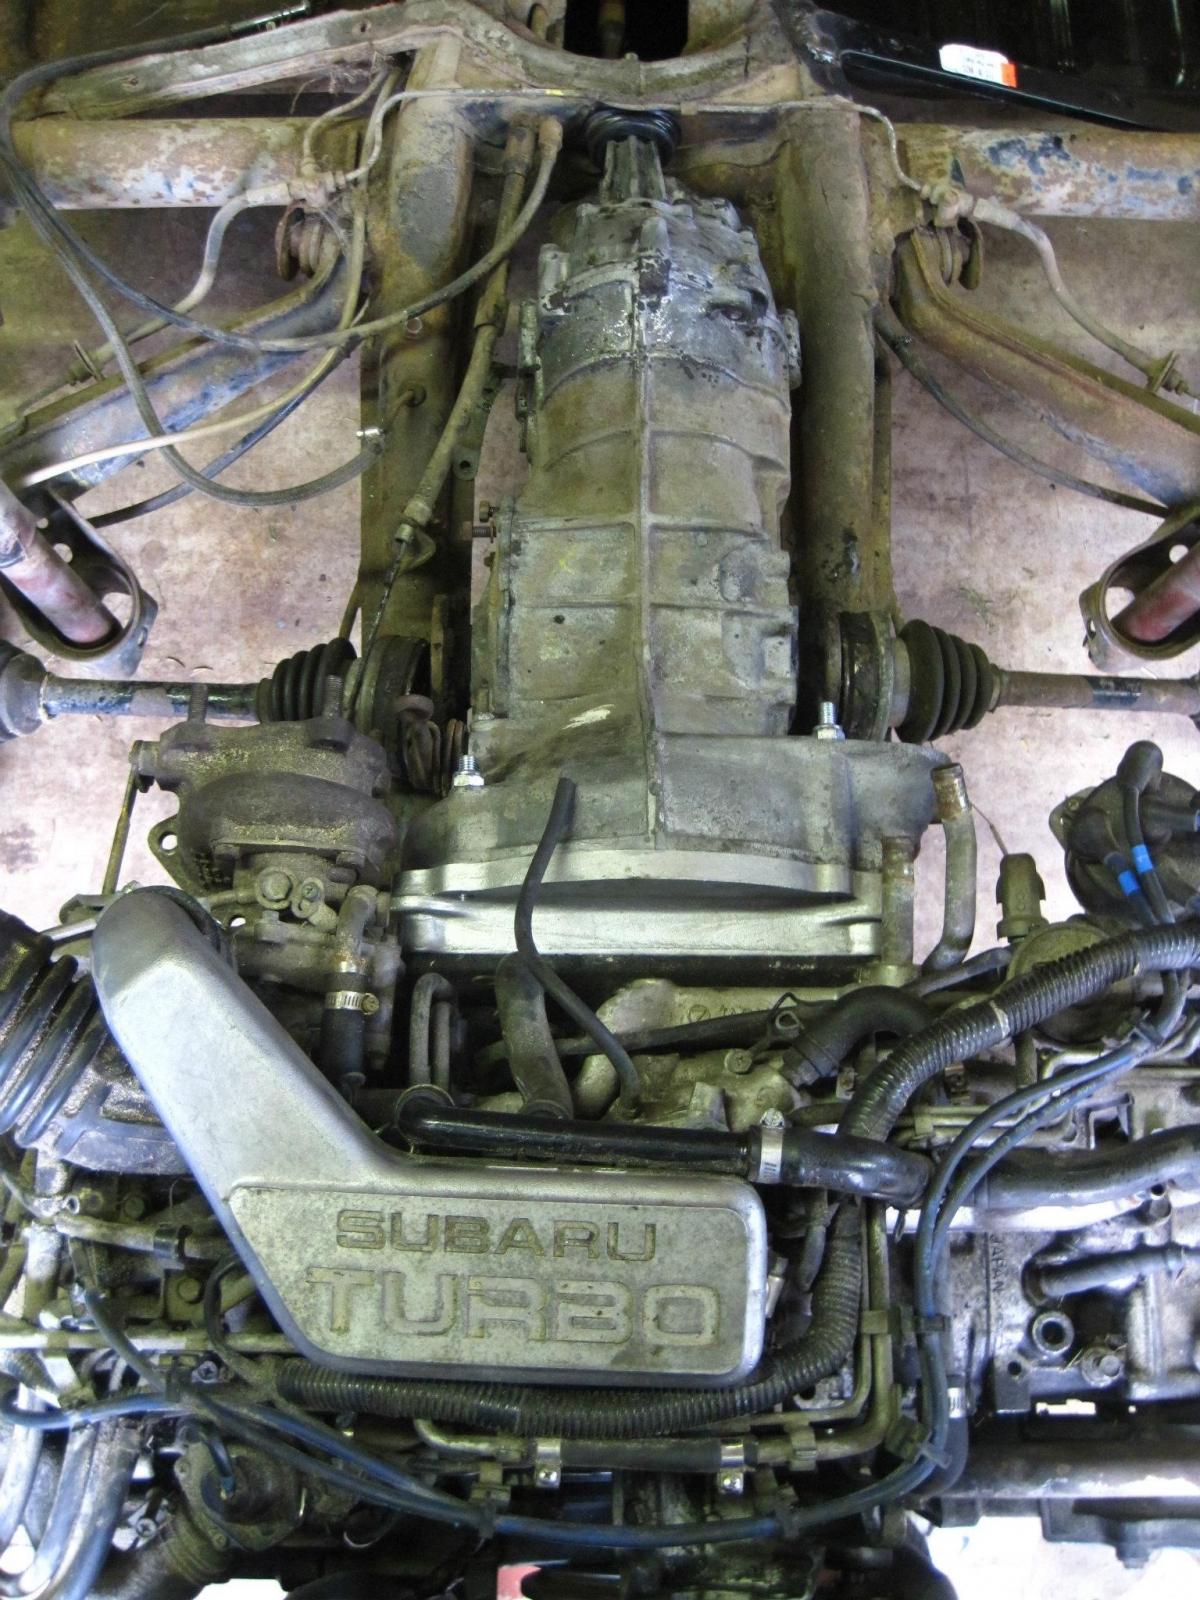
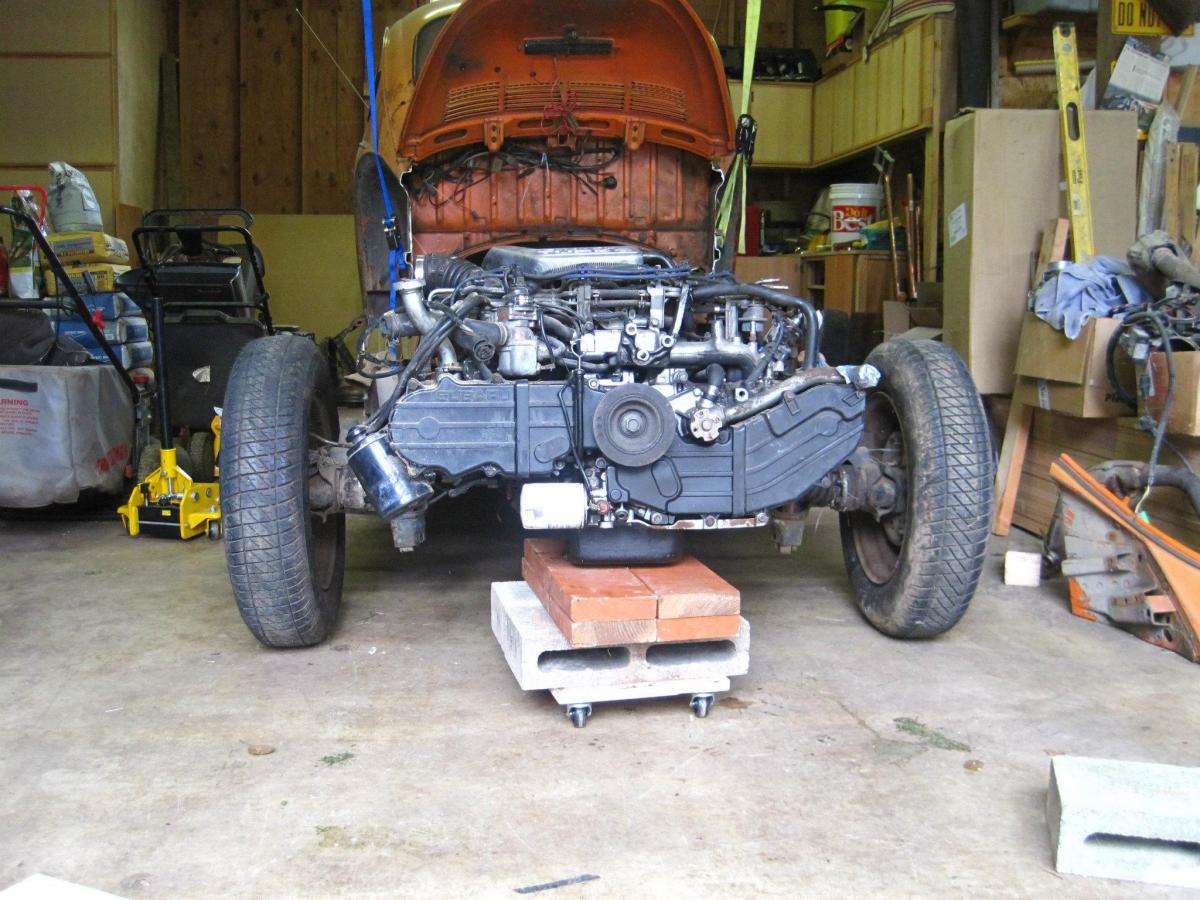
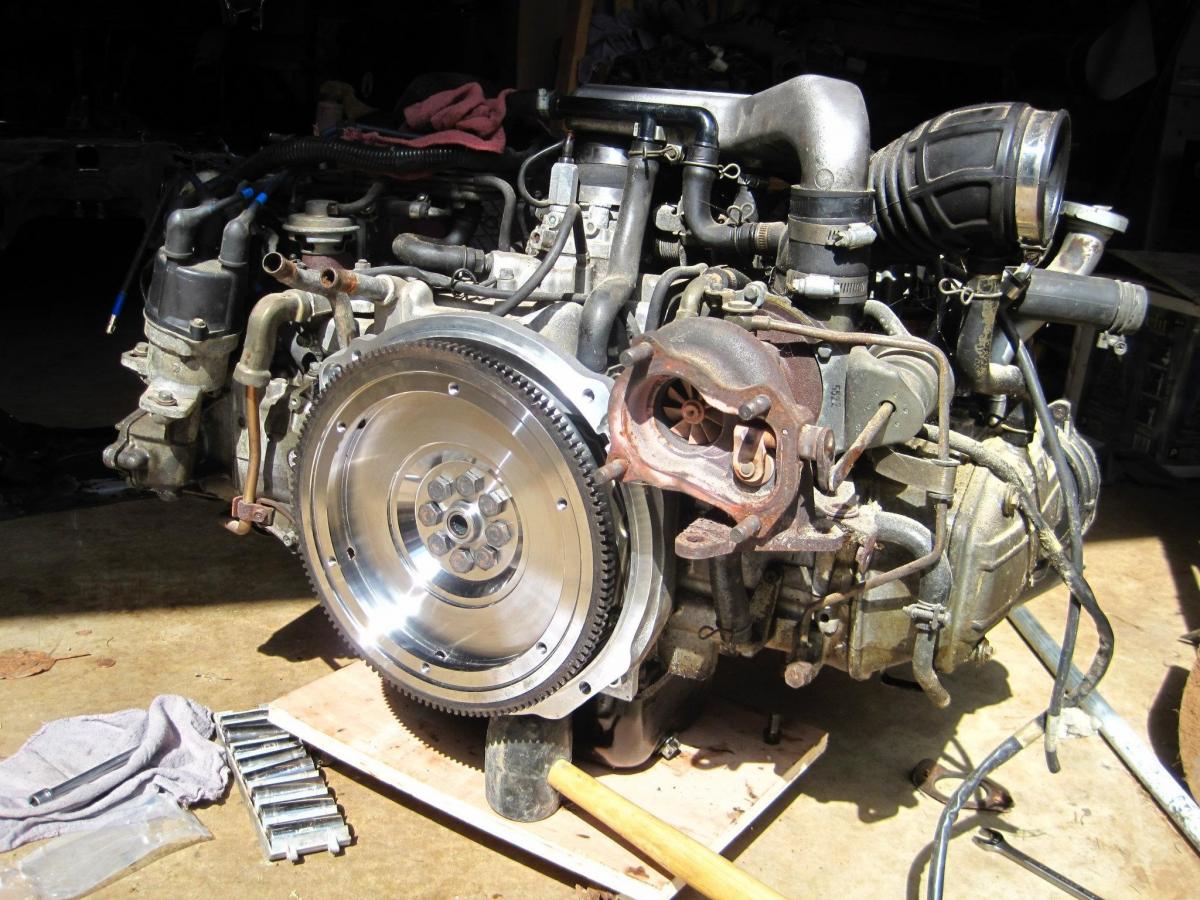
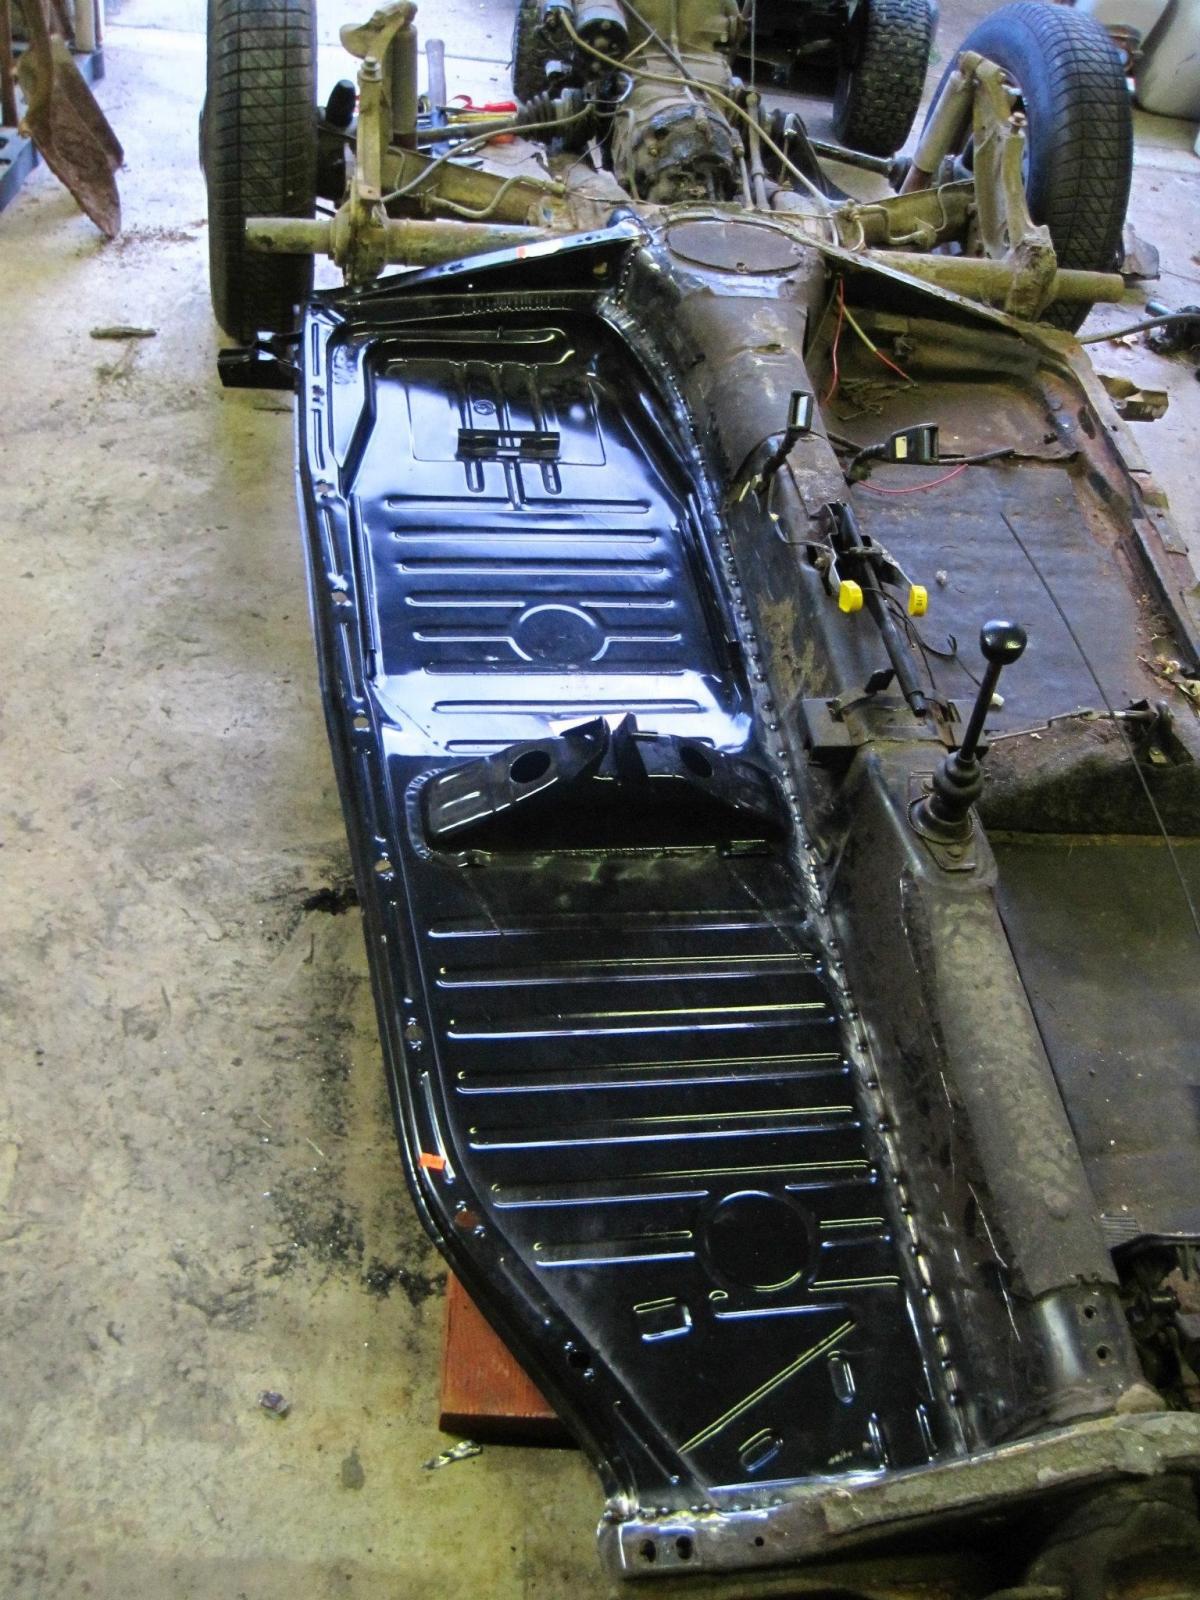
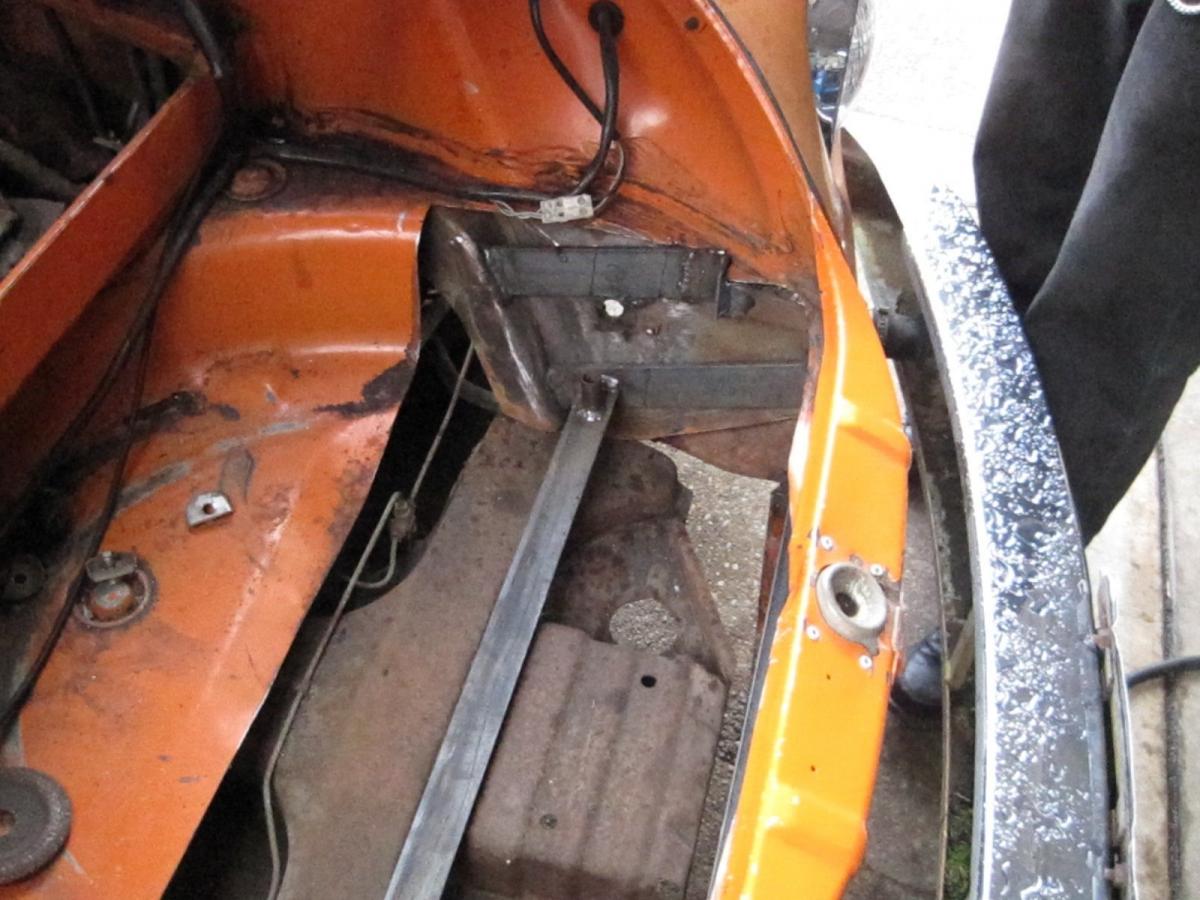
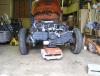
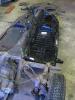
Based on the power of the engine I opted to stay with the type 1 VW transmission. There are a couple of mods that will get done to the internals (stay tuned for those updates later) which will make it bullet proof. With several attempts it finally fit in and bolted up just fine. I had to cut out some metal where the back seat was beneath the rear window because the downpipe and intake manifold were hitting and not letting things mate up. This also allows room to build a heat shield around the turbo and downpipe so it wont boil the body and the electrics that will be stuffed into the rear of the car.


-
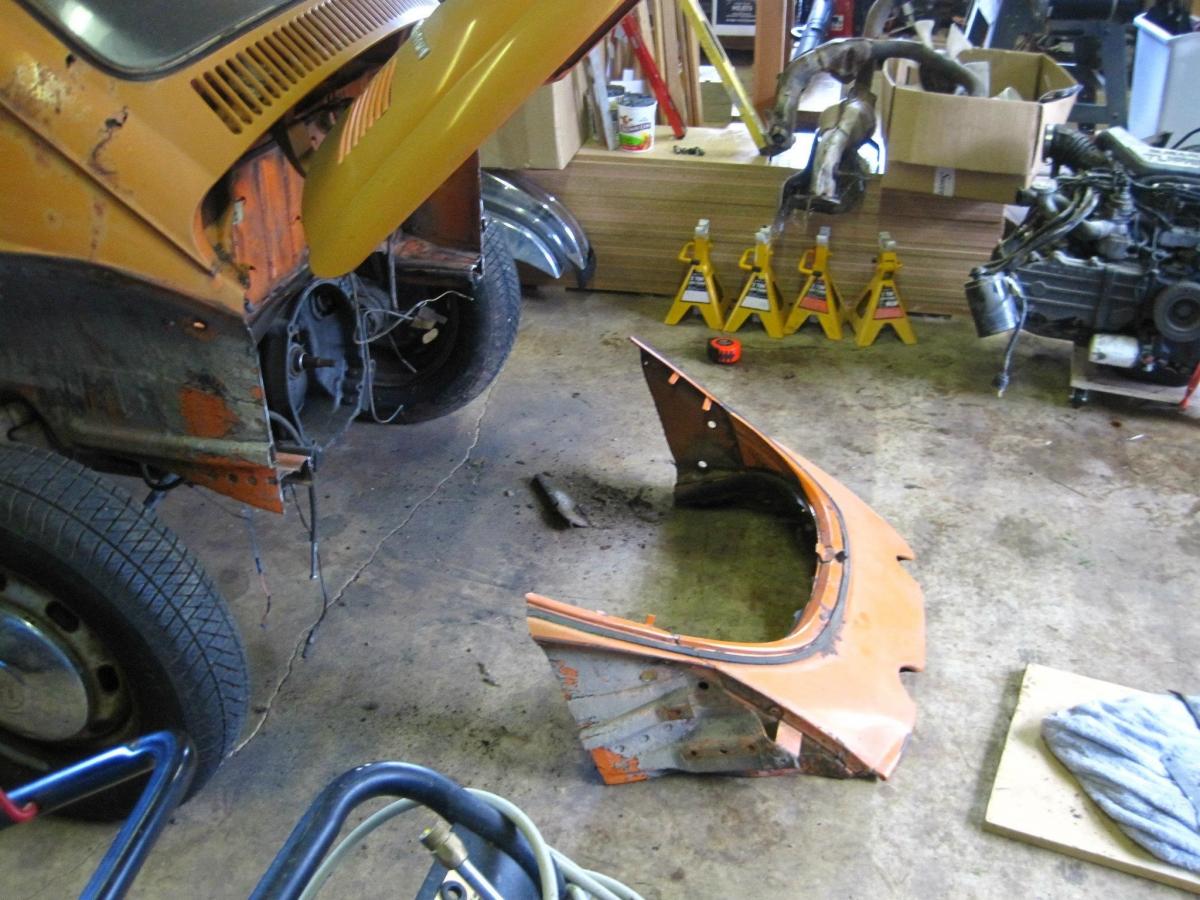
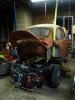
The point of no return!!! This is one step that makes the fit up soooooo much easier! Just trim off the tail and it's possible to roll the engine up and back out while doing the fit up. Unless you have the access to a vehicle lift where it's very easy to lift the vehicle up and down, this step saves a lot of frakkery. Its a simple fix to weld it back into place and finish.
-
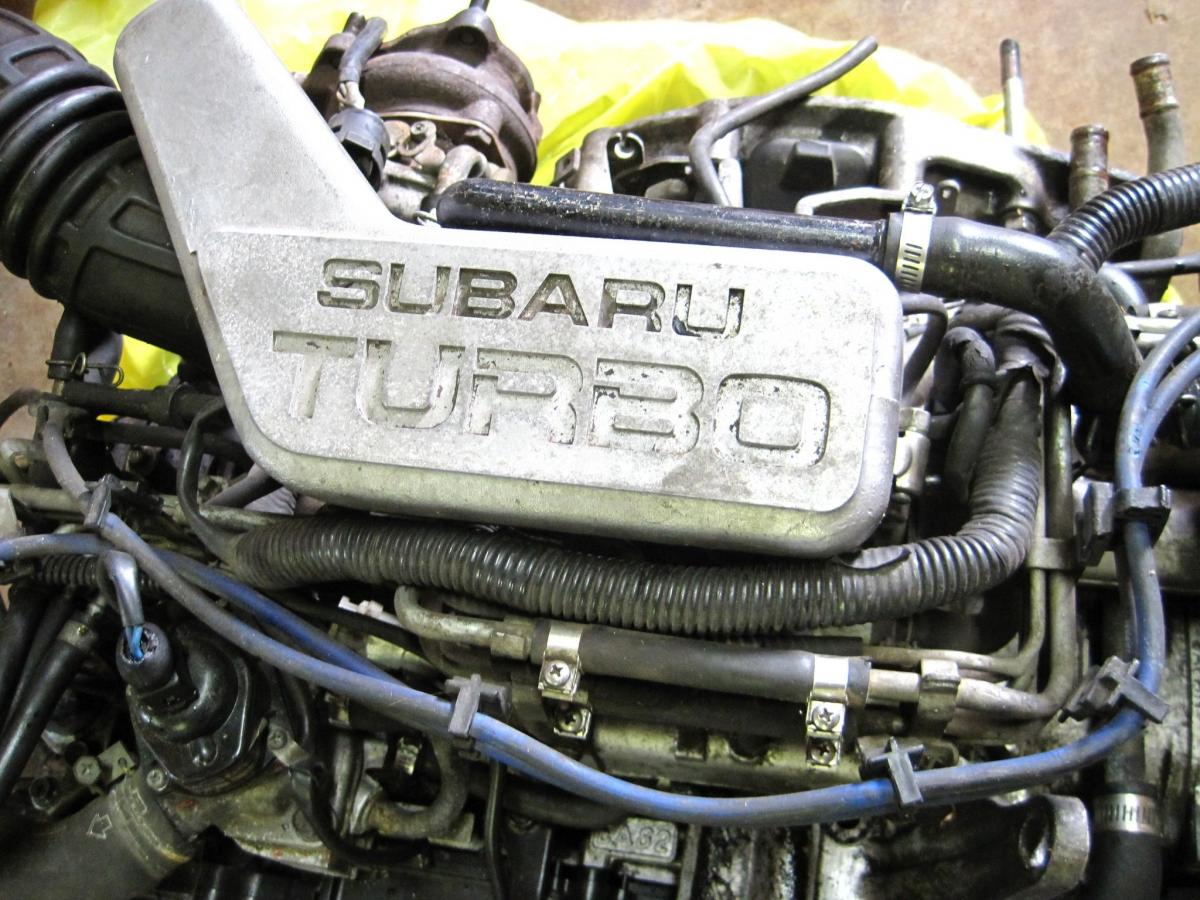
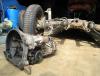
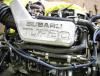
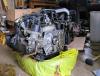
My power plant is a 1.8L mpfi turbo flat 4. Engine came from japan import with approx 40k miles. Conversion kit and stage 1 clutch kit came from Kennedy Engineered Products out of California. This was built to order, so waiting time was about 4 weeks from order to my mailbox. They make all sorts of adaptor kits for subaru to VW conversions.

-
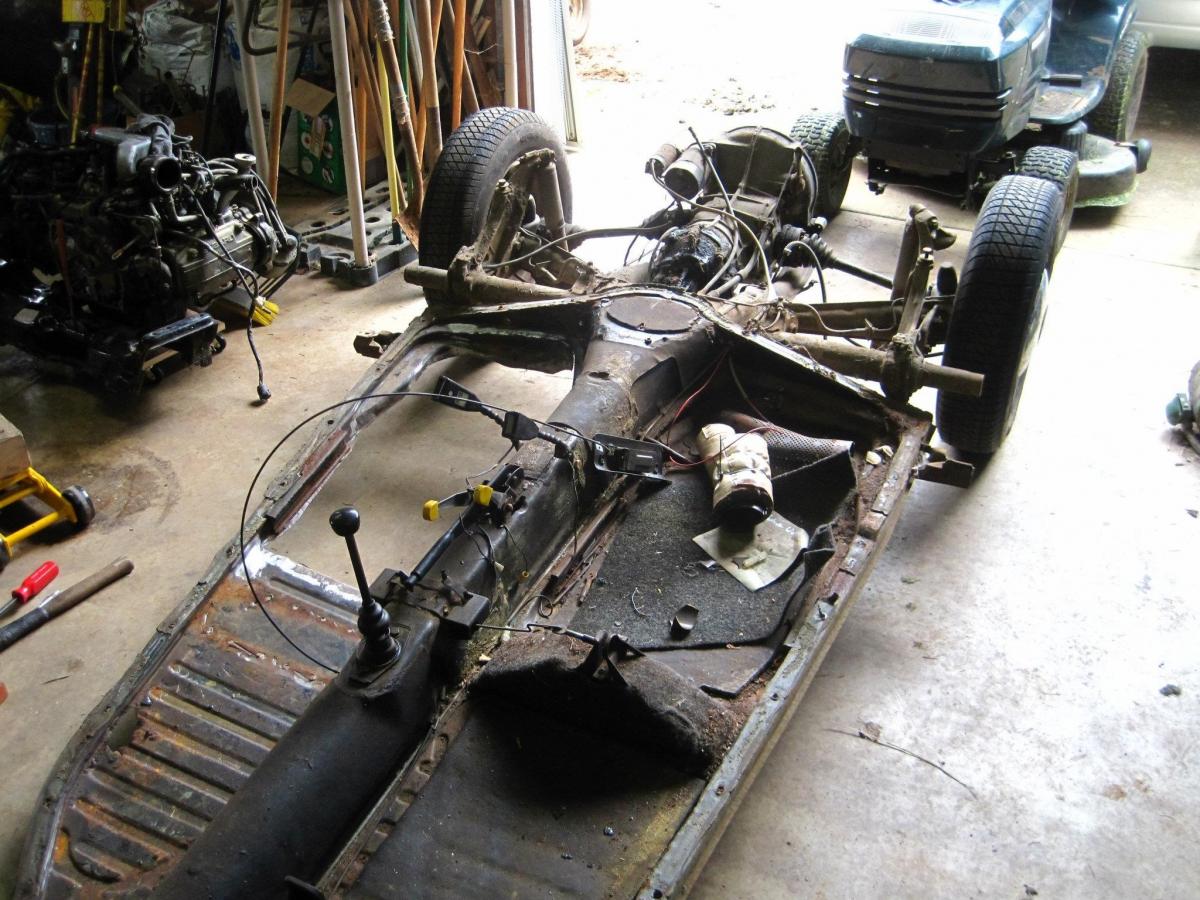
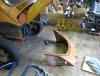
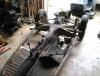
Since this is a restoration too replacing some bad rust was a must. Separated body from chassis. Drilled out spot welds with 10mm spot weld drill bit. Removed the troublesome welds with the trusty grinder. Cleaned up surfaces and sanded the edges of the new floor pan. Got the new floor plan from Brooks auto parts in eugene. Spot welded into place.

-
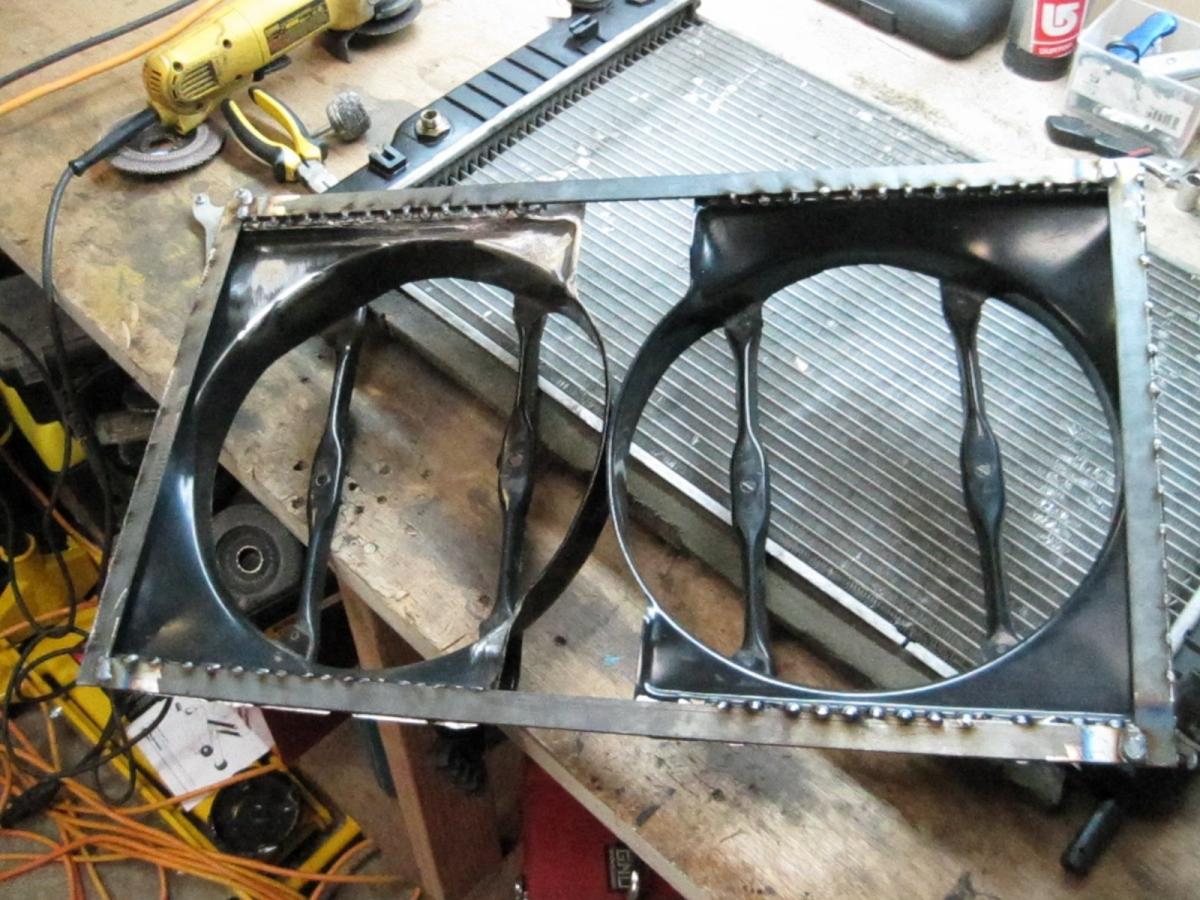
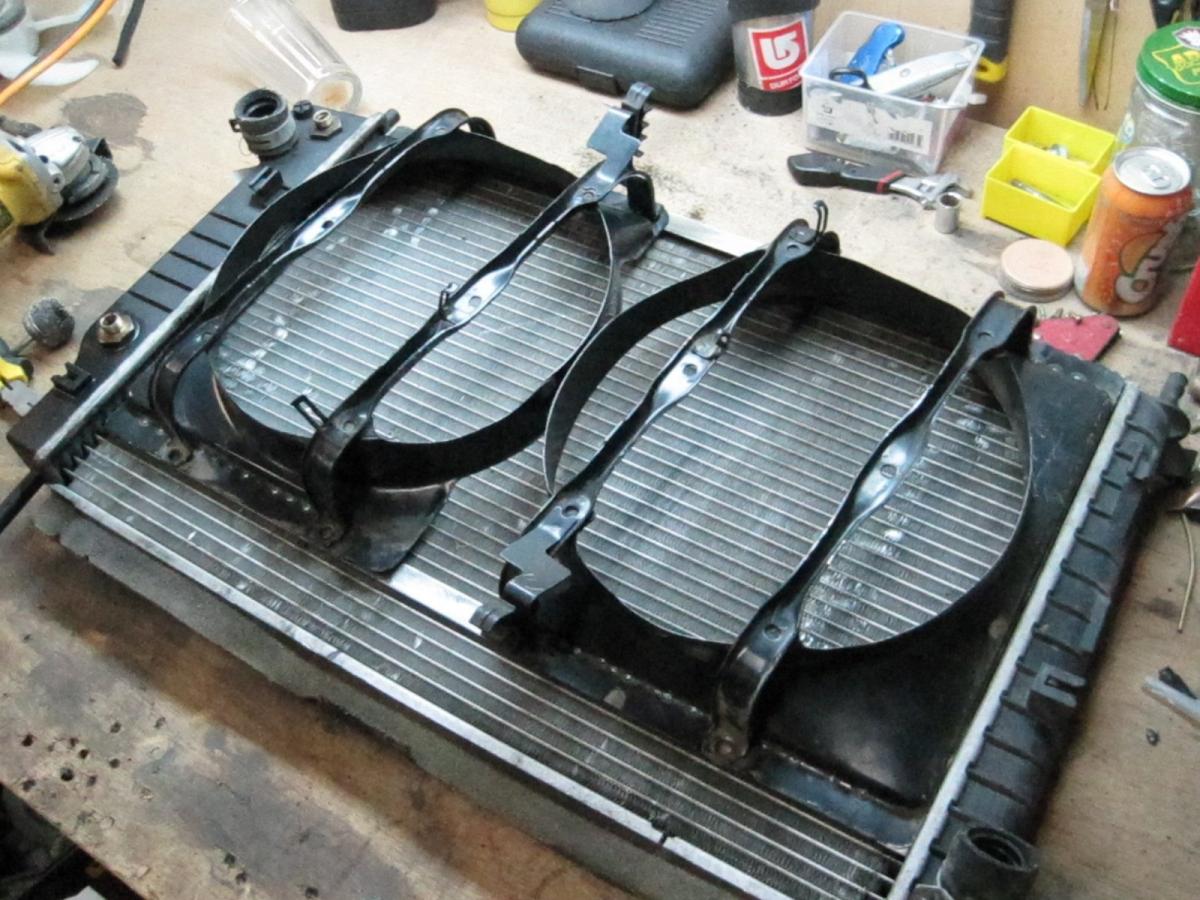
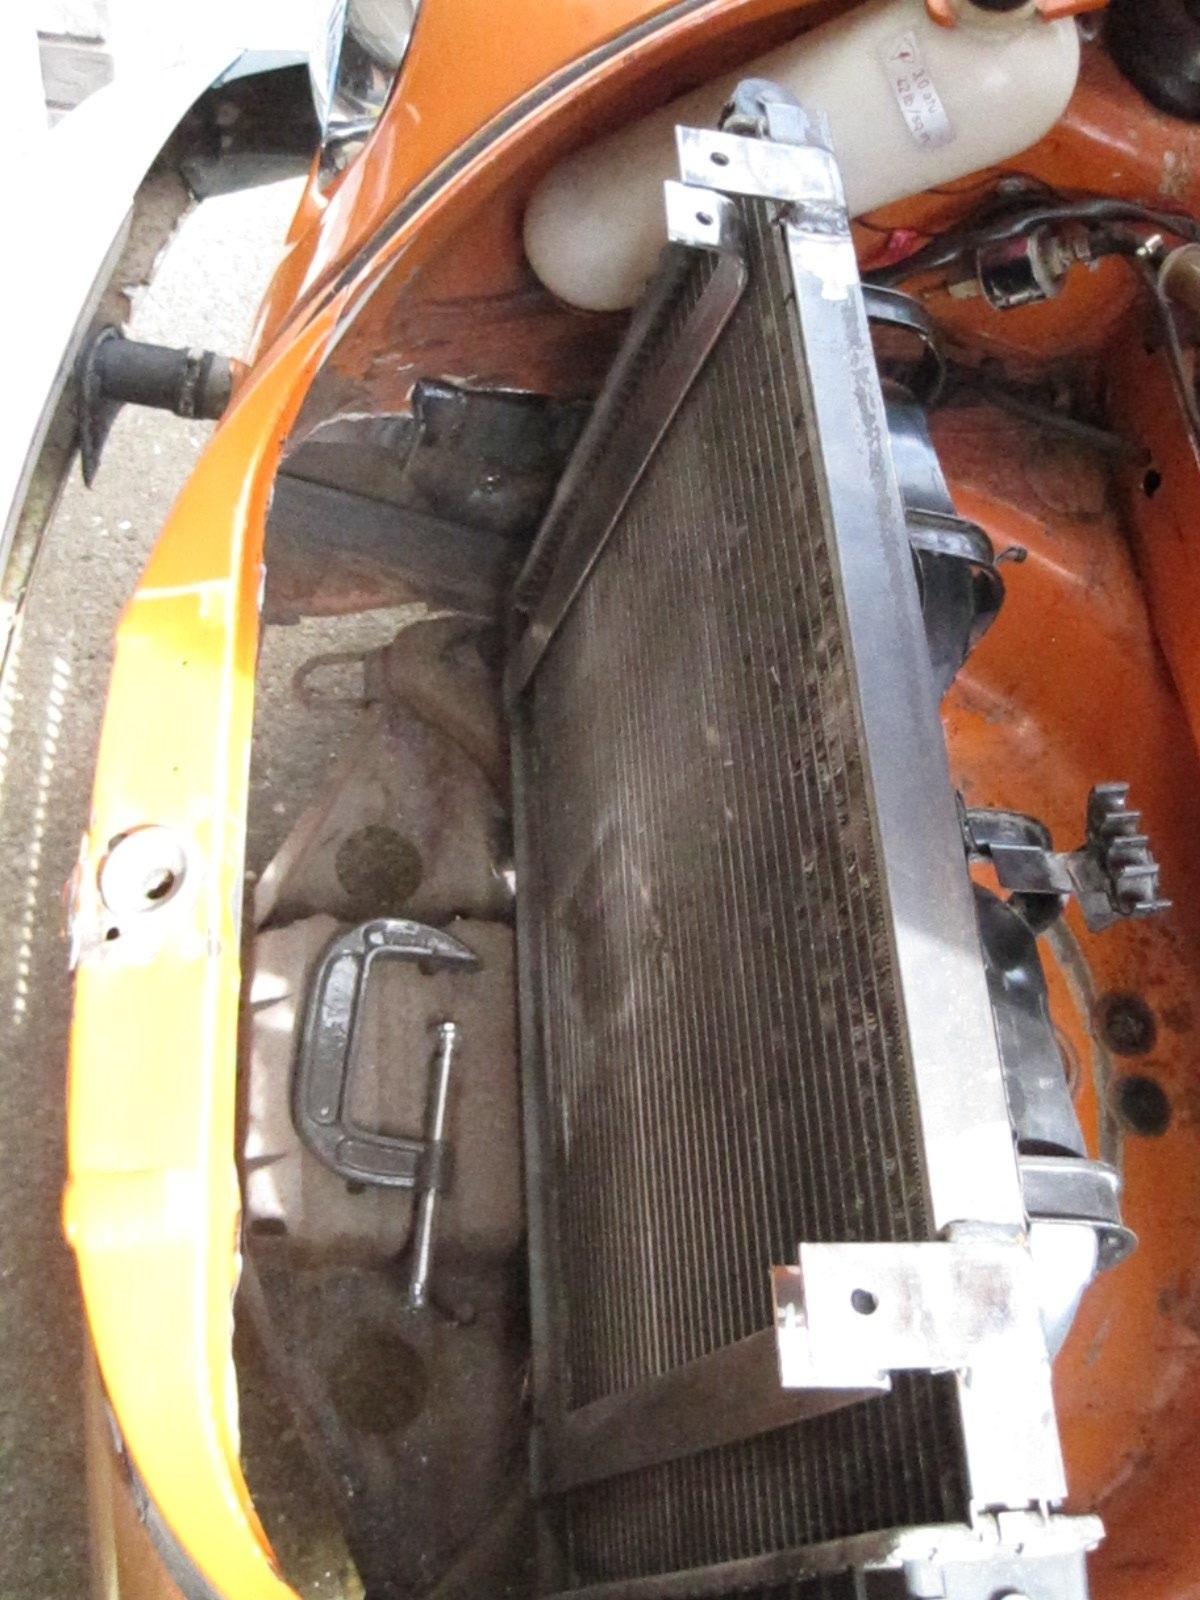
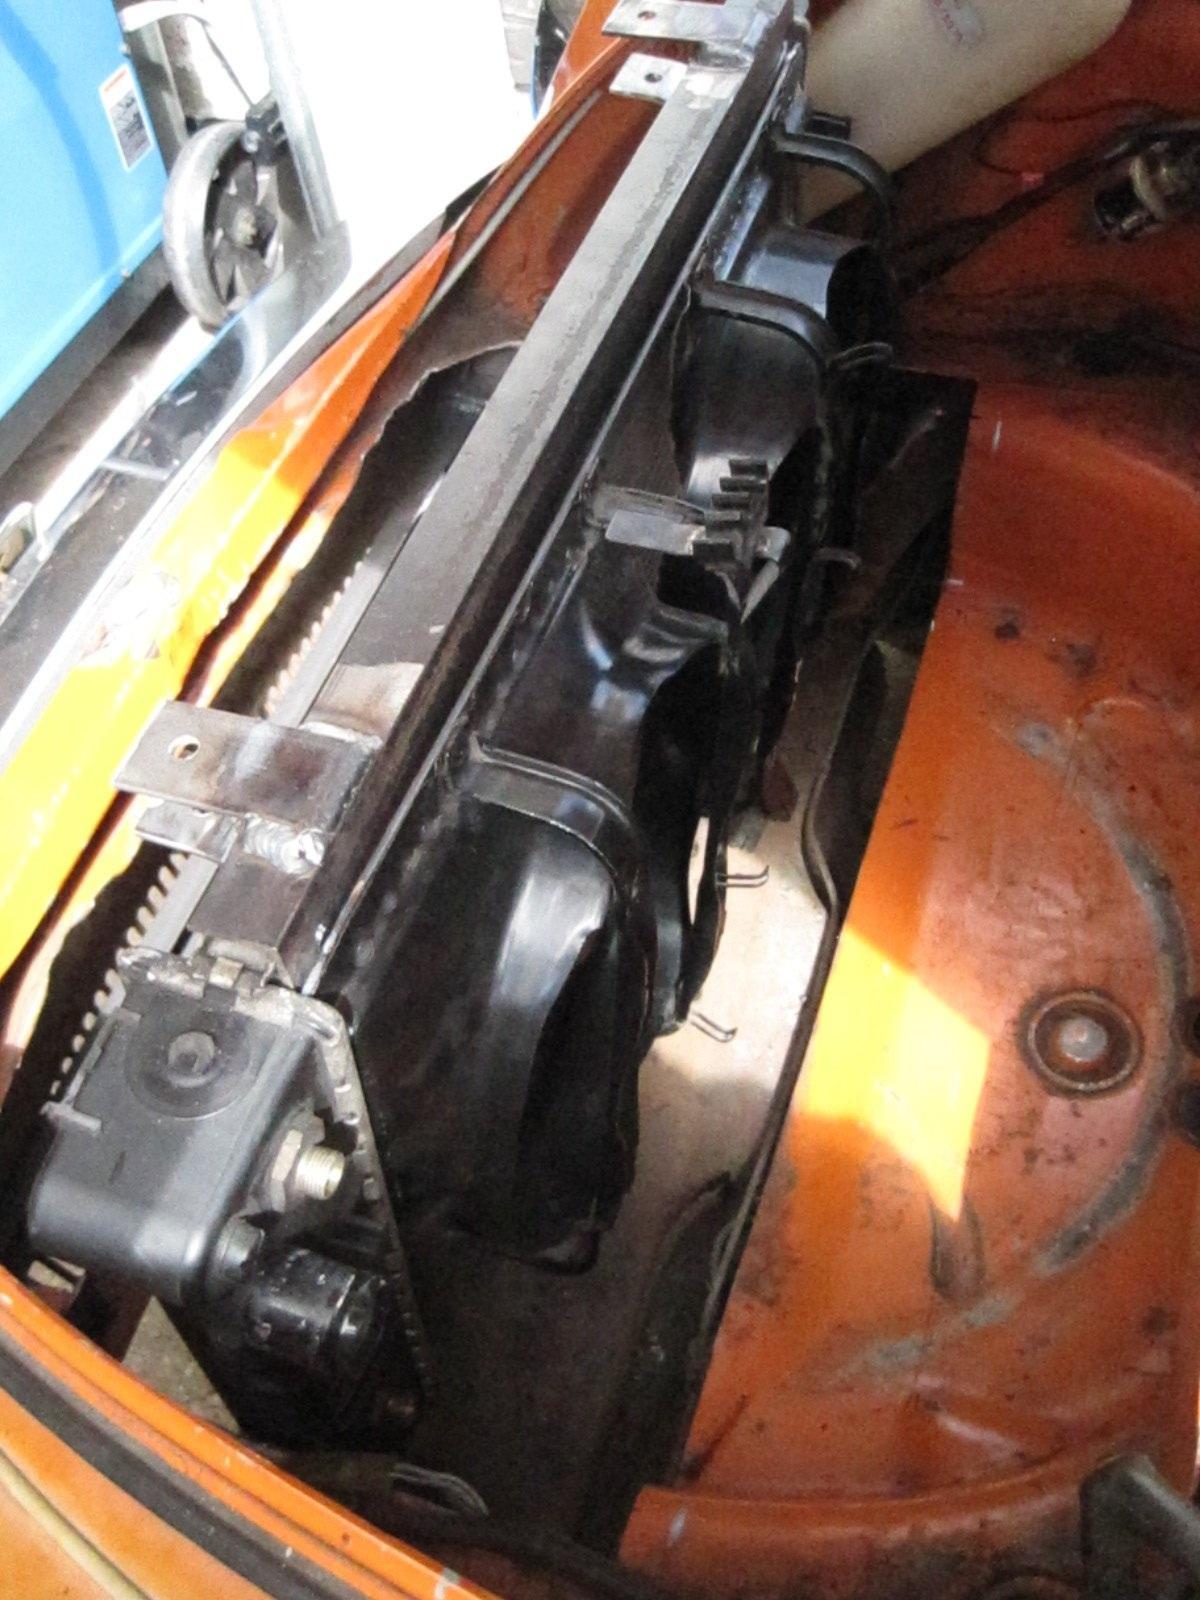
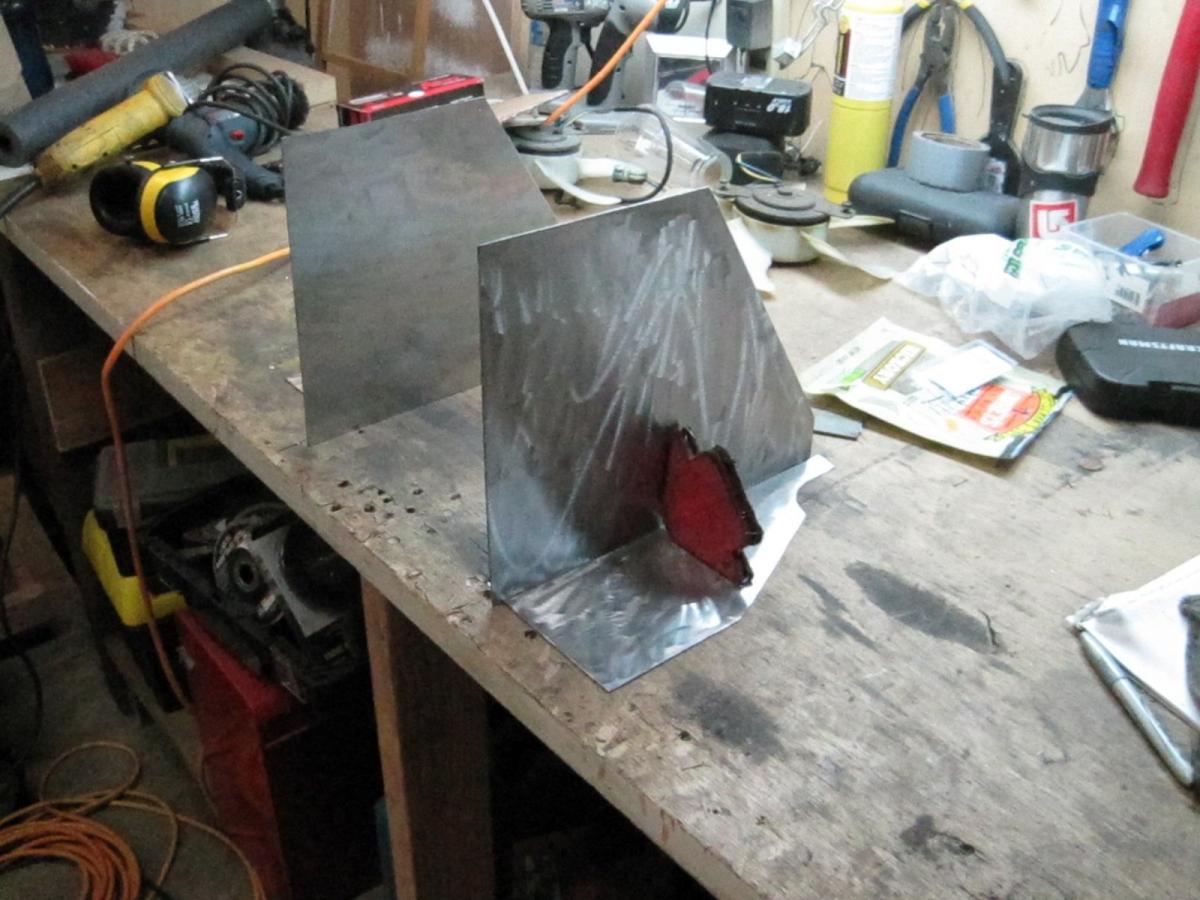
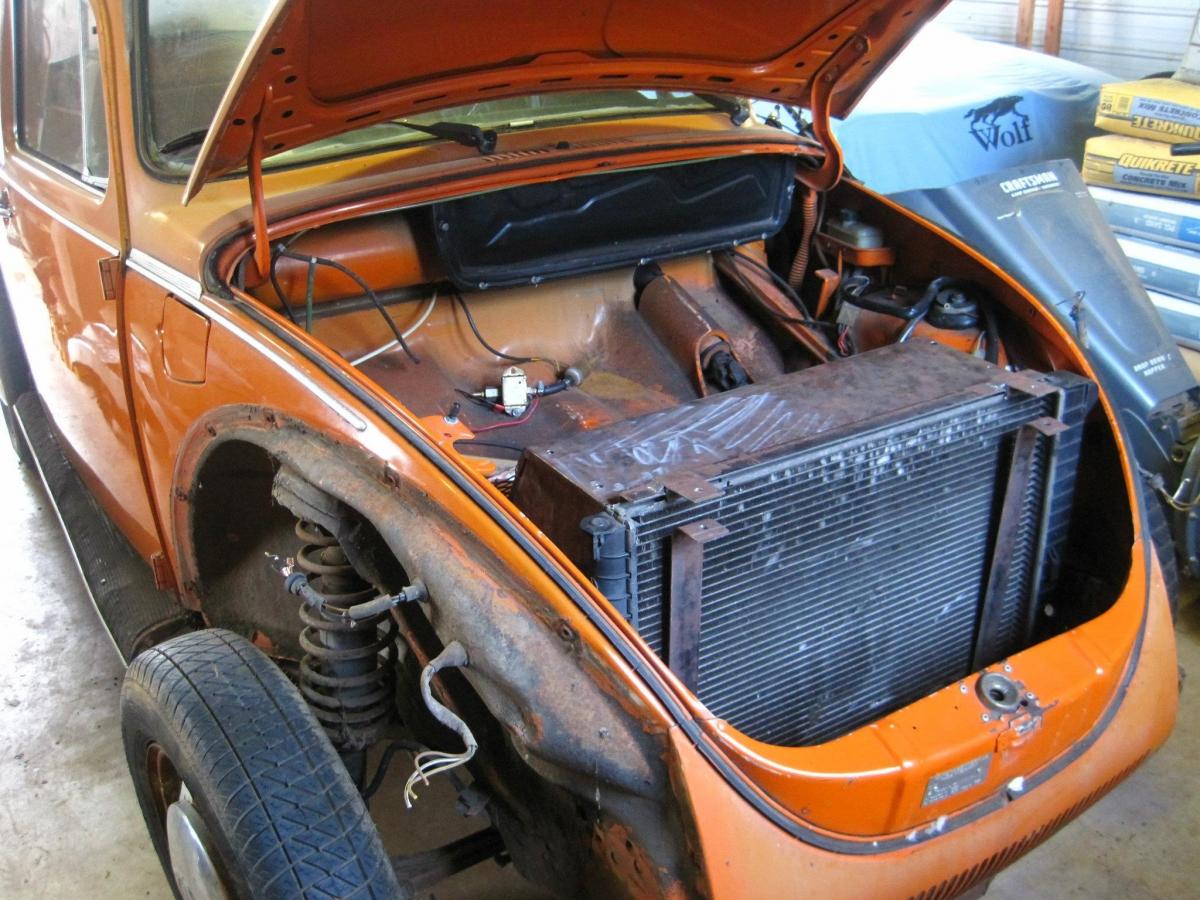
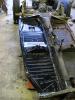
First step in the fab up I chose to start with was fitting a Radiator up front. I chose to put it in the bonnet because of the cooling gains achieved from the distance the coolant flows. And the air flow across the radiator at the front of the car with the assist of two 10inch fans will prove better than mid mount or above engine mount. I fabbed up an enclosure that will direct the super heated air back down to the road so it wont heat the fuel tank. I went with a top to bottom flow radiator from a small V6. Two 10" 12vdc fans and shrouds from a subaru loyal. Frame fabbed up with 3/16" flat bar. Enclosure fabbed from 20 gauge sheet metal. Top of enclosure is held on and removable via tapped 8mm bolts.