Search the Community
Showing results for tags 'custom'.
Found 8 results
-
 Today I did a funny thing because of the way I built the back for my car I ruined everything and anything that was stock. I wanted to do a center exit but it was too much complexity. So I cut a hole in my already insane trunk. Another View Then i Welded in some hangers Checked the exit Pulled it all apart and welded everything I will redo this all mendrel bent pipes soon Back View This is going to have a legeacy resonator installed too with no cats. Shouldnt be too loud with EA82 But with Ej205 i am sure it will suck haha
 -
Hey so today I made a cool front bumper for my Subaru RX. Its not done yet still going to build in a custom two piece skid plate into it. All I did to make this was cut the bumper support out until the only thing left was the support. Welding some steel tubing into it untill it started to take shape. I am pleased with how it came out i just need some WRC looking lights to complete the look I am going for. The rear bumper is 4x2 steel frame rail that I stacked onto each other and simply bolted them up to the stock location of the rear bumper support so I can switch back easily. Stock Bumper support cut in half already. Then removed some more of it Welded the first 1x1 steel bar into the beast Welded an interesting shape and stuck with it Slowly started adding more metal Hood closed and fender just hanging on Now moving onto the back I built a custom trunk and frame into the car here it is without the bumper. Looks intense already. Caged intense trunk also another view Custom rear bumper Drilling holes Don't mind the welds =) flux core wire no gas in the winter usually with snow coming in haha Also some trunk pics other side
-
Hey everyone today I was able to successfully swap in 2000 Subaru Impreza RS seats into my RX. I had to custom fabricate some new mounts to get the seat to bolt. I actually used a seat belt nut to bolt in the back of the seats against the firewall. Above is a picture of the floor before I started welding up the front brackets. I made the brackets out of some extra metal I had laying around 1x1 inch square tube and 16 gauge sheet metal. Welded the nut into the backside of both pieces Then mocked up how the seat would sit and welded these up For the picture above I had to bend the bracket up so it could sit flush against the mount I welded to the floor. The back mount I just used the existing mount for the seat rail the way it was and bolted that straight down to metal box I welded up on the floor. The seats sit a little high but still very comfortable Everything is pretty straight but I am going to do some fine adjustments of everything eventually, Another view from the back below. I need to take some more pictures of the seat mounts when I am 100% finished the other side can use stock locations for mounting point just have to bend the tabs down and just screw the rear into the seat belt mount like i said previously. This is great because now I can put a bunch of different seats into this car.
- 5 replies
-
- 1
-

-
- Seat swap cloth interior
- Impreza rs Subaru RS Mounts
- (and 5 more)
-
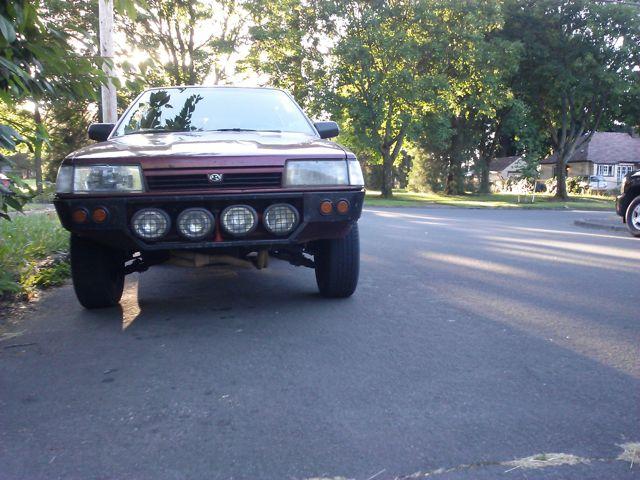
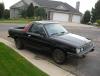
 Howdy. Picked up this snazzy GL about a month ago. Wondering if anyone can identify it's bumper. Where it's from. Who made it. I've seen two other Subies here on USMB with it. My curiosity has been sparked. If you or a loved one has any information, please... do tell. -BoxerRebellion out.
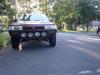
-
Hi everyone, thought I'd show you what my friend and I have been working on. We are currently making a prototype ej22 single port header that we plan to produce and sell. The prototype Header features CNC plasma cut 3/8" flanges, mandrel bends, our own Collector/Diffuser, 1.75" 16 Guage Primaries and Tig Welds all around. In the future we will be offering these in Mild steel with a few coating options, or 304 ss. The prototype is of EL design and currently has 39" and 35" primaries. When production begins we will have the Headers Equal Length +/- 2". For all of you who prefer a nice rumble, we'll be offering a UEL design as well. As many or you know the stock collector for the ej22 is absolute garbage and is one of the main choking points in the exhaust. Our collector solves this problem and Improves scavenging effect through the primaries. Another side effect of proper collector design is that regardless of the EL or UEL design, both Headers will have excellent performance gains. Here is a comparrison between the Collectors for all you visual learners. Sound clips coming soon. Shooting for a price range of around 300$ + Shipping for Mild Steel with gaskets, we'll have an excel order sheet shortly, there you'll be able to choose a variety of primary diameters, materials and coating options. For more information or requests for custom work, feel free to contact us at: Millercleanfabrication@gmail.com Fredericton, New Brunswick, Canada Or simply reply to this thread
-
Picked up this straight body 74 Super Beetle a couple years back for the bugaru project.


-
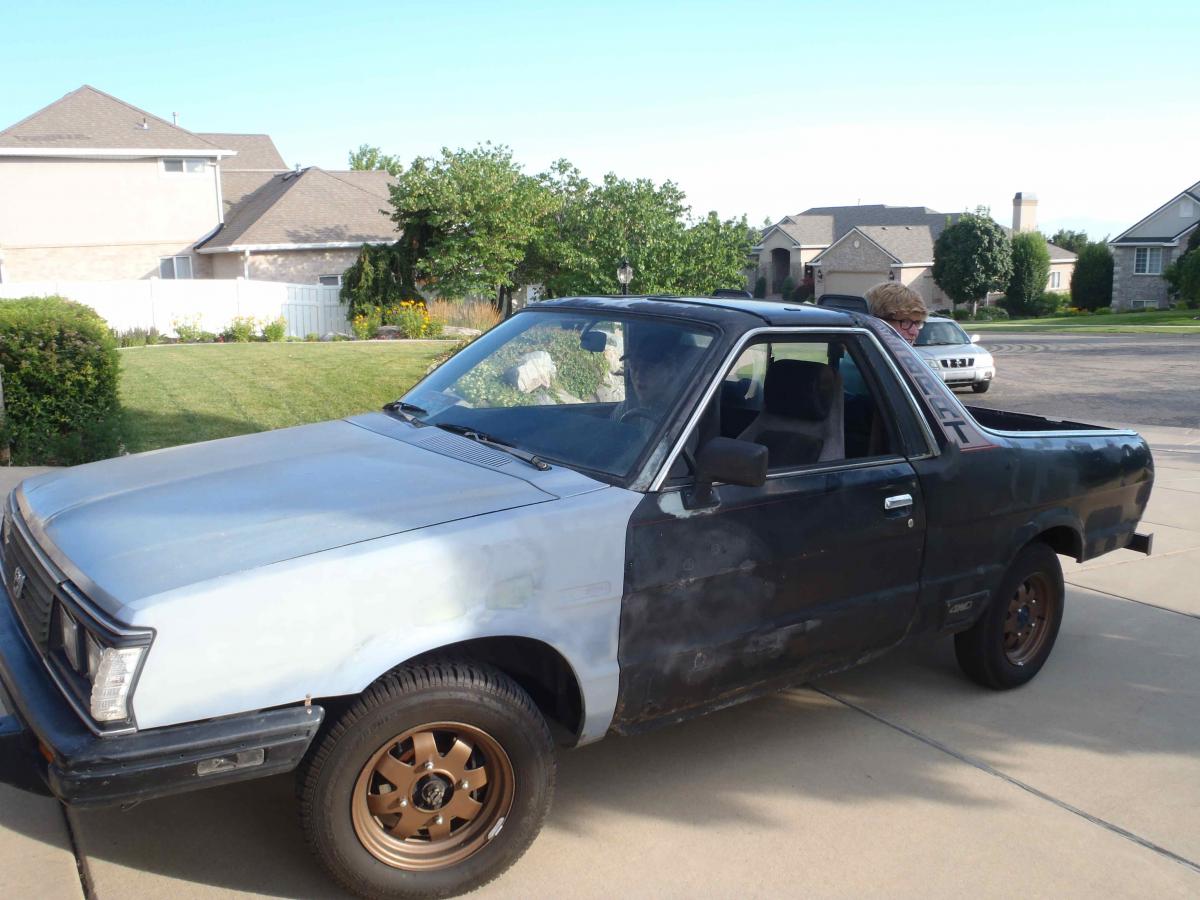
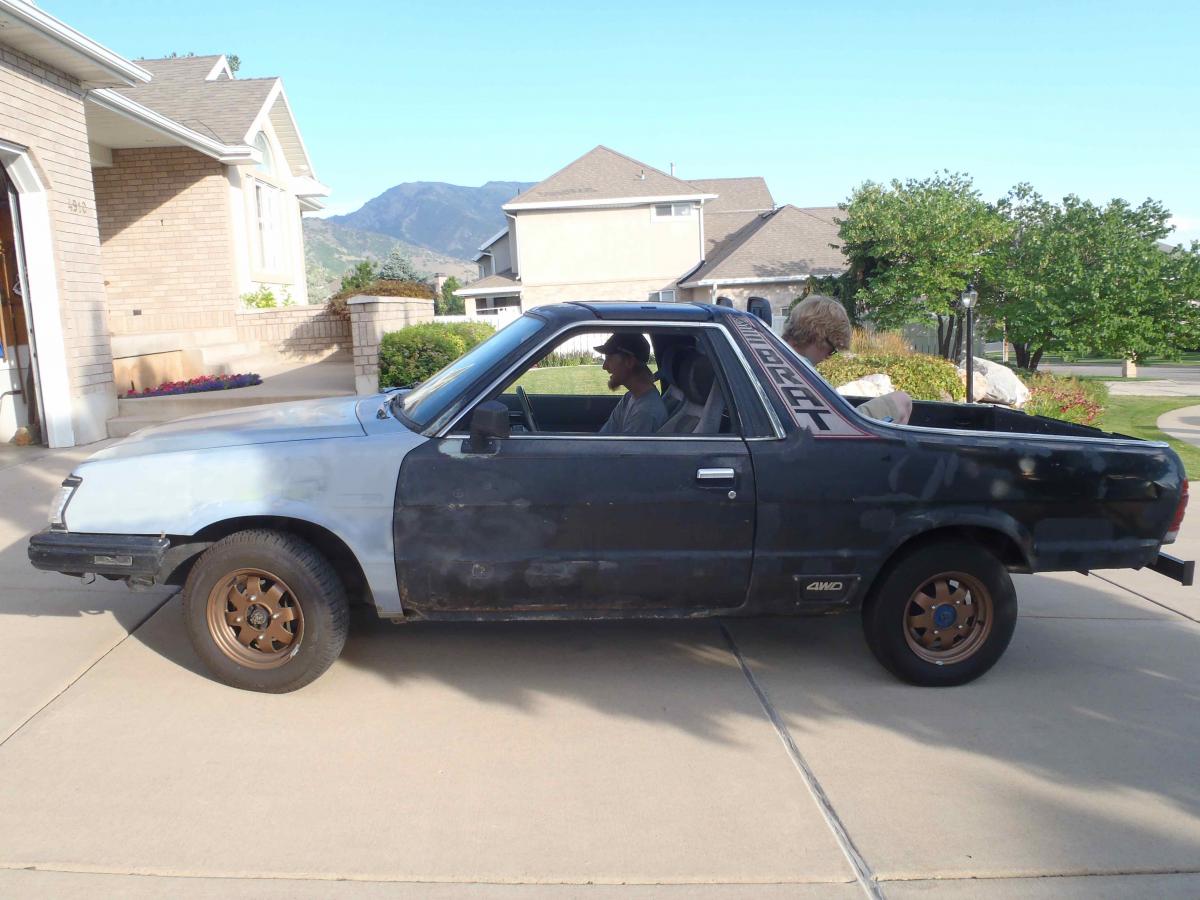
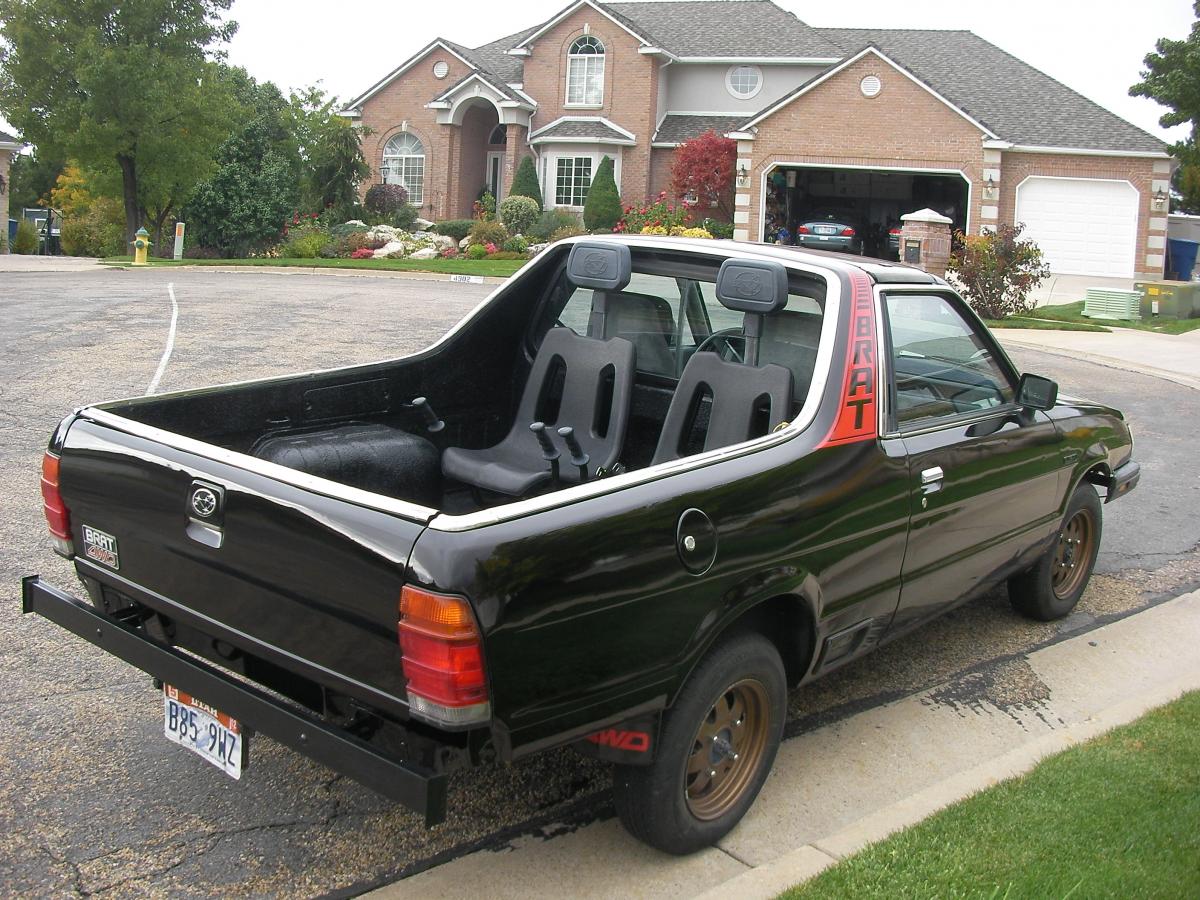
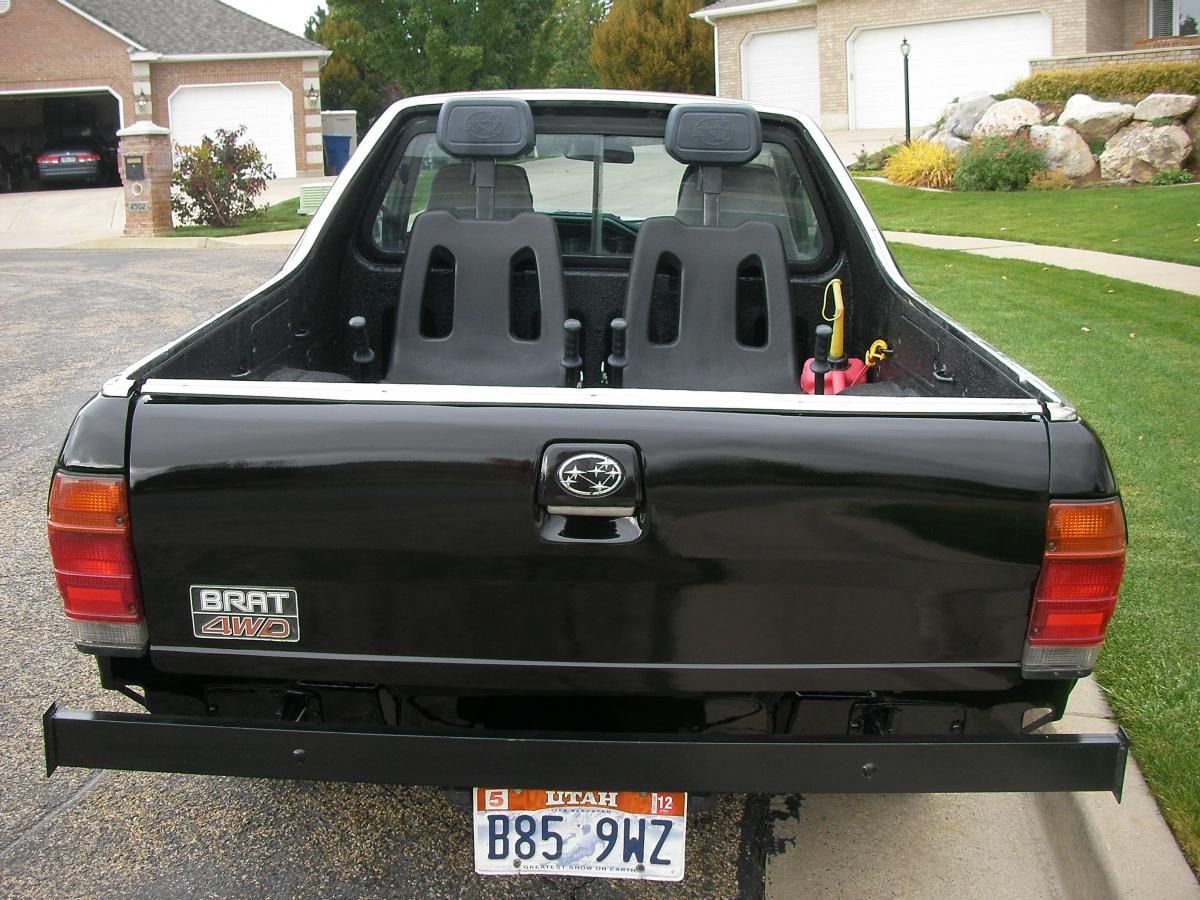
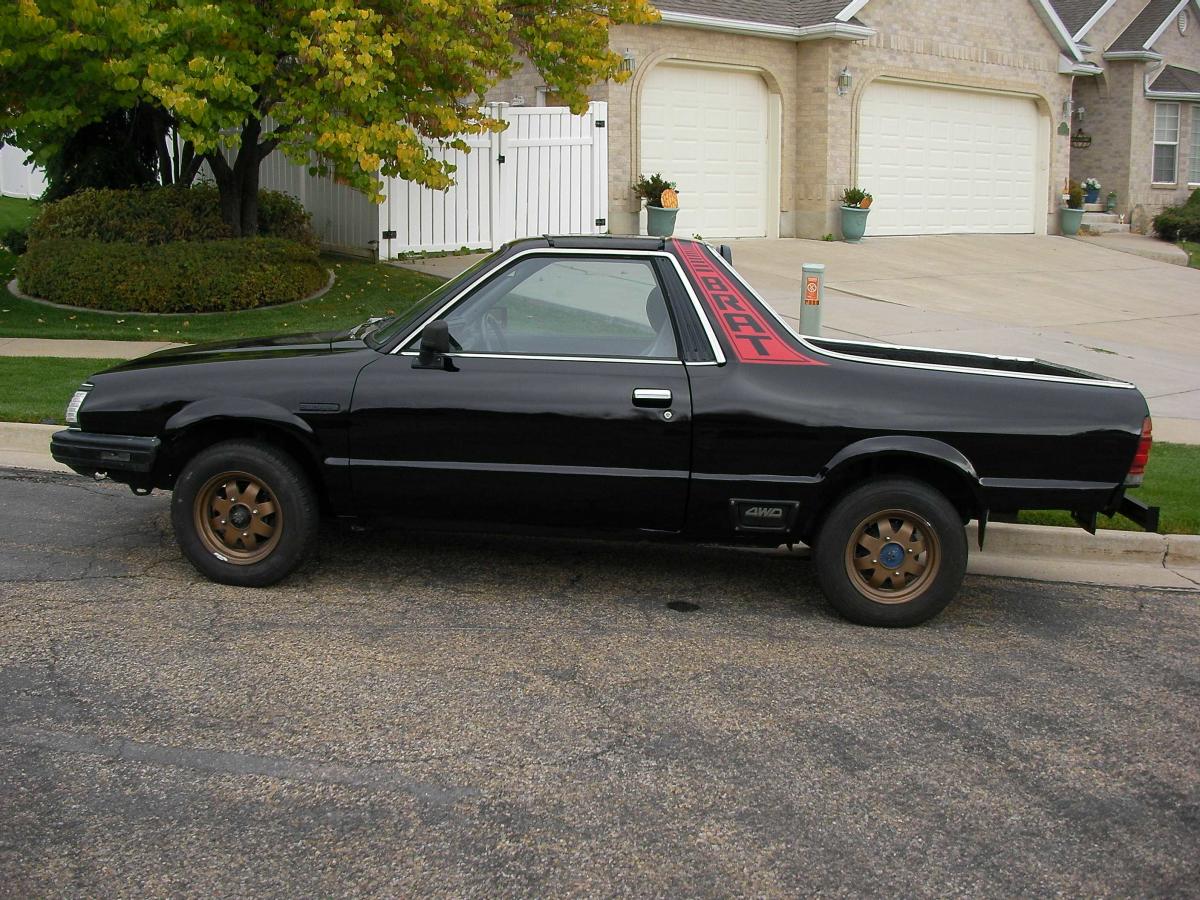
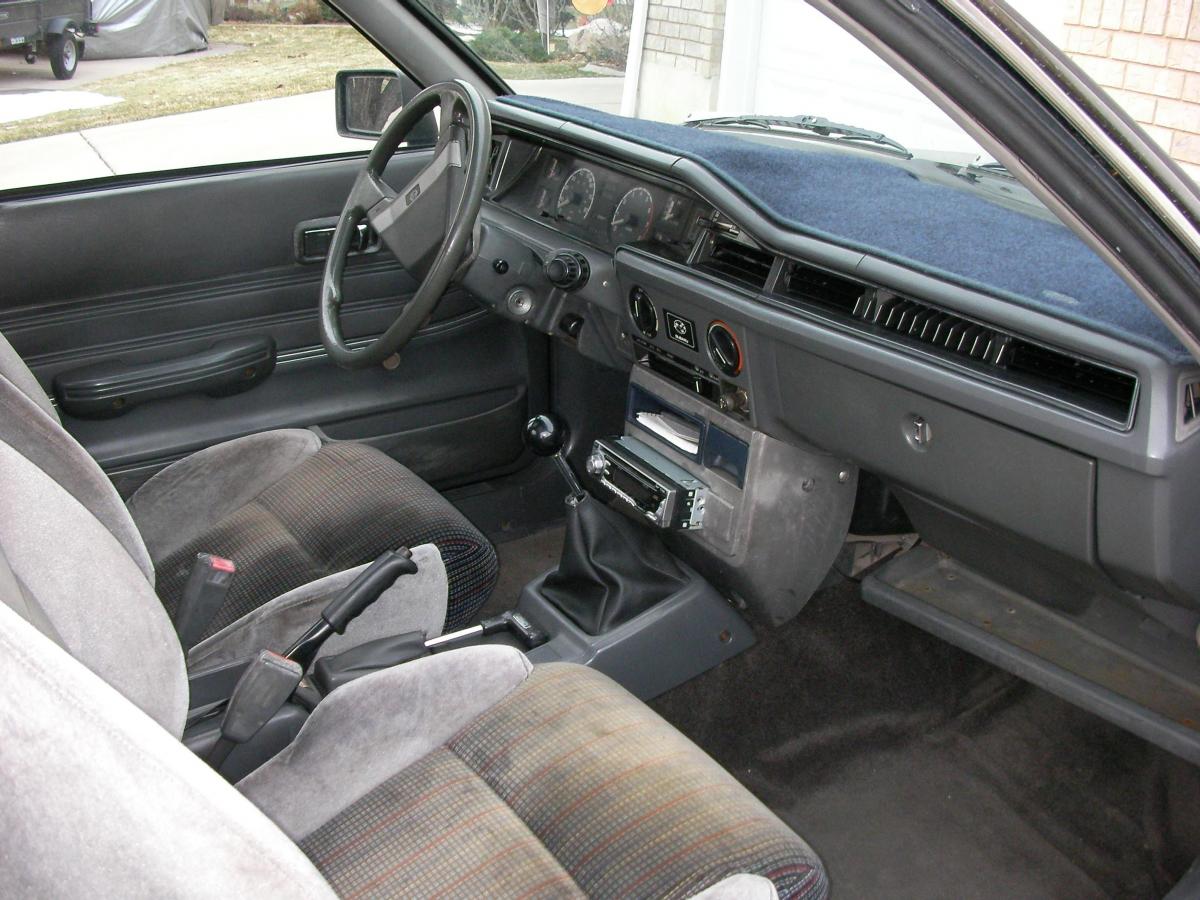
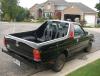
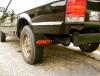
This is my 1983 BRAT that I bought this summer. It was in pretty good shape when I had bought it, but it needed a paint job for sure, haha. The previous owner had put hours into it, and it was running well. He had also cut out and re-welded all of the large rust spots/holes. I had been looking for a BRAT for a while, and this one was in good enough shape to give me the gumption to purchase. Here is a complete list of what the seller did to it before I got it (besides body work and rust replacement): At 167,000 miles Converted Trans to 4 speed single range 4WD Manual out of an '81 GL At 175,000 Front right wheel bearing replaced At 191,000 Engine/Transmission swap. 4WD Dual-range, 4 speed Manual trans with a bigger clutch from an '84 GL wagon. Engine still an EA81. 135,000 miles on those. Valve cover gaskets, oil pan gasket, 2 crank seats, carb gasket New clutch disc, new pilot bearing, new fluids New balljoints, new tie rod ends, new brake rotors, rebuilt calipers, remanufactured CV-axles (auto zone), new brake pads, front wheel bearings repacked with fresh grease, alignment New performance exhaust Front shocks/struts out of a low mile '86 Brat New Monroe rear struts Bucket seats from an eagle talon installed Custom rear bumper installed Front and rear body cut flush with bumpers Then, when I was in the process of buying it he sealed the undercarriage and coated it with Rhino Liner and coated the bed with Rhino Liner also. After I bought it, he did extensive body work to both doors and the front fenders, primed it, and painted it (double stage paint job with pearl metallic black paint with red flecks that show when the sun shines directly onto the car) He also installed another step panel, so now both sides have the secret step panel. I then put in a carpet kit (which wasn't even wide enough for the car, which was great) and have spent many many hours cleaning and detailing the interior. I also broke all of the plastic fins off the vents because the plastic was all crumbly and nasty. It looks pretty clean now. Since I have bought the car, I have made it my mission to get it to stop leaking, so I have since had new oil pump housing gaskets installed and the crank seal replaced. When we bled the brakes, the master cylinder froze up, so we installed a new master cylinder. It was still leaking, so we replaced a large part of the oil pump that was cracked and put in a new oil sensor. Then the water pump and front brake calipers started leaking so we replaced those. I just barely ordered new rear drum brake adjuster screws because the old ones are completely worn out. I also have new KYB front struts, but haven't put them on yet. The mechanic told me that the only thing that they can see that is still leaking is the rear main seal, but I am waiting to replace that since the engine must be removed to replace that one. I am hoping that it will definitely not leak after this.


-
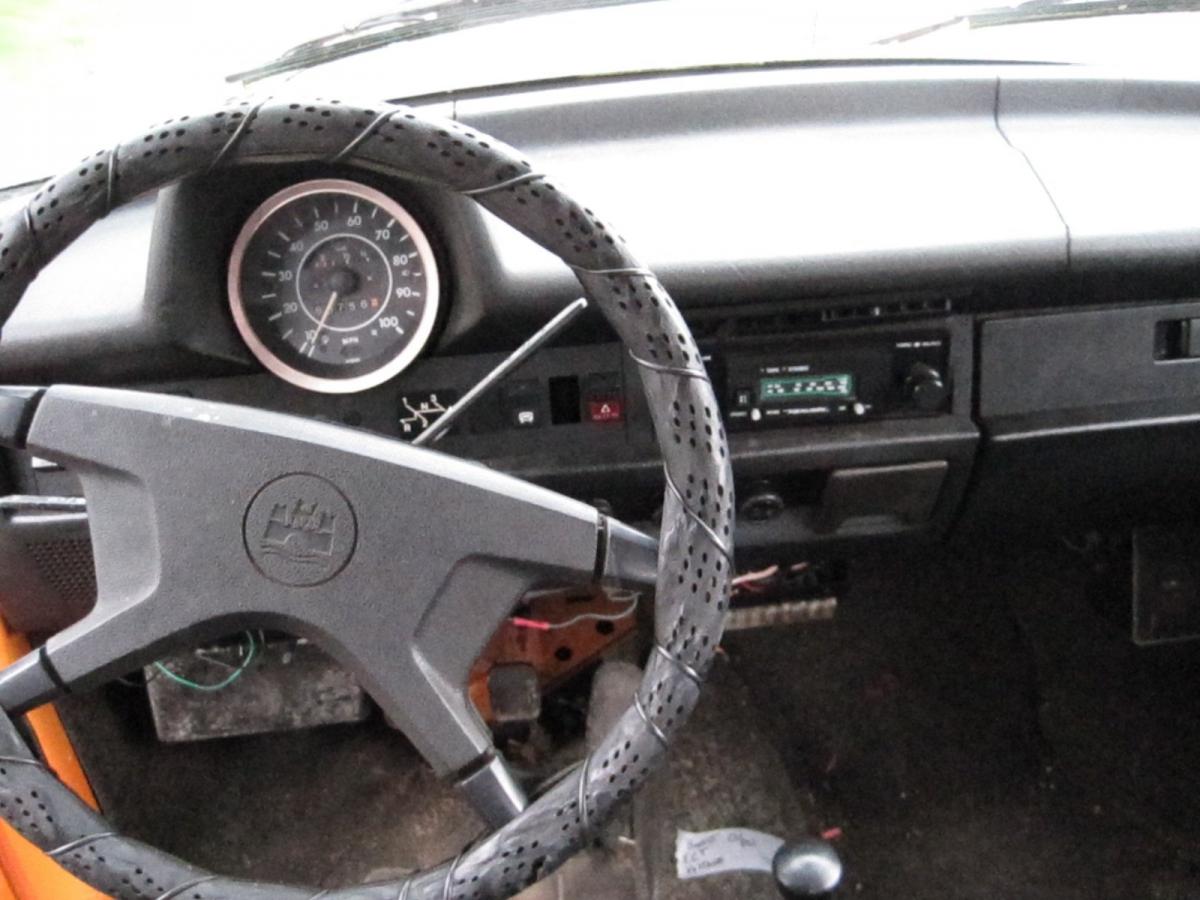
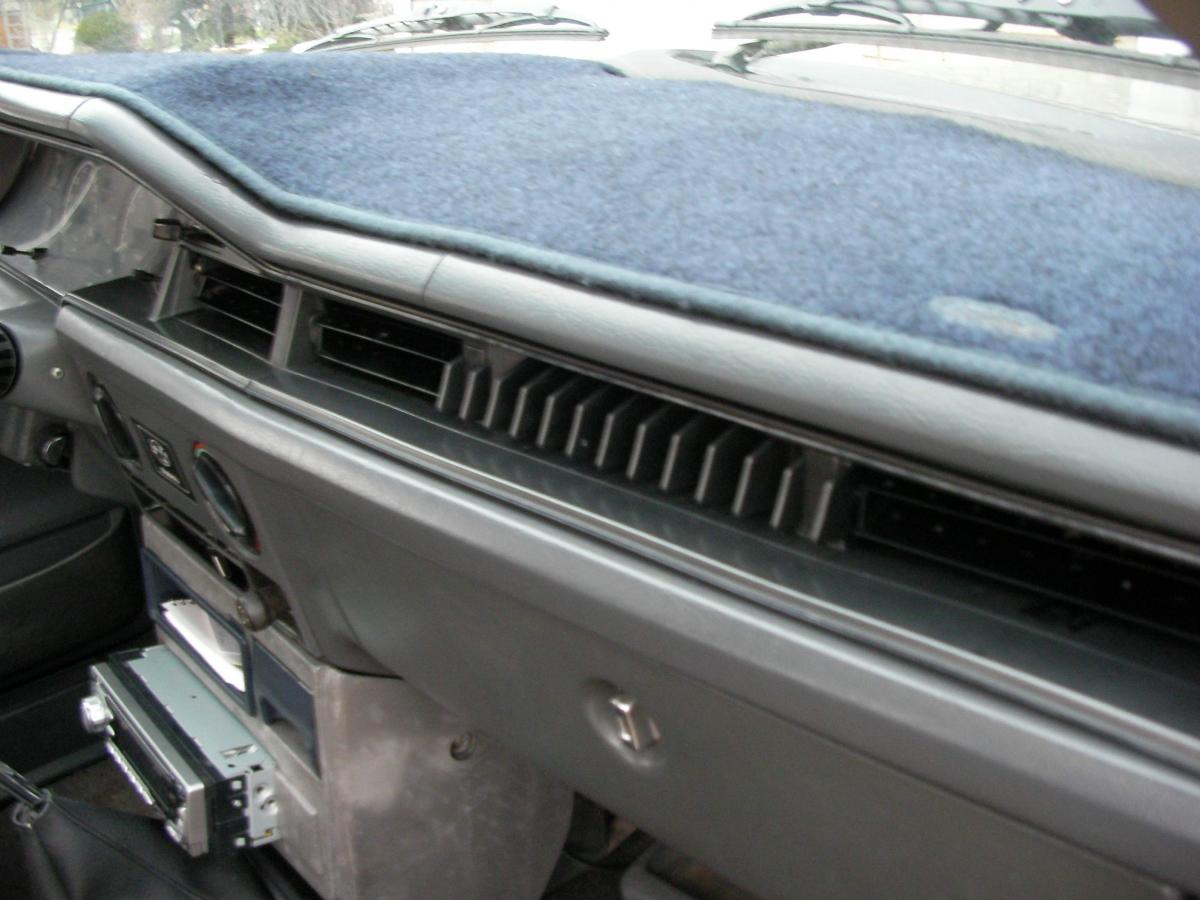
Long time Ago I wanted to install a Stereo CD Player + Radio unit on both my Subaru Wagons, the ER27 (H6 2.7) and the EA82 ("BumbleBeast") and, since the Newer Stereo Units are Larger than the Old Ones, they'll come outside around one or two inches from the Dash, Also they will Stay Directly in front very near of the Shifter Knob, and that is a Problem, especially when shifting fast to third gear. So, I did This Idea: it is a Wooden Frame, Cutted in a 45º Angle to make the Look of a Original Mounting, in that Way, nobody notices the 2 inches elongation outside the dashboard. I Painted it to mate the Dashboard's Original Colour. And I did Cut Down the Shifter Too! ... ... Not only for the Looks, it has many advantages, like shorter shifting travels, but the main reason was to Avoid Hitting the Stereo Unit while doin' a "Fast & Furious" kind of Shifting, especially to Third Gear ... ... also to Avoid Hitting the Passenger's Knee ... ... I Was About to Finish a Drawing explaining the Wiring Diagram, because I changed the Stock plug and added a Custom Plug while separated the Speakers' ground (Newer units needs fully independent wires) but I Found that the wiring is already very Good Explained here, in this same section of the USMB by another member, so I only will tell you this tips: Don't forget the Shared Ground for Both Left Speakers, and the Other Side's Shared ground for both Right Speakers; you must rewire them to independent ground on each Speaker, in order to avoid problems with the built-in Amplifier. As far as I know, each Speaker comes wired independently from factory, but there is a place behind the Glove Box, on the Wiring Harness, where the Factory merged the Grounds for each side. You can track down the point and rewire the part from the New Stereo's Plug to the Wiring Harness. Kind Regards.