

Step-a-toe
Members
-
Joined
-
Last visited
Everything posted by Step-a-toe
-
hmmm, what Bennie says above. I started the metal pipe only blow backwards process at the front and worked my way to the empty tank. I used an old fire extinguisher to transport the compressed air from petrol station to home. It was only on the final section from fuel pump to tank that I heard, then found the rusty crud that was lining the inside of the metal line. EA81 tanks are easier to see this as their sender unit are mounted on the back side. I had it out to see a pristine clean , empty tank, until the blow back landed. I dragged it out by wire and rag tool. EA82 won't be as easy.
-
Yep, but the dizzy you mention is not gonna work for me with my stuff and I am chasing crank fire accuracy if that is all possible. The dizzy of the series 1 with the 4 pin internal module (2 for ignition, two for knock control delay) also has roller bearings not the bushes of EA81 style dizzy. I have just put the hacksaw through the rear-most side of the rear V of the pulley. Through 5mm metal, 5 mm of rubber. Hacksaw to reduce chance of lathe work softening the rubber cushion to a point that it does not want to play any more. Next will be some lathe work to tidy up a support for the trigger wheel, and get trigger wheel ID cut to suit the pulley
-
I caught up with a mechanic who had previously been given the job to resurrect an L Series GTA , by a car yard. A blown intake gasket tricked them all, and their quick fix chemicals. He hated it. It ended up at a wreckers, slowly being stripped of lights and bonnet, until I came along. When I described it as being nimble - he scoffed. Yet , here I read Fuji's sales blurb for an earlier model, being nimble . Nice find.
-
if you have a spare cam cog, you can make an adapter pretty easily. I used an old short bolt with 17mm nut/head and tightened it in the centre hole. I fitted 4 M6 bolts to each of the holes so if cam cog was mounted on a cam shaft , the stud part would face forward. I mate the two flat faces together, aligning studs and use a 17mm socket on a wrench to tension up the belts. Unfortunately standard torque wrenches do not work or should not be made to torque the other way to tighten up right hand threads. If you have a torque wrench that is meant to work both ways - all well and good - you can get correct tension on belts. No pic as I believe I have run out of photo credit in here, and, I pinch the cam wheel to weld to a lawn/ground coring tool I made of same diameter. I drive the corer with the 17mm end of my cross bar wheel brace . It was all I had at the time ha ha
-
fitting instructions say to give it all a few final rotations and recheck tensions, from memory. Did you do that ? Those belt tensioners bolts have a very low torque up on them, did you measure torque on initial and before you readjusted ?
-
Practically, it has been done before with complaints of too much \o---o/ going on in the front wheel camber, due to the two model knuckles differing in angles when see sat on a bench, side by side. It has been done with other secret adjustments gone on somewhere. I got my kits from Subaru with orangey pink grease about 5 years ago. The kits looked like sat for 20 years
-
what story is the fuel filter telling you?
-
Sadly, the EA82 calipers are not a direct swap as the anchor bolts are about 15mm longer centre to centre measure. They use a bigger surface area pad too - which would be nice in the earlier models. The rebuild kits may be the same, or at least the rubber boot over the park brake bit. Have you looked at rockauto ?
-
Aha, I use the Series 1 distributor which is not optical. I don't run an ECU or wet fuel. The optical needs an ECU. I intended to keep my set up as basic as possible for reliability - and it has been just that. Although one distributor 4 pin module failed in 2018 and they are rocking horse poo. I feel better modernising the system to do away with impossible to find modules, or rather put the money towards new stuff rather than pay through nose for a 35 year old module that some may have. I am also looking forward to the challenge
-
posting up here with problems is part of the reason for boards and forums, whether you , your car, or Murphy caused the issue
-
big plate nut about 60 odd mm has a threaded stud about M10 that threads into the captive nut inside chassis. No twist off about these mongrels. Hardly any purchase on the sheet metal nut about 3 mm thick. The plate has big surface area to crud up and stick tight, then the chance of the threads being corroded... fortunately the sedans did not have these, just in-built bump stops on the rear shock struts
-
Maybe the auto RX as well, known here in Oz, by few as the GLTA, even fewer as the GLA, and others as an RXA. They did not get 25 spline front drive stub axles as the manual RX did. I wonder if the got the beefed up rear bushes? I possibly tossed most of my EA82 mo bars
-
interesting to see no grooves that the manuals indicate as ID marks, seen them myself and been relying on them in the future as I have a few cams from various lumped together. Have carb, early turbo, later turbo and later mpfi to try some day. Maybe no grooves were the first, so they look identical apart from the 10 and 11. If I can get at my collection I will look closer at what I have. Must be time to recoat in some oil anyway. Thanks for coming back. Grey max, any fine goo usually does the job. I have seen red, blue and black as well. I like the grey, looks factory. Not set in two weeks is odd, but not had to pull too many apart after only two weeks. Once found my torque wrench was dodgy, so did a full tear down a day or two later, only to find it became dodgy after
-
yep. awd and LSD
-
I have maxxed out my uploaded allowance so can't show how I tested the bushes. I did it out of the car , in a vice and shoved a bar down the crush tube and just put them under strain. Cracks appeared close to crush tube on one end, closer to the outer on the other
-
Note, this is EA81 moustache bar. I think EA82 are the same. Turbo EA82 may be different. Someone mentioned a difference and there are two part numbers between NA and turbo
-
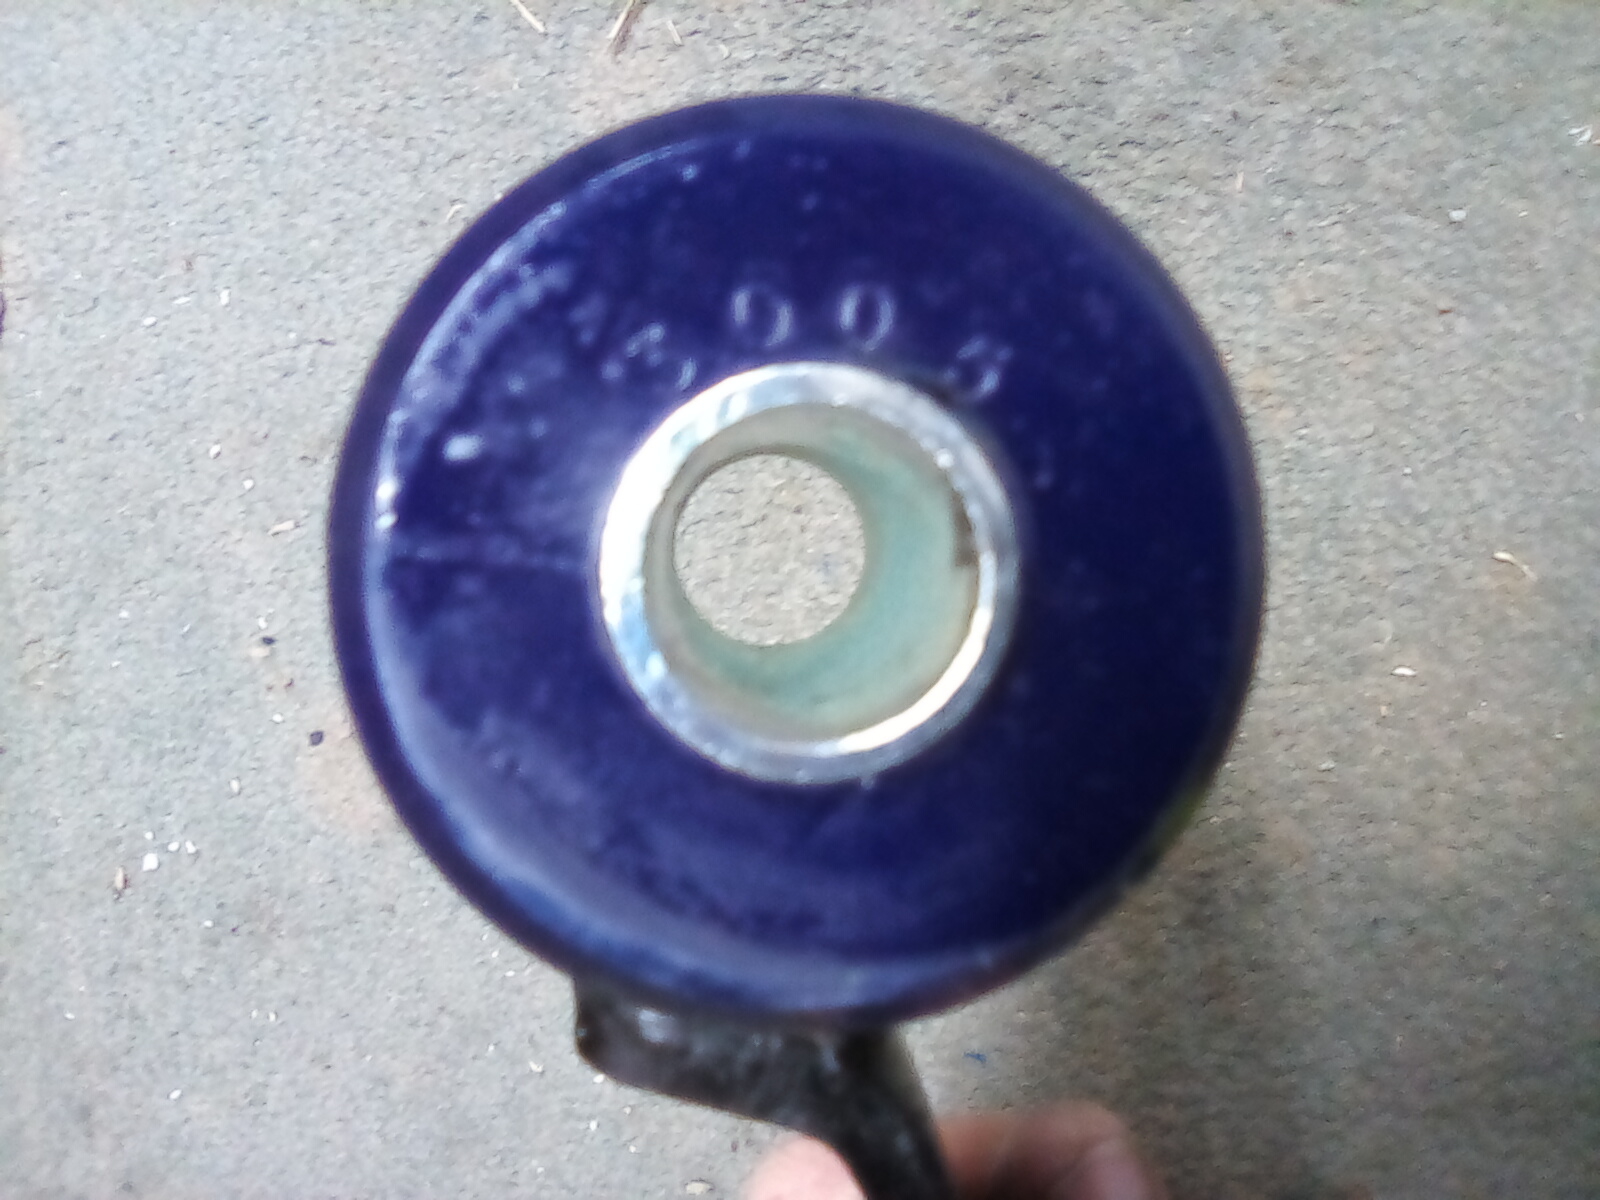
I have a pic showing the same SPF3005K in the end of the moustache bar. I sort of like doing one improvement at a time to assess things. I had a torque wiggle in my rump on gear changes with a little giddy up. I asked on FB , got suggestion of moustache Bar ends , I think, as the cause of this. Another suggested to replace all three is good practice. I noticed that the bush above the diff no longer had the bolt dead centre, so did this first. Reversing out and down the drive gutter, was a special sort of smooth silence, yet I never had noises or clunks reversing before. I did have a clunk turning in, that sounded more left side rear, not centrally. Central bush fixed this. With mo bar done, things are just smoother again
-
uh. oh, what gives, you know something GD? I am curious about any benefits of crank fire firstly and running propane so should benefit from higher advance down low and reduce timing further up the range
-
I saw $1535 , only needed a second to move on
-
you swapped a tower from another engine, so rockers cant slip out on you, that has happened to me before. Compression test coming up?
-
yeah, i know what you did, they are not interchangeable left to right. So, visually, those two rings, machined looking rings are in same position on both sides? I don't have spfi specs
-
it is a Superpro SPF3005K , and yeah, looks like this Aussie company has a US site
-
SPF3005K you get one in each packet I fitted same to each end of the moustache bar the following week. Ordered three packets to do the three bushes. Requires the old bush outer steel shell to be removed, somehow... whatever way is your choice. Should have done this years ago Impressed with the feel just of the one above the diff. I picked out a moustache bar with cracked rubber mounts to do as an exchange Used floor jack, wheels on the ground loosened the 22 mm headed bolt with 17mm nut, and the 17's on the back of the diff, 19's on the hangers each side jacked diff a little to remove the bolt through middle mount. as the jack was lowered a bit, diff moved forward, kinking uni joints a bit, diff slid out of its two studs on moustache bar - first time I seen this happen. Made for easier remove and refit of moustache bar, slid diff forward and studs in first. Centre transverse bolt in last. tightened up, all less than 30 minutes to install my exchange moustache bar in. With moustache bar out for safety, I use a propane torch to burn the rubber out, again in a safe location, bang out centre crush tube. With hacksaw blade mounted through hole, I cut into the outer tube, to make a 10mm wide tear strip to knock out with a cold chisel
-
I get into the habit of asking for your compression test results first. Blocked cat, dud AFM, is it the flapper style , 85 86 model ?
-
aren't they about 75 HP anyway ?
