
Leaderboard
-
nicksubaru
Members3Points195Posts -
heartless
Members1Points4647Posts -
nipper
Members1Points18629Posts -
idosubaru
Members1Points26995Posts


Popular Content
Showing content with the highest reputation on 11/24/20 in all areas
-
2 pointsI personally dont like it when a post never cames to a conclusion, so... For anyone who reads this in the future. The car runs great and i followed what i was told on here except for one thing. I very lightly polished the crank surface and put in a new stock size bearing for the one rod. I used a shoe lace wrapped around and cut to size 800 grit then 1000 grit sandpaper, and wd-40 for lub. I did not go down to where all the groves were gone. And it was a complete gamble and a half. Also im running full sync oil. But as of a about 2000+ miles the car runs better then i have seen any of my cars before. So i am very happy. Not sure if i said fully all that i did. But i hot water pressure washed the inside and out of the block resealed every single thing other then spit the block halfs. Polish the combustion camber to 1000 grit. Same of the piston tops and valves. Lap the valves. Port and polish intake and exhaust to 320 grit. Full gasket, seals, and rtv ulta black where needed. Resurfaced the heads with the glass top and sandpaper to 320.Put it all back together. Thank you all for your help in making decisions. And all the great info.2 points
-
1 pointYes. Only because it was on #4(left, back if looking at the front)(see previous post for pictures) the hardest part was removing the rod without fully removing the piston, and the rod nuts. The 1st nut was easy. The 2nd one... Well i used a small ratchet 1/2 a click turn and had to reset it each time. That took a while on and off. But the buff part was easy. I just took off the high parts but didn't go all the way down the lows on the crank surface. No way of measuring roundness or anything. Completely shot in the dark. I do not recommend anyone trying this. I only did because its on a 2nd car that i dont depend on and i have AAA towing if the wrost should happen. But as of now it's been a great running car.1 point
-
They should have been done all at once. I would say no, get a complete kit, brand name. They probably have taken a set by now. ALso if your wires are wet your going to need new wires.1 point
-
Sounds good. I always re set the tension after the 10 second run. Sometimes it changes, sometimes it doesn't. The tension spec is what it is in part to allow for the effects of time and temperature cycles.1 point
-
1 pointif you are just doing a drain/fill the typical recommendation is 3 times, with some driving time between each drain.. that should replace roughly 80% of the fluid hope you can get her in better shape for a little while at least.. buy some time to find a replacement.1 point
-
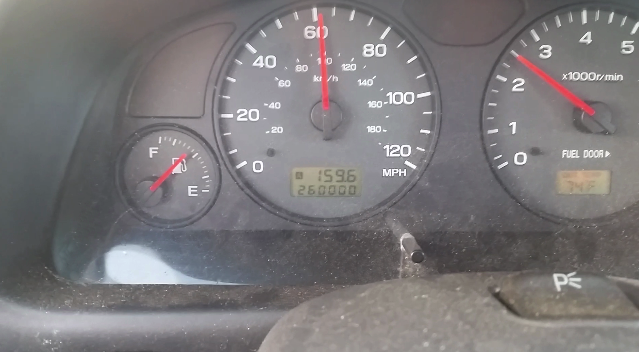
1 pointThis might not work or be the correct one but the process for extracting codes for yours might look something like this. Earlier trans have different procedures, so the process changes sometimes, but this might work for yours. So this is more of an illustration...but it might work. Either way, there's other info out there, this is just the first one I found. The ProcedureStarting condition: key off, headlight switch off.Steps 1 through 7 must be performed within 10 seconds.1. Turn key to ON position. This is the normal running position, the click just before starting, when all the lights on the dash come on, but before you twist to START. Don't start the engine!2. Within 3 seconds, turn the headlight switch ON.3. Press the Trip/Odometer button 4 times.4. Turn the headlight switch OFF.5. Press the Trip/Odometer button 4 times.6. Turn headlight swtich ON.7. Press Trip/Odometer button 4 times. At this point, the DTC display will begin.8. Turn headlight switch OFF. Not necessary for the procedure, but your display may be dimmed and hard to read in bright sunlight. Besides, why drain the battery?The DTCs for each module will display in order: ECM, TCM, ABSCM/VDCCM. Press the Trip/Odometer button to cycle between modules. The FSM states that the display will cycle between modules automatically every three seconds if the button is not pushed, but that did not happen in my car - I had to push the button to cycle the display.For each module, there are three display states:- Receiving DTC from module (blinking "P" or "C")- DTC detected & displayed ("P" or "C" followed by 4 digits)- No DTC found ("P" or "C" followed by "----")If there is a CAN (Controller Area Network) bus communication error, you will see only "----" in the display. Basically, that means that the network in your car is broken. That will need to be repaired before anything else can be done.1 point
