Leaderboard
-
moosens
Members3Points7873Posts -
bushytails
Members3Points174Posts -
sirtokesalot
Members1Points843Posts -
DLGL8388
Members1Points32Posts


Popular Content
Showing content with the highest reputation since 03/12/26 in all areas
-
3 hours start to finish engine trans diff driveshaft axles mirrors ecu tcu fuel pump radiator and condensor out. nothing els worth keeping. and thats including driving it out of the woods and cleanup time.1 point
-
Could be a broken cam between 1 and 3.1 point
-
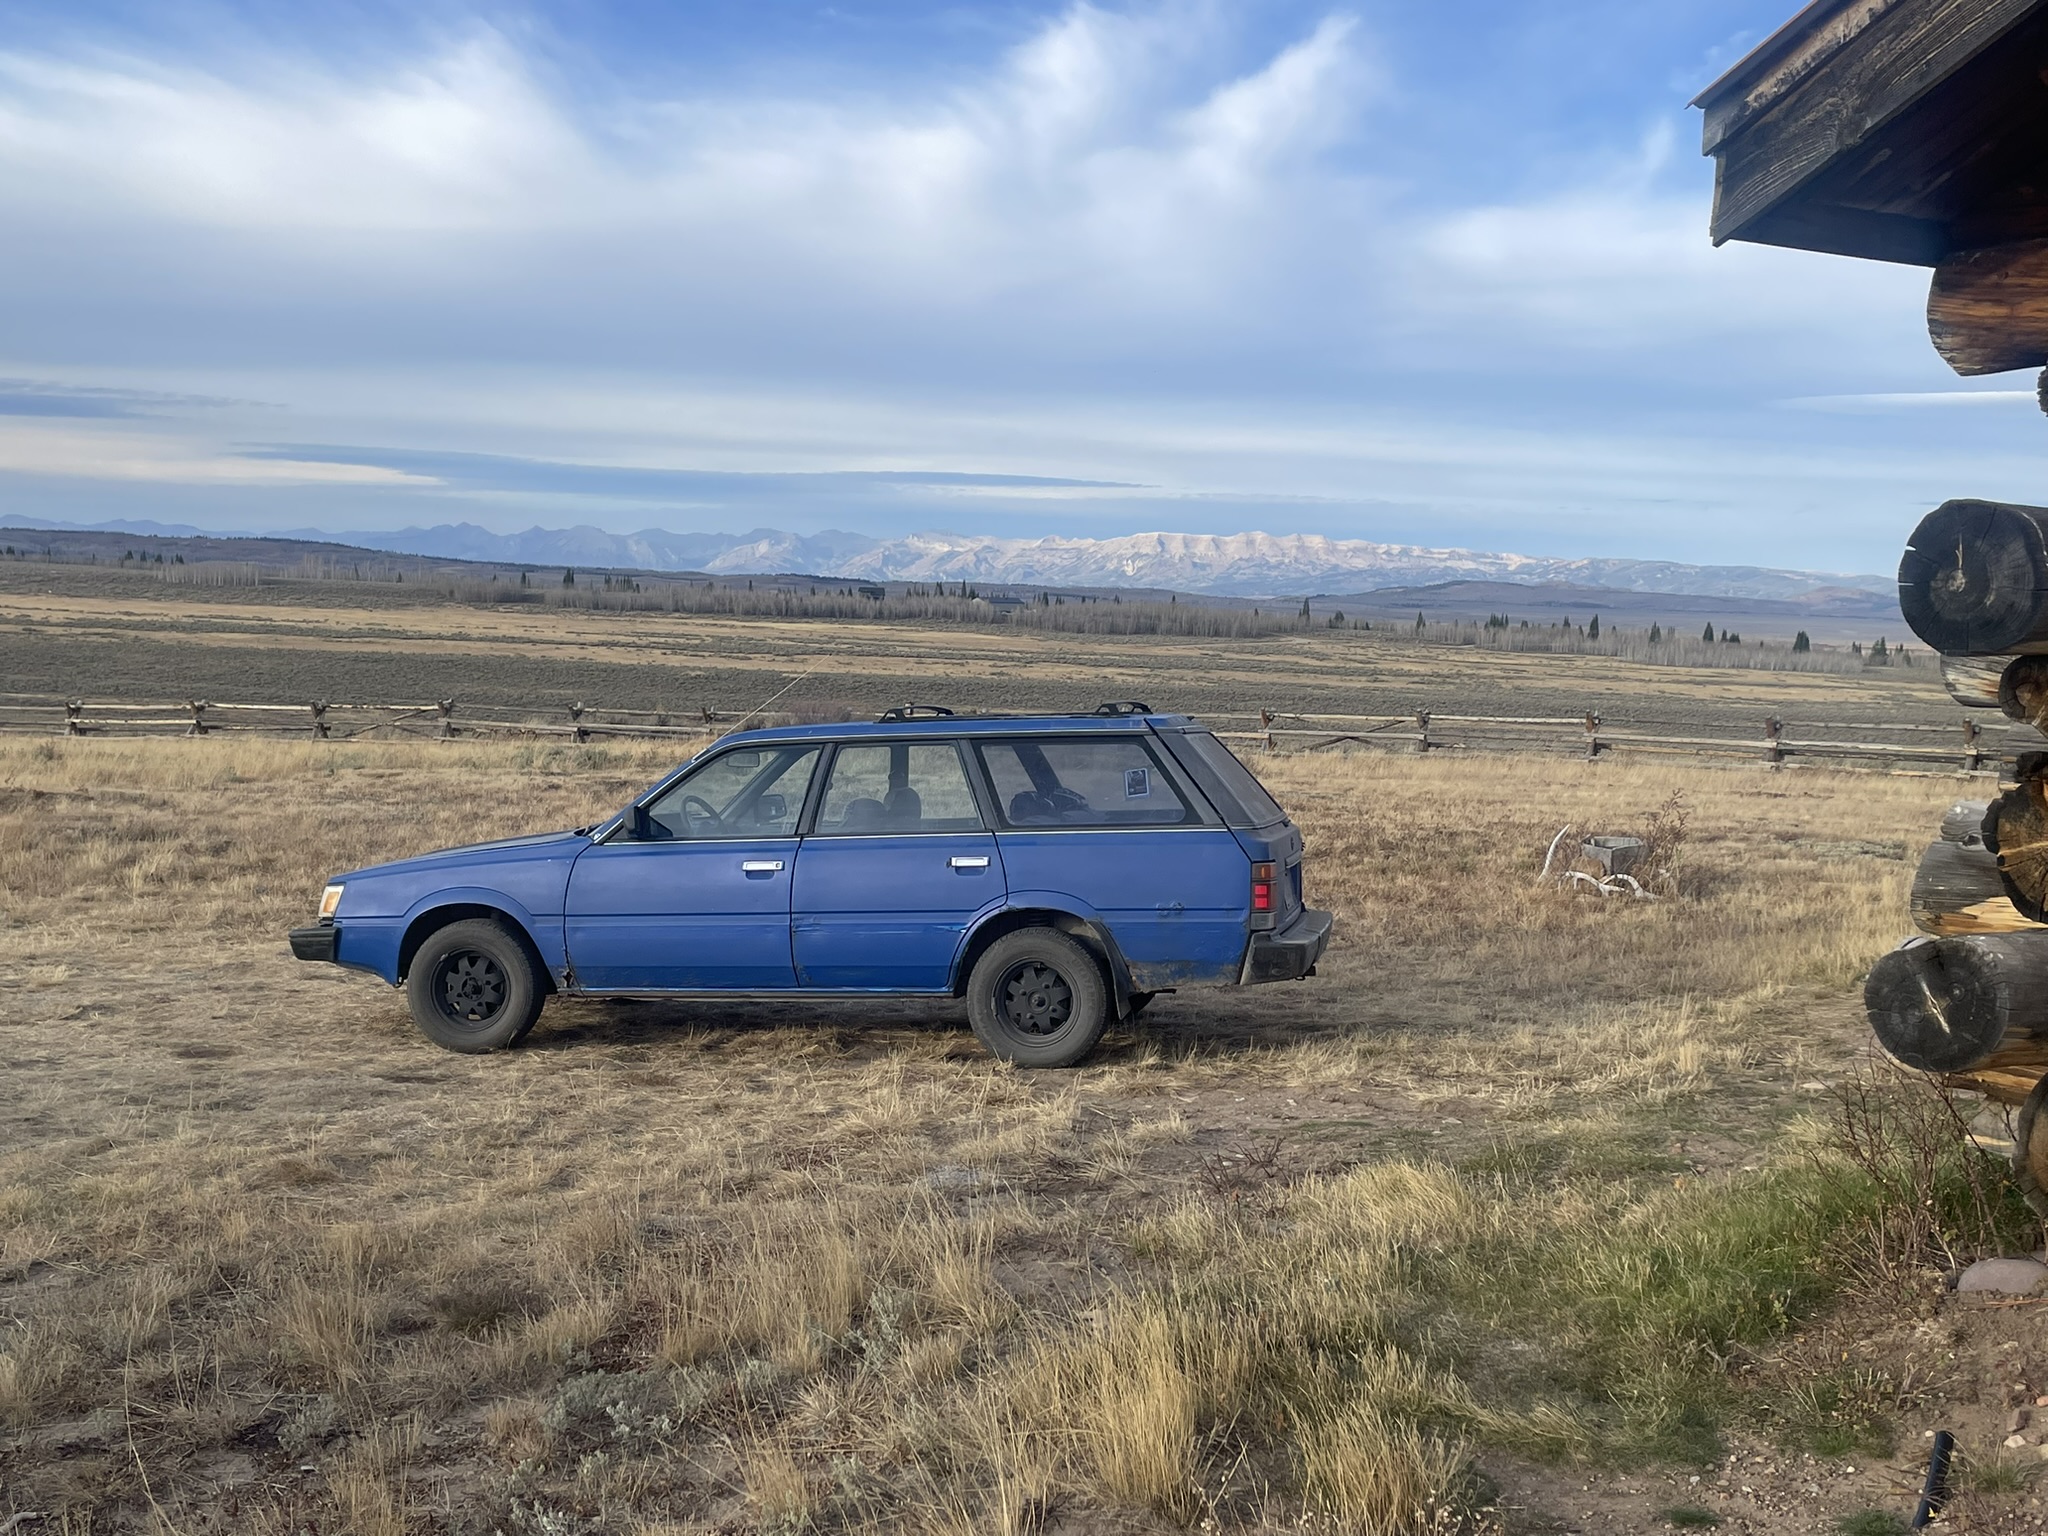
1 pointHello all! 1st post here, just picked up a new to me 1988 RX with EA82T a couple months back and trying to keep it running well enough to get a full season in the stock class at he local NorthWest Rally Cross in WA & OR. So far, i've put a new exhaust, new wheel bearings all around, ball joints, new rotors up front, pulled oil pump and replaced all seals, replaced a handful of vacuum & water lines, chased a few electrical issues including a burnt up fan resistor that nearly caught the car on fire due to all the left over rodent seeds left in the vent lines, & added boost gauge. i'm getting 110+ compression on each cylinder if i recall correctly, checked that just after i got it and forgot the numbers since. currently fighting what seems to be a sticky valve? went for a test run up a near by mountain road, lots of turns, roughly 9-10mile climb, pushed it fairly hard up the hill. once at the top i had to go downhill a bit before a good turn around point, ran this at low RPM, turned around, and on the short hill climb at 3-4k RPM, the engine had a hard pop (sounded like a backfire/detonation), followed by a muffled brrrrrrrrr sound for a second or two, getting worse every time i put on throttle and complete lack of power. let off the throttle, idled down & down shifted, power came back and problem never returned. at the top of the hill i was at about 190-200 deg F. drove very light the rest of the way back down the 10 mile decent and got the temp back down to 185ish. checked the oil, it was not milky, coolant also looks good, however, my intake manifold has quite a bit of thick oil build up throughout - i'd say about 1/16-1/8th inch of sticky oil buildup throughout. I'll be going through the PCV breather system soon to see if there are issues there, and likely replace the turbo as well just to be safe (it does boost well, i just suspect it leaks oil). probably worth pulling the intake off and giving it a good clean. Any suggestions on common causes for the oil build up in the intake? would an Air/Oil seperator be worth adding, if so, any particular one work well on the EA82T? Next up would be my oil. it goes black and runny really fast, and a quart disappears fairly quick as well - doesn't smoke a ton when running (a little at a cold start, then smooths out), no oil in water, and it doesn't leave puddles in the driveway. currently running 10w30 high mileage Valvoline. next oil change planning to jump to 10w40 same full synthetic Valvoline - unless someone can give me a good recommendation on what they've had work well! the cars got 140k on it, and the engine had the top end gone through about 6 years ago - i'm just not sure how many miles it's had since then. in addition to going black and runny fast, i can get good oil pressure when the engine is cold 40-60psi, but once it's warmed up, at rev i get 20-30psi and at idle 0-5psi - this was before and after the oil pump reseal - when it was on the bench, everything looked decent. Would there be a good oil additive that could assist with the intake oil build up and help clean up my valve guides if they are getting sticky? thanks in advance!!1 point
-
Your wheel bearings are shot, the hub nut (big 36mm hopefully with a cotter pin) is loose, or both. Jack up the wheel, release the e-brake, grab the wheel top and bottom, and wiggle. If the whole axle wiggles, including the cv joint cup, your wheel bearings are bad. If just the drive flange wiggles on the axle, your hub nut is loose. Remove cotter pin, put tranny in 1st, tighten until engine starts to turn, put e-brake on, tighten until e-brake slips, lower down, tighten really bloody tight (150ftlbs), keep tightening until cotter pin goes back in. This multi-step tightening process is to make sure the drive flange ends up centered on the shaft and bearings - if you just crank it down with weight on the wheel, I've had them end up crooked. Edit: Another thing I've seen is your caliper has come loose (bottom bolt backed out) and is rubbing on the wheel, but that usually causes loud clunks and occasional lockups, not grinding and occasional lockups.1 point
-
1 point
-
1 pointThank you. That's what I thought but was puzzled by the short life. I greased them up good and filled the cavity ten years ago but I have not greased them since and the car gets driven through icy water a lot. I ordered the new bearings and seals today. I have a seal driver set. I snowmobile in to my cabin in the winter so I'm hoping they might last until spring but I kind of doubt it. Yesterday when I cranked the axle nut enough to gain another hole in the castle nut it seemed to tighten them up a little. If they wear down and loosen up again I'll change them out. That just means that I'll be doing it in the snow on the side of the road where I park in the winter. But hey it's a $300 car that I have been driving for 15 years.
 1 point