


Dee2
-
Posts
863 -
Joined
-
Last visited
-
Days Won
5
Content Type
Profiles
Forums
Gallery
Store
Posts posted by Dee2
-
-
If the piston face has notches, then the pistons must be spun into the caliper. If you try to compress them with a clamp or other device you can damage them. A special tool is made that can be helpful.
The notches must be aligned perpendicular to the caliper when in final position.
-
I would take it to a shop and see if they can offer a recommendation and an estimate for repairs. Then you can decide which is the most acceptable option for your budget and comfort level.
-
Put a straight edge on the mating surfaces to see how big a problem you are dealing with or bolt them together without a gasket and measure the gap.
-
11 hours ago, el_freddo said:
How many new oil leaks did you find after this?
None ...
-
if noise persists, do an oil flush. Then try refilling with a mix of 3 quart of oil and a quart of automatic transmission fluid. Run that for few hundred miles and see if the noise goes away. Mine did.
-
 1
1
-
-
Try some simple things first like checking the plugs - clean them, sharpen and regap - check the air filter.
Then run some tests for compression and vacuum to learn if there are any real engine problems that need to be addressed.
-
A lot of your description sounds like the symptoms of a failing fuel pump. I had the same symptoms when mine was failing.
If it has trouble starting next time you try, rap on the fuel pump a few times with something like a screwdriver handle, may take more than one attempt. If it gets you going, then that points to a failing fuel pump.
-
I wonder how many people have been screwed over by that little typo ...... clearly the reference should be as you stated, for the oil pump drive sprocket.
-
I checked my Chilton and "How to Keep Your Subaru Alive" manuals and neither had a torque specification for the 1.8 or 2.2 liter oil pump mounting bolts. The "HTKYSA" manual just said make them "good and snug".
Chilton's manual for the 2.7 and 3.3 liter engine says 4-5 ft-lbs.
If I recall when I did mine I used the 4-5 ft-lbs setting.
-
It could be your torque wrench is off. I know when I use my small 1/4 in torque wrench it is not always trustworthy. If it feels too tight, it might be. Try to verify your torque wrench.
-
recheck your timing belts
-
Also check your fusible links.
-
On 10/25/2018 at 10:41 PM, el_freddo said:
Torque should be 196 ft lbs from memory.
145 ft. lbs. = 196 N.m
-
1
-
-
14 hours ago, Brianmitchtay said:
A rhythmic/speed related, knocking/ticking,
I had a similar problem when I replaced my axles. The solution I used was to slightly overtorque the retaining nut. With that I was able to silence the noise.
Before you do though, you may want to check the bearings. Grab hold of top of tire and push and pull hard. If it goes klunk klunk, then you need new bearings.
Otherwise, check your torque on the axle castle nut. Sometimes you have to slightly overtorque to get things to quiet down. I torqued mine to 145 ft lbs, then moved to next free slot on the nut to get the pin in, but before I put the pin in, I rotated one more notch, then pinned it. Seemed to make a big difference. Not 100% quiet but I can live with it.
You may also need to check the washers beneath the axle nut. Some folks say they replace them and lose a lot of noise.
-
+1 on the ratcheting wrenches.
-
1 hour ago, Vneva said:
What do you think it would take? I have seen some listed that seemed decent in Portland, Seattle and Spokane in the $1500-$2000 range. I have found in buying older cars that I need to put more in after buying one. The one I drove in Wisconsin had come from the Portland area, had 212,000 miles and was in good shape. The owner had it listed for $1500 which seemed reasonable but I really wanted one with a manual transmission.
Sounds like you have ample budget so you can be selective. I have found spare parts for mine, including the oil pump. Almost all old cars are dead platforms. That doesn't mean you can't still enjoy them.
-
what's your budget ?
-
36 minutes ago, czny said:
Drum brakes should always be adjusted first before bleeding, as I surmise you just found out.
Adjust & try again Dee. Tighten until they're locked up then back off until they drag lightly.
By the time you get done here you'll qualify for your NIASE patch on your service jacket....

Yeah, I did adjust them before originally starting all the bleeding. I just rechecked them again today. So no changes. I am rebleeding today again...and again....and again..........
-
11 hours ago, czny said:
While you may not be seeing air when you get back to each wheel, air could be rising up the bleeder hose & remain trapped in caliper/whl cyl on last up stroke of brake pedal.
I keep the tube in an arch-shaped loop so air can't go back down into the bleeder valve. Any air should rise up and away from the bleeder valve. As the fluid goes back down, from the top of the arch into the bottle, it should create a slight vacuum at the bleeder valve. At least that's my theory.....
On the threads of the bleeder valve, I think what happens is the first stroke of the pedal forces fluid around the threads and it becomes a wet seal. Releasing the brake pedal slowly prevents the sucking of air back through the threads. At least that's my theory.....
I also ran a little check test. I have the rear end of the car up in the air with the wheels off. So I pressed the brake pedal down and held it in place with a bar. Both rear wheels will spin freely. The shoes barely touch the drum.
I can lock the brakes if I turn the manual adjuster far enough, so I know they can work. I'm not sure if that confirms air in the system or if the brake cylinders are both bad.
-
 1
1
-
-
47 minutes ago, DaveT said:
Only problem with that method, is that there is no seal when the bleeder is loose. So air can be drawn back into the cylinder through the threads of the bleeder on the release of the pedal.
The 2 person method is the ideal way to do it. Since I have no helper, i have to use the one person method. So, I can't close the bleeder valve to seal the threads between brake pumps.
I do think that if air was being drawn back in, there would have to be at least some bubbles showing up in the discharge line. I haven't seen any in the last two cycles.
-
44 minutes ago, czny said:
You did use a check valve type brake bleeder at the wheels, right?
No, I use the method of submerging the tube in a jar partially filed with brake fluid. I watched the fluid carefully and no air was ever drawn back into the brake line. The tube is tipped up from the bleeder valve so there is always fluid against the discharge point of the valve.
Engine is always off when bleeding. All the connections look good. I checked inside and out for leaks around the booster and firewall, there are none.
I will try bleeding the MC again, after I get some more fluid.
-
I tried to use the camera to see on top of the tank but it didn't provide anything useful. The lens only focuses about two inches and only when it is perpendicular to the object. Also difficult to direct the cable because of too many bends to get on top.
Tried one more bleed to use up last of brake fluid. Didn't get any air bubbles from any wheel. Just clean fluid.
Not sure about pulling the MC forward, it would have to be completely removed. In effect starting over...which is a possibility.
To bleed the MC, I used the method described by CZNY above.
-
I went through about 3 to 4 reservoirs, min to max levels, whatever that adds up to. I'll try to bleed some more. I'll keep looking for those plugs. Hardware and auto parts stores don't carry them locally. I thought NAPA would have them since it's their video, but no such luck.
I have an inspection camera, I'll try to look up on top of the tank. Not sure how else to do that or if the camera will even work.
-
Well....Good news, bad news.
good news.
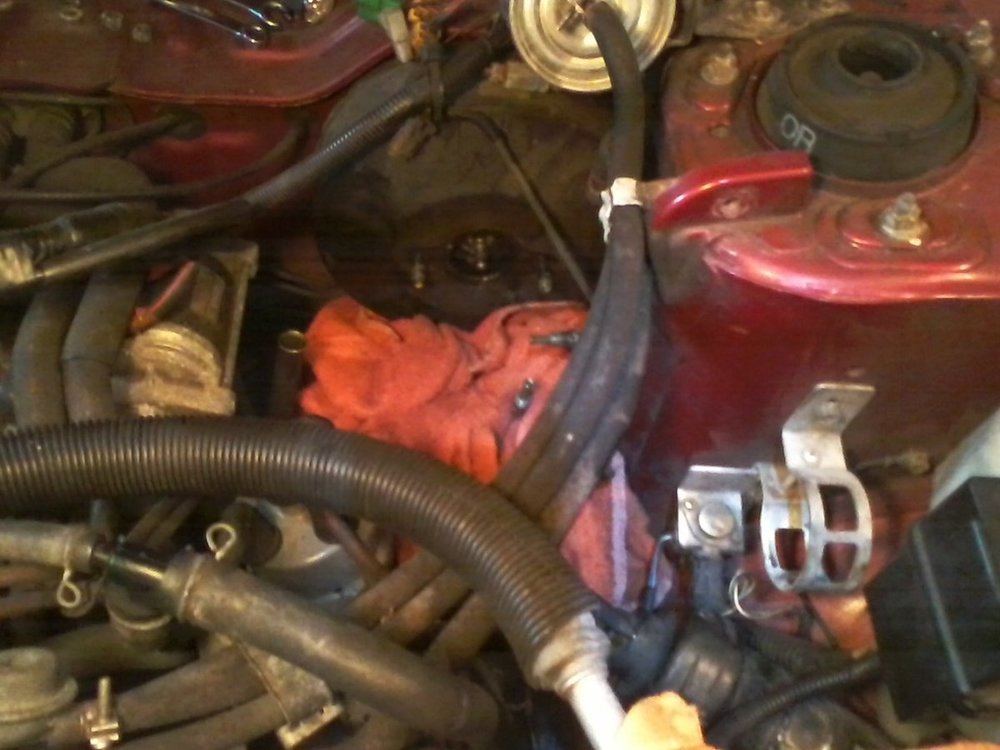
Finally got the part and time to work on it. Step 1 - get the old MC out
Only had to move a few things out of the way - tire rack, AC line, battery cables and coil.
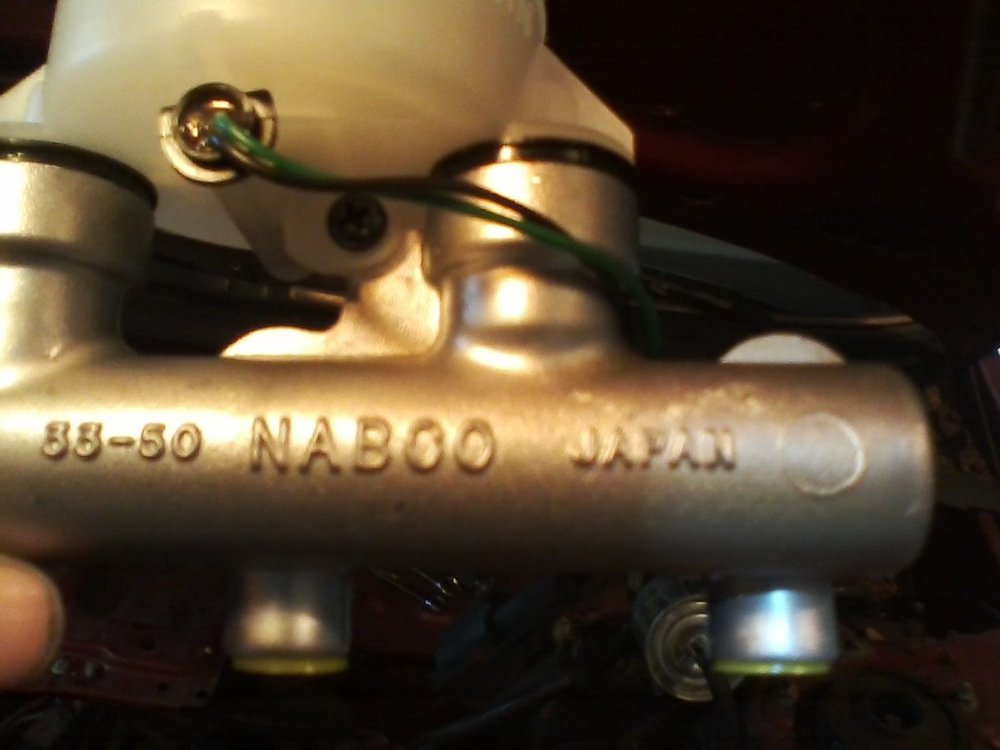
The replacement is a Beck Arnley and is a new unit with a new reservoir and is made in Japan at a good price from RockAuto.
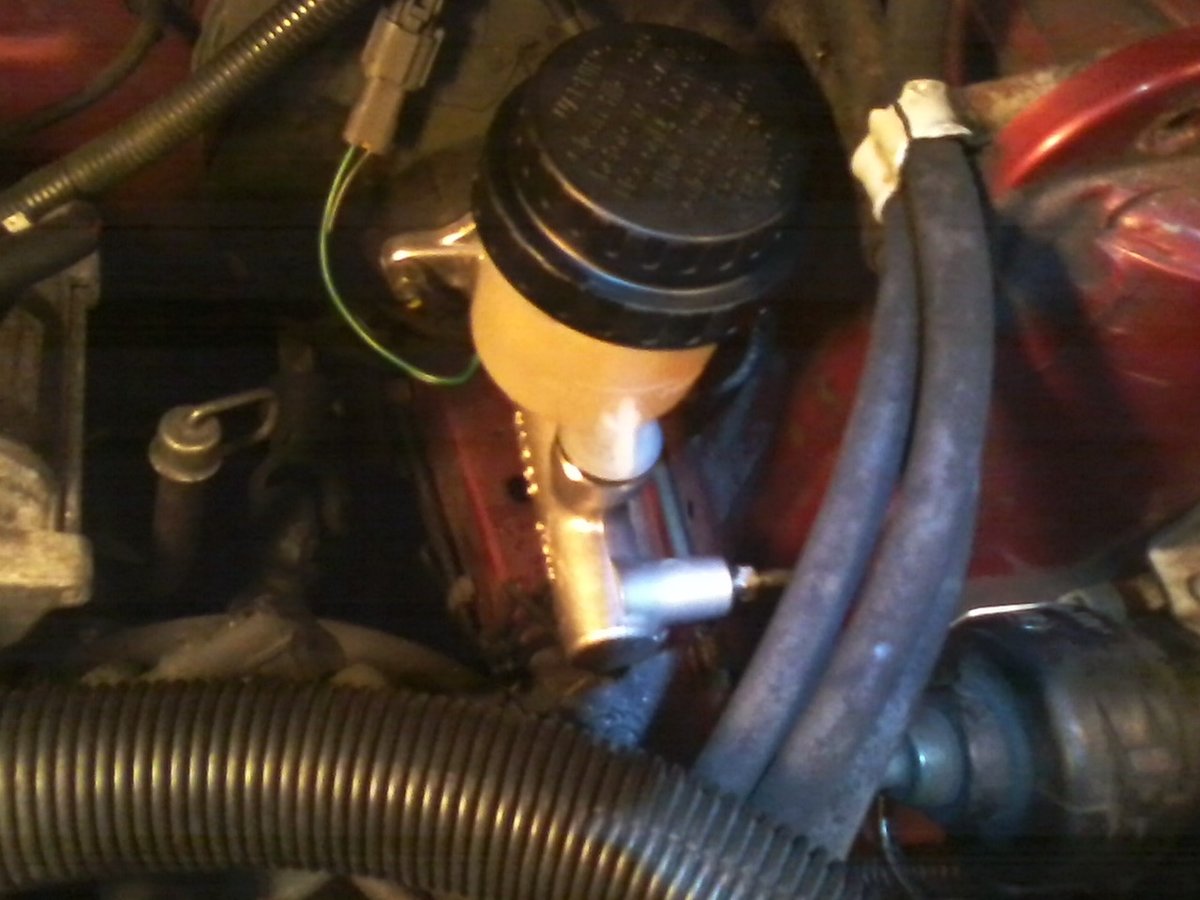
I installed it dry and did a bleed on the car with the brake pedal.
 Only noticed some improvement, so I did a couple of brake line bleeds to see if that would help.
Bad news...
Pedal is still going to floor. I checked the brake booster and it seems to be working as it should be. I double checked the manual adjusters on the rear wheels. I opened a rear wheel and checked the brake pad thickness which is 3 to 4 mm. 1.5 is minimum.
So, I'm at a loss. Not sure what went wrong. Planning on doing more research to see how best to diagnose this so I don't end up redoing things too many times.
Also, I'm searching for the plastic plugs shown in the NAPA video to see if I can use those to block ports and test circuits separately. I can't seem to find those plugs. If anybody knows where to get some that would be helpful.


'Thumping' noise from rear when braking.
in Old Gen.: 80's GL/DL/XT/Loyales...
Posted
i would raise the back of the vehicle and lightly apply the brake. Spin the wheel and listen for noise, if present, then remove the wheel and drum for inspection.