
ebarb
-
Posts
103 -
Joined
-
Last visited
-
Days Won
1
Content Type
Profiles
Forums
Gallery
Store
Everything posted by ebarb
-
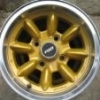
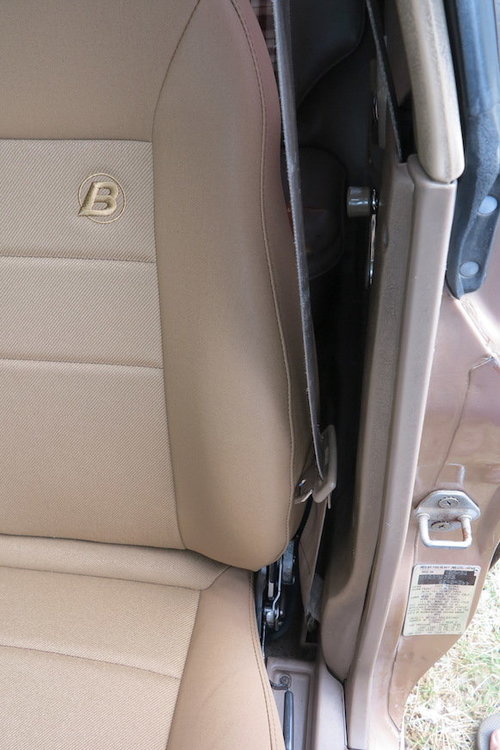
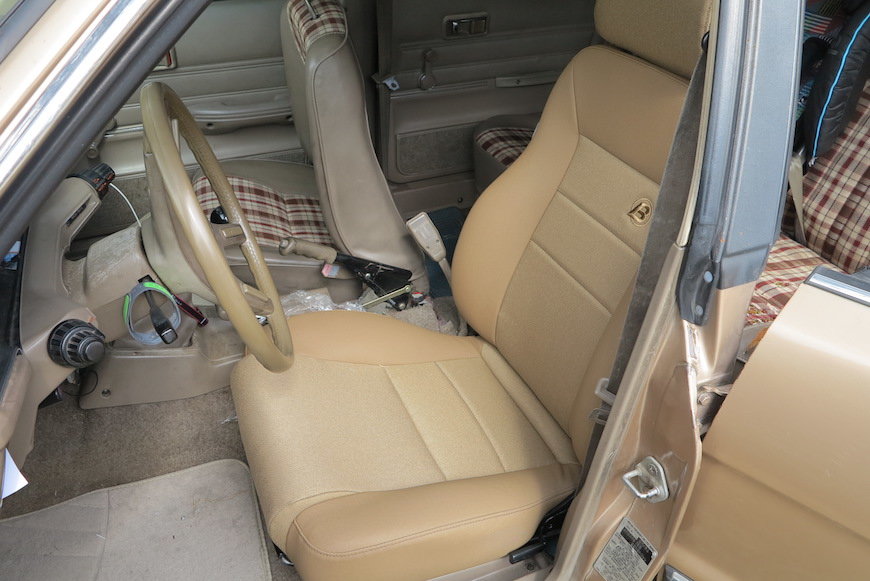
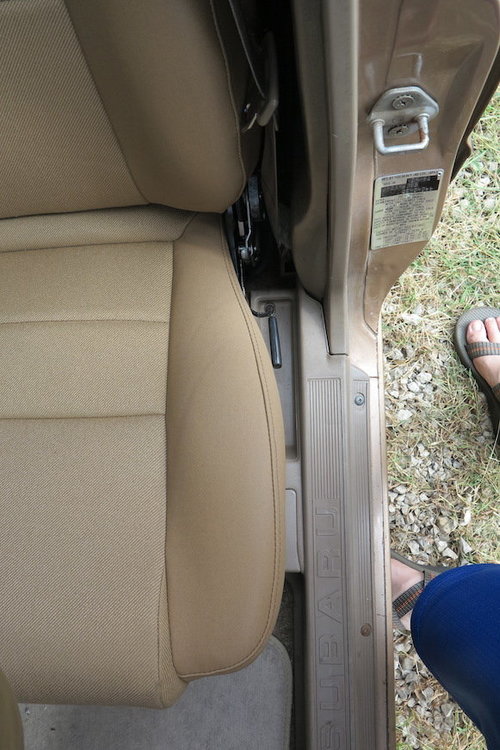
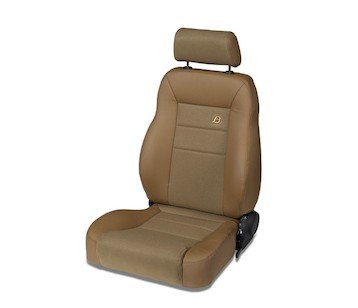
A few pictures of fit and clearances of the Trailmax II Pro Front seats from Bestop.
-
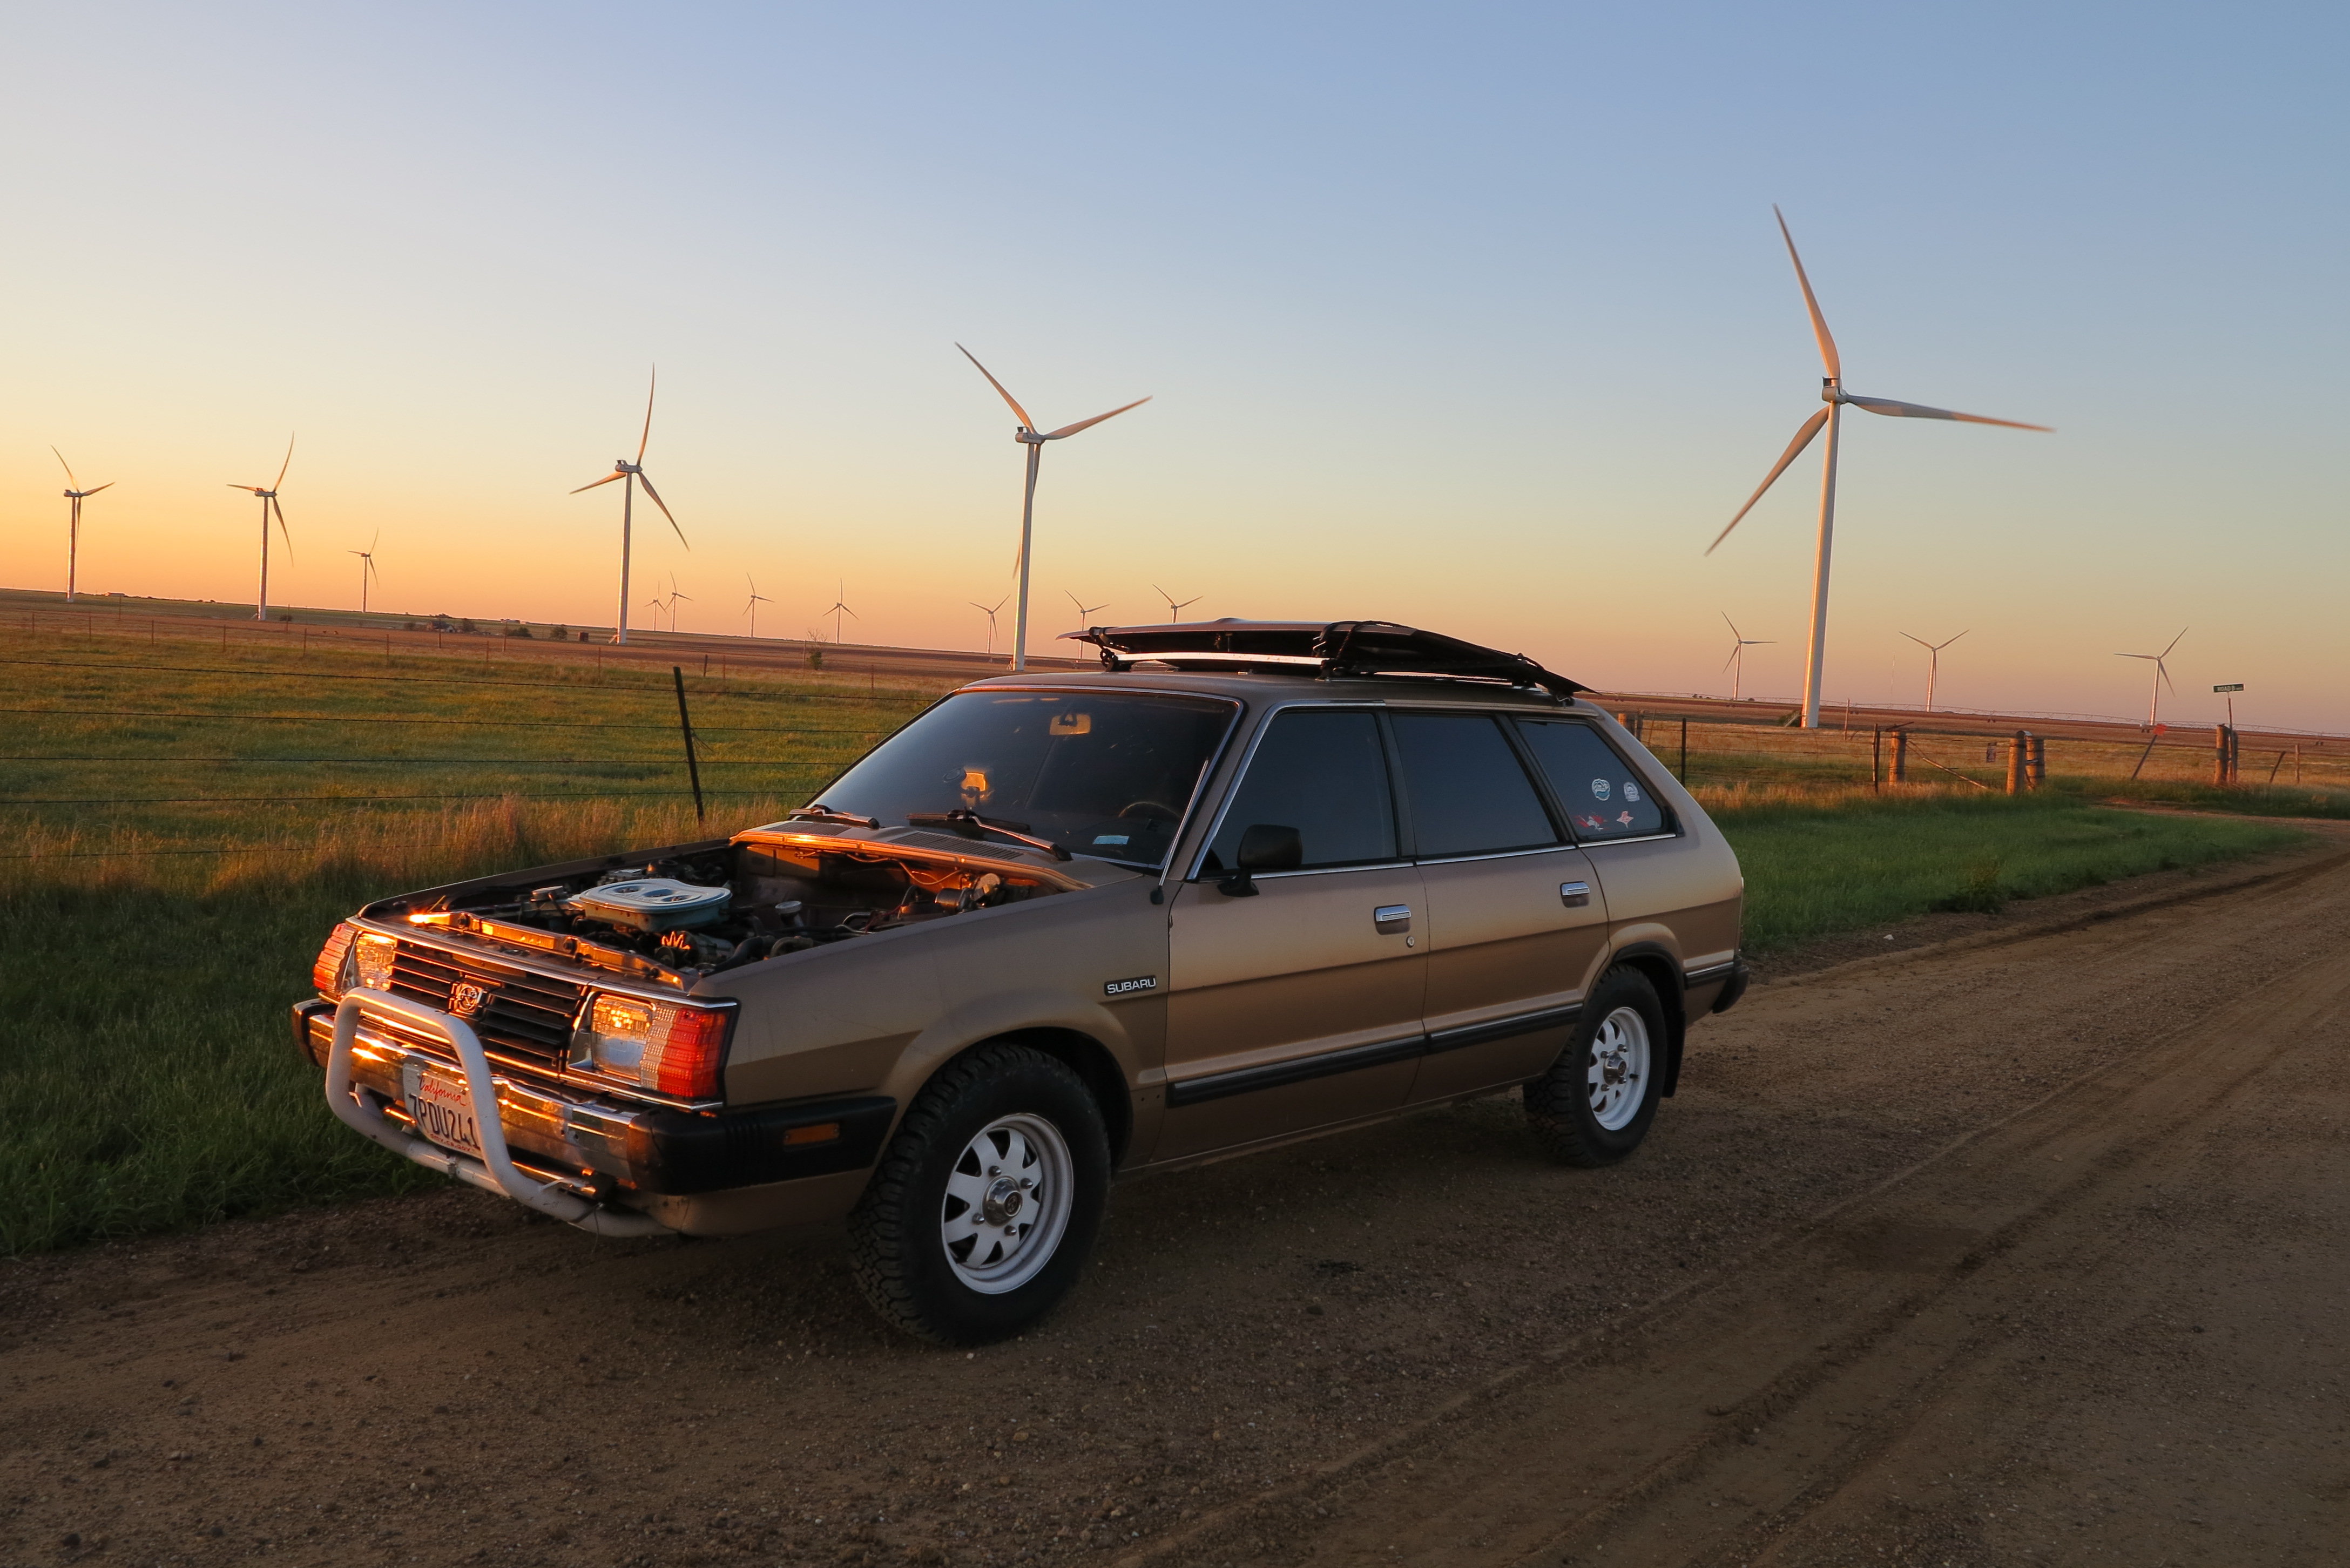
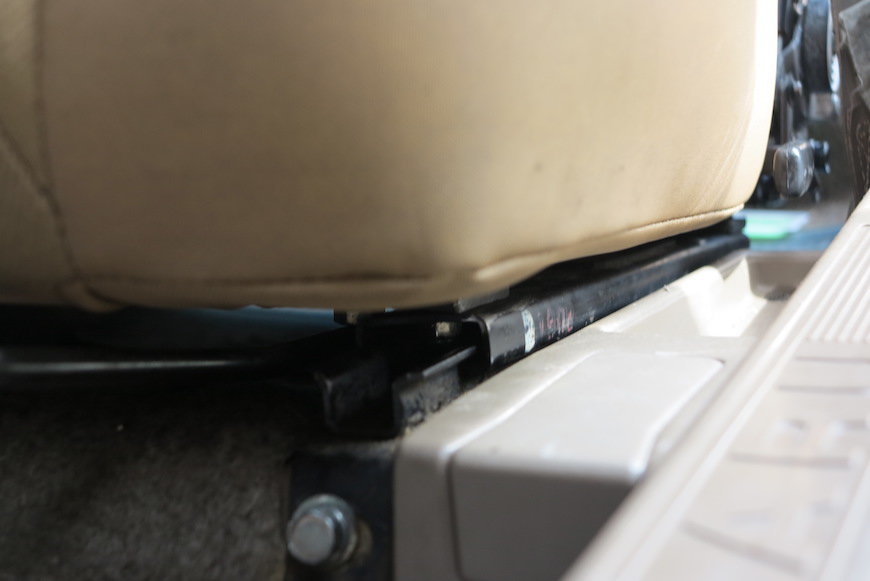
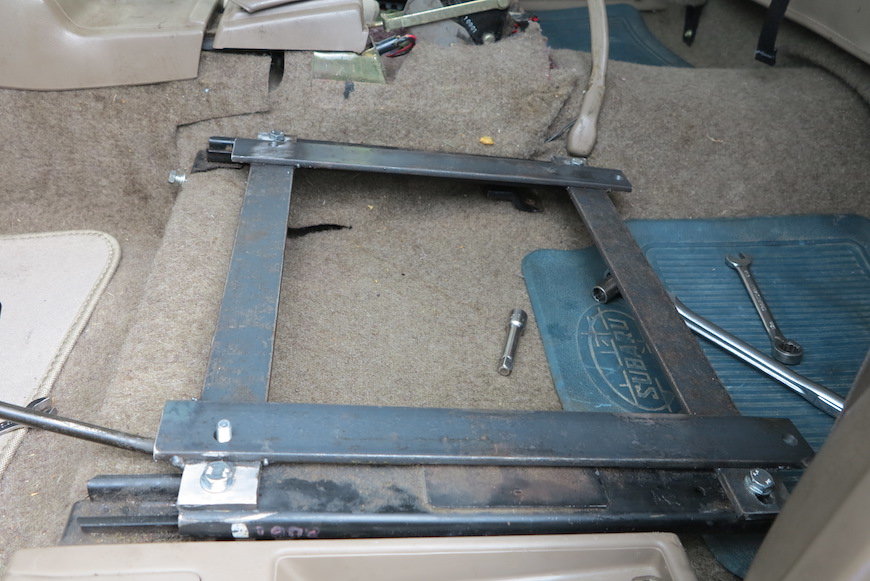
I'll post some pictures tomorrow, but I have the new seat mounted and I love it. Stiffer for sure and actually a little shorter than the OEM though that's strictly due to the bracket mechanism a friend made for me. If I was very more concerned about fit adjustability I'd have the bracket mechanism modified to allow it to shift left or right to accommodate for the drive shaft well and the width of the seat. I could shift another 3/4 inch and raise the seat height a bit and it would nearly be a perfect fit. I went for too long using the passenger seat in the driver side so I feel like I'm riding in the lap of luxury now with both front seats installed. I could see myself down the line replacing the passenger side for match and durability. I think these new seats are going to wear very well over the long term.
-
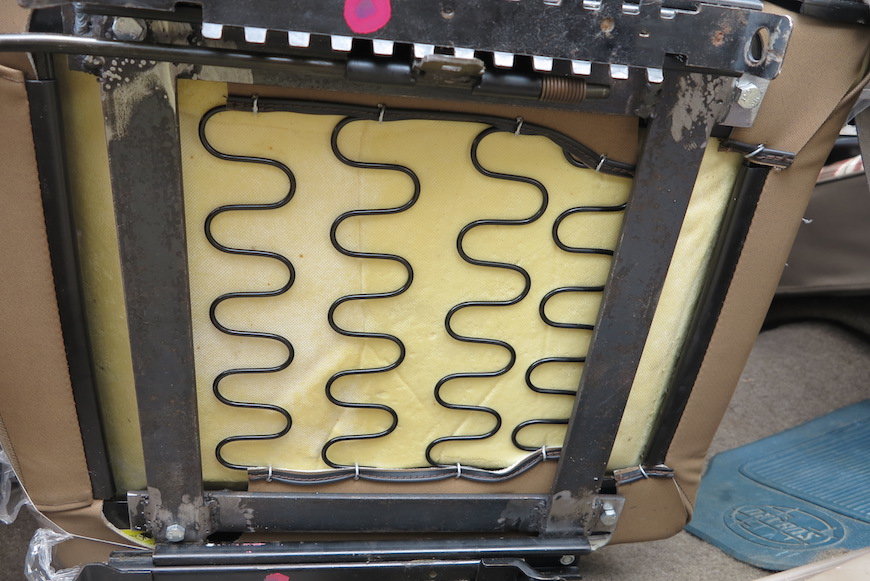
I just placed an order to try out Trailmax II Pro Front seats from Bestop. I know the base on gen2 seats is more narrow than the top, but hoping with them being 20" wide that they'll have a slight taper and still fit. When it comes in I'll repost how well it fits. Most of the aftermarket seats I could find that fit even close to the dimensions for width were these brands geared towards Jeep seats. Corbeau has their sport seats, but 22" wide seemed to be too wide in the confined spaces and these were much cheaper. I tried swapping the passenger seat over on my 82 wagon to the driver, but it gets stuck on the tilt mechanism and I couldn't find an easy way to swap that over without having to press out the bit at the base where the seat tilts. I tried knocking it out, but just ended up banging in the metal a bit in the process. A press may have worked, but I would have still needed 1 seat anyways and now I can move the passenger seat back to it's spot. My original driver seat was very, very broken down and had parts of the springs broken off that I found under the seat.
-
^ sounds like the worse version of what I've had for a while in my 05 outback and know to be low compression in cyl 3.
-
this is a pretty rad ride man. Were my 81 a little less sunbaked I guess that's what my dash should look like
-

Feeler: EA81 Reproduction Rubber Windshield Gaskets
ebarb replied to carfreak85's topic in Old Gen.: 80's GL/DL/XT/Loyales...
Thank you for the offer @dfoyl, I think we may have a source for a bit longer. Appreciate your willingness to help out! eli - update - picked up the gaskets today from Safelite; $26.21. I've already got one reserved to go out next week and I've got one more available. -
Feeler: EA81 Reproduction Rubber Windshield Gaskets
ebarb replied to carfreak85's topic in Old Gen.: 80's GL/DL/XT/Loyales...
Don't work through the online phone number, go through your local shop. Approximately ~25$ for seal order only from my local Safelite shop. They could only order three from the warehouse at a time, but asked for three. -
I'll check with the safelite shop, do you happen to have a p/n? 80-84~ coupe rear glass rubber?
-
Feeler: EA81 Reproduction Rubber Windshield Gaskets
ebarb replied to carfreak85's topic in Old Gen.: 80's GL/DL/XT/Loyales...
Yes Safelite in the USA. WCR417 is the alternative part number to OEM 765061000. wolfdog found these while hunting for a different gasket for his 2dr coupe. https://www.ultimatesubaru.org/forum/topic/70977-ea81-hardtop-2dr-coupe-weatherstriping . The wcr417 are the same one's that RockAuto used to stock when they were still available. I still have to stop by the local Safelite shop to see if I can get them to sell me a few. The guy I talked to when I called their national number said they wouldn't sell them wholesale anymore. However, I'm pretty sure I can work with one of the local techs or managers to work this out. Depending on cost per set I'll try to snag a few extras to have to pass along for cost+shipping to the community. -
Feeler: EA81 Reproduction Rubber Windshield Gaskets
ebarb replied to carfreak85's topic in Old Gen.: 80's GL/DL/XT/Loyales...
Any Aussie members up for an assist here? My local shop has the glass, but my rubber is toast. I've checked with the dealer in town and he extended his search to the surrounding 4000 miles and can't find a dealer with one. I've tried a few online parts stores with the same results. There are a couple of ebay.au auctions, but of course they don't want to fiddle with international shipping. I'd be up for bidding on the auction, shipping to you then paying you to ship to me. @jono @dfoyl ? looked into P/N WCR-417 mfg by Precision prp.com, but it appears to be a dead end too. From talking with prp staff asking if they could make another run of these gaskets for statesiders; "We would have to re-tool because this tool is no longer viable. It’s been probably 5-10 years since used and the tool has been scrapped. How many would you be interested to buy at once? We’d probably need to see an order in the range of $5,000-$10,000 in order to make this pass feasibility." --update-- The prp guys went the extra mile and checked in with one of their customers to check their stock. "Safelite Auto Glass, and they have 85 in stock throughout the nation on WCR 417", except the guy on their hotline says they won't offer the part for wholesale. So I'll be driving by the local shop to see what they can do. Tempted to buy 10 of them and register as a vendor on Rock Auto.- 63 replies
-
- 1
-

-
- Ea81
- windshield
- (and 8 more)
-
83 GL Won't start. SOS subie noobie
ebarb replied to Sir_wankel's topic in Old Gen.: 80's GL/DL/XT/Loyales...
@Sir_wankel Any luck? -
I'll try to snap a picture tonight. I have the option, but have the belt off at the moment.
-
UUUuuummmmm... SUPER cheap EA81 Y-pipes!
ebarb replied to Subaru Scott's topic in Old Gen.: 80's GL/DL/XT/Loyales...
yeah I've already retapped and put in a helicoil. My goal is to put studs in the others and have the exhaust flange turned. Which is why I was particularly interested in these since it seemed the flange can be rotated. -
UUUuuummmmm... SUPER cheap EA81 Y-pipes!
ebarb replied to Subaru Scott's topic in Old Gen.: 80's GL/DL/XT/Loyales...
yeah I've got studs in, but the dang things fused to the nut and so they all came out in one piece. -
UUUuuummmmm... SUPER cheap EA81 Y-pipes!
ebarb replied to Subaru Scott's topic in Old Gen.: 80's GL/DL/XT/Loyales...
Um.. so you're saying this isn't an exhaust kit, but instead is a carb rebuild kit? Did I miss something? -
UUUuuummmmm... SUPER cheap EA81 Y-pipes!
ebarb replied to Subaru Scott's topic in Old Gen.: 80's GL/DL/XT/Loyales...
I'll be curious what you're impressions are after you receive this. I need a new exhaust piece bad and having the ability for the fastener to be floating so I can use the other holes on the other bolt holes would be nice. Found out the hard way that removing all those spacers for the EGR and afterburner crap end up bringing my y pipe in so that it almost rubs on the frame and makes it hard to bolt down without stripping out the threads on the head. -
I got one of those too a few months ago when I got my clutch kit. Good to know it wasn’t something I needed.
-
Assuming the hood cutout and carb addition are like the first step towards a MadMax style EA-81. When are you going to cut off the top and mount a giant spear gun into the back seat...or if this were a brat.
-
1982 GL Wagon front wheel bearings?
ebarb replied to unibrook's topic in Old Gen.: 80's GL/DL/XT/Loyales...
I picked up a few pieces of pipe thread from Home Depot that I think I'll be able to help pull the hub assembly on while threading the castle nut to the axle. The outer seal sticks out just above the edge so I'll take it off while reinstalling the whole thing. I see quite a few videos/articles about removing axles with a slide hammer. Assuming it takes applying force in the opposite direction to pull it through? 1-1/2" Floor flange then after pulled on far enough I'll mate it to a 1-1/2x1-1/4 hex bushing. Cost 20$, but it may just get returned after I'm done. --update-- This ended up working great! If I had been able to get it started just a little bit further I could have used the outer wheel mounting assembly instead. -
1982 GL Wagon front wheel bearings?
ebarb replied to unibrook's topic in Old Gen.: 80's GL/DL/XT/Loyales...
Pounding performed thus far on performed on the cast metal and not applied directly to the bearing. -
1982 GL Wagon front wheel bearings?
ebarb replied to unibrook's topic in Old Gen.: 80's GL/DL/XT/Loyales...
Another 82 wagon, but difficulty at a different step; replacing both bearings and axle. When re-assembling after pounding for 30 minutes I was able to get the first bearing up over the first raised area on my new axle, but it knocked out the outer bearing and the lubrication ring that sits in between. Pound as I may I can't seem to make it move any further. What approach or tool am I missing that could easily help reseat this? In the manual they show a special cylinder tool that looks like it screws onto the axle nut to press it in. Basically I need some way to force the axle back through the bearing. Gloyale mentions above a slide hammer. Could someone describe that part of the reinstall process a bit more please? Or tell me what quick and easy method I'm missing? Thanks. Eli -
Really digging on that RX you have stored indoors.
-
Just joined! 2.6.2018
ebarb replied to HawaiiBrat's topic in Meet n' Greet. Your USMB Welcome Center
Welcome to the group, PICS! -
Howdy!
-
Old thread, but I measured tonight and can confirm GD's estimate of 16mm is spot on. Bel-metric carries some fairly cheap M16x1.5 plugs if you don't have access to a welder.