Tims Toy 500
Members
-
Joined
-
Last visited
Everything posted by Tims Toy 500
-
Sitting at the computer, I'm at the point where I'm about to pull the trigger on purchasing my lift kit. -=BUT=- The SJR website says their 4-in kit "fits EA71, Gen1 1978-80 all body styles"... I thought my 1980 wagon (with the 1600) still fell into the EA81 category? (Plus, the SJR kit for EA81 is about 50 bucks cheaper.) I also have a 1981 parts car with the 1800 motor I plan swapping into my 1980 wagon when I do the lift. Thinking that would be easiest when everything is already apart. I've been told I'll need to use the crossmember from the 1981 to make the swap. Is there any truth to that? Can somebody set me straight on which car I have and will a crossmember swap make any difference as to which lift kit I buy? - I appreciate any insight/experience you folks might have.
-
Thanks for the tips on how to identify the transmission! That's a huge help for this novice. If its not already out of the car (like the boat anchor I just bought) and I need to pull it - Is there a way to identify what trans it has before climbing under the car to see? Fender badge, Trim level, etc?
-
-
-
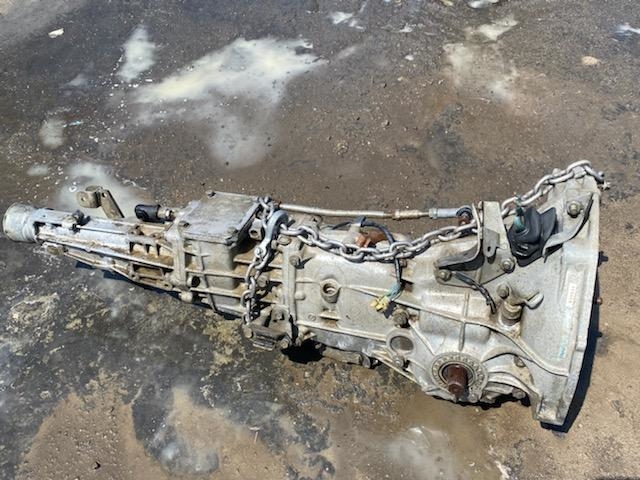
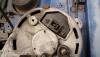
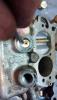
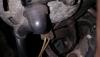
Is there such thing as a tag or casting number to help me identify what transmission this is (see pic)? I'm not sure what car came out of, it's a wrecking yard special. I was told it "should" fit any early '80s Subaru. My intention is to put it in my 1980 DL wagon. Also - I'm aware it won't bolt up to the 1600. I have a '81 wagon parts car with the 1800 I plan on swapping in. However, it's only a two-wheel drive. Hence the wrecking yard special. Thanks in advance for your help!
-
-
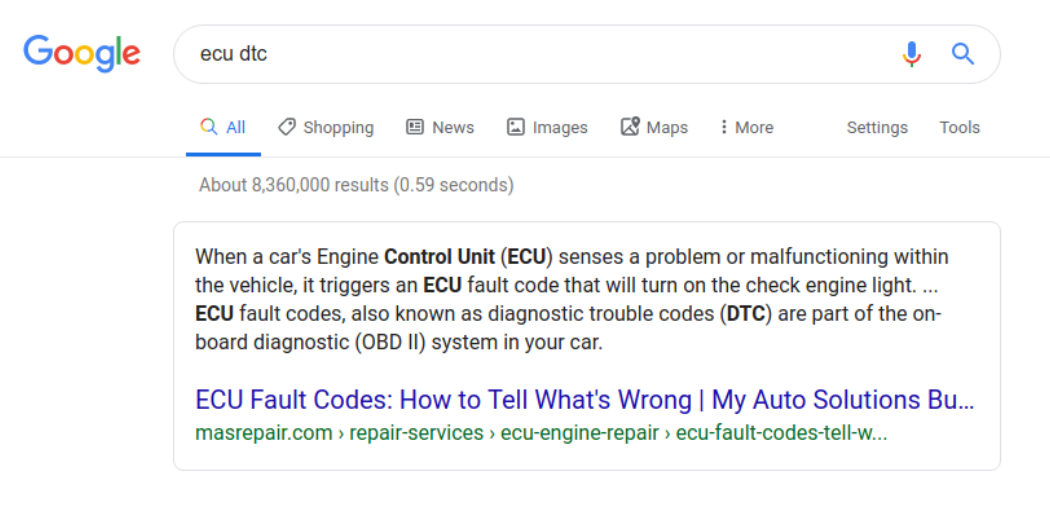
I'll admit, I'm old school. Gimme a Carburetor any day. But I need to keep up. I bought a scantool and as mentioned, it came up with nothing... Google says: "When a car's Engine Control Unit (ECU) senses a problem or malfunctioning within the vehicle, it triggers an ECU fault code that will turn on the check engine light. ...ECU fault codes, also known as diagnostic trouble codes (DTC) are part of the on-board diagnostic (OBD II) system in your car." So - wouldn't it "turn on the check engine light" - even if the're "pending codes stored"?? Do scan tool's not normaly "scan the ECU for DTCs"? What am I missing? (Don't get me wrong. I know Google is not the expert. I had to look up "DTC".) Thanks for your help.

-
Like the title states - I have a 2008 Impreza (auto trans) with a cruise control problem. After about 5 to 10 minutes of driving the cruise stops working and the "cruise" light flashes until I turn the car off. Wait few minutes for it to reset. Wash, rinse & repeat. I've read several other threads with similar symptoms. But mine -There's no check engine, or other idiot lights in conjunction with... Plugged my scan tool in anyways (just in case) and it says everything is ok. Clearly not. Any Ideas? Thanks!
-
-
-
-
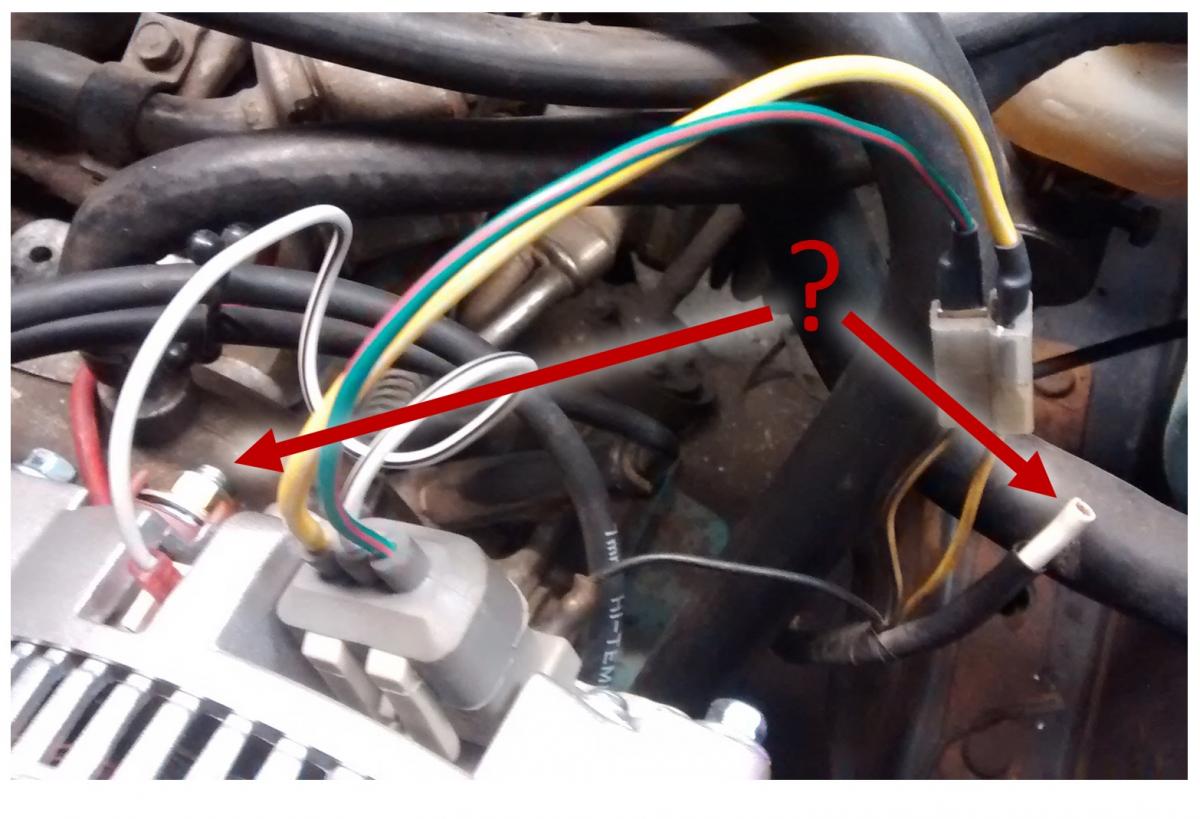
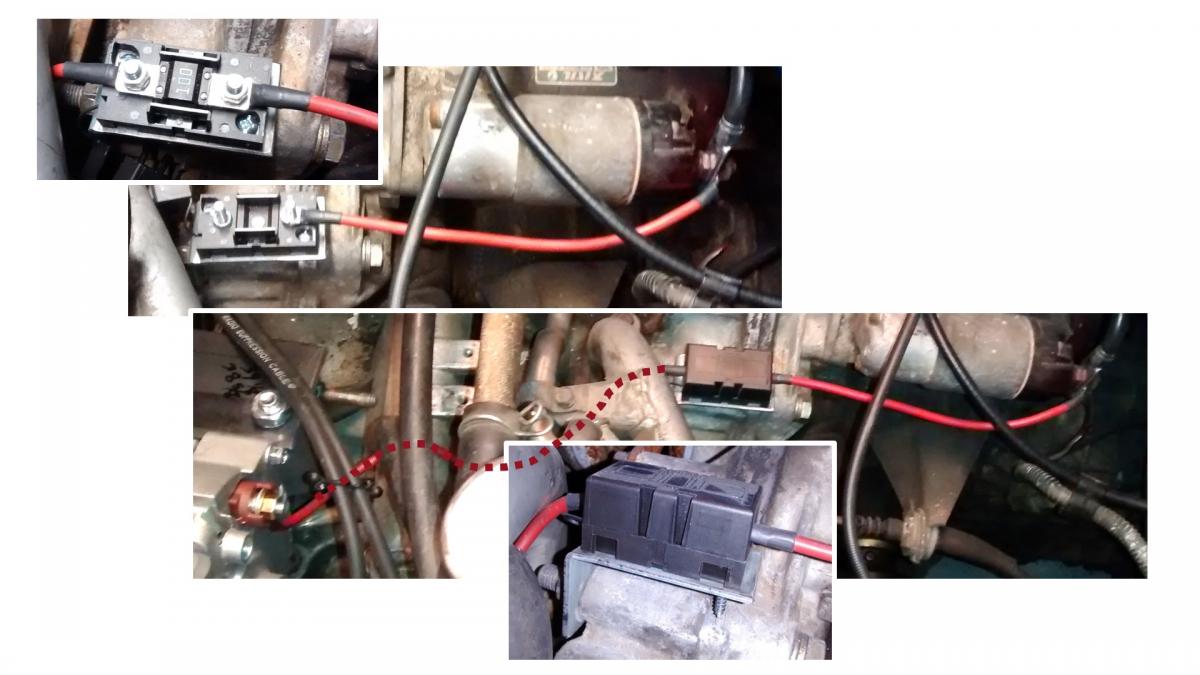
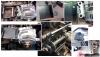
This is weird and at first doesn't seem related, but bear with me... Earlier I said: What I didn't mention is; the motor died after the "few revs" and I didn't think anything of it. I turned off the ignition switch and moved on to wiring. After finishing up the wiring side of things. I got in the seat, hit the starter and the engine cranked, but it didn't start. I squirted some starter fluid in the carb, it fired up (as expected) and died shortly after. A few more times and the same result. It's running off the starter fluid so I can conclude there's spark at the plugs. Then I noticed that there was no fuel visible in the sight glass of the float bowl... Yep. The (new) fuel pump isn't pumping. In effort to fault isolate, I attached the pump wires directly to the battery. The pump works! Back to the terminal... Nope! So, it's not the pump. After tracing the pump wires I found that they lead directly back to the old voltage regulator. By eliminating the original (white) alternator power lead to the battery I killed power to the fuel pump. This is where I need your help folks. My question is: Can I attach the old (white) alternator power lead to the alternator in conjunction with the new (red) alternator power lead to power everything else and (possibly) not blow the fusible links? Or should I be asking... The new alternator has its own internal regulator, right? How do I delete the old one and keep everything working? What are your thoughts? .
-
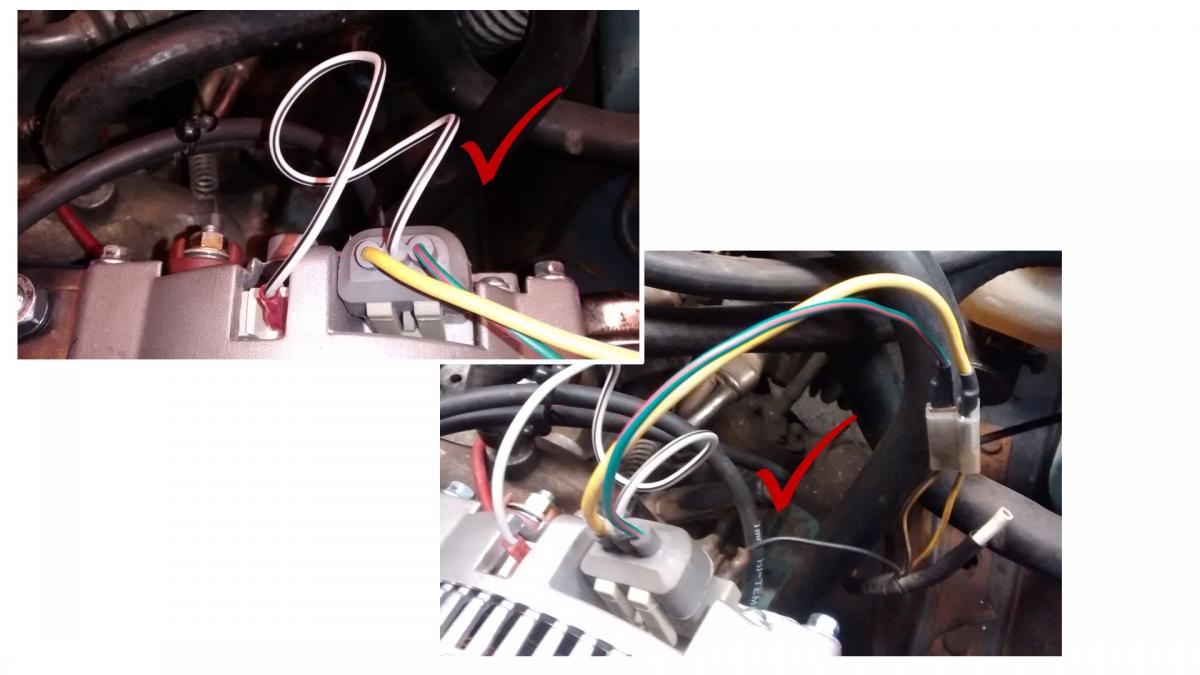
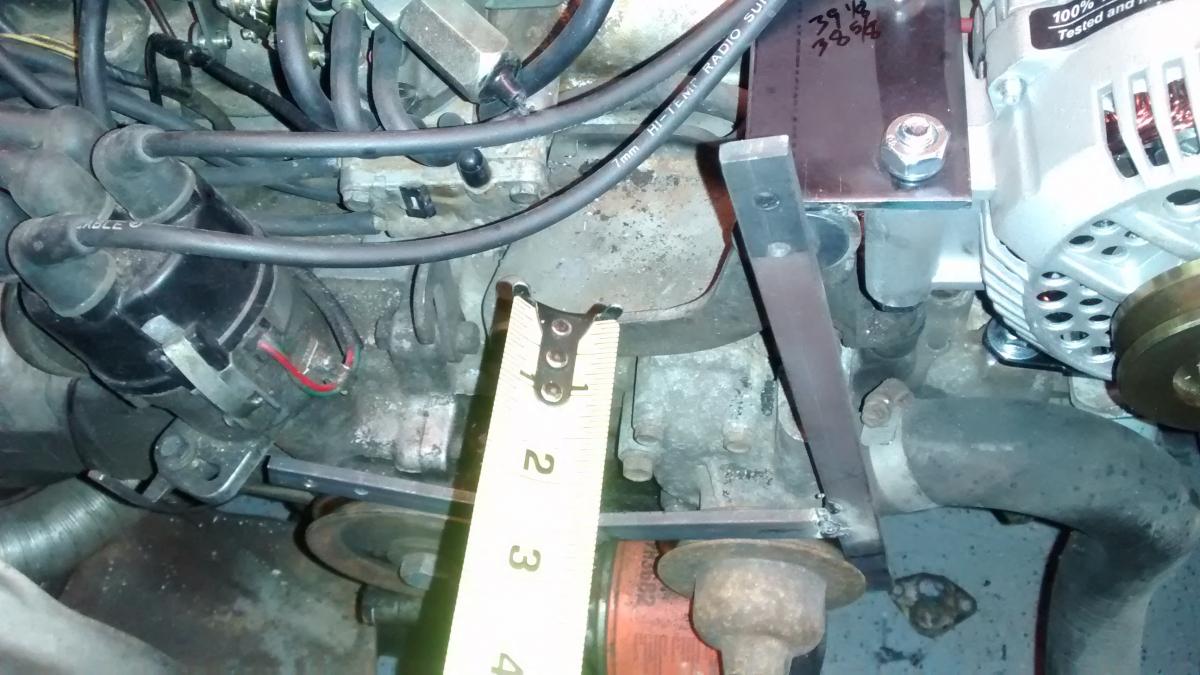
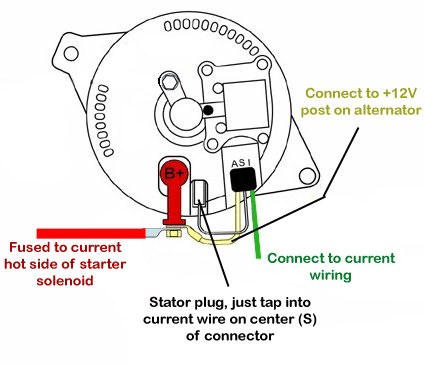
Oh, and because the alternator is now a bit outboard of its original location I had to get a new belt. 2 trips and 8 belts later I found that 38 5/8 inch was a tight fit but the best option. On to wiring. Got it; and made an easy "L" bracket to mount it to the trans bell housing... Ok. I'm not sure what "8B+S" is but my guess, that's 8 gauge here. Found some left over from a previous project. Done... Easy: done... Wha? That's odd. Mine's labeled differently than that. Top of my "T" is "N" and the bottom is "F". Oh well. Easy enough. Done and done. That should be it. .
-
Thank you. The alignment appears to be spot on. I fired up the motor, gave a few revs and the belt didn't jump-off... yet. It took some time to figure out but the jig I made allowed me to square-up the crank pulley and water pump pulley to the alternator pulley. Then I made LOTS of measurements. More to come... I still need to follow ANIM_Hooneru's wiring instructions. .

-
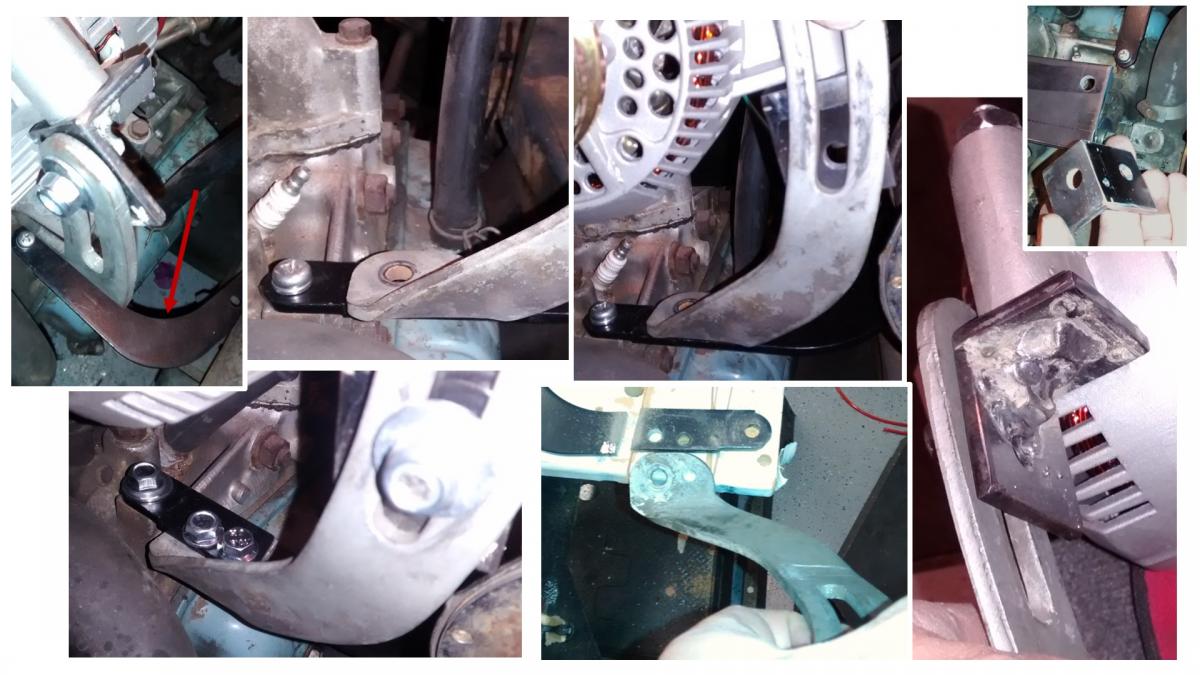
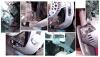
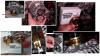
On to the alternator adjuster bracket: Two things had to happen here. Since the new mount pushed the alternator a little more outward, I had to make an extension for it. Yes, that's the... Was the "L" shaped bracket that attached the garage door to the opener. It was late and I was determined to get this thing done. Secondly; The adjuster doesn't mate to the alternator. I had to make another bracket with along bolt to go through the alternator and a short bolt ninety'd to go through the adjuster bracket. .
-
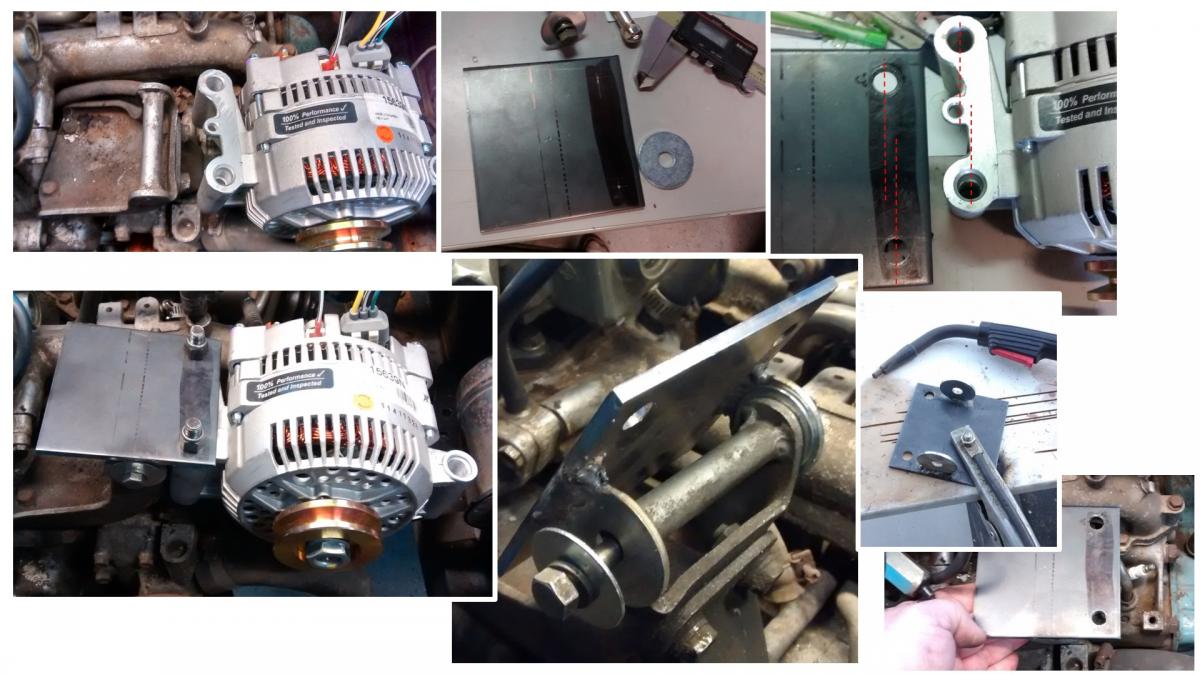
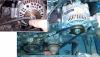
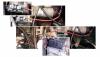
Next task: Mounting the alternator to the existing mount. I found a steel plate at the local hardware store. It looks to be the base of a wrought iron fence. After some measurements I laid out the necessary holes on the plate. I learned that a line threw the hole centers on the alternator is not perpendicular to the pulley. That would have made it too easy. What you don't see in the attached image is; I made a jig that sat on top of the crank pulley and water pump pulley. It came up so I could measure from the pulley center-line to the Subaru mount. Then I made a guesstimate of where I wanted the plate to sit and welded 2 thick washers to it. A few washers for shims on the stock pivot bolt to help with fore & aft adjustment, a couple large bolts to mount the alternator, and it has a new home. Just by chance, the bolts for the lower control arms were laying on top of the radiator and I needed large bolts to mount the alternator... They fit perfectly. Temporarily of course. .
-
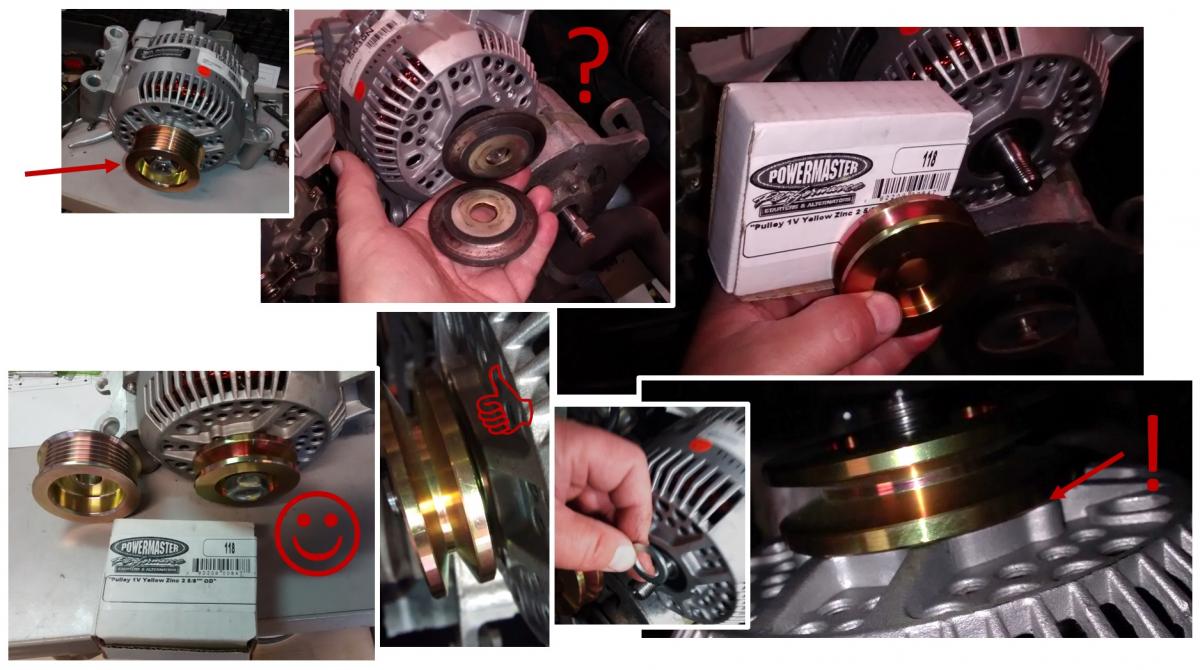
Two months later, we're back... Here is what I've done: The old stock pulley won't bolt on. I didn't figure it would but I tried anyways. A quick search at Summit Racing yielded a pulley by Powermaster, part number 118. Fast forward a week later I got my new pulley and found that the back spacing wasn't right. So, I added a washer behind it. That was enough to let it spin freely. .
-
Says the guy with the quote above his avatar "If it ain't broke, you're not trying." Challenge accepted. LOL! My apologies folks, I was hoping we could skip to answering the question. Without a long back story... I felt my post was getting to long. So here we go: I failed to mention that this is my project / toy and have no defined timeline to complete it. I just like to tinker with it. If get advice and make some mistakes alone the way, then I'm learning. That's why I'm here. So, yep, I know I need to bend new stainless steel lines AND get different flex lines AND update the fuel pump AND find a suitable brass carb float AND not worry about the sending unit that hasn't worked since the Y2K scare... Like any project car, we all pick a starting point for improvements. Some go right for the full-on lift, 6 lug conversion and complete EJ swap , while others may start with simply waxing the new find. Me; I happened to already have the craptachi apart for a rebuild and thought "while I'm here..." "I've always wanted to..." "Oooh, Then I can go for the boost to compensate." But here I am, doing one thing at a time. Yes, I've pondered getting & re-jetting the Weber everyone talks about here. (Nice write-up Loyale 2.7 Turbo.) Until I saw the price of one... Hmmm, the mini drill bits in the tool box are looking much cheaper. And if I mess it up then I'll get a Weber. I admit I'm a little hardheaded. Like the title says "I'm converting to alternative fuel." It is going to happen. Thanks for your input skishop69. All good things to consider. I'll tackle them eventually and hope to post the solutions here. (Off topic. Puyallup huh? How was the fair this year? ) Please, no more naysayers... (And I just killed my own thread ) Thanks!
-
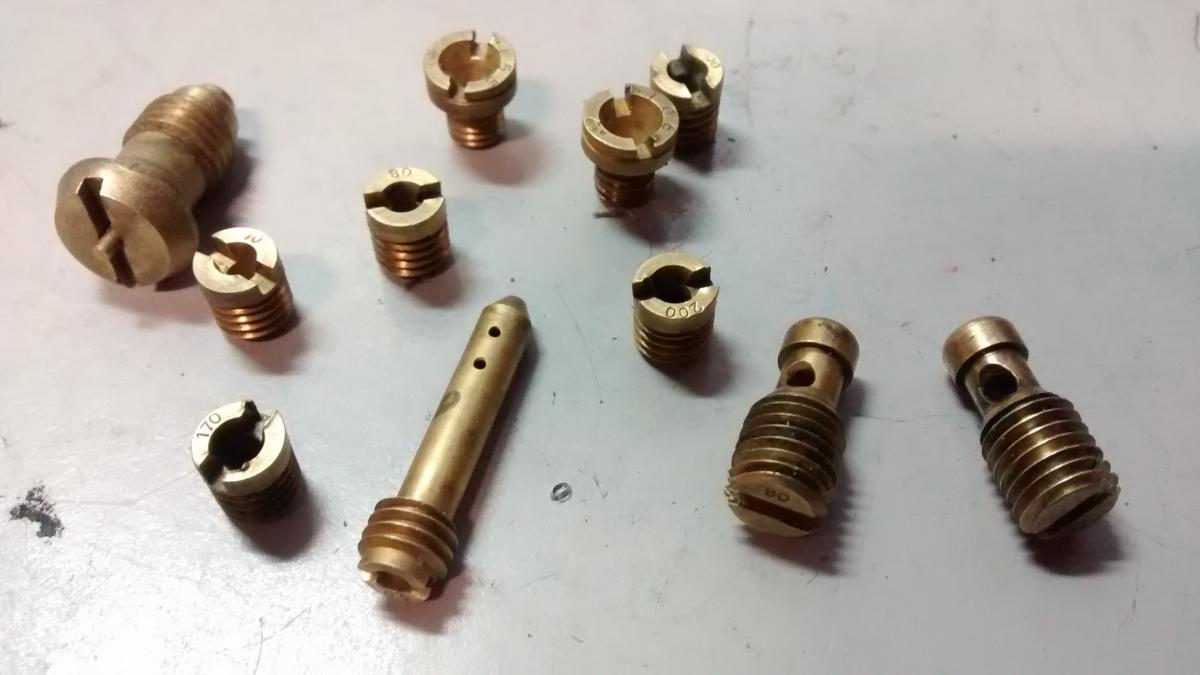
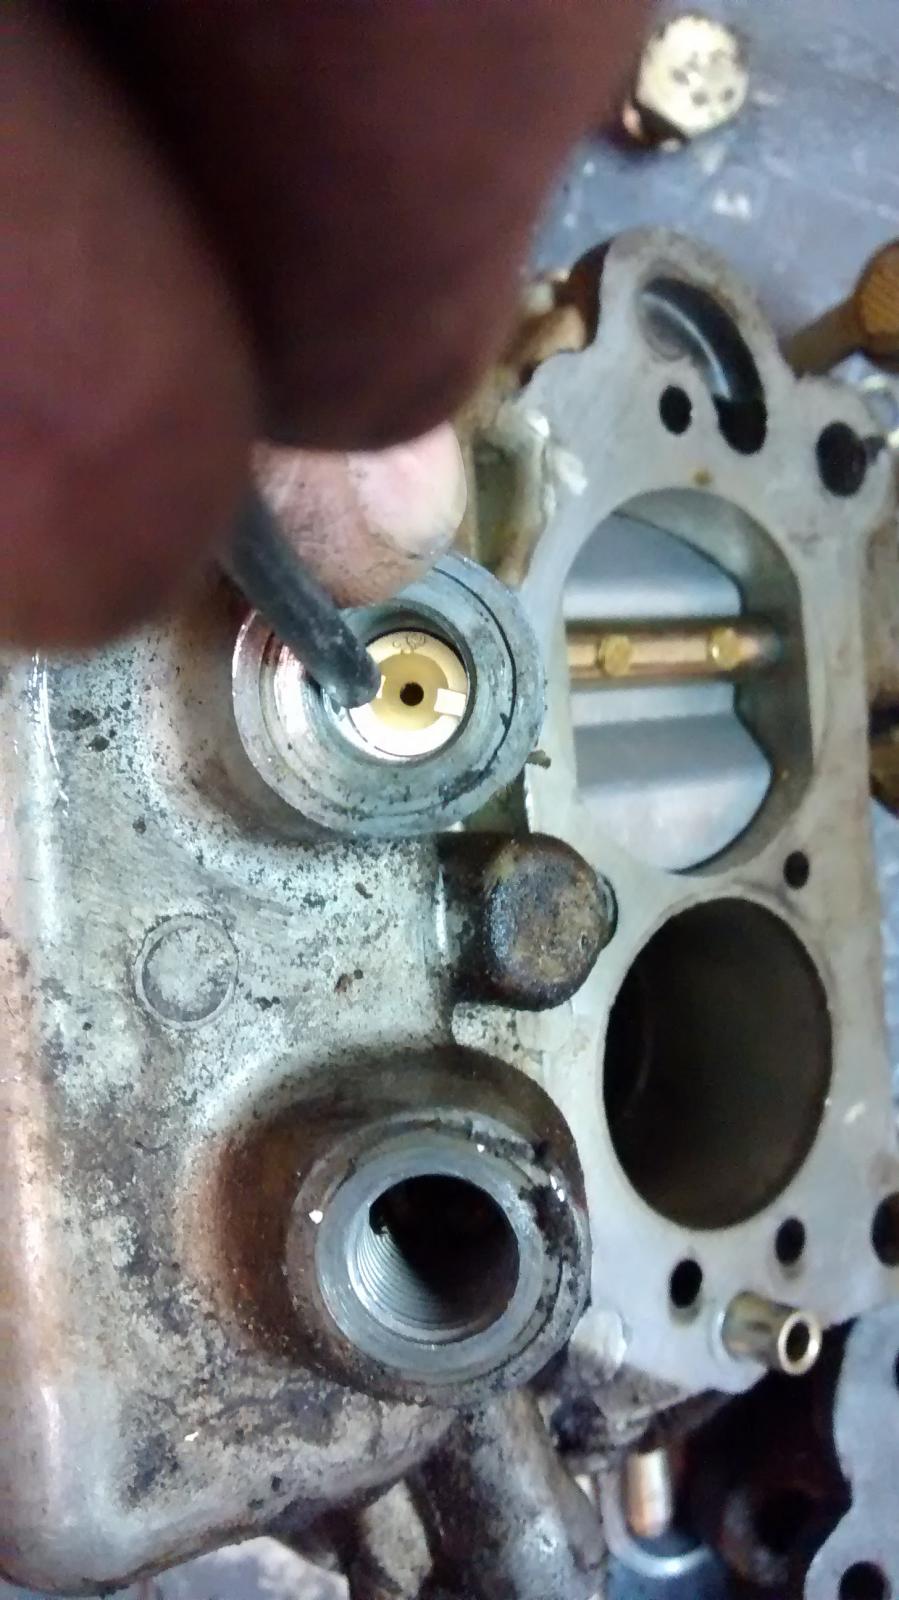
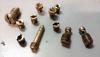
As the title says... I'm converting to E-85. I need a little help. I've looked around on USMB, but haven found the info i need. (Just a lot of political stuff .) So here's what I know. E-85 has a stoichiometric value (air fuel ratio) of about 9.8 to 1 and Gas is 14.7 to 1. The carburetor meters the fuel with the jets. The number stamped on the jet refers to the diameter in hundredths of a millimeter (0.01mm). A 155 main jet, for example, has a hole of 1.55mm in diameter. Larger numbers make the engine run richer (more fuel). Simple stuff... Using some math we can figure the area of the jet ( π r 2 ) and use a ratio calculation to get my new jet size. So take my 106 jet; the radius of 1.06mm is 0.53mm (1.06/2). Times it self, 0.53 x 0.53 = 0.2809 (r 2 ). Next, 0.2809 x π = 0.882473 mm2. A 106 jet has a surface area of 0.882473 mm2. Now, ratio calculation: 0.882 x 14.7 = 12.9724... 12.9724 / 9.8 = 1.3237 I need a jet with the area of 1.3237. Reverse the ( π r 2 ) formula and it turns out, I need a 130 jet to replace the 106. Drill out my jet to 1.3mm and presto! I have a Hitachi carburetor capable of running E-85. Not so simple... Feel free to check my math. Here are my questions... The Hitachi has eleven jets. Which ones do i drill out? Only the primary jet and the secondary jet (someone mentioned)? AND how do I identify which one is the primary and which one is the secondary? Are those the ones on the bottom of the float bowl? Or do I drill all eleven?
-
-
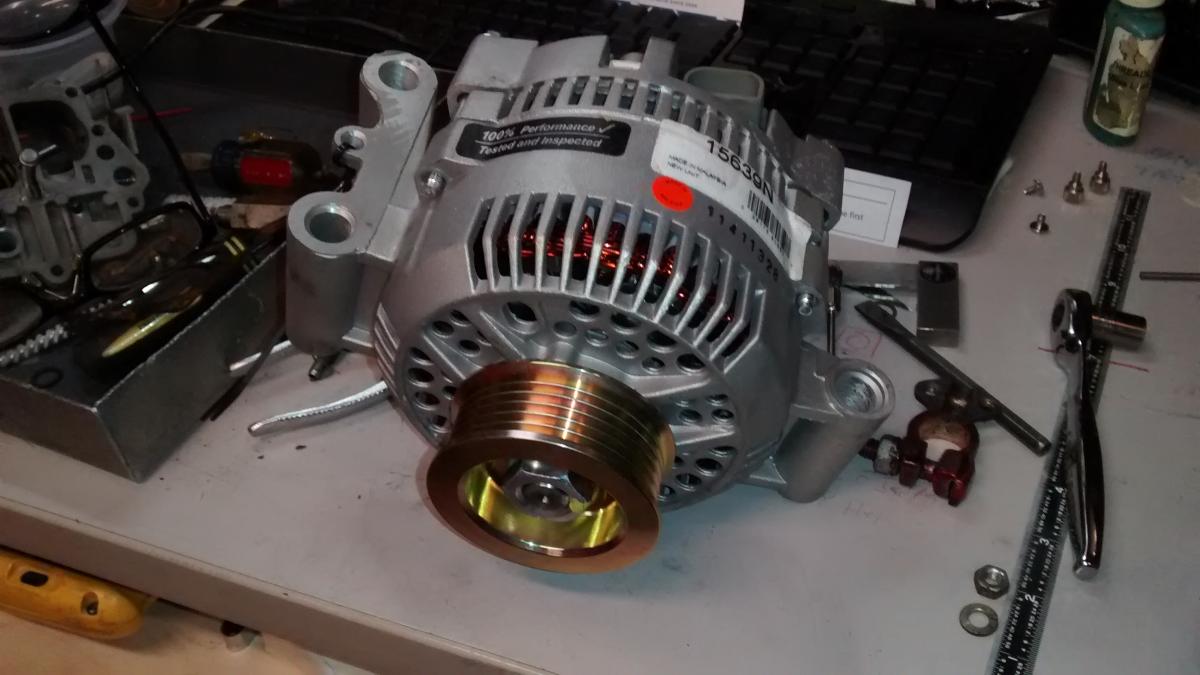
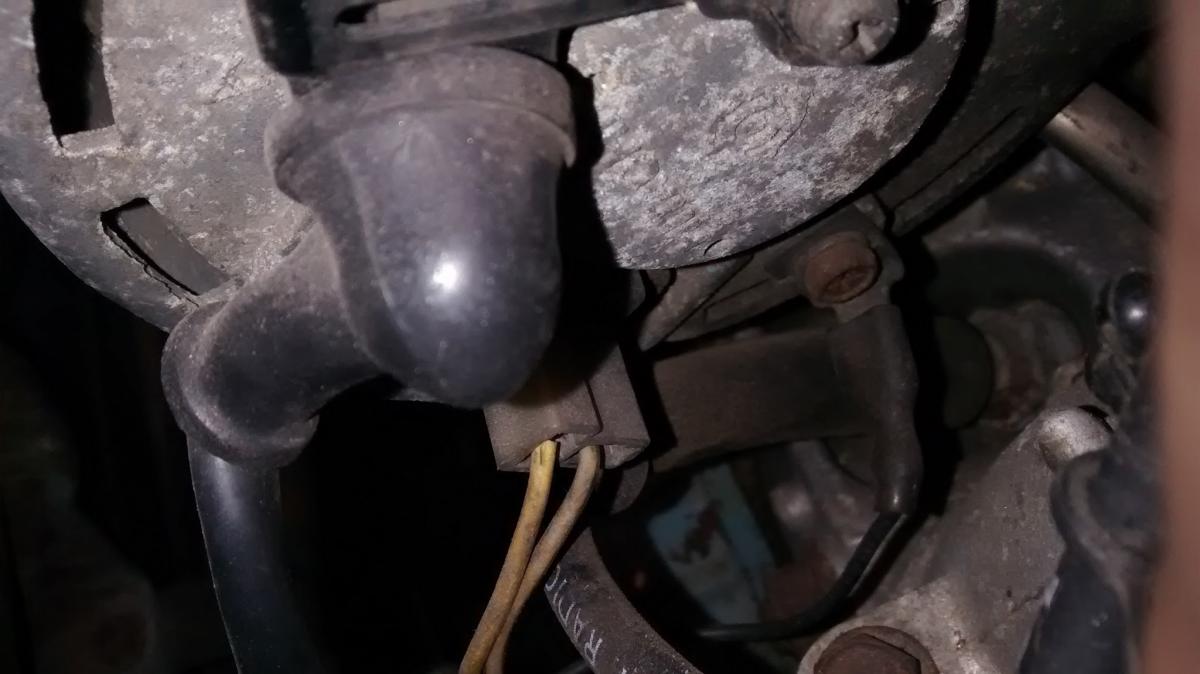
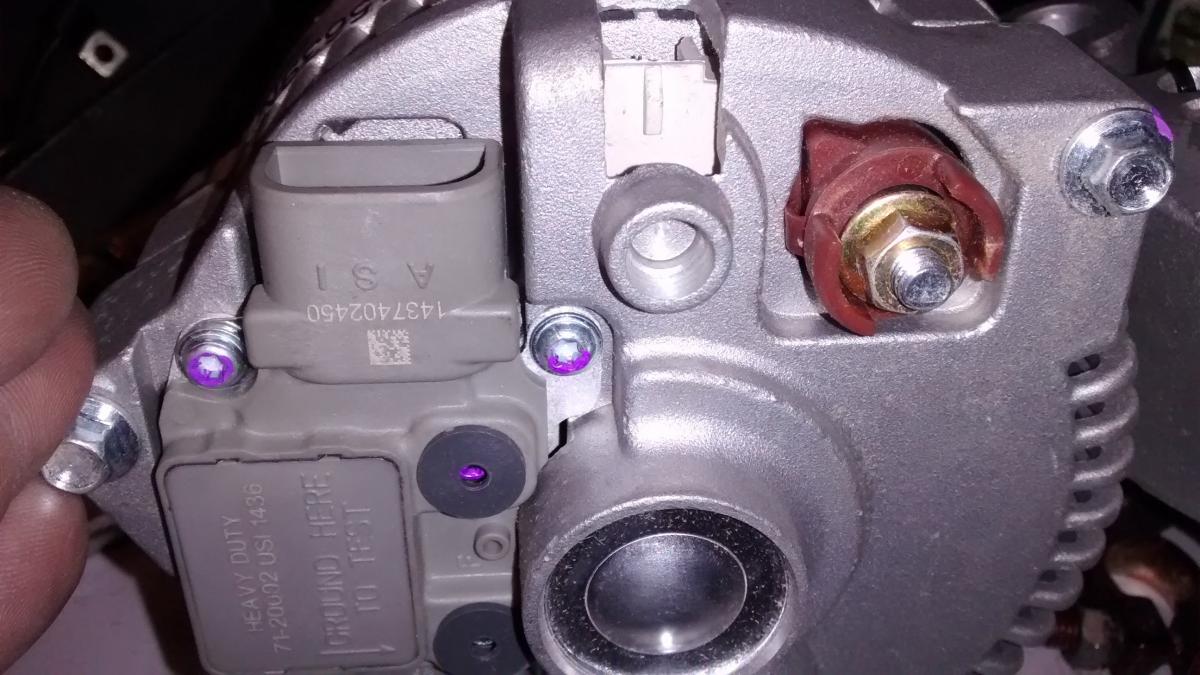
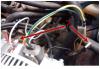
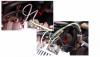
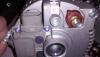
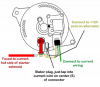
I scored a 95 amp alternator from a friend for -=FREE=-. It's off of a 96 Ford Ranger. (Why couldn't he own an Altima?) Fabbing up some brackets to mount it will be a cinch. However, I don't have the slightest clue how to wire it up. I searched and found plenty of info on Altima and GM swaps. Most are so old though, the pictures (link) are dead... But nothing on what wire is for what. And yes. Google returned some images that confused me even more. (But that's for a different forum.) The first thing I noticed, the Subi's alternator has a bolted on wire and a plug for 2 wires. Also a separate ground wire. The new alternator off the Ranger has a plug for three wires, another plug for 1 wire and big bolt on wire. I can guess that the bolt on connections & ground are the same. But what colored (old) wires go to, what connection? And it appears I'll be a few wires short... Can somebody point me in the right direction? Thanks! -Tim

-
That would be great, thanks! So.... cut the shaft between the rack and flex joint? Or do you mean closer to the flex joint/firewall side? Guess my question should have been what side to cut ;-)
-
I'm looking to do a 4" lift (or more). I've been researching it (on usmb) for a while now. I haven't found enough info on how and where Subie owners are lengthening the steering input shaft... secondly, I'd like to make my own lift. Does anybody know where I can get a good set of plans??? (After reading the "BOSS EA-series lift kit" thread, it sounds like Bill Omlin is not making them anymore.)
-
Here is my dilemma: I ordered tune up parts and got the wrong ones... The original owner replaced the engine back in '98. Using GeneralDisorder's break down, my engine is pre-81 or post 85. I don't have magical golden stickers on the (blue) valve covers or the previously mentioned 10mm bolts on the bottom of the heads. My Engine # is 889710. It does have a single grove pully. Any idea what my engine came out of?

-