Knucklehead Saloon
Members
-
Joined
-
Last visited
Everything posted by Knucklehead Saloon
-
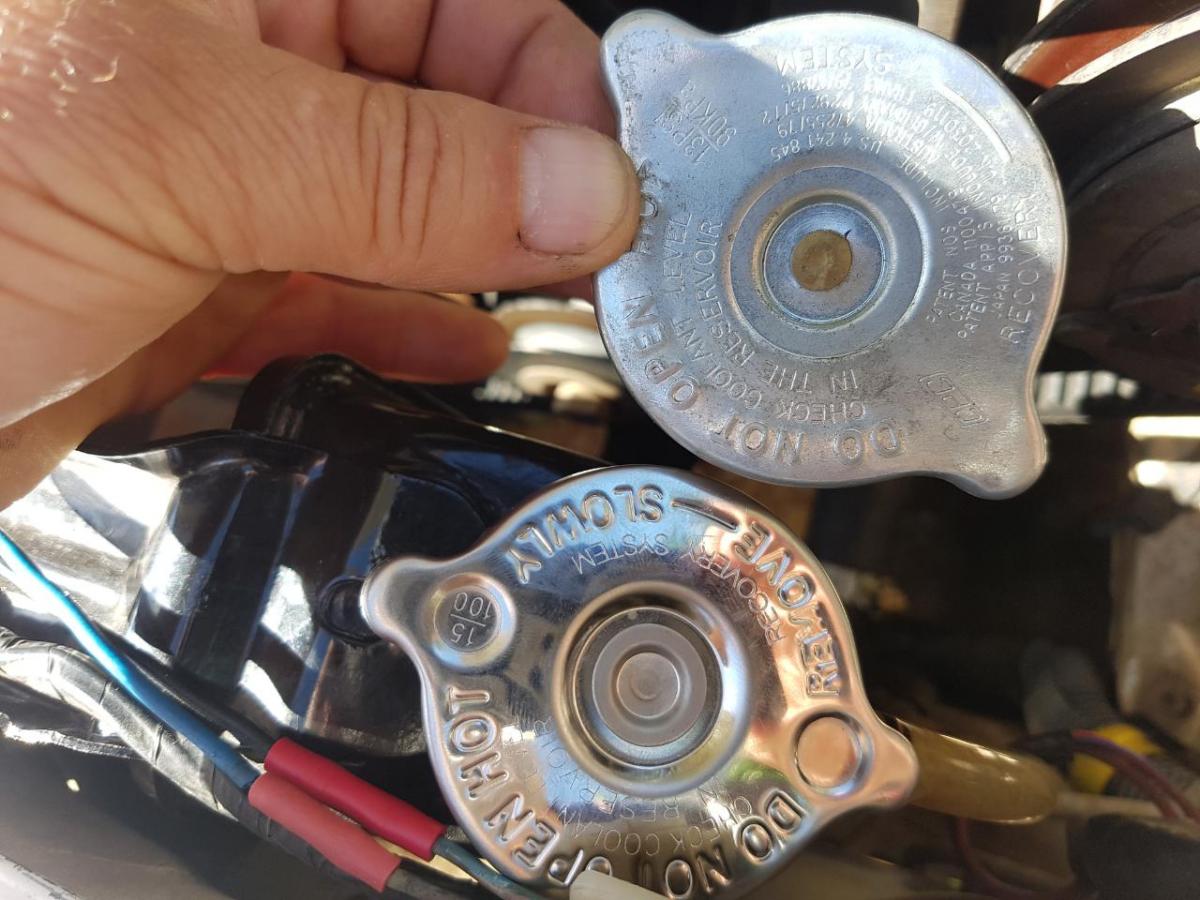
My coolant was disappearing too. No white smoke but when I pulled the carb the base gasket was shot allowing coolant into the intake manifold. Also discovered 3 hose ends with white crusty stuff on them indicating leakage. Also discovered the previous owner installed a 13psi radiator cap and I was losing heaps of coolant out the overflow. A new 15psi cap sorted that. I also replaced the water pump for piece of mind while I was under the hood. Hasn't leaked a drop since. Ps. I pulled the spark plugs first fearing the worst (blown head gasket) but thankfully they all looked fine. Good luck in your search for the culprit!!
-
Today I sorted out my thermofan crazy running woes. Sometimes they'd work and other times not. If they were running they'd cut out when I turned on the headlights. No idea what kind of dodgy work the previous owner did with the electeics so I decided to run my own fan circuit from scratch. Grabbed a 40 amp 5 pin relay from the parts store and wired it from a design in my head after sitting and looking at the wiring schomozzle for the time it took to down 2 beers and smoke a cigga. Cut the old wiring out and started anew. Control circuit side of the relay wiring goes: Original accessories on power wire for fan1 to relay. Relay to thermoswitch in radiator. Thermoswitch (single wire stock unit) closes at temperature and sends power to ground, completing the circuit and energising the power circuit side of the relay. Power circuit side of the relay goes: Positive battery to inline fuse (30A), inline fuse to relay, both positive leads from relay to fans, both negative leads from fans to negative battery. Took the brumby for a run in the hills near home for 40 minutes and flogged it mercilessly trying to get it to overheat. Temps stayed stable at a bit over halfway on tje gauge. Next mod will be swapping out the stock thermoswitch for a TFS156 that kicks in 10 degrees cooler. The summers get real hot here in inland Australia and I want my Soobie to live long and strong!!
-
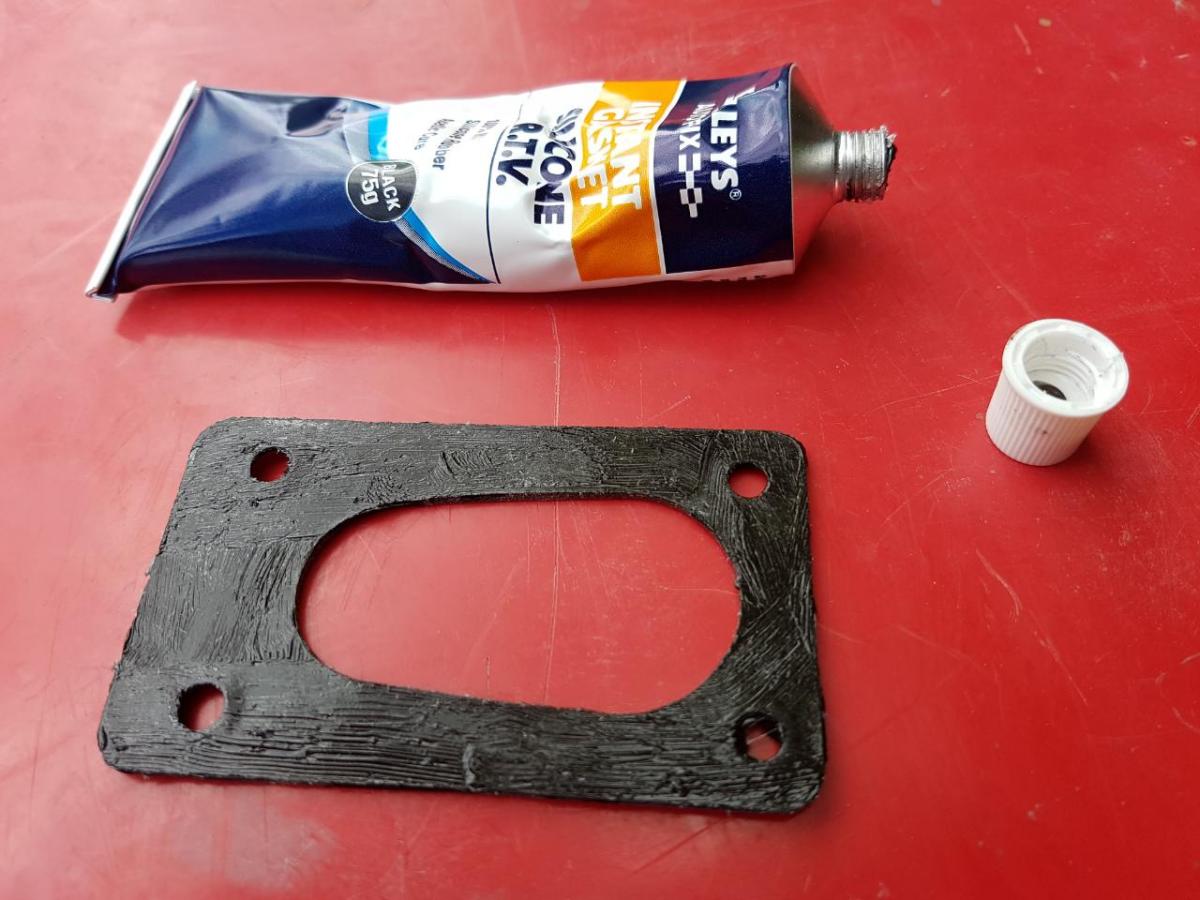
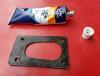
I already had the rtv gasket maker on hand. No big deal though. Its only 4 nuts and a new gasket (which I already have) to fix.
-
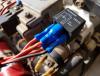
I used it primarily for blocking the coolant passage off, didn't want a repeat episode of what I discovered when I pulled the hitachi off the manifold. Do you think the gas will erode the rtv sandwiched between the gasket and manifold adapter ?
-
Thanks mate.
-
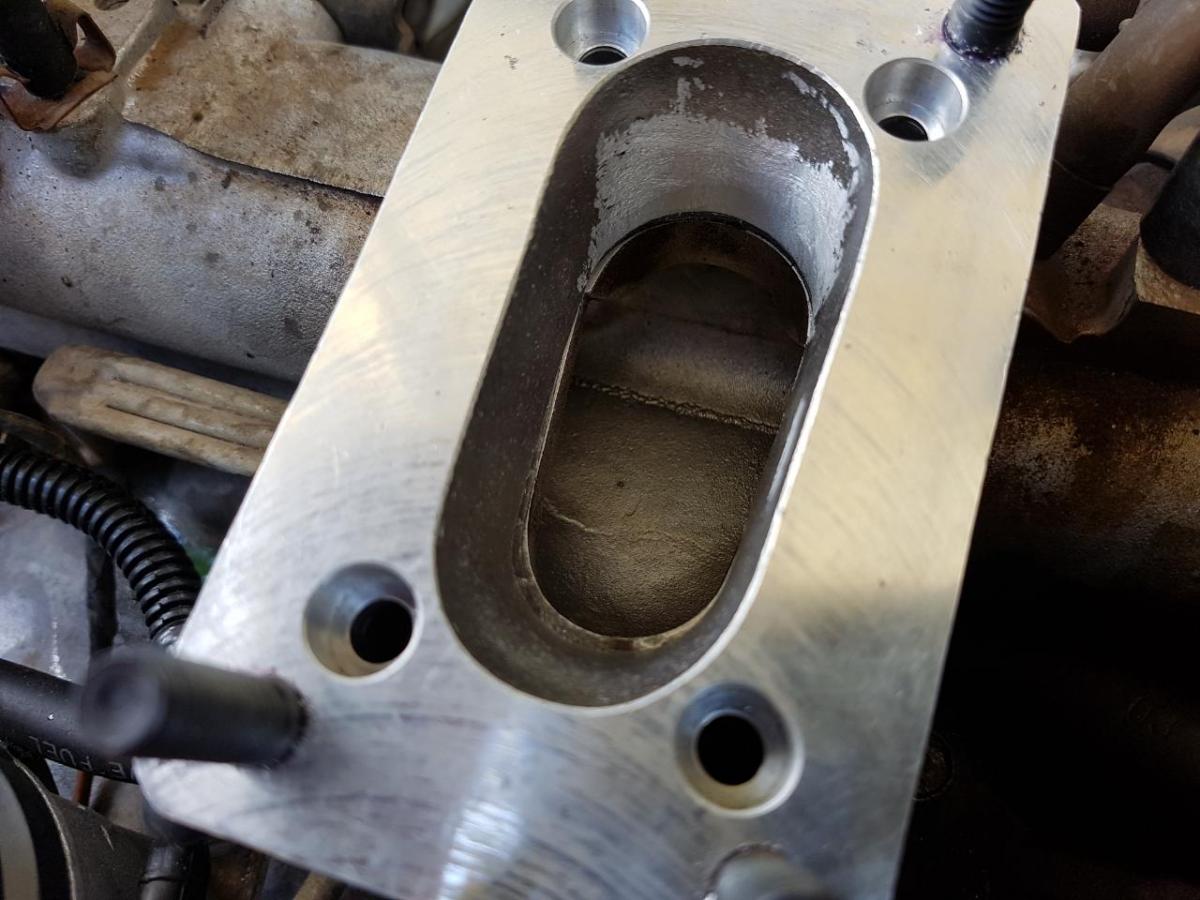
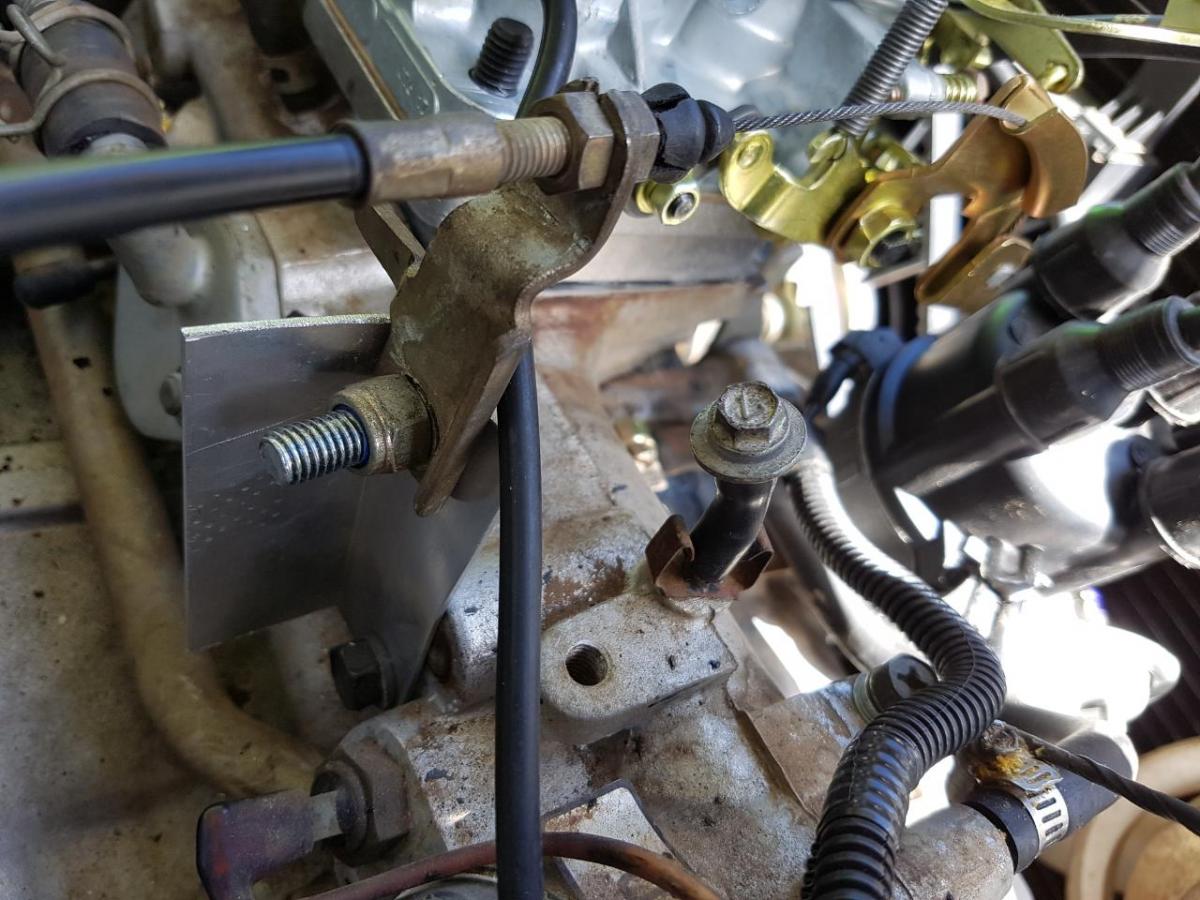
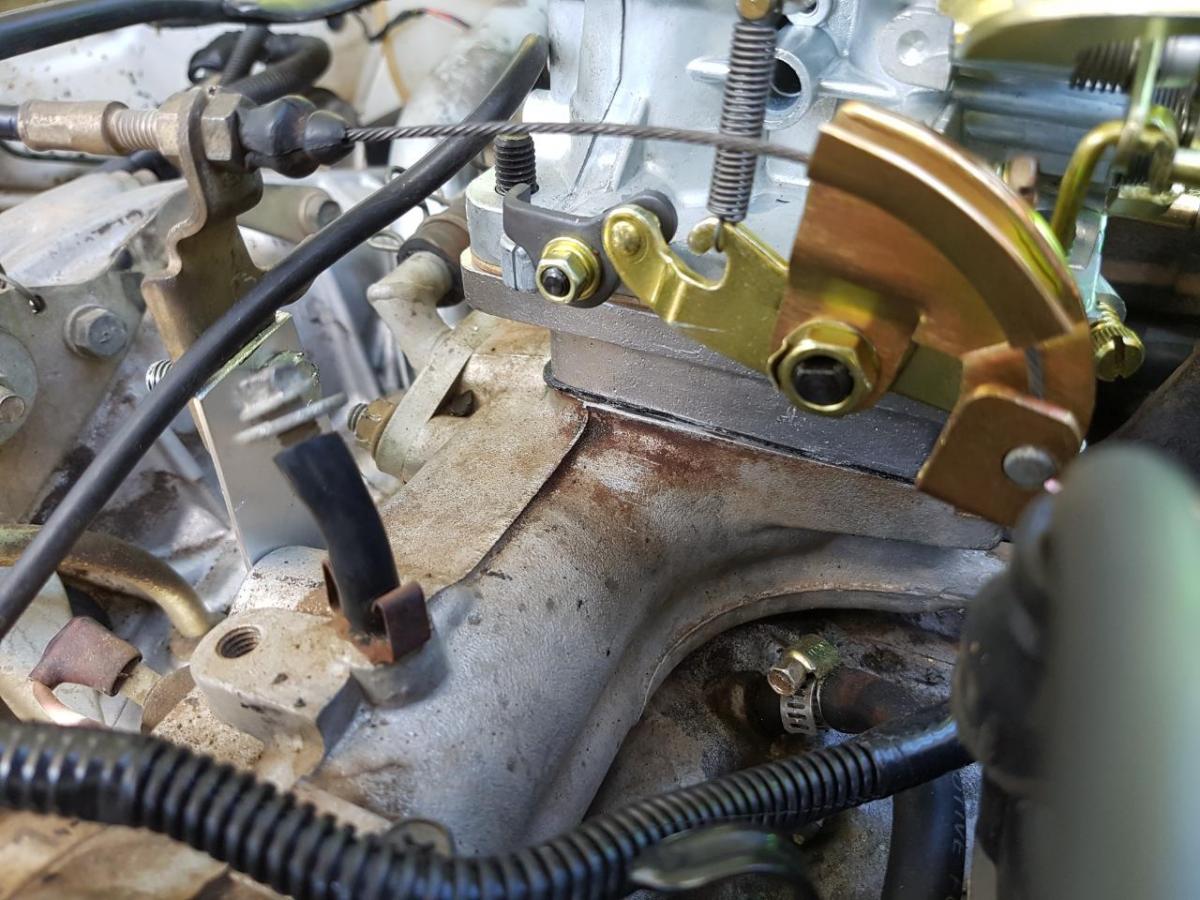
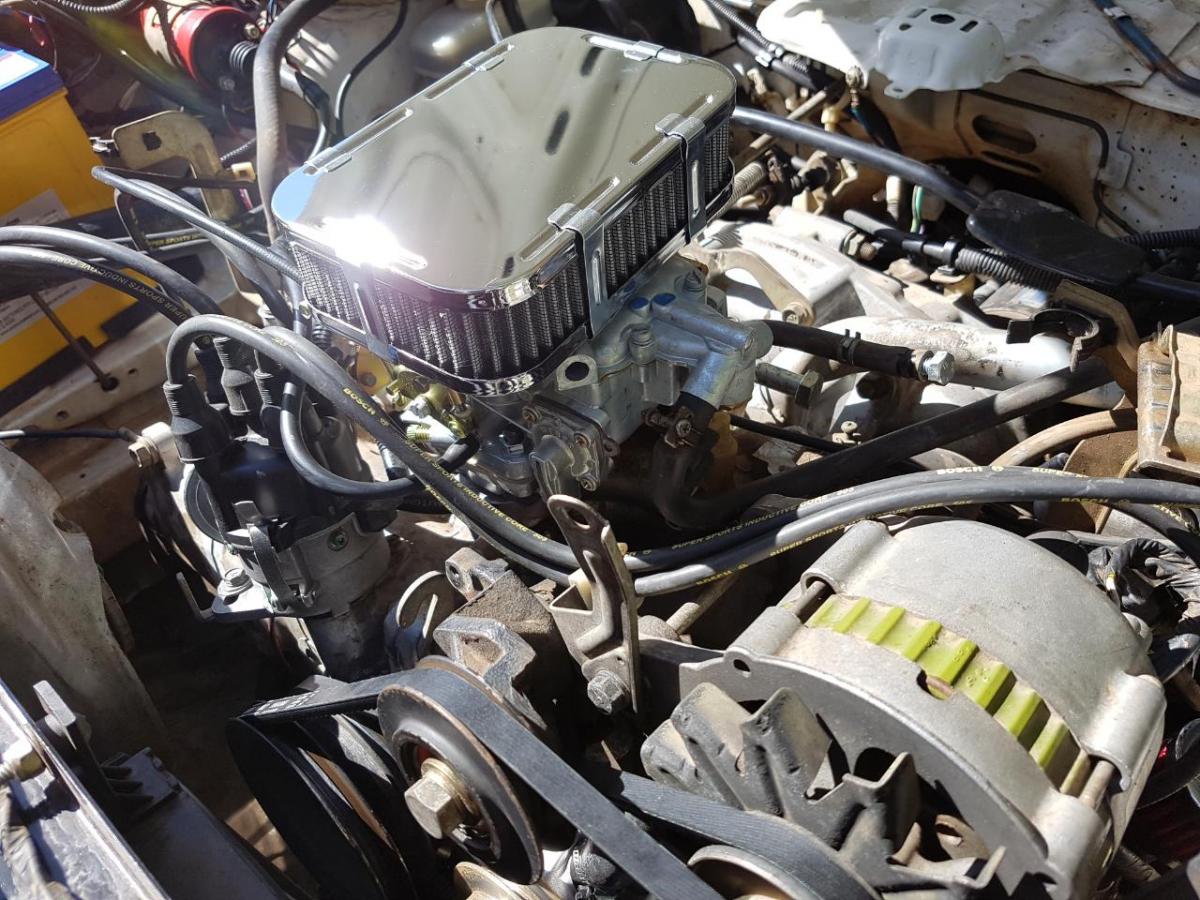
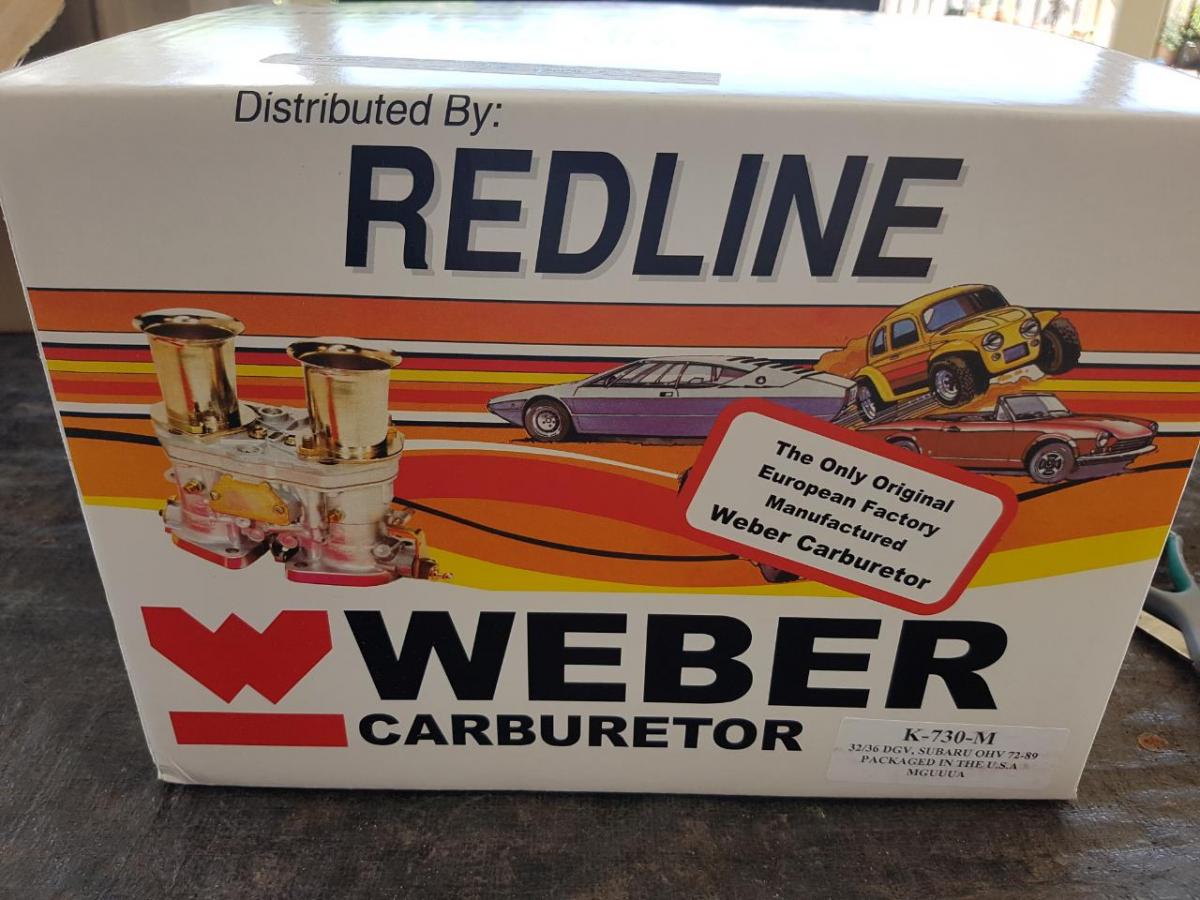
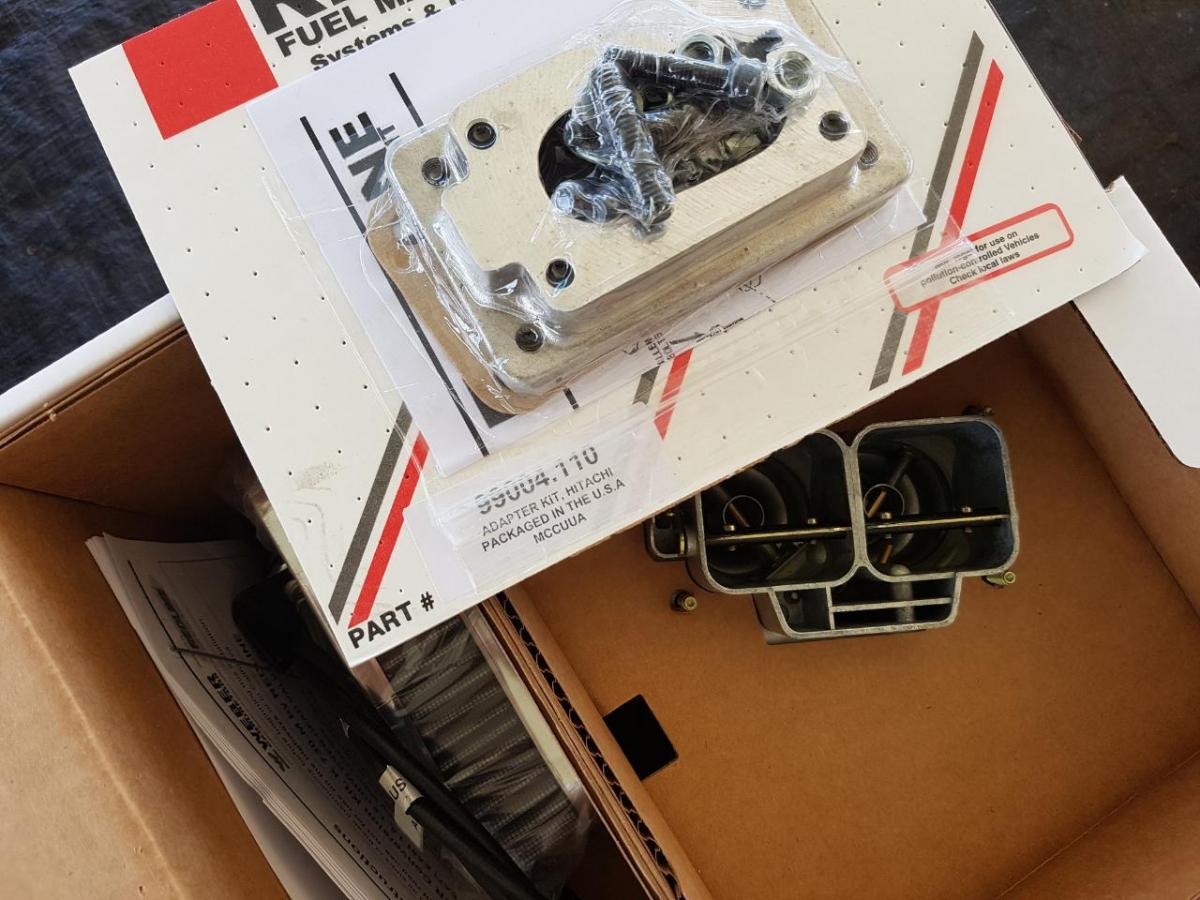
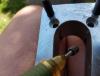
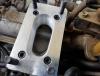
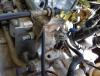
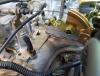
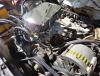
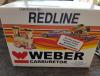
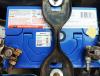
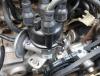
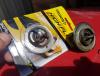
Continue on and remove the other 3 studs the same way. In the redline kit I bought the intake manifold adapter was smaller on the secondry barrel side than the intake manifold hole. Not so good for top end power. Line it up on the manifold and mark it with a sharpie where you need to remove material to port match it. Crack out your pencil grinder with a high speed steel bit and start reshaping. Be careful not to remove too much material in one go. Grind some ally away, clean the adapter, line up on the manifold and re-mark with the sharpie. Continue this process until you have the adapter the same size as the hole its going to sit on. After its roughed out to the right size, finish with an 80 grit sandpaper roll, blending all the curves you cut together in the process. Make it nice and smooth inside. Do not polish finish or power loss will occur!! Polishing anything in the intake tract causes both reduced flow from thicker wall sheer lamination and also fuel suspension dropout. Next I bolted down the adapter to the manifold with the supplied bolts and locktite. Then I dropped on the base gasket and sat the carb on top without bolting it down (in case I had to remove it again) to see what I was going to do about the stock cable bracket which is now way too low. After having a good look at the weber throttle linkage and the stock cable mount, I came up with this cheap and easy solution to allow correct cable alignment and keep the weber linkage (and still get full throttle travel). I made a simple 80mm long cable bracket extension from ally angle iron with 2 strategically placed holes, one on each end. The lower hole allows the angle iron to bolt to the stock mounting point and the upper hole is used to bolt on the existing cable bracket. I flipped the stock cable bracket back to front to get it to lock into the angle iron extension and also give a better cable angle to the carb. After installation I tweaked the bracket top with a 12" shifting spanner to get the cable angle pretty well spot on. Next job was bolting down the carb, installing the supplied choke cable (I bought the manual choke version of the kit) and connecting up the throttle cable and fuel line. The car fired up straight away and once warmed up I set the idle mixture and idle speed following the instructions supplied with the kit. I really recommend this mod, the engine idles better, revs faster and has a noticeable power increase.

-
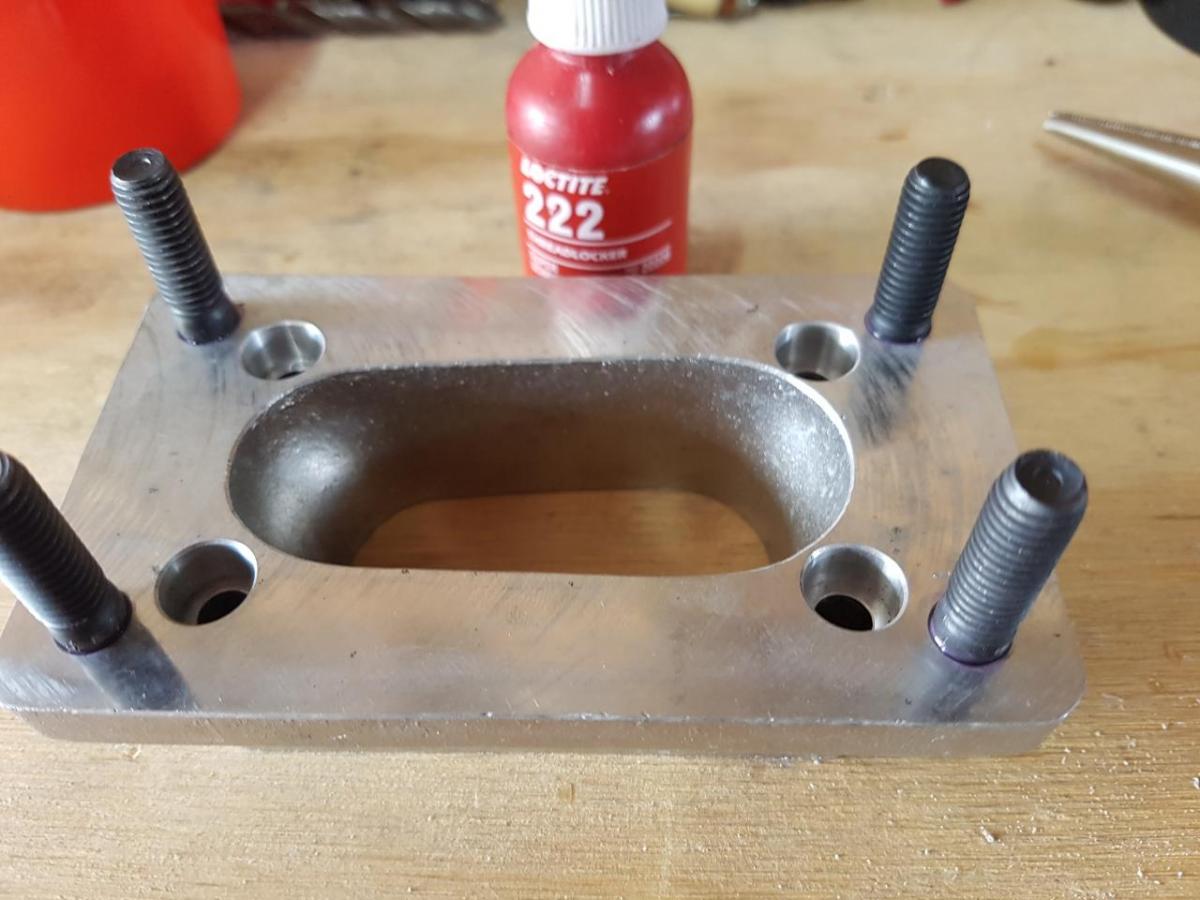
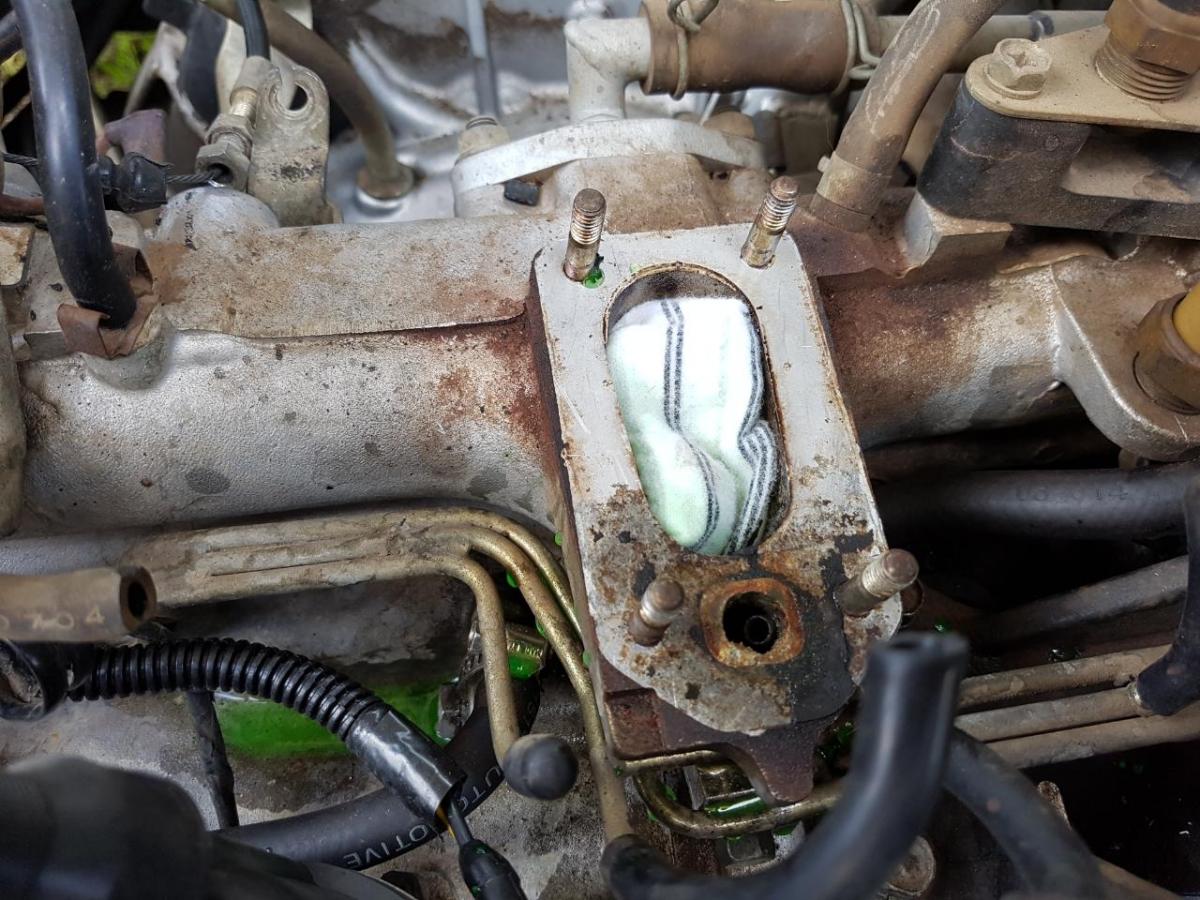
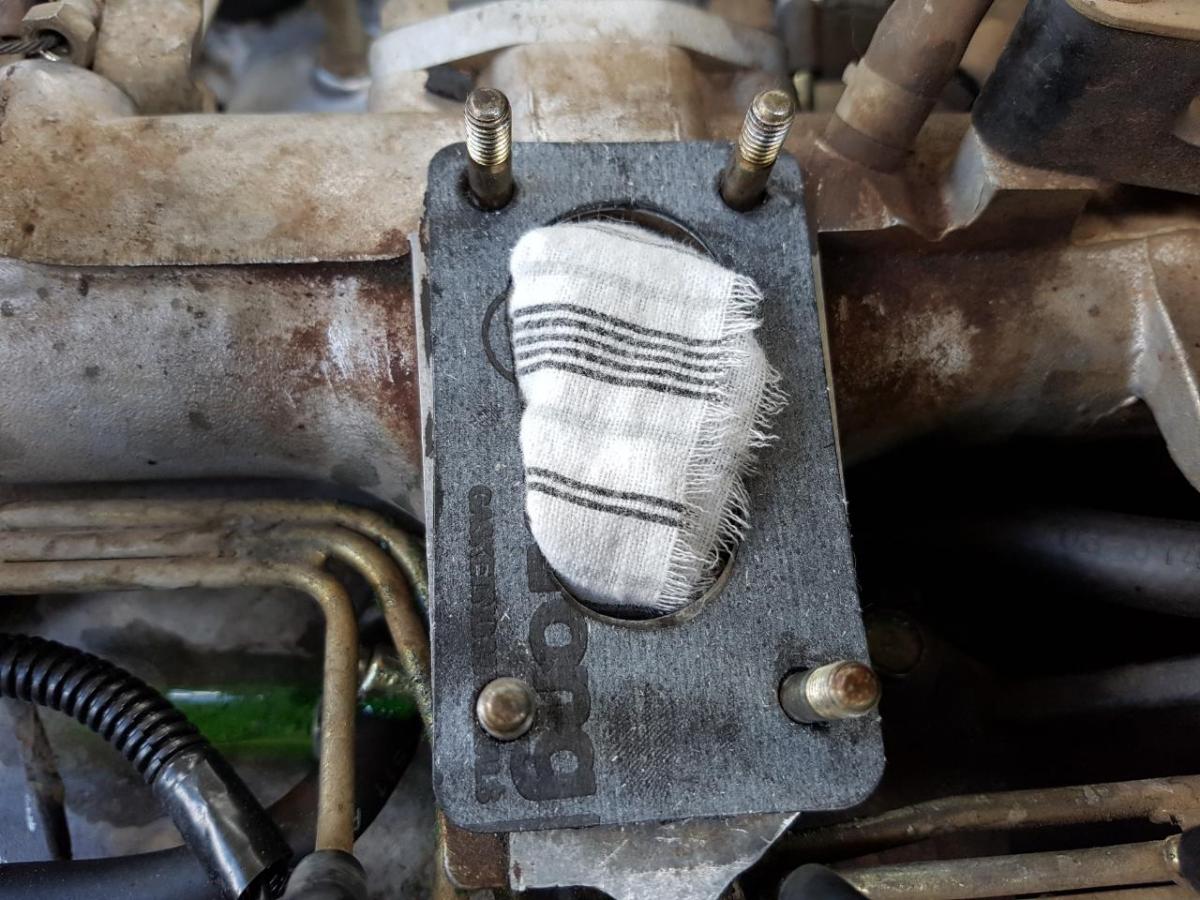
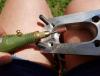
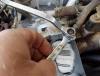
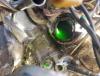
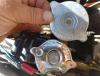
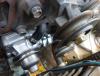
Some additional info for anyone wanting to do a weber swap on an ea81. Grab your new intake manifold adapter and locktite in the new studs Strip old carb off. You can see by the next pic that coolant was leaking past the old carb base plate gasket. Clean up the intake manifold mating surface with a razor blade first to remove any trace of the old gasket. Be sure to stuff a clean shop rag down the hole before you start. Next grab some scotchbrite (or in my case Wifey's dishwashing scourer), and polish the mating surface as best you can. Leave the studs in for now to get the new gasket exactly located. Smear a thin coat if automotive rtv sealant over one side of the gasket. Locate the gasket on the manifold rtv side down. Screw 2 of the original carb mounting nuts onto one of the studs. Lock the 2 nuts together and remove the stud using the lower nut.


-
Ok cool, thanks for the info. I'll hook the right hand side up to vacuum.
-
Its just vented atmosphere through mini air filters. Engines have been running that setup from the 1920s through to the 1970s. As long as displaced air from piston movement has some way to vent out it wont hurt the motor one bit.
-
I took a bunch of photos as I was going too. Do we need another ea81 weber conversion writeup ? I did do a couple of things differently with great results. I made a throttle cable bracket extender, was able to use the stock weber cable linkage and get full travel and also deleted the pcv completely.
-
Awesome info and thanks! I did the swap yesterday and my brumby is running soooo much better !
-
Thanks a ton iceageg and bratshitcrazy !!
-
Thanks mate !!
-
I'm sick of fighting with the 20 legged ally and rubber octopus trying to get it to run right. After 26 years of duty its time to retire the old thing. Bolting up the 32/36 in 16 hrs from now on an ea81 brumby, any tips and advice from the brains trust here greatly appreciated. Cheers Richo.


-
Have you tried a replacement fpcu ?
-
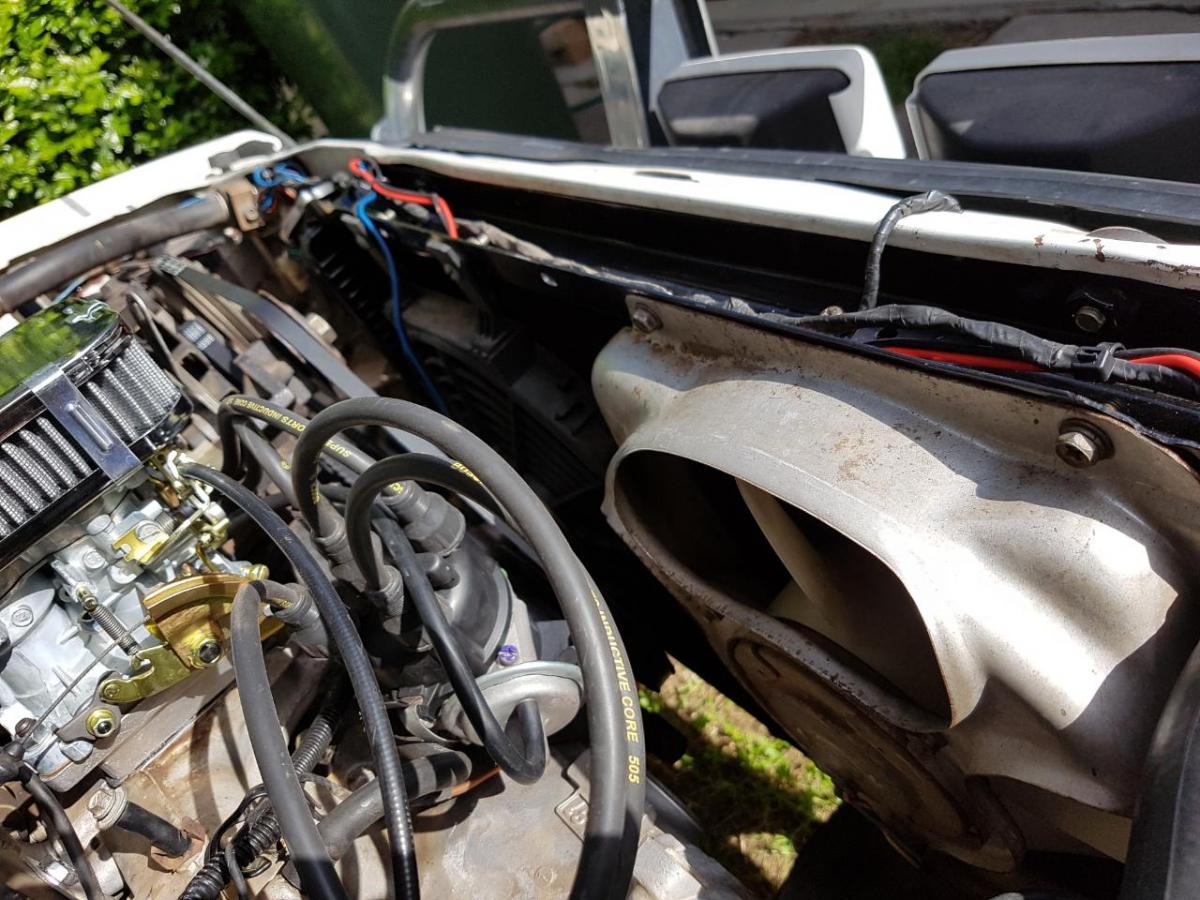
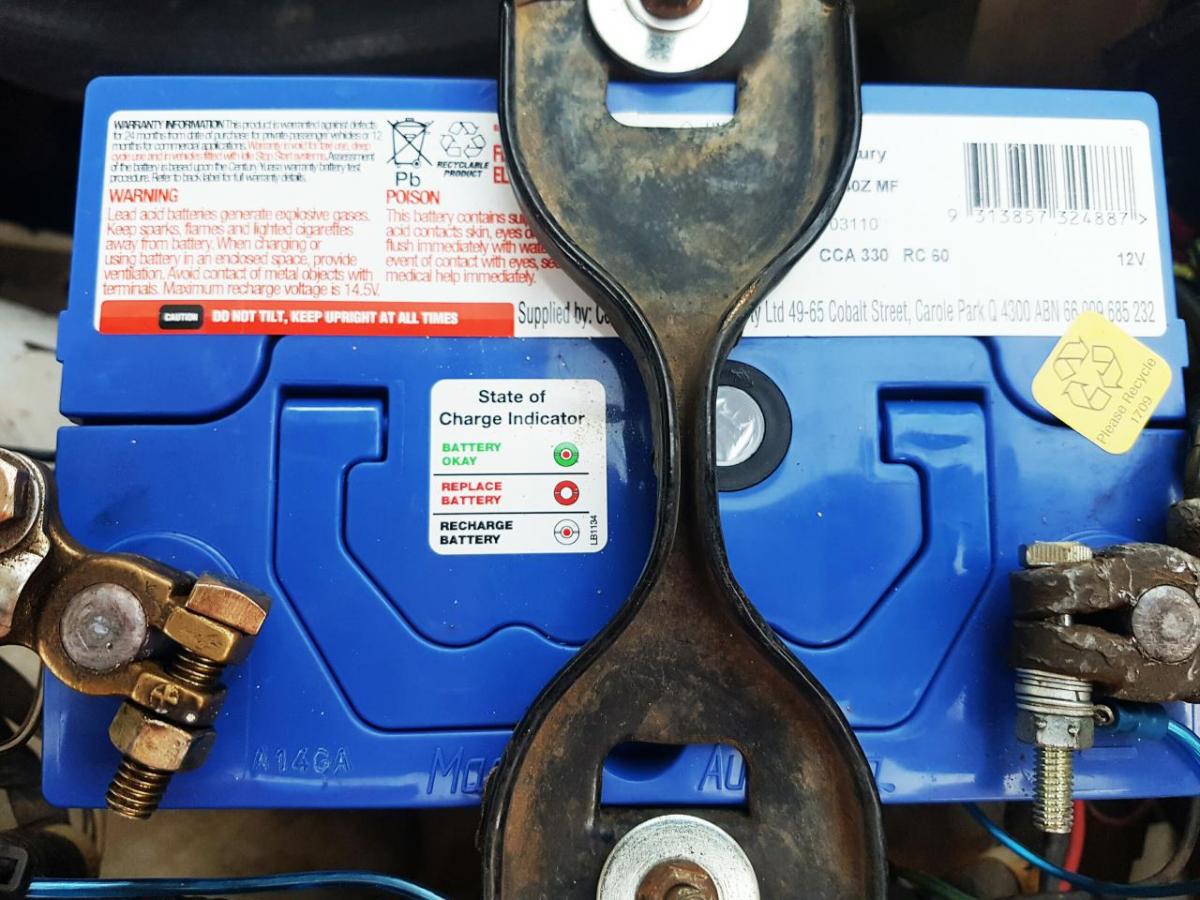
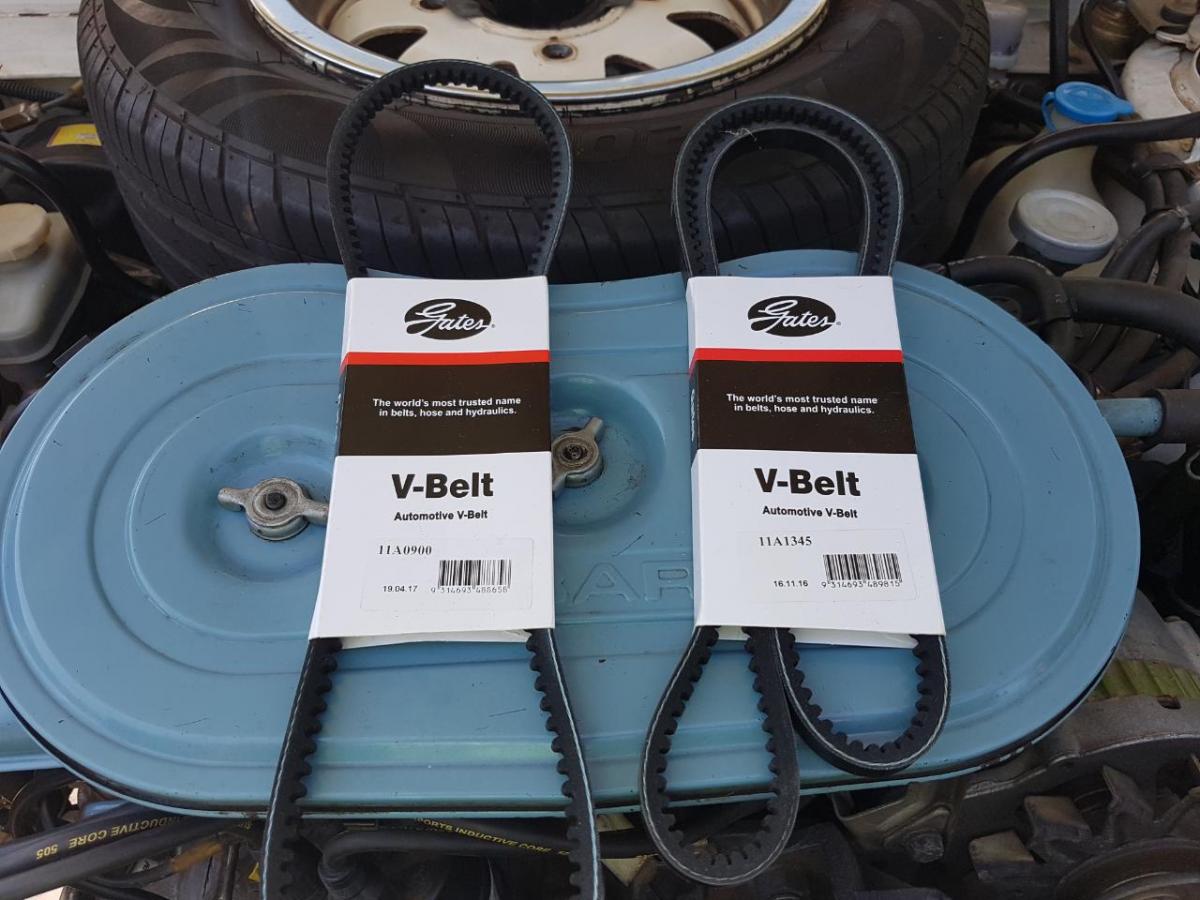
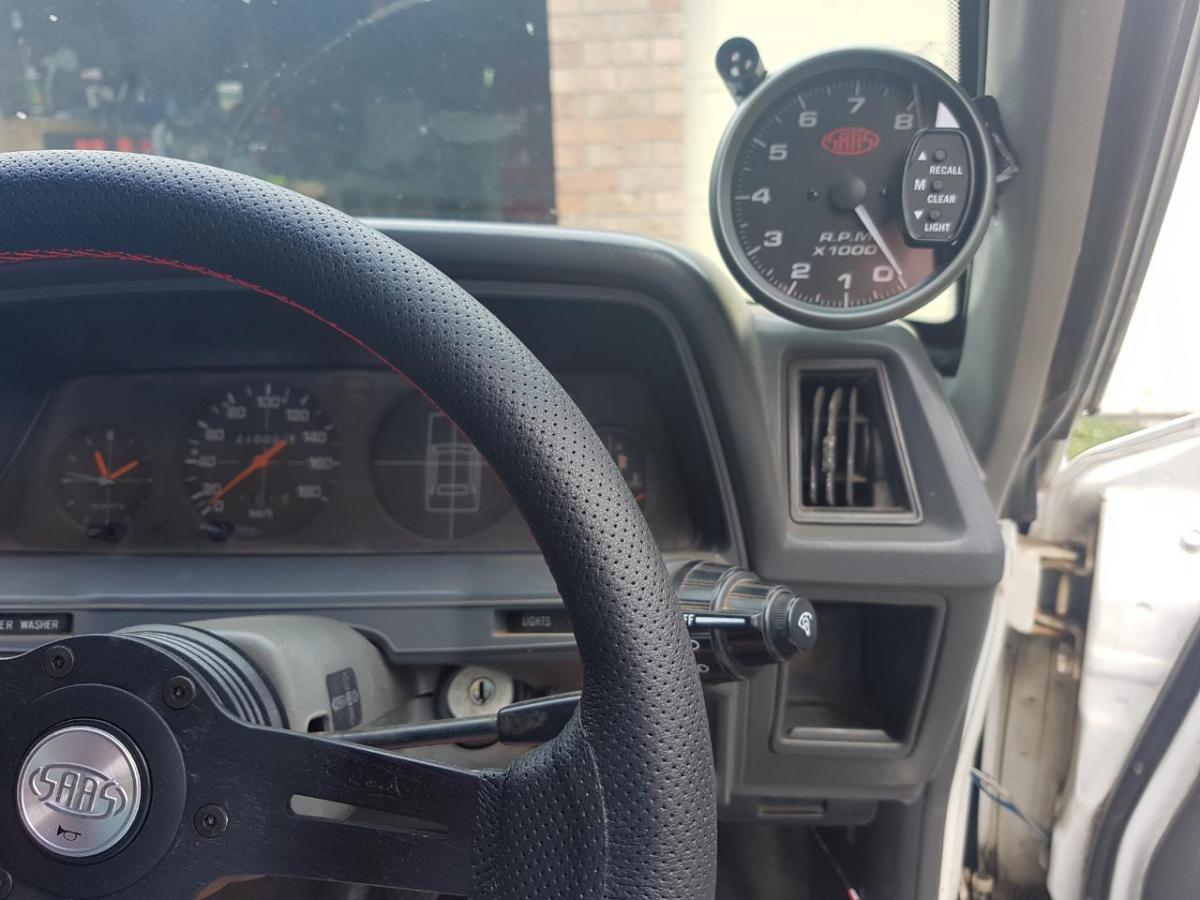
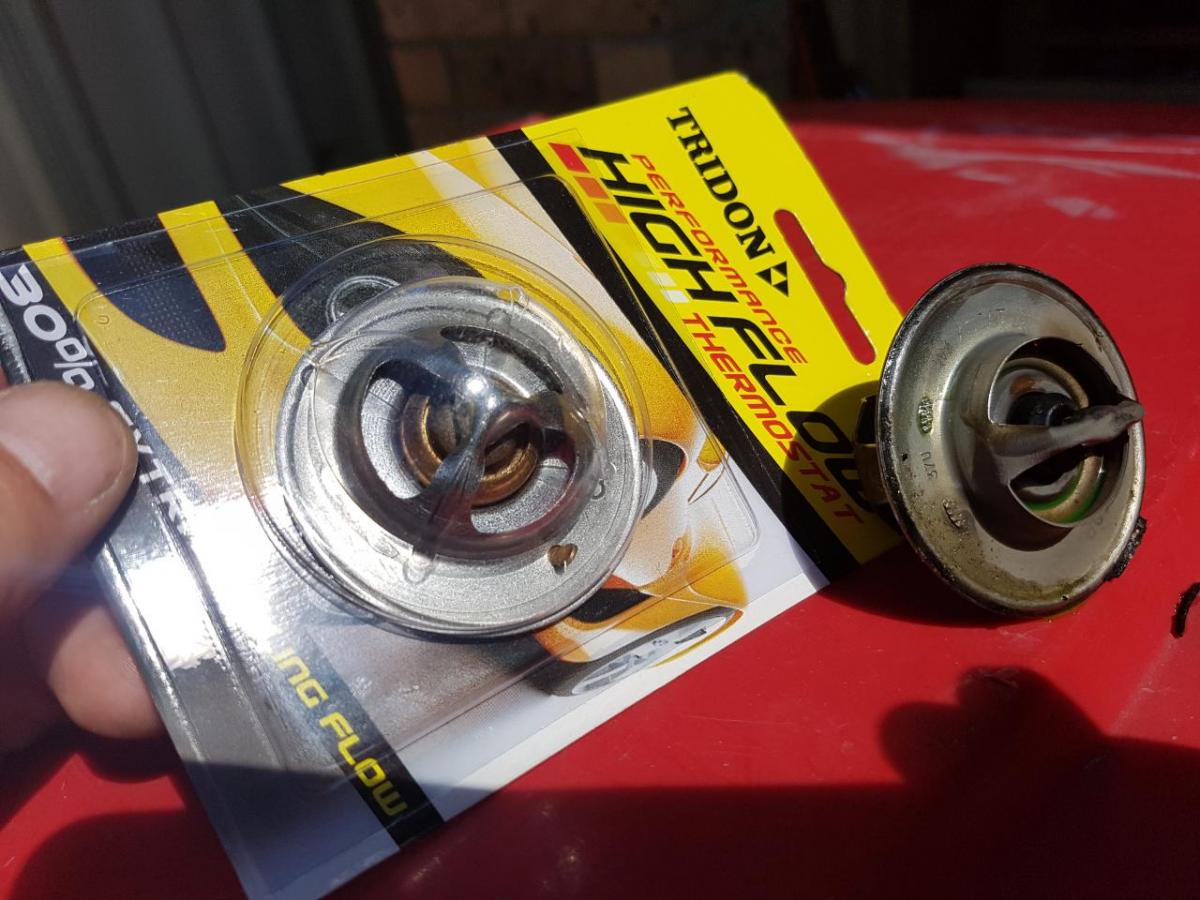
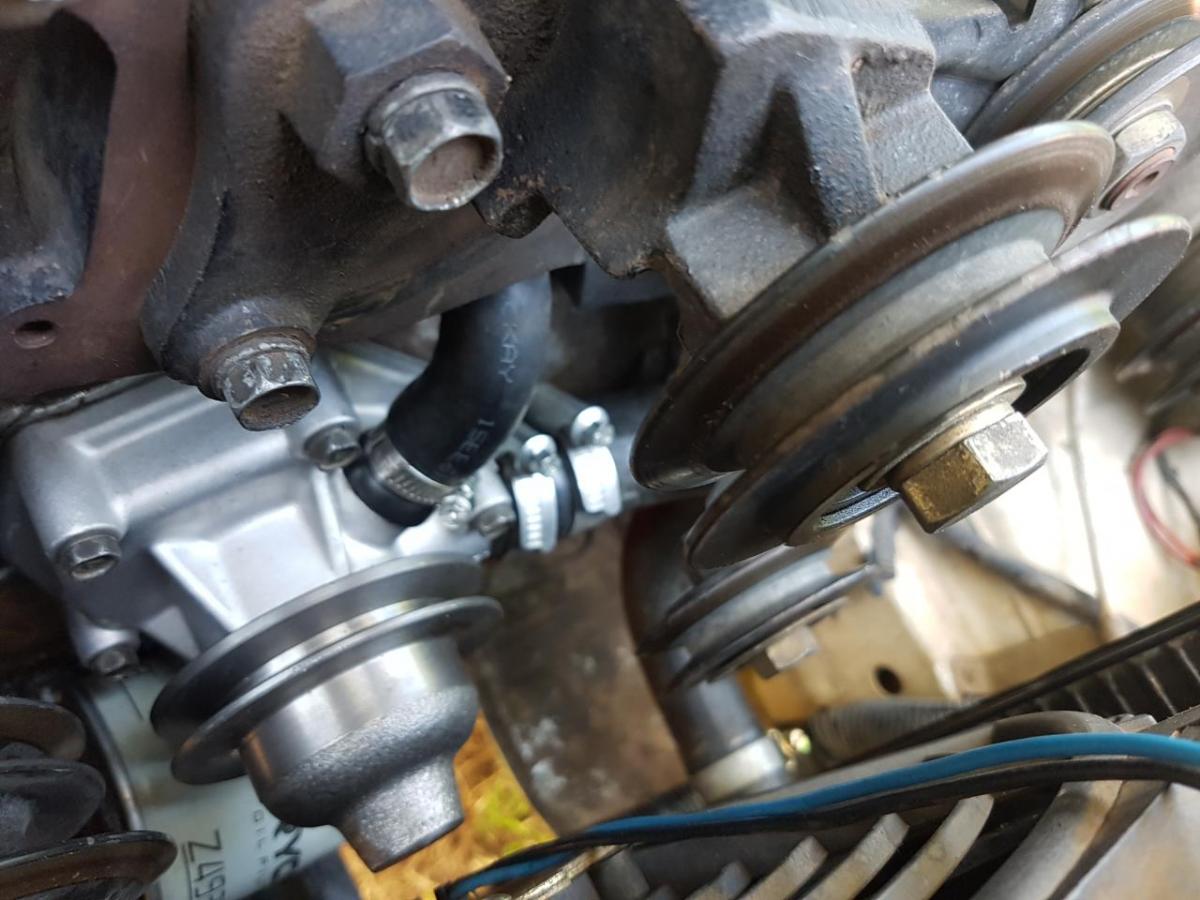
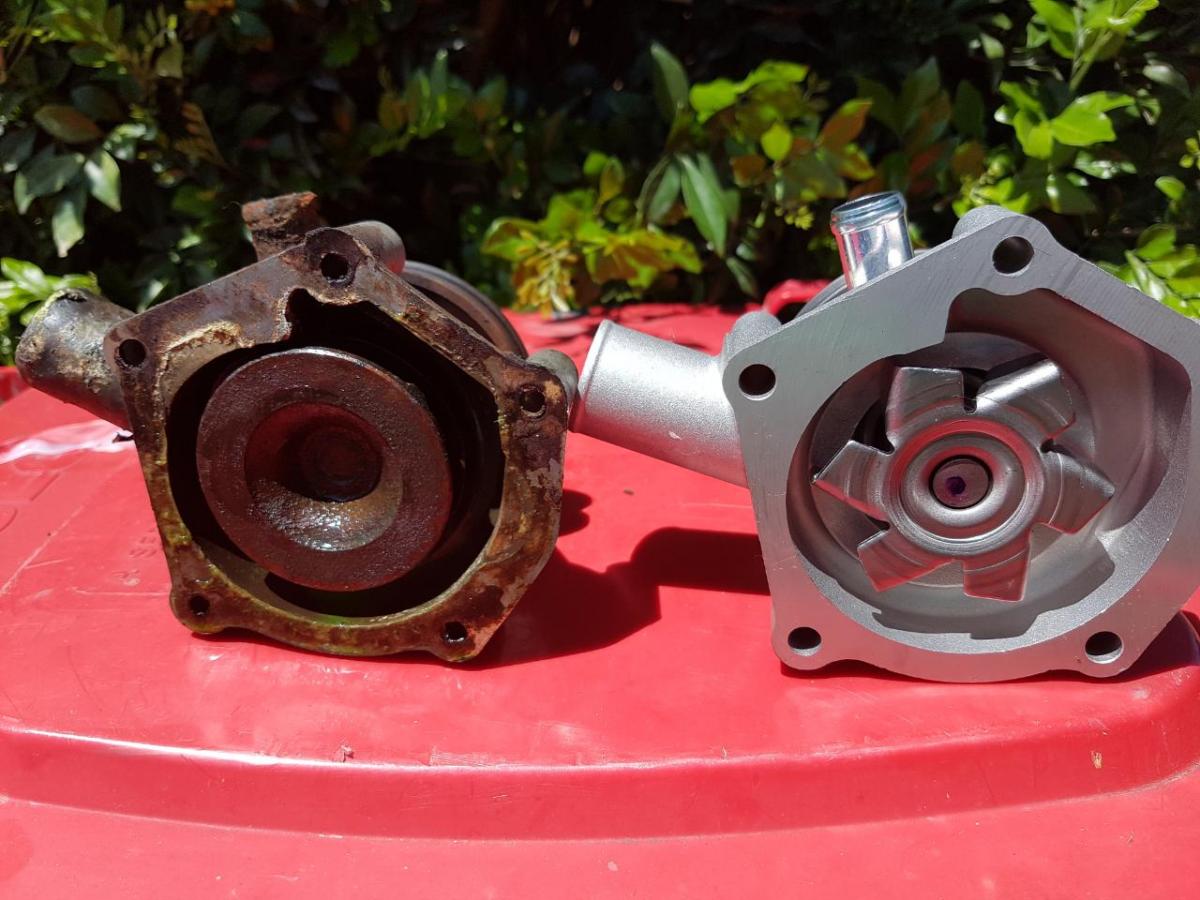
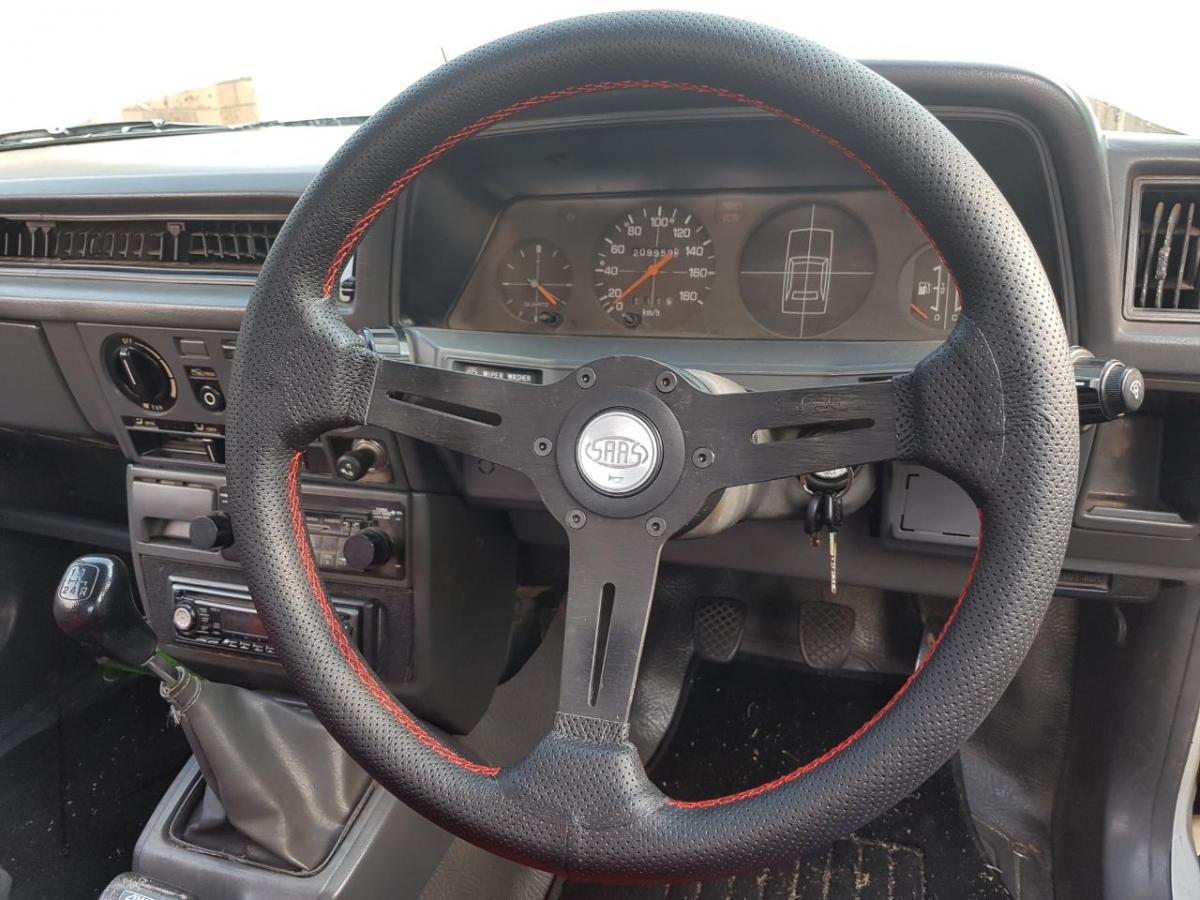
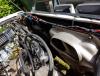
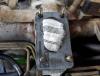
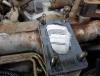
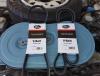
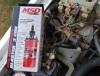
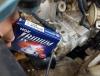
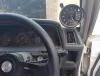
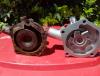
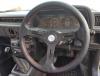
Hi gang. I've got a 91 Brumby and here's whats been upgraded over the last 4 weeks. Replaced the batt with a 330cca no maintenance type (Exide brand) Replaced the fan belts with gates brand belts. Junked the original coil for a 45000v MSD Blaster Dropped in a cardmon reco disty (ND) Swapped out the old seized thermostat for a high flow unit Checked the water galleries while it was apart and happy to find no traces of stop leak gunk in there Changed the plugs for NGK Iridiums Switched the radiator cap from a 13psi to a 15psi unit. Summers are really hot here in Australia Installed a SAAS tach to the door pillar trim Installed a Nadi sports steering wheel with an SAAS boss kit Changed out my broken sun visor clips for some a mate 3D printed for me Junked the old water pump for a new GMB unit In this pic you can see the improved impeller design of the GMB pump More mods and upgrades to come too, just waiting for parts to turn up. Lovin' my old Scoob-a-roo.
-
You lucky bugger. I've always wanted to catch some piece of crap stealing my stuff !
-
-
Firing order is anticlockwise looking at top of dizzy cap. If its a fuel starvation problem then try blowing out the fuel lines from the carb to the tank (after you disconnect them) with compressed air. Sometimes the lines clag up after yrs of use.
-
This is the one I got mate. https://rover.ebay.com/rover/0/0/0?mpre=https%3A%2F%2Fwww.ebay.com.au%2Fulk%2Fitm%2F331183683007
-
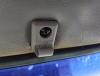
So I went to replace my interior light door switches today with a couple bratman2 kindly sent me (legend bloke). However removing the old ones resulted in disintegrated bits in my hand and the bottom halves of the switches and wiring recoiled into the holes out of reach of my long nose pliers. Is the cavity accessible by removing the plastic door frame trim or am I looking at making a retrieval tool from a coathanger ? Cheers, Richo.
-
Yeah I know.. the logic stumped me too.
-
In the interior section last time I looked mate.
-
Distributor leads correct polarity on coil? On mine yellow went to negative. Black went to positive.
-
Great write-up, cheers for the ideas !