Knucklehead Saloon
Members
-
Joined
-
Last visited
Everything posted by Knucklehead Saloon
-
Great suggestions guys !! Ebay au wants $100 for 2 x new oem winders !! I don't think so.
-
Biggest differences made to mine : K730M weber kit from redline. MSD blaster 45000v coil. Plugs gapped to 1mm. Delete EGR. Custom headers with 1-3/4" primaries into a narrow angle 2" collector (like a 2cyl motorcycle exhaust). From there a 2" system through to back of car. Make sure your distributor is in good condition with no side play on the top of the shaft or you'll get erratic ignition timing. I got a reman unit from cardmon in mine. Advance ignition timing more than standard. I took mine out on the road on a hot day and kept advancing the timing until I could hear pinging. Then backed it off 3 degrees. No pinging and revs higher, makes more power. I've also been rejetting the weber. It'll run ok with the stock jets supplied by redline but won't realise its full power potential. Replaced the stock 140 secondary main jet with a 155. Also will replace secondary idle jet with a 55 when it turns up. Had a flat spot in power delivery when the secondary barrel opens up(its a lean hole). Also about to order a 150 primary main jet (stock 140). All that ^ made a huge difference to the car. It'll hold freeway speeds in top gear now and runs neck and neck with a mates 3liter turbo diesel pickup in a drag. Power mods I've got planned include porting a set of heads and shaving them for more compression. Also the stock intake manifold sucks donkey balls. Man what a crap design. In the future I'm gonna build something way better thats tuned length and doesnt carry the coolant inside it. Hope this helps!
-
Thanks!! I ordered some stuff from www.rockauto.com and they sent me a discount code. Sharing is caring right ? 7390153866221122 How to Use Your Discount Code Enter the code above in the "How Did You Hear About Us?" space on the checkout page (above your payment information). Do not enter any other text in that space or the discount will not apply. Please note: Discount only valid for orders placed online. Code must be entered before order is submitted. The discount takes 5% off our reliably low prices. There is no limit on order size or the number of orders. Use the code for your next order, and share the code with anyone you know who works on cars or trucks. This discount code expires on February 4, 2018.
-
First thing I'd try is cranking it in the dark. If you've got a bad high tension insulator or connection you'll see where straight away. Also run a multi meter across the primary coil terminals while cranking. You should see 12v+ rapidly turning on and off again. If no voltage or a constant voltage its a downstream problem at the distributor in the electronic sensor. If the coil is energizing/de-energizing rapidly like it should be my guess is a bad coil or coil lead to the dist. Cheers.
-
Ahhhhh thanks for that gloyale ! I get it now. To the OP.. a resonator changes the exhaust note frequency (basically busts up the sound waves a little). Its job is to reduce droning sound coming from the exhaust.
-
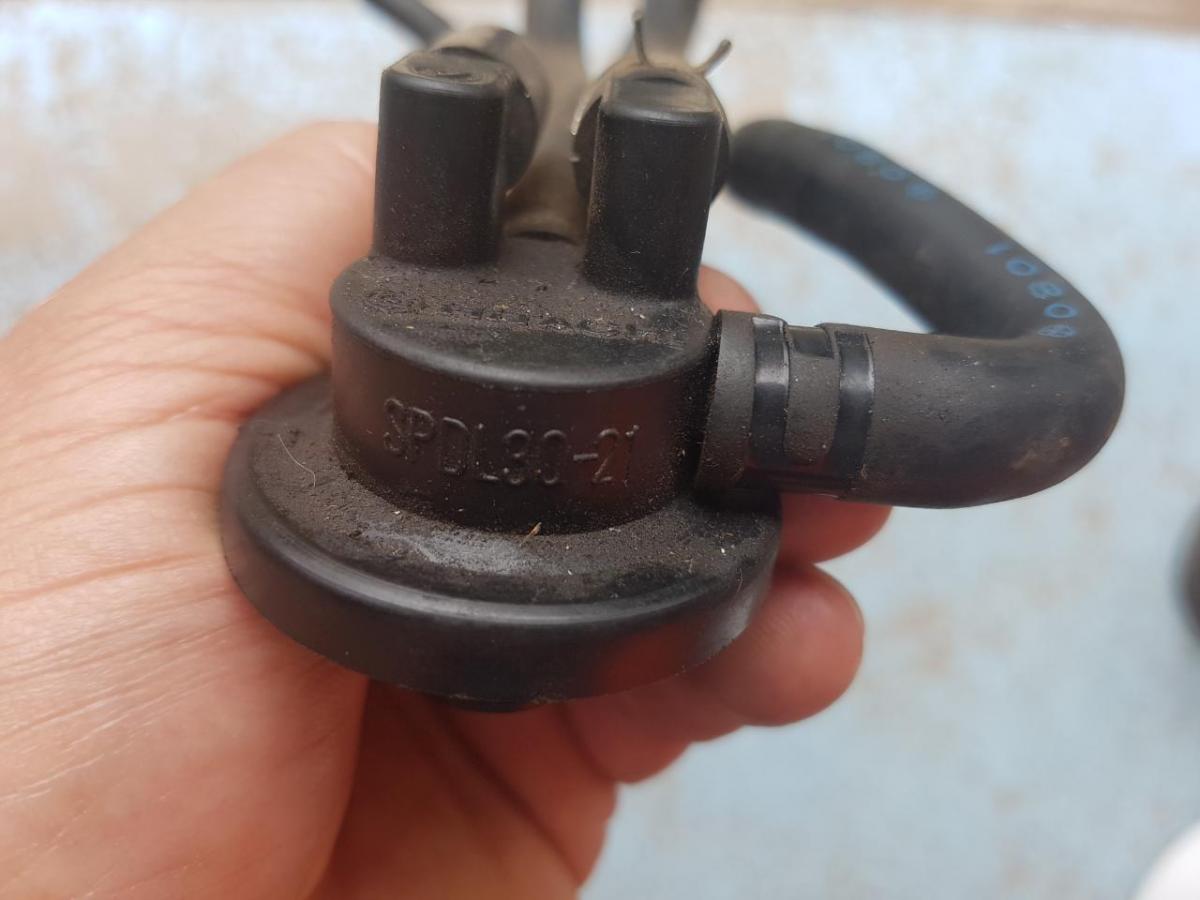
Thats tye EGR system. Exhaust Gas Retriculation. When new they take clean air from the air cleaner and stick it into the exhaust header to help combust unburned hydrocarbons coming from the motor. Lowers emissions. When the EGR is old and stuffed (like mine was) the damn thing works in reverse and sucks exhaust fume and shoves it into the air cleaner. Engine suffers big power loss. System I just got made has 1-3/4" headers into a narrow angle 2" collector. From there a 2"cat, 2"pipe, 2" resonator, 2" open chamber muffler. Any bigger than 2 or 2-1/4 and you drop exhaust gas speeds to low and lose power from reduced scavenging effect.
-
Also got new plates !!

-
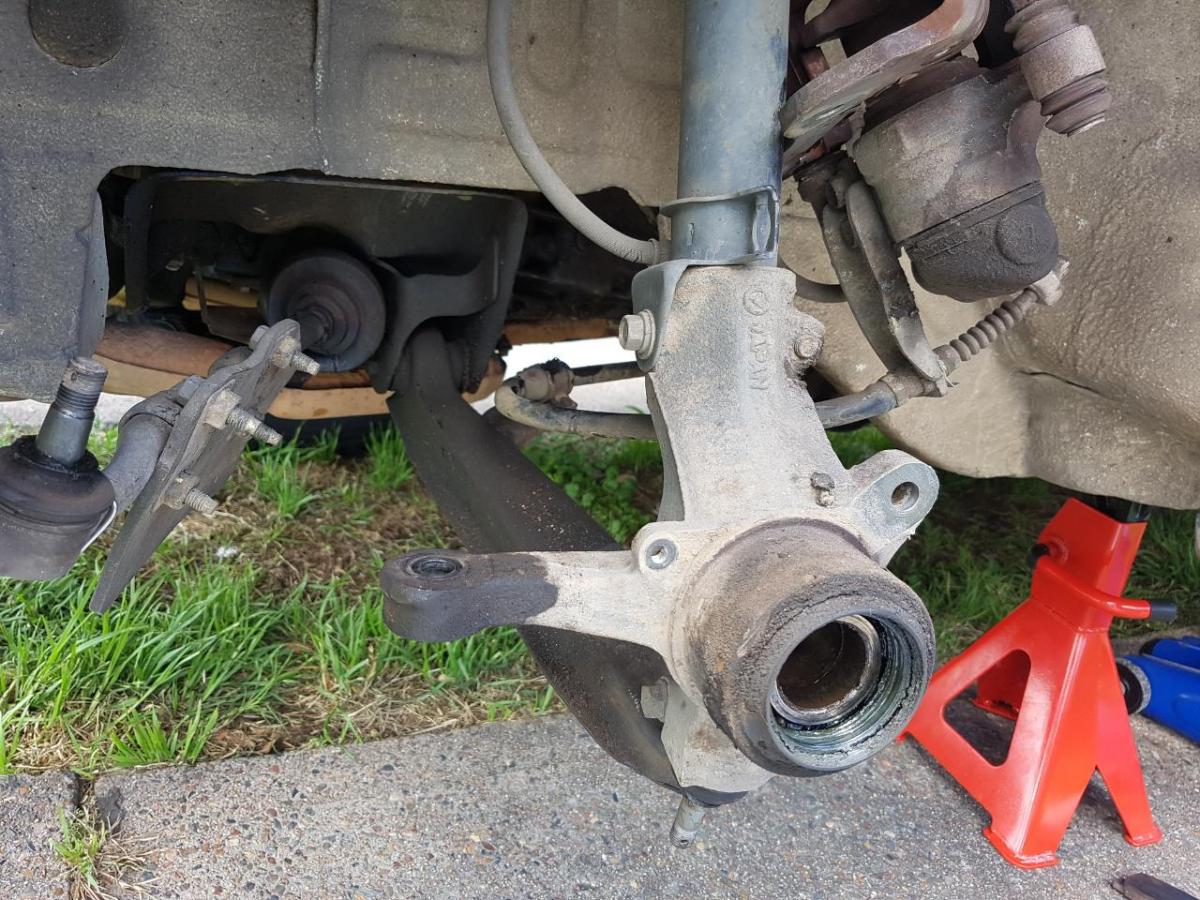
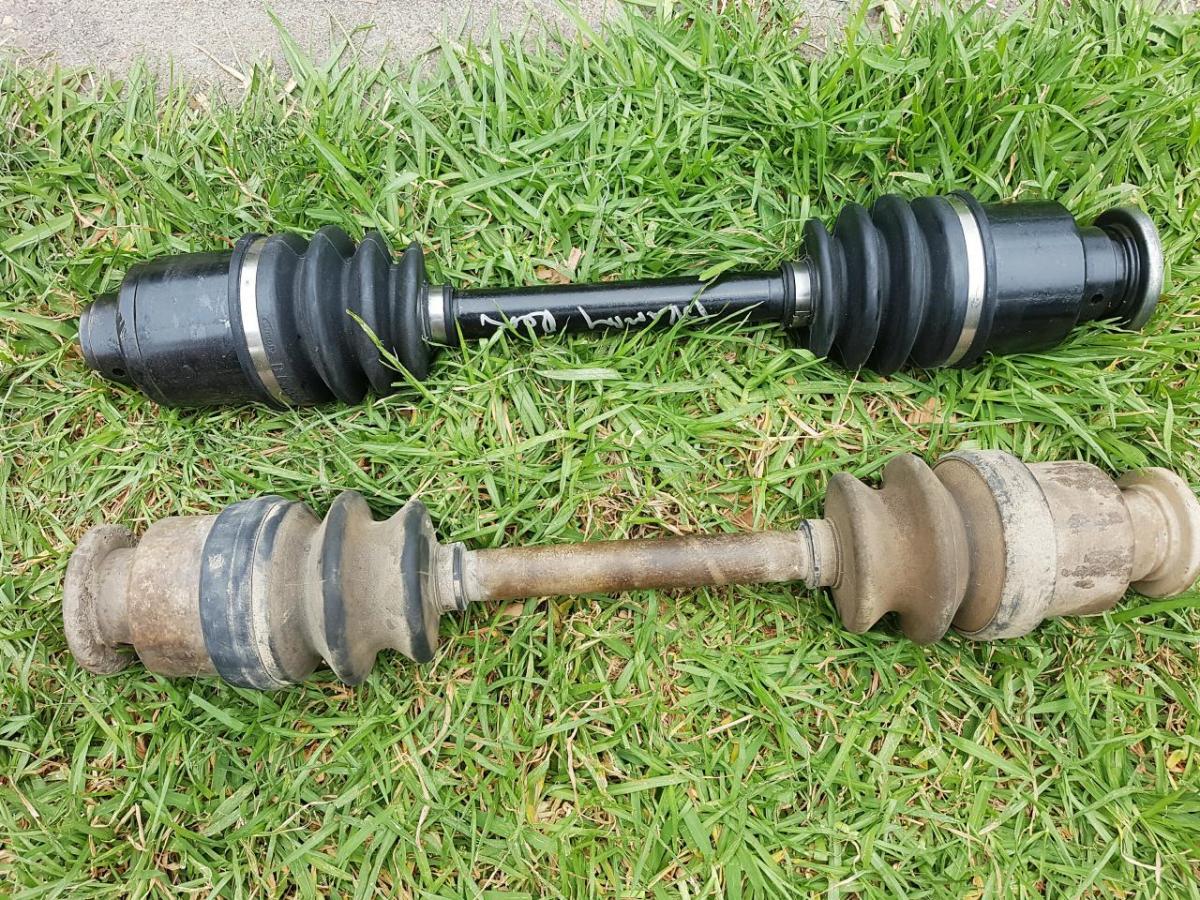
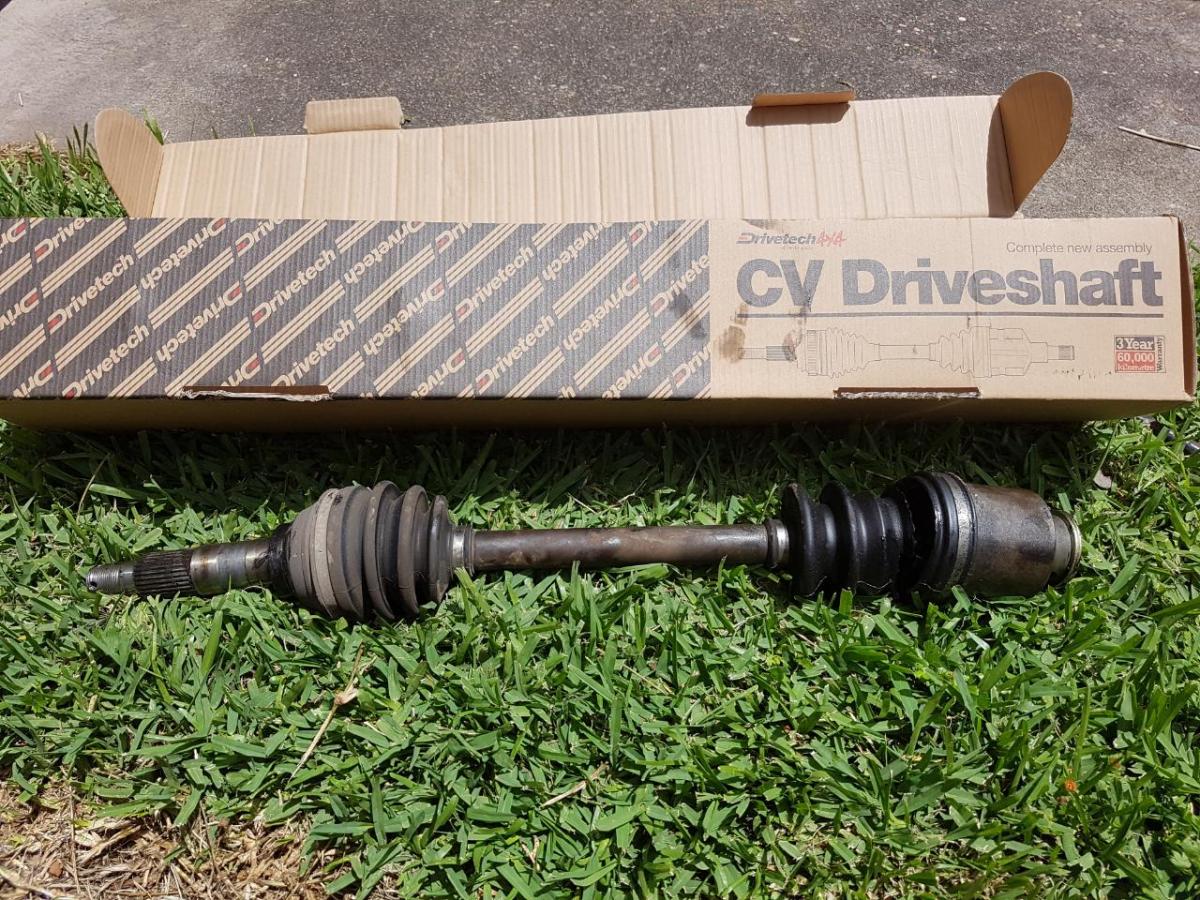
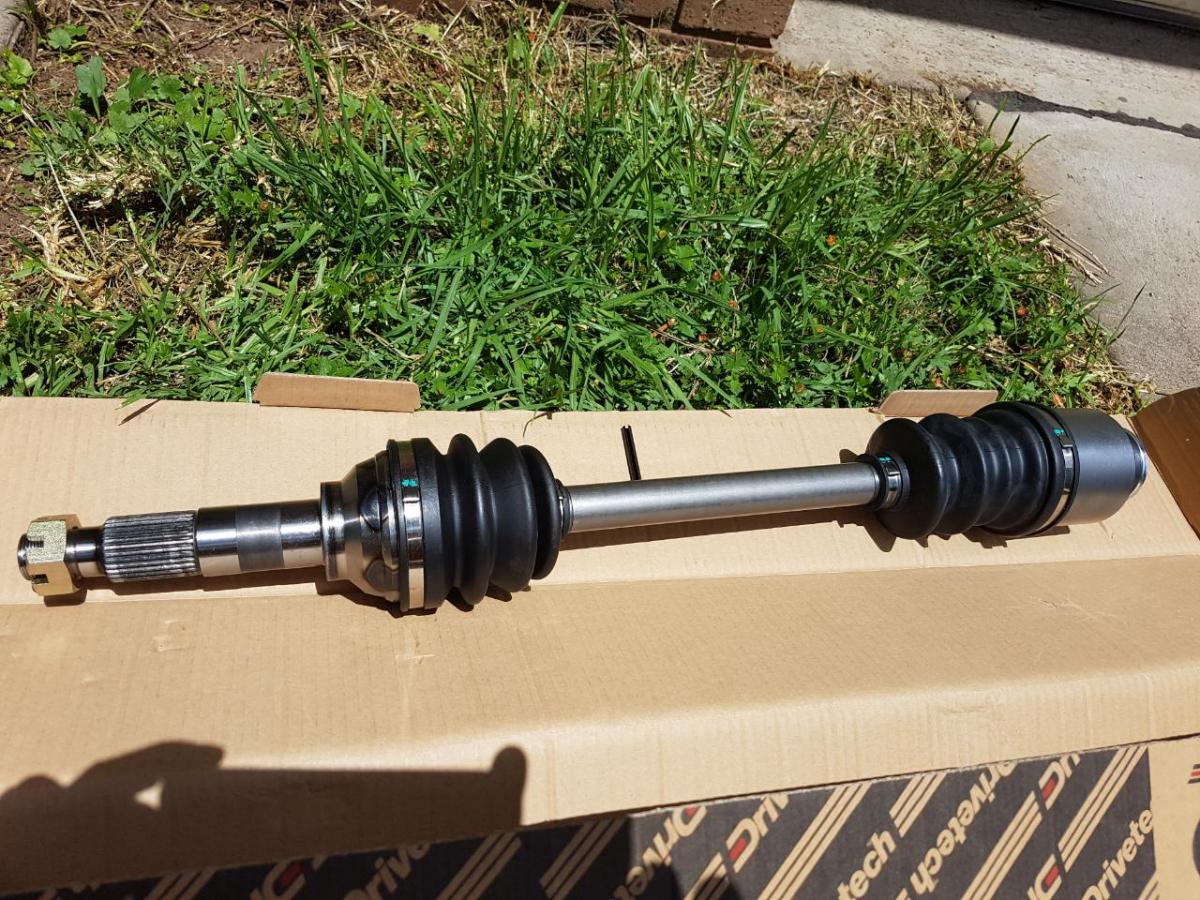
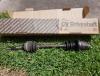
My brumby got new cvs all round. The fronts are drivetech extra HD. Rears are reman units from cvjoints australia.


-
1 oclock for no.1 Working anticlockwise 1-3-2-4
-
Thanks heaps!!
-
Mines in for a rattle fix today too. Complete custom exhaust. 1-3/4 primaries into a narroe angle 2" collector, 2"highflow cat and open chamber muffler. No more exhaust rattles !! Also replacing my rattly rear cvs tomorrow. Yay.
-
Hey Subie people, post up the best online stores for spares please. Like a few other people on the board I'm new to subaru cars and not living in the USA. Local distributors in my country only seem to carry a limited selection of spares making it hard to keep my Soobie alive. Thanks !!
-
Hey thanks for all the info and ideas !! Certainly helps me out.
-
G'day Gang. Is anyone running window winders made from metal ? What make/model fits the subaru spline ? Thanks in advance.
-
I got em off ebay $110 ea AU
-
Check for a vac leak in the brake booster or hose going to it. You want a redline kit 730m or 730e get em off ebay usa far cheaper than buying here in oz.
-
Mate are you still chasing the part ? I just found one in my shed. If you still want it send me your addy and its yours.
-
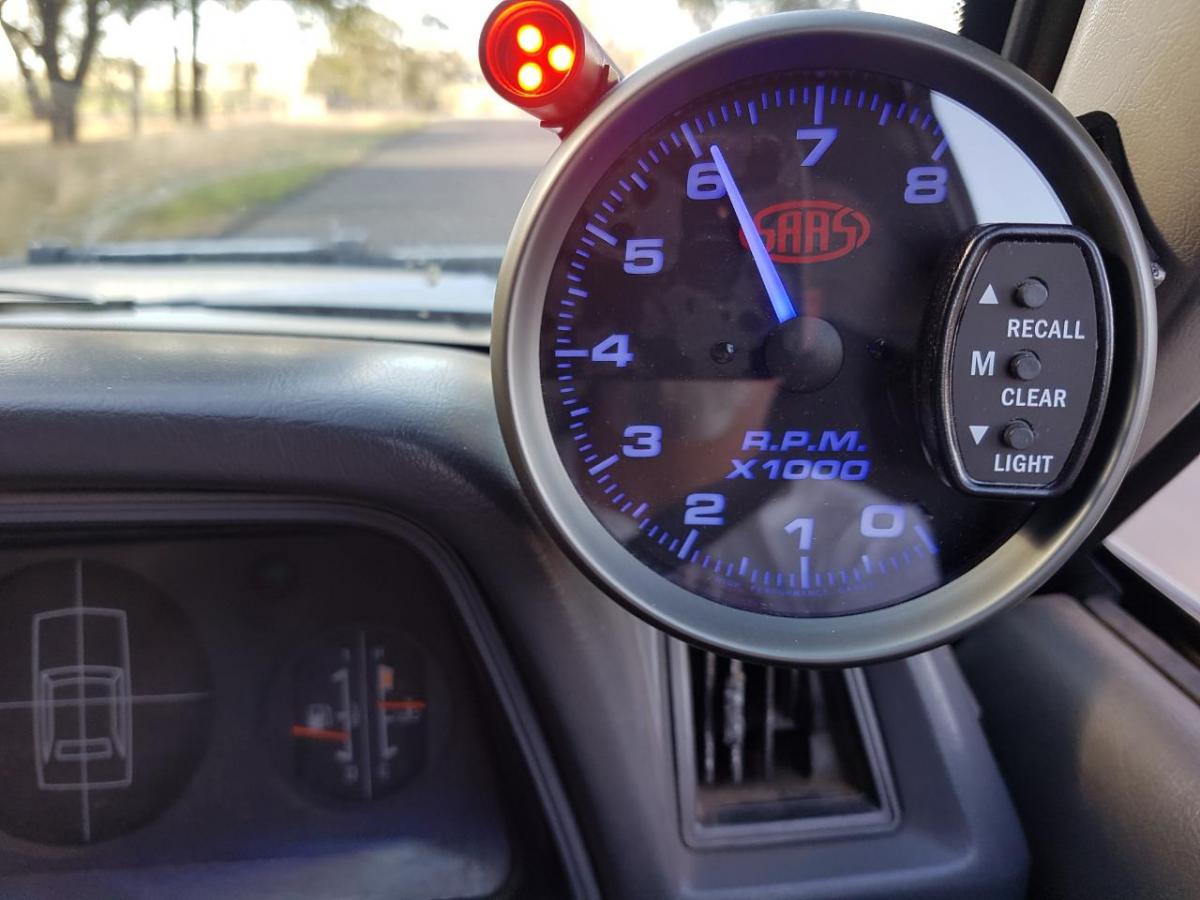
I just got mine to hit 6100rpm. Stock motor internals, stock intake manifold, stock exhaust, weber 32/36 with 140 / 155 mains, msd 4500v coil, race leads, iridium plugs, 2wd leone distributor. Advanced ignition timing till it pinged and then backed it off a bees wongleflute.

-
Finally found some !! They're as rare as rocking horse poop here in Oz. Here's the skinny: CV joints Australia (sydney). Contact: Uri (he's the head honcho) Phone: 0296446562 Price: $315 delivered for 2 x brand new complete shafts inc CV's. Cheers.
-
Double check carb hoses for vacuum leaks. Rip off the air filter and yank the throttle cable while looking down the throat. Should see fuel getting pumped in there. If thats all good then proceed as follows: What exactly did you replace ignition wise ? If you pulled the distributor then I'm guessing its not lined up properly. Next guess is plug wires in the wrong order on the dist cap. Check for spark first with an old plug. If you got spark then your ignition wiring is hooked up correctly. Next check plug wire orientation. No1 is closest to the intake manifold.. start there. Working anticlockwise firing order is 1-3-2-4. Still wont start? Pull timing mark cover off bellhousing (its a rubber plug the size of a small jam jar lid). Pop off distributor cap. Rotate engine manually until you see the timing marks. Stop rotation when pointer points at tdc. Rotor button should be pointing at no.1 plug wire location on distributor (if the cap was fitted). If its not then rotate engine manuay anothrt 360 degrees until the timing marks line up again. Rotor button should now be pointing at no.1 plug wire position. If its not lining up then dist is a couple teeth out. If dist in wrong place then: pull no1 pot rocker cover off to watch rocker arms. Rotate engine to tdc on timing marks looking to see when both rocker arms for no1. Are not depressed. If one is down then rotate engine another 360 degrees to tdc on timing marks. Once you have acheived true tdc then look at rotor button. Should be pointed at the 1 oclock position if you're standing squarely in front of the car looking down on it. If its not then pull the dist out and replace it in the right spot. Car should fire up after everything bolted back up. Get back to us on how you went or if you need more clarification. Can you post a link to the ignition you used pls? Cheers.
-
Cool you're chasing it down Jono. Keep us informed mate and cheers.
-
I'm currently solving the TOD issue myself on an EA81. 1. Running diesel engine oil for the added detergents. On its own no change to sound. 2. Added repco brand lifter tune up bottle to the fresh oil and filter. 2000kms later the noise volume is halved. 3. Dumped oil and filter and refilled with same. 4. Shimmed oil pump pressure releif spring to increase oil pressure (its an old pump). Noise decrease again after 500kms running. Its now only 25% of original TOD. Next step is to get inside the rocker boxes and adjust the tappets. My motor has hyd lifters and I beleive I finally found out how to adjust them from an ancient fsm scan I got my hands on. Basically the gist is this. Look up the proceedure for solid lifter adjustment and follow that until its time to start turning adjusters. Get no.1 on tdc. All the valves you can adjust at this point proceed thus: - Undo locknuts. - Screw adjusters inwards 4 full turns. - Wait 15 mins for lifters to bleed down. - Screw adjusters outwards until rocker arm stops moving. This is zero lash point with the hydraulic lifters collapsed. -Screw adjusters outwards another 1.5 turns and lock down locknuts. - Rotate engine as per manual lifter adjustment and set remaining lifter clearances. I'll be doing this after I rack up another 1000kms on the oil/lifter tune. See how quiet I can make it after 211,000 kms. Cheers.
-
The only valiant grease info I could find was for R2. Perhaps a typo in your docs? Here's the R2 info: Shell Valiant R2 Grease use z Shell Valiant R2 grease for lubricating plastic ball joint on the vehicle; z Shell Valiant R2 for low-speed sliding contact with plastic and metal rolling friction and lubrication; z Shell Valiant R2 has excellent adhesion, low temperature properties and oxidation stability; composition fromSynthetic base oil, a lithium soap thickener, containing antioxidant additives and polymers; Temperature range from40 ℃ to 130 ℃
-
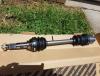
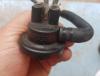
Just took me 1hr 45min to change out one side on my own, no rattlegun (sure wish I had one though haha). Using Drivetech extra heavy duty shafts. I'll let you know how they hold up. Cheers. Pic of my stuffed shaft Pic of a shiny new one.

-
Yeah I just did this on my ea81. The post is in "what have you done to your soobie lately".