
All Activity
- Today
-
From what I can see, that car looks surprisingly solid. Nice find!
-
 Have you taken this thing to a muffler shop and let them take a look at it? They’re probably going to be in the position to tell you what’s going on.
 -

The Awesome Older Generation Picture Thread
LaMamelle replied to 6 Star's topic in Old Gen.: 80's GL/DL/XT/Loyales...
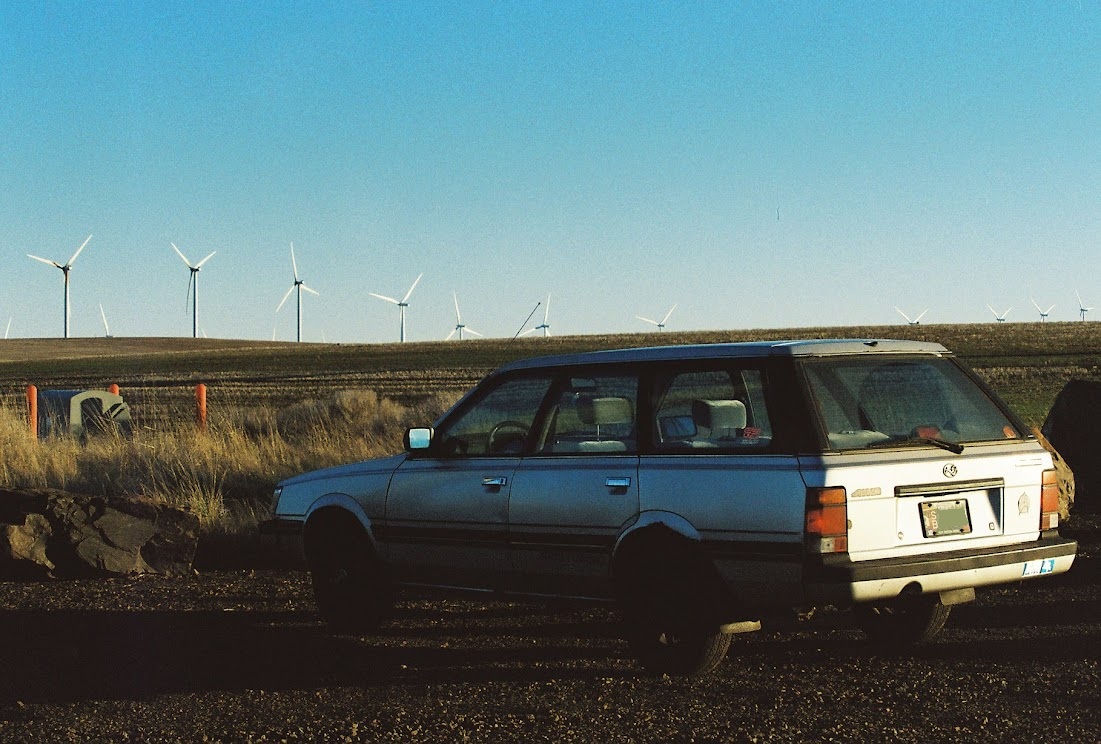
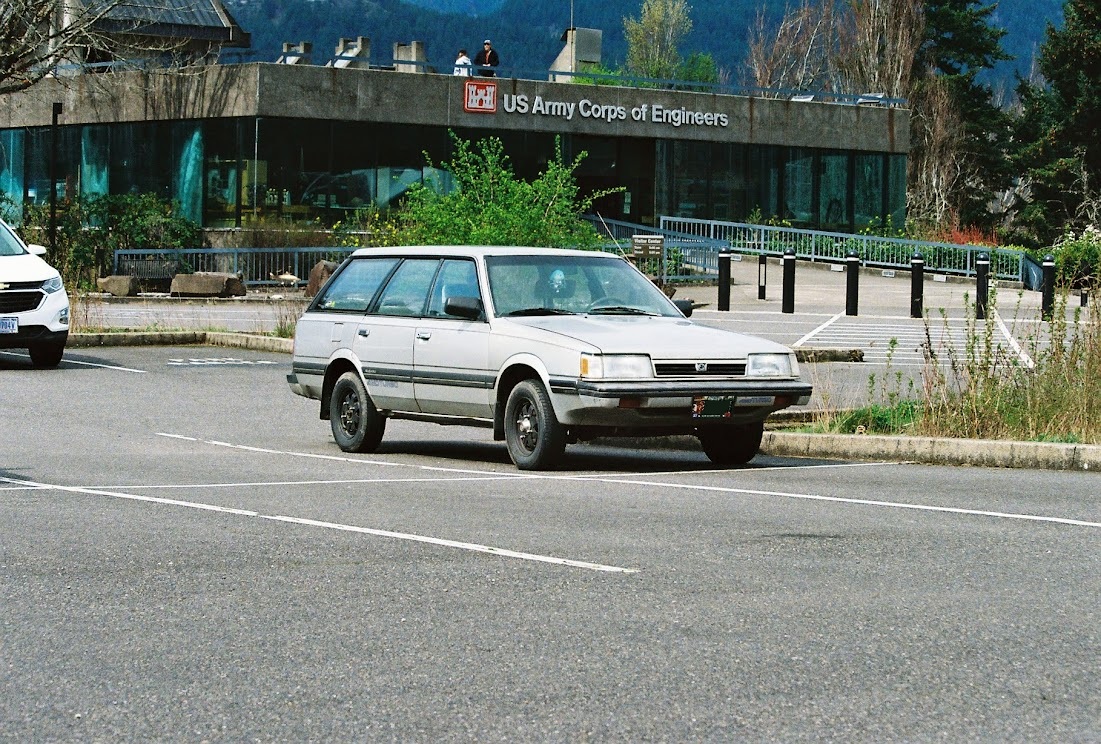
First post! Here are some pics of my 88' GL. I call her Constance. I have just about a million photos of her, but these are some of my favorites. Everything is stock except the exhaust which custom made by the last owner, nothing loud just not stock. Not exactly sure why it was done but it's not an issue, so I don't mind. Also, the rims were painted black which I'm a huge fan of. -Philly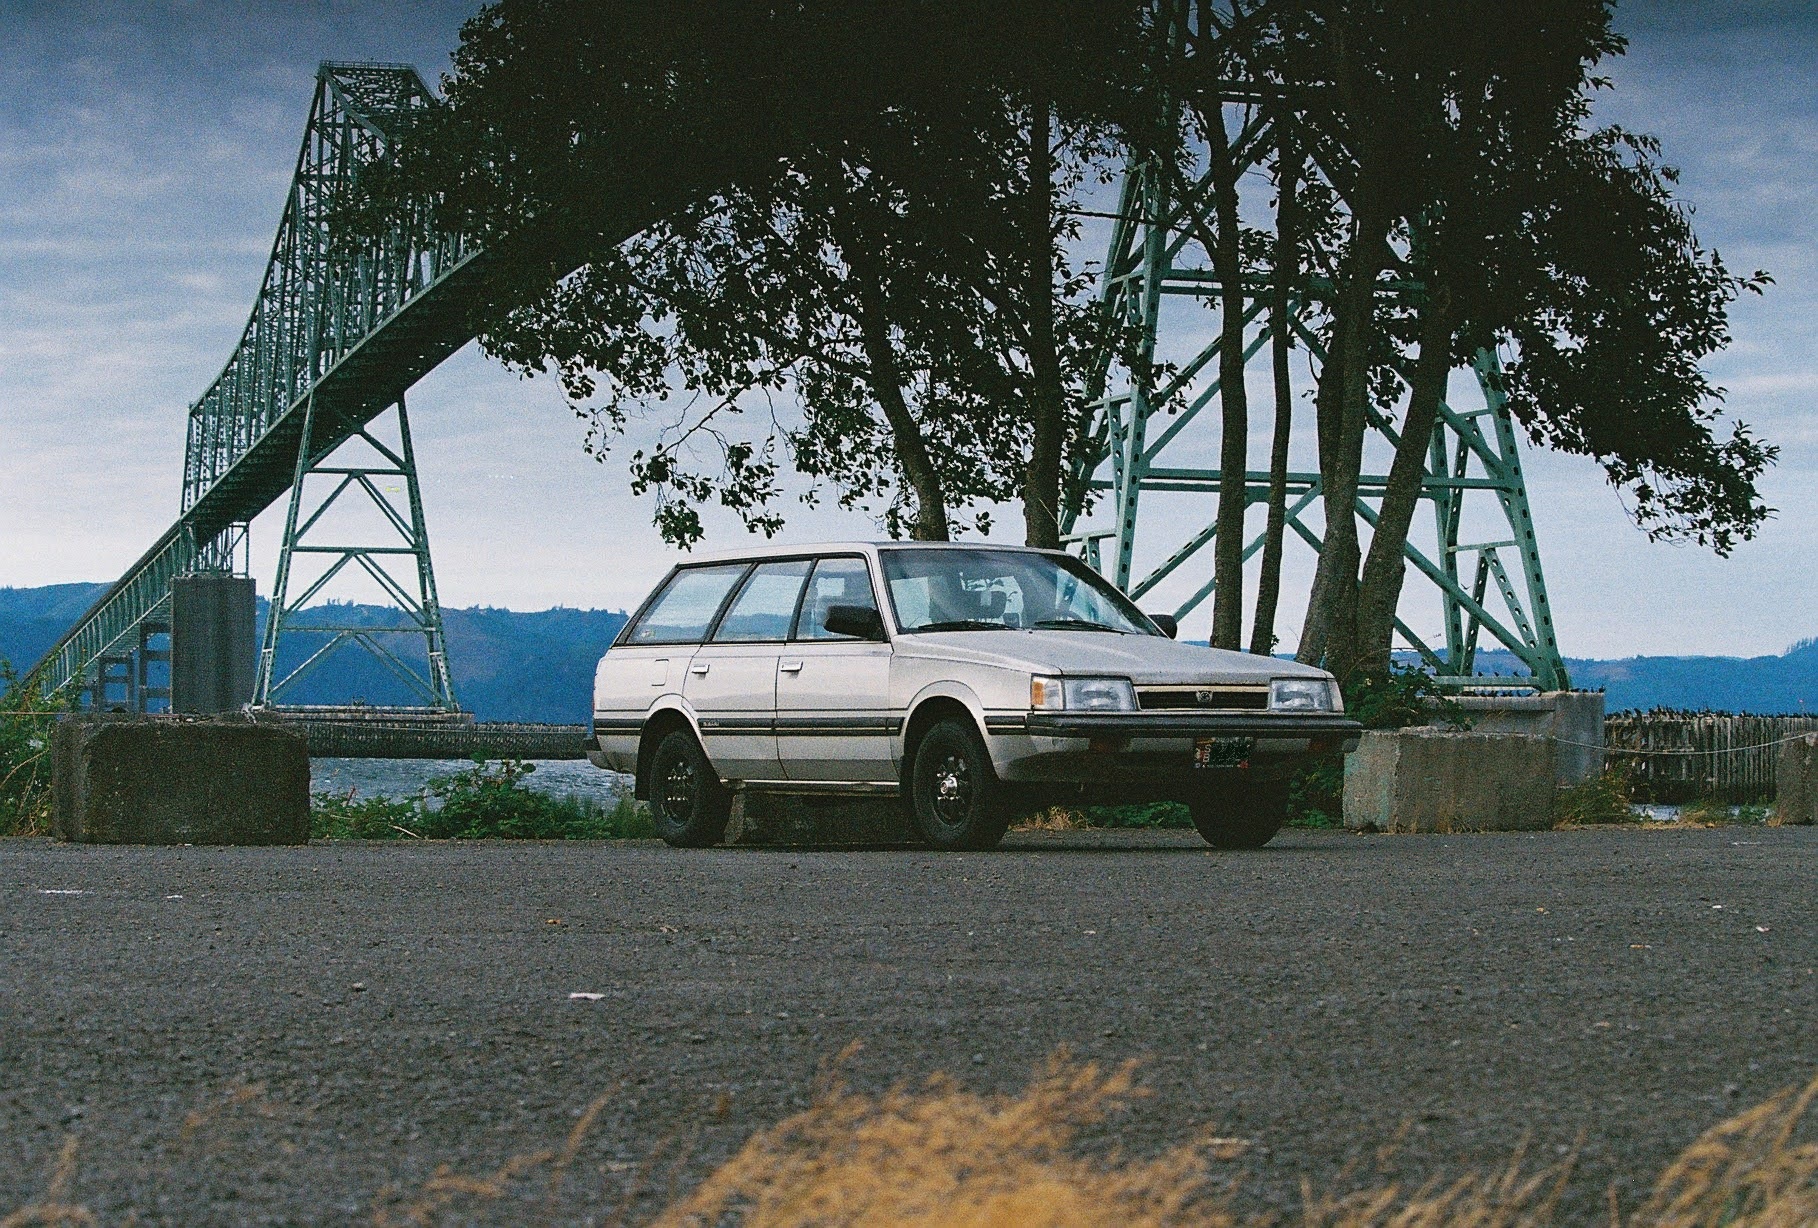
-

long travel Outbacks or making Subarus faster and more reliable offroad
slammo replied to pontoontodd's topic in Off Road
Oh wow, didn't foresee that issue with brake-to-strut clearance! Would be interested to see another angle of that. -

EA82 spark timing puzzle
bushytails replied to el_freddo's topic in Old Gen.: 80's GL/DL/XT/Loyales...
Yes, the weights and such are the mechanical advance. With the vacuum advance disconnected, slowly rev the engine up. The timing should advance proportional to engine rpm, to about 3000rpm or so. I don't have an advance curve for the ea82 handy, but it should just smoothly increase with rpm until it reaches a limit around 2-3k. Another possibility is your mixture is way rich, and you're hiding it with timing. Overly rich mixtures burn slower and need some extra timing to compensate. -

EA82 spark timing puzzle
el_freddo replied to el_freddo's topic in Old Gen.: 80's GL/DL/XT/Loyales...
Vacuum advance works - tested with a hand vacuum pump watching the mechanism in the dizzy and the same when at idle. Timing done at idle with the vac advance disconnected and plugged. Idles well at 8° or 20° of timing. Just completely gutless when set at 8°, slowly pulls up the revs when past 3000rpm with the foot flat to the floor. When doing the same with timing at 20° it will happily keep pulling hard well beyond 4500rpm - and runs the way you’d expect it to. No vacuum leaks, checked over all of these and replaced several hoses as a result of vacuum leakage. It doesn’t ping or run hot. One thought I had was the centrifugal weights have an issue and it’s running purely off the vacuum advance - and the timing set at 20° counteracts the lack of centrifugal advance. Thanks for your thoughts on this fellas. Cheers Bennie -
Thanks man, I really appreciate it! Yes, it's 2WD 5MT. I'm going on vacation tomorrow for a week so I'm going to have to tackle it when I get back. I wanted to do more testing before I dropped ~$100 on one of those resistors and the one I have now definitely looks to have been replaced. Good call on the radiator.
-
Is that a 2wd? Replace the wheel bearing by replacing the rear axle. Blower circuit is mildly annoying. If it won't work at all, it's not the resistor - the resistor isn't used on high speed. There's a hidden glass fuse and a round relay tucked up in the dash somewhere to the left of the steering column iirc. The relay is turned on by one of the accessory fuses and a ground wire to some screw somewhere that I don't remember, and the power to the hidden fuse comes straight off the fusible link. This provides positive to the blower motor. Negative to the blower motor is through the resistors (except on high) and the switch in the dash. Pop the plug to the blower motor and get a test light out, see if you're missing positive or ground. If you have no positive, then dig under the dash for the relay and hidden fuse. If you're missing ground, then check the speed switch in the dash and its ground. If you have both, might need brushes in the motor. Just to say it again, **hidden fuse**. It's a clearish/white plastic glass fuse holder just randomly dangling off the harness tucked up in the dash and not accessible, and this is the fuse that powers the blower. The only available radiators are aluminum these days. If you use one, you must install a reservoir like a newer car has. From what I can tell, running them without a reservoir, with an air bubble in the top like these cars normally run with, causes them to instantly crack due to thermal stress as the air bubble moves around.
- Yesterday
-
 Best picture I have of the condenser fins (well OK this is one of the worst areas). Replaced the condenser, slightly different (a little shorter) but it fit alright. Made some brackets and put the worst paint job I've ever applied on them for a puller fan on the driver's side of the radiator, wired that in with the driver's side pusher fan. Also turned up some bungs for temp sensors and had someone weld them on top and bottom of radiator. Hard to see in these pictures but the puller fan has some clearance to the engine. I glued a couple pieces of sheet metal on the fins where the center of the fans had been rubbing a bit. Have had that problem in the past and this seems to solve it. Sealed the sides between the radiator and condenser so hopefully less air can go around the radiator. B did most of the fab work/fitting for a fan/heater core bracket to fit a 1980's Ford Econoline heater core (slightly bigger than the Dodge one that started leaking). Set this up so we can add a second one underneath after we remove the ABS unit. So far though, even without the extra heater core, temps seem stable even driving in stop and go traffic in 90+F weather with the AC on. And the AC works well. Cruise has not worked a few times I've driven the car in the last month or so, but then will work the next time I drive it, and usually works. One time I drove the car the clutch engagement was near the end/bottom of the travel, it's normally (before and since then) closer to the middle or top/start of the pedal travel. All other times the clutch has felt normal. After the last off road trip and I washed the car the rack had leaked some power steering fluid out of the slightly torn driver's side rack boot. Power steering was not always self centering with poor assist at low speeds for a while and the reseroir was very low but seems to be back to normal now and hasn't noticeably leaked in a while. Epoxied a couple of the studs on the hood scoop. Used a screw in the one broken off clip and clearanced the steel baffle plate so I can get at another one of the hood scoop nuts with the steel plate installed. Car has pulled to the right slightly for a long time, we've checked the alignment a few times and it always seems good. The right rear brake seems to drag more than the others. I was going to replace the caliper and then discovered one of the bolts was starting to rub on the strut housing due to brake pad wear. I unbolted both the calipers and ground clearance on the strut housings where those bolts were hitting (or going to hit). So far this doesn't seem to have solved the problem but I might drive it a bit more first.
 -
https://imgur.com/n71zW34
-
-
First joined this forum 20 years ago when I had an 84 hatch that I had bought sitting in a field while I was in high school. At the time, I had a 91 Legacy. Drove that till it blew up and then picked up an 83 Brat that I found for sale on here and picked up another 83 for parts. Had a 2000 RS coupe in college, then a 95 Outback beater. Sold the RS and got an 05 STi, sold it in 2016 and got back into an 04 WRX in 2022. Picked up this 84 GL 2 weeks ago as if I needed another project but I am not poor on vehicles - also have a 2019 Tundra and 2015 Rav4. This thing was in surprisingly good shape for being an east TN car. With that, it does have its issues. I have on my work bench a new rear wheel bearing to install, hatch struts, will need a radiator as I see it dripping. I am also trying to nail down why the blower isn't working. I pulled the fan resistor switch last night and it showed continuity but I need to see exactly what ohm values it's supposed to have. Nothing like reading 20+ year old USMB posts. We still like pics on here?
-
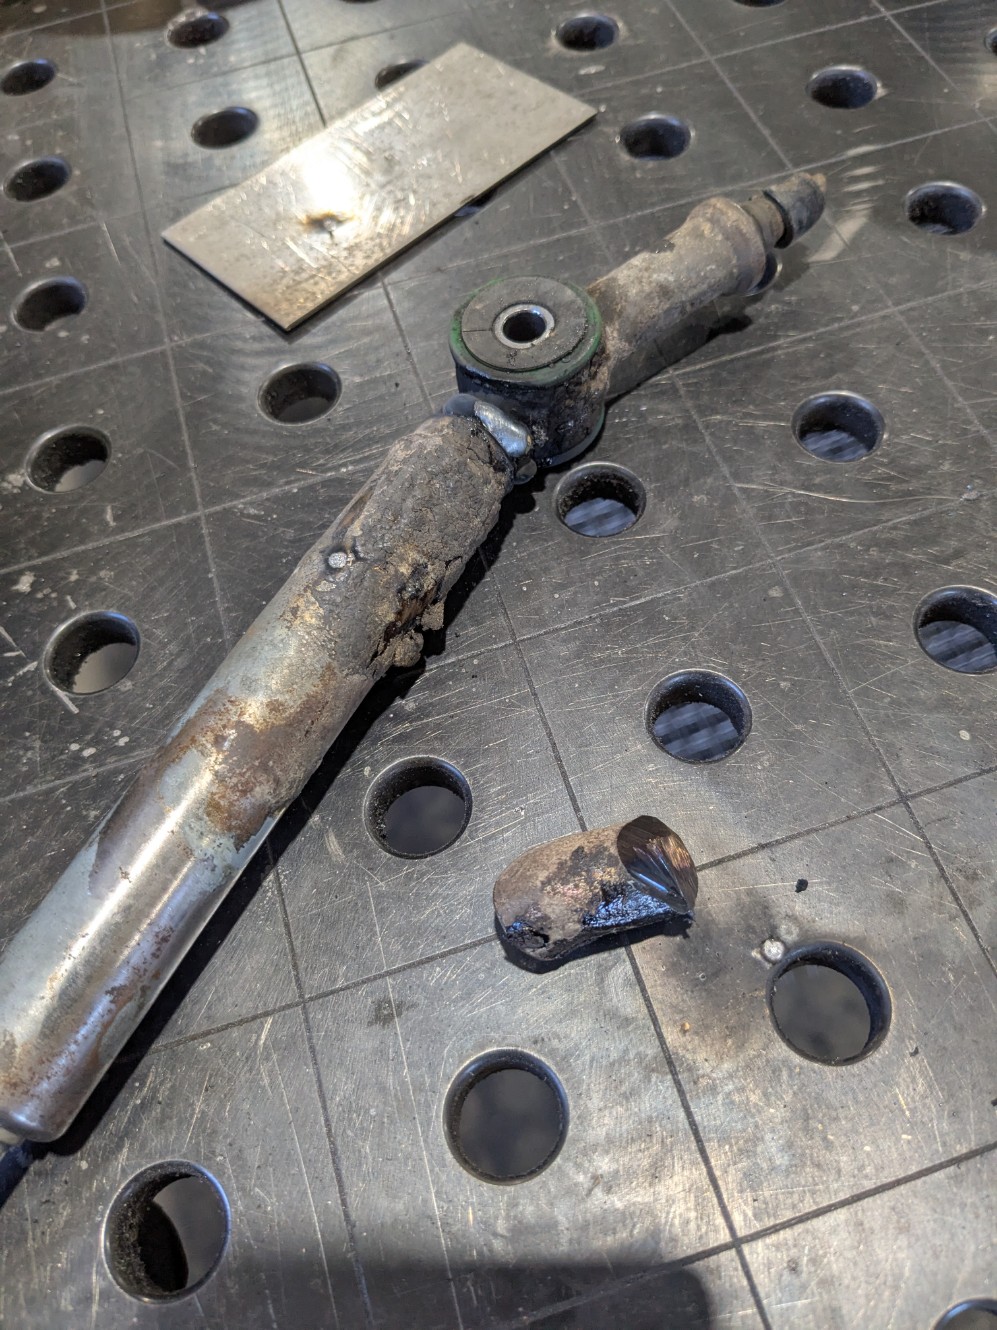
 As a temporary measure I just got a universal bracket to hold the pipe in place. I'm still having trouble with my exhaust, though. I've been able to attach the hanger, which helped with the sag in the connection, I replaced the gasket and the bolt set. I don't see any holes on the pipe but after the engine is running for about 90 seconds there's a smoke that comes off the pipe around the flange. It looks like the smoke is radiating from the pipe just before the flange on the manifold side. I tried using soapy water to see if I could find any bubbles but I'm not seeing anything. It doesn't seem like it's an oil or any other sort of liquid that's burning off because it's always done this since I got the car a couple months ago. If there was any residue I figured it'd have burned off by now, especially after I've wiped it down. There's no smoke coming out the tail pipe, it's just around that connection between the exhaust to intermediate pipes. Any suggestions of what to look for? I've been using a thermometer and it doesn't seem like anything is overheating, everything is in range as far as I can tell. https://drive.google.com/file/d/15sDwiU7-1OyZq7SzNpBhi5cRXYKuRaKj/view?usp=sharing edit: and one other thing instead of starting a new thread... Apparently the transmission is supposed to be grounded and I've got this black wire just hanging loose. I'm wondering if this is the ground wire and if it's supposed to ground to this spot since it seems to be just the right length: https://drive.google.com/file/d/166thpiZb3AhqsFjT47-IHUJOek_bpj4j/view?usp=sharing
 -
 Durania changed their profile photo
 -
Just me personally, but I run the timing at whatever the engine like’s best. To me, the factory gives you a starting point. I’m sorry, I know that doesn’t answer your question.
-
 I just replaced the front strut assemblies on my 2011 OB with the KYB Strut Plus product. Now the front end is sitting noticeably higher - not like "it restored the normal ride height" high, more like "a couple inches higher than any Outback I've ever seen" higher. And here's the thing, I got the strut assemblies off of amazon, and the left assembly came from a different supplier than the right assembly. So I don't think it was a "bad batch," or something like that. Both sides are doing this. Has anybody else has this problem with the KYB Strut Plus assemblies, or any other problems with the front end riding too high after swapping out the strut assemblies? And is this something that I can fix with an adjustment of some sort? Will this eventually settle down to normal ride height?
 -
 SubbyAaronW joined the community
 -
EA82 spark timing puzzle
bushytails replied to el_freddo's topic in Old Gen.: 80's GL/DL/XT/Loyales...
My guesses would be vacuum advance or mechanical advance aren't working, or you're setting it with vacuum advance connected or at too high of idle speed. You should set the timing with the engine idling at normal speed (no more than, say, 700rpm) and with the vacuum advance hose disconnected. After setting it at idle with vacuum advance disconnected, rev the engine up and verify timing advances with engine rpm, then apply vacuum to the pod on the dist using a hand pump or a manifold vacuum line and verify timing advances. -

EA82 spark timing puzzle
SuspiciousPizza replied to el_freddo's topic in Old Gen.: 80's GL/DL/XT/Loyales...
Perhaps the camshafts have been replaced with non-carb cams? Other than having a known carb cam to compare to, I don't know how you'd check this. Someone with more knowledge and experience than I may know. Is there any vacuum leaks to the distributor/ is the vacuum advance operating properly? Does it idle poorly at 8 degrees? :] -
G’day all, Looking over a 1986 EA82 touring wagon, 5spd manual, CARB. Had an idle issue that is now sorted. What is confusing is that it runs far better with the timing set at 20° than the factory 8°. At the factory 8° it’s very sluggish and won’t build revs quickly, almost like driving in sand on a paved road. At 20° it’s a rocket and accelerates the way you’d expect it to - no pinging/detonation either. So I’m baffled as to what’s going on with the timing on this EA82. Any insight is welcome! I’d love to EJ it but it’s not my L series to mess with like that. Cheers Bennie
-
 car-part.com is a good source. Put in your info and search. As long as you match the rear diff ratio many will interchange.
 - Last week
-
 I have a ‘99 legacy outback. I’m looking around for a used transmission, what years share the same trans? Only the 1st gen’s or up into the early 2000’s? Are they different in the imprezas or non outback’s?
 -
 http://opposedforces.com/parts/ back online. It goes out periodically.
 -
Different model to the OP with your brat @ChuckPT - and the easier fix is to take the slop out of the bracket between the selector shaft and the gear stick. This is usually achieved by removing the bracket, putting a horizontal slot in it and drilling out the flogged retainer pin hole on the bracket and the selector shaft (usually with both in position from under the vehicle), then replace the retainer pin with a high tensile nut and bolt arrangement clamped down real tight. No more shifter slop after this mod. VERY common. As for the OP with the ‘91 Loyale, that issue would be with the clutch adjustment or a shot spigot bearing I reckon. Shame they never updated the thread. Cheers Bennie
-

Difficulty shifting into reverse (manual trans.)
ChuckPT replied to pianobrooks's topic in Old Gen.: 80's GL/DL/XT/Loyales...
I found this old thread helpful so I thought I'd contribute with my experience. I have a 1985 BRAT 4mt. Reverse slowly became useless. It felt like the stick shift couldn't move far enough right to access reverse. I took the trim and shift boot off and found that the stick was running into the 4wd linkage. The stick had two bends in it jogging it to the right ~ 1 inch so I cut the bends out and welded it straight in hopes that this would allow access to reverse. At the same time I put a wrench on the 14mm bolt connecting the linkage to the shifting shaft going into the trans and tried twisting it to the left (drivers side) hoping to get the 1-2° of angle needed. After reassembly I have reverse! Hope this helps keep someone else's classic mini truck on the road!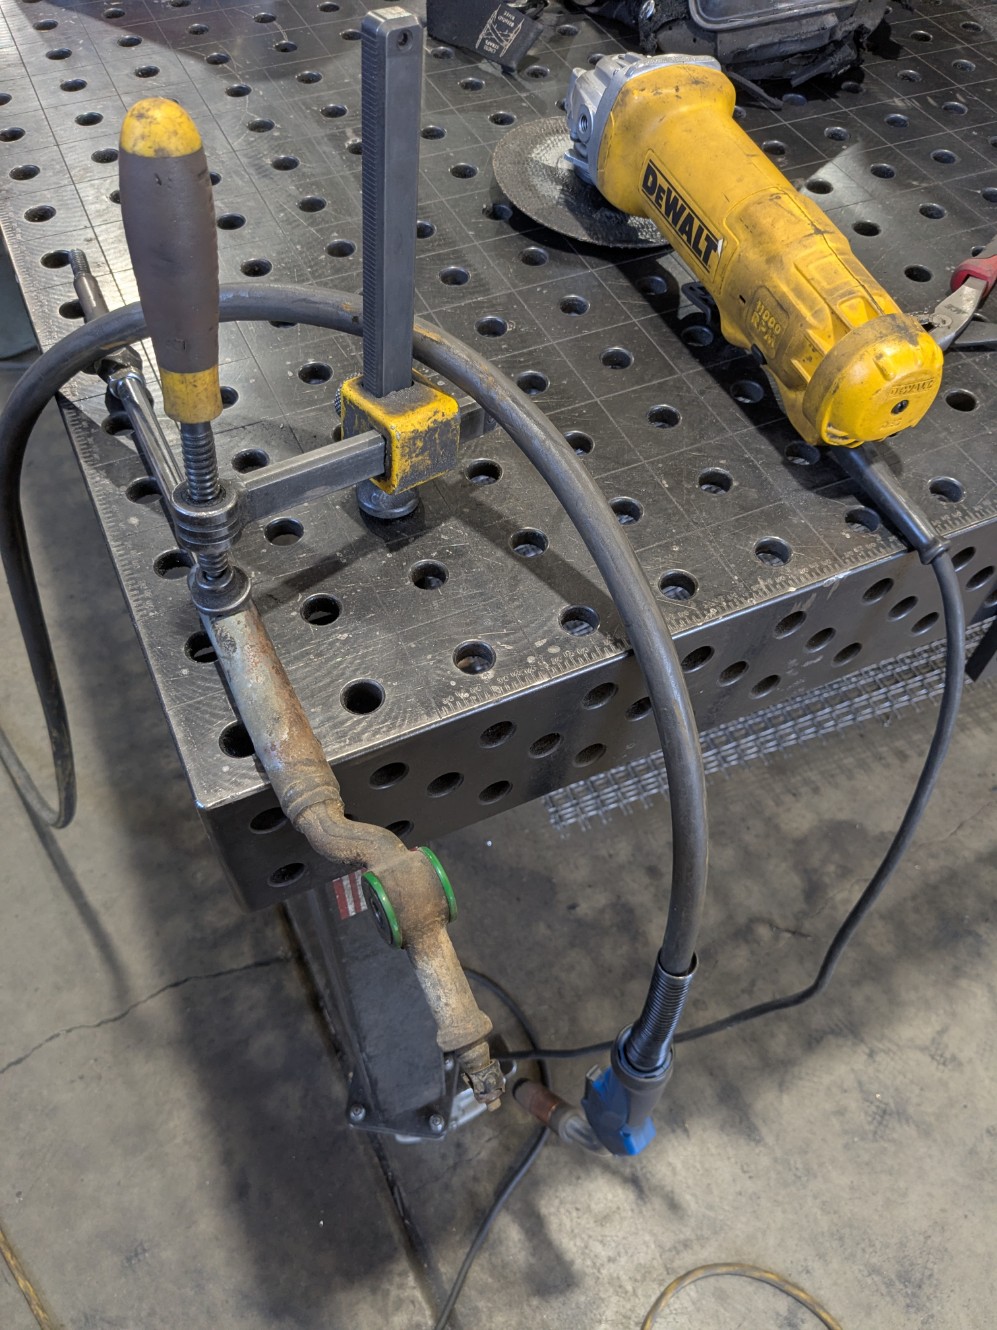
-
 slammercomp joined the community
 -
 tnxs, know amayama, usualy used it only to searhc part numbers i had already, not diagrams, will have a better look now
 -
Looking at an XT6 today
el_freddo replied to landovonderberg's topic in Old Gen.: 80's GL/DL/XT/Loyales...
Being an XT6 you really “need” to drop a H6 from a later model in it to keep some sort of purity to the XT6 name. Otherwise it’s like a resto modded XT4 with a 5 stud conversion… Good luck with it. I’m keen to see pics of your build Cheers Bennie