Leaderboard
-
GeneralDisorder
Members3Points23391Posts -
Cincy
Members2Points16Posts -
Rampage
Members2Points683Posts -
lmdew
Members1Points4693Posts


Popular Content
Showing content with the highest reputation on 01/10/21 in all areas
-
Thanks all for the responses! I had checked ebay, and a host of other sites. Called 4 Subaru dealers for parts diagrams, but none have any that go back to the 80s. It is item 10 in from Silverhelme's post. That diagram is from the Haynes manual. I ended up going with making a new one. Last night, I went to Home Depot, bought some clean Sheet metal stock, 22 or 24 gage thickness and traced over the with part #9 above to get the outline of the washer. I drilled out the center and filed out the Inner Diameter and was able to get the nib or tang in place with a small file and metal blade. I cut out the general circular shape and used that to get the job done. A little crude, but it worked! Using some pliers and other tools I scored the edge that fits against the D side of the thrust washer and was able to get a good bend to align with that flat side of washer. I scored two edges and got a bend going so once I put the nut on, I could finish tapping down the two edges against the hex side of the nut. Job done! The thickness of the metal I bought was about the thickness of a license plate and it was the same as the original washer. It was bendable enough to cover the nut. Again, thanks for the suggestions. If anyone finds them selves on this thread looking for a solution, I would recommend making your own. If the part number for this washer could be located, its possible it could be found somewhere, but without the number, its not locatable. Dorman's online catalog of 1000;s of parts has the nut, thrust washer and other part, but not this lock washer. Regards, Mal2 points
-
2 pointsIt gets fairly involved if you split the block. That's where they get the nasty reputation for being complicated and unforgiving. I've spent the better part of a decade making a career of figuring out exactly how to perform that process. It's not information that I'm particularly interested in sharing because of the difficulty. It's almost a "trade secret" if you will. In fact in all the years (about 11 years now) I have managed to train only 2 people successfully to rebuild short blocks. And they both essentially just go through the motions per my stringent guidelines. We have essentially a 100% success rate but it's not cheap to do it The Right Way. It makes rebuilding them basically a lost cause unless you are building a performance engine for high horsepower. Otherwise we just get new or reman blocks from Subaru. It's cheaper and Subaru backs them with a warranty. The very slight advantage that a rebuild has in cost is consumed real quick when you consider the warranty advantage. We build engines at my shop - quite a few in fact. But they are ALL built from brand new parts - new case halves, new crank, new rods, new pistons, and new bearings. GD2 points
-
1 point
-
1 pointSame thing happened to our 95. My wife called and said she could not hear the fuel pump run. I grabbed another pump and we swapped cars. There was voltage at the plug so I pulled the pump assy. and found the burned connector underneath. I hooked two wires to the pump, brought them out under the rubber gasket and remounted the pump assy. I hooked the two wires to the wires going to the US Mail roof light and drove it home. Then swapped the assy.1 point
-
Check out this VIDEO from scannerdanner.com on how to check the coil and Igniter with a test light and volt meter and a scope for input and output pluses. Scroll down the page and look at the drawing of how it is wired. If there are no pulses into the Igniter on one of the wires, you will have to trace it back to the ECU.1 point
-
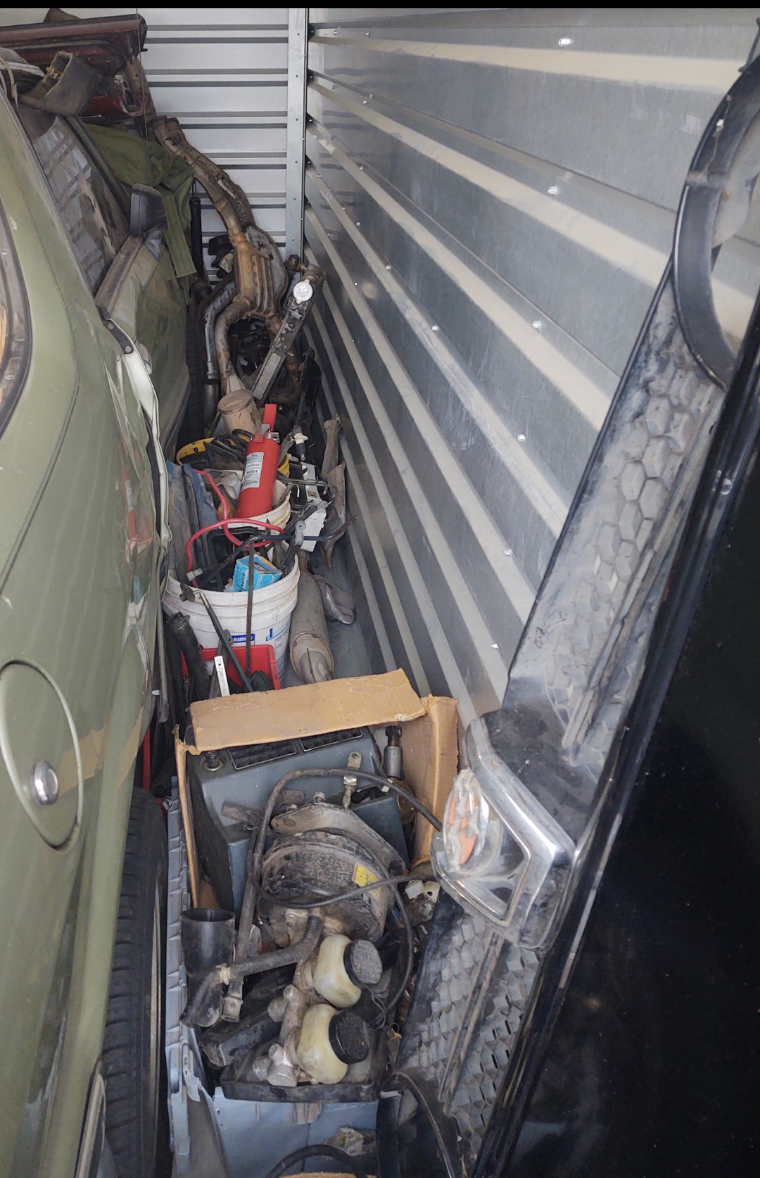
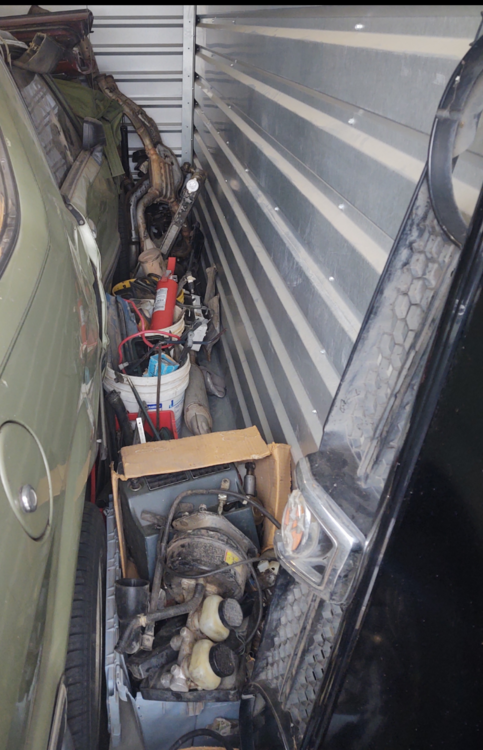
1 pointIf anyone wants to purchase everything as is, I'd like to sell it all, and not pay the monthly rent on the storage unit anymore. I will send pictures to interest parties. Email formallymrsmith@gmail.com
 1 point
 -
With plain old MAINTENANCE they already last 250k+ What more do you want? The PROBLEMS are due to parts availability, and in your case a determined effort to not leave it alone which has been proven to CAUSE problems. You will run up against the Waddington effect because you can't keep your hands off the machine: https://blog.aopa.org/aopa/2014/01/14/the-waddington-effect/ If you really want to make a difference - increase the oil capacity (don't bother cooling it or anything silly like that - run quality synthetic - it doesn't need cooling), and adapt some kind of dry sump to the thing so you can bypass the stock oil pump which tends to aerate the oil because of a poor seal design, and in any case is no longer available for purchase. Of course doing this would be purely academic and an exercise in design and engineering because the EA82/T is outdated JUNK and an EJ22 swap would be cheaper, far more reliable, better on fuel, and a LOT more fun. There's just ZERO reasons to put ANY effort into that power plant. Look - I understand the enthusiasm. And that's great. But you REALLY need to consider what efforts will best make use of your enthusiasm, your time, and your money. I didn't get where I am today with a respected performance shop, a chassis dyno, and some of the best tuners and technicians in the NW working for me by making poor choices. I give my wisdom and experience freely here and I suggest you consider it carefully. I'm not making a dime typing responses to you. I'm here to help you not make the mistakes of thousands of people that have come before you and to which I have also replied with helpful, corrective and economical advice (see post count to the left <-). GD1 point
-
chances are it is NOT the rear main seal that is leaking in this location. It is far more likely that it is the separator plate that is the source of the leak. in fact, it is highly recommended here to NOT touch the rear main seal on these engines by those that have far more experience than i, and I have had my share. I had one leaking so badly it was losing a quart of oil every few days. resealed the separator plate and problem solved.1 point
-
Always nice to remove the half shaft from the hub in the yard to make sure they are not rusted in. It also give you a look at the seals. Not a for sure check but if you turn it an listen closely to the bearing you can get an idea if it's OK or BAD.1 point
-
1 pointOut here i the rust belt..... around the front window was always the first place to rot out... on the Loyales..... I have had to do major work around the window posts..... major job..... and window replacement.....(which it is always nice to look out a brand new piece of glass..... When it came to replacing that window trim......(and it's crazy expensive cost)..... I resorted to this: Which simply is..... after window is in place. I cut another tube of window urethane such that it will give me the size bead... (to fill in completely to the window post and such all the way around.... Keep in mind you are trying to make it look nice..... keeping in the spirit with the name....... "Window weld" And making it look like it is a weld bead......... keep moving with it.... and you can't clean it ... or touch it...... I used to be able to get this to look pretty nice.......... even on a white car it would look good...... I think I had to do about five windshields...... in those cars.......... one of then I did twice.......(had the car so freakin' long.... needed another one) MIcky1 point