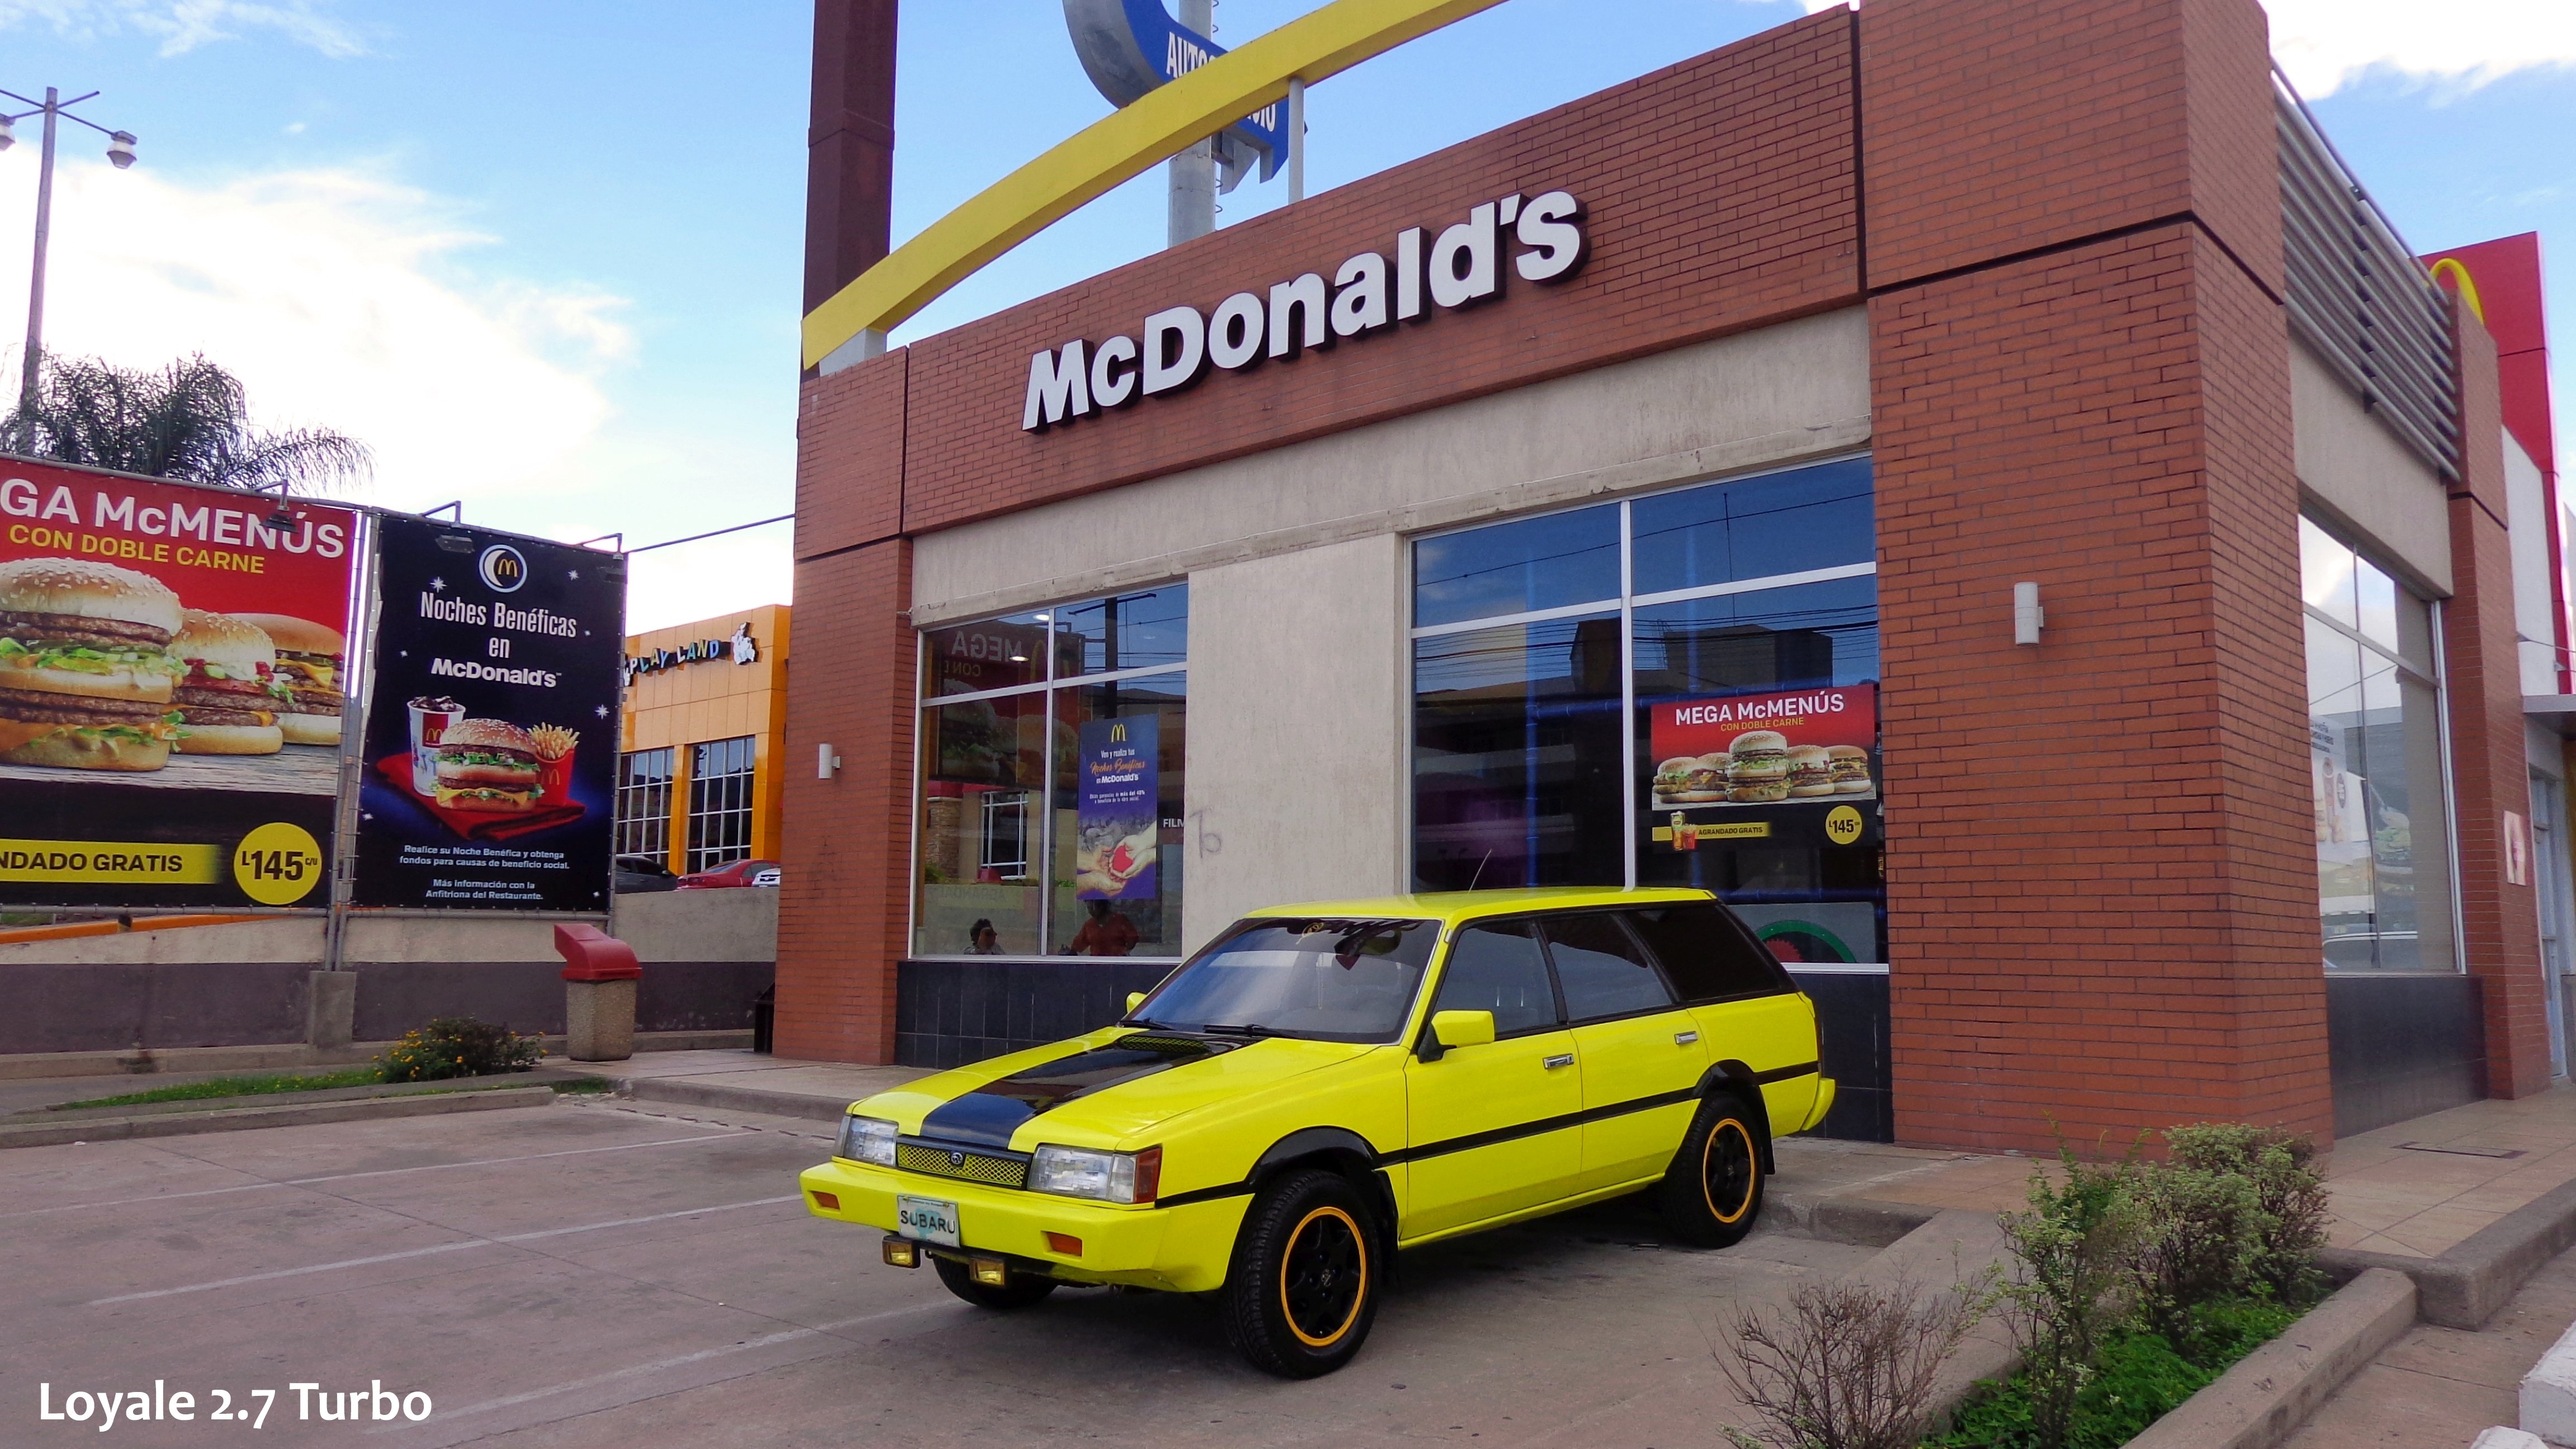

Loyale 2.7 Turbo
Members
-
Joined
-
Last visited
Everything posted by Loyale 2.7 Turbo
-
NNOOOO!!! What Happened?
-
Remember, I had to use front XT shock absorbers, because the ones that were on my Wagon, were worn out; so, if the ones on your wagon are Alright, you don't need to change those, only to change the Coil Springs. Kind Regards.
-
Yes, that's right!
-
Share the Photos Here!
-
Yellow Subarus' Heaven!
-
-
Very kindly let me tell you, without being disrespectful; that you are over-thinking this a lot; in my own humble opinion. The hardest aspect of this modifications, is to obtain all the parts needed ... if you have someone to help you to assemble the New Coil Springs on the New shock absorbers, Then the install will be pretty much as a cakewalk. But you must be Very Careful with those coil springs, it could be Dangerous to your Health to manipulate them without the appropriate tools nor the needed knowledge and experience. Kind Regards.
-
Yes. Yes. If you re-read my Writeup, you'll notice that I wrote that the 'yota Shock Absorbers has Oversized threads, when you compare them to the Subaru ones, so you must use an oversized bolt below, and open a little above, to allow enough opening. If you do Not have a coil spring compressor Nor experience doing that, Then I kindly suggest you to let a professional with tools, to assemble them together for you. The Shock Absorber + Coil Spring completely assembled, is Known as "Strut" and is easy to manipulate, so I bet that you could install the Struts by yourself, once they are fully assembled outside the car. You drop the Differencial using a metal plate. Yes, you can Lift the Car without dropping the Differencial, but then your car will be wearing Axles like Crazy. It is as hard as change a Battery, it depends on you: your Experience and will to learn something new. Yes. In fact I drove my "BumbleBeast" without lifting the Front, for Years. Kind Regards.
-
Congratulations!
-
Obviously the above links shows photos of: ► TK2 - third Gen Heads, and ► TK7 - Third Gen Heads, also That clearly means that the Differences between the TK# numbered heads, are related to the Different Markets' Specifications, where those EA82's were Sold, mainly based on their different Contamination and Fuel Consumption Regulations, etc. Based on that, then the TK# are not an indicative of older or newer Design; and thus explains the differences on Combustion Chambers. In example: Not all countries required Catalytic Converters and the rest of the related Bullsh¡t; and those, are countries that got the More "Powerful" versions of that Subaru Models from that Era. Kind Regards.
-
That is almost impossible to find in other pattern than 4X140. That has been working Flawlessly for me, since 1996. Kind Regards.
-
Baby Blue Loyale
-
My kind of Subaru Brat: It has the same "Radioactive Yellow" Colour as my "BumbleBeast" and also a Turbo EA82 / Dashboard swap ... this is a 1991
-
You're Welcome! Please follow the link below, in order to reach photos of the rebuild kit's parts, including part numbers and the aforementioned "Steel Triangles" which are in the pink bag, everything came on a White Box: ~► http://www.ultimatesubaru.org/forum/topic/98476-help-please-direct-front-brakes-swap/page-3?do=findComment&comment=1026853 I bet that those Triangles, named "CONN LINK CALIPER" on the Bag, are worn and are the culprit of the issue. Kind Regards.
-
Subaru Lost their dealership in Honduras, we're completely alone here. The only choice is internet... I'm really Glad to know that you Solved the issue. It is a common mistake to overlook the simplest things, While we far away, always try to help with more Direct probably causes, usually not the simplest ones... Thank you for let us know the Cause & Solution. Kind Regards.
-
So, now the dimmer control's background light, matches the Rest of the instrument cluster & Dashboard's illumination: Also, I Used LEDs on the A/C Controls illumination: and in the Shifter Gear Position illumination: Kind Regards.
-
By the Way, long time ago I had to change the Dimmer Control unit on the "KiaStein" because, the original one had worn-out inner contacts and sometimes the instrument cluster & dashboard panel's lights, turned off / on Randomly, while driving in bumpy Roads; the Replacement control I obtained at the Local Kia Dealer: Is exactly the Mirror image from the Original one, I mean that the placement for the wiring's plug is in the opposed position and placed upside down, also the placement for the Background illumination's bulb, is in the opposed side... But the new control fits Perfectly on the Dashboard, and the wiring's plug of the car matched perfectly the receptacle on the new Dimmer control unit; also this new control, does provide even Lower illumination on the Minimum setting, than the Original one... Kind Regards.
-
Here you can see how the T-3 LED illuminates the Dimmer control:
-
I wanted to use a white LED instead the incandescent bulb, which came wrapped with a blue "Condom-Like" hood on the Dimmer Control of the "KiaStein" to match the Rest of the Dashboard & instrument Cluster's illumination... ...But the Dimmer Control, came with a T-4 Bulb, and I only had T-3 LEDs... So, I Removed the T-3 LED that already comes with built-in protective resistor, from its "Neo-Wedge" rubber base, by unwrapping their twisted legs, and then wrapped those legs again, onto the incandescent T-4 bulb's rubber base from the Kia's Dimmer Control, after I removed the old incandescent bulb from there, let me Show ya: Voilá! - Perfect Fitting.
-
Something pretty interesting of this "New" instrument cluster, is that the Speedometer's needle, shows the vehicle's Speed Also while going in Reverse! Kind Regards.
-
I did the instrument Cluster Swap on the "KiaStein" long time ago, because I wanted to have Tachometer, the thing has been working great, and recently I received a message asking about the procedure to Remove the instrument cluster, so let me share the written procedure here, maybe more users might find it, useful: For those who needs to remove the instrument clusters, on their second gen Kia Sephia, let me explain how to do that, step by step: Not all the Dashboard needs to be removed to gain access to the instrument cluster, but you'll need to remove the centerpiece, that covers the Stereo, and has the A/C vents, plus is a "Frame" for the instrument Cluster. To remove that, FIRST you need to remove the top part of the plastic cover that wraps the Steering Column, behind the steering wheel; it comes off easily, just by pulling it up with your Hands. Then in order to remove the Dashboard's Centerpiece, you'll need to Unscrew the two mini bolts that it has on its inner side, above the instrument cluster's opening, then said Centerpiece comes off by pulling it CAREFULLY, to avoid breaking the plastic tabs; after that, you must unplug the wirings for the switches that it has, prior to pulling that Centerpiece completely. Once the Centerpiece has been removed, you gain access to the instrument cluster, which is held in place by four Screws, unscrew the two above and the two below, then carefully remove it, but you'll need to unplug the Three wiring plugs that it has behind, prior to take out it completely from the Dashboard. Be Careful while extracting the instrument cluster, otherwise you can scratch it with the Dashboard and the Steering column parts. Kind Regards.
-
To have a tester is Nice, but on the EA82 engines, your best tester regarding the Oil system, is the Tic of Death from the Hydraulic Lifters, because that noise does Not come due to Low oil Pressure only, but also due to Air bubbles on the Oil: the air is getting to the oil flow due to a failing / hardened "Mickey Mouse" Seal, that somehow gets "Sucked" in there, letting air to come in ... so the Oil Pressure Tester will not give you the right Answer. The right answer was given above, by grossgary. Kind Regards.
-
So, I bet that you can use those T-3 LEDs on the Centerpiece of the Subaru EA82 instrument cluster, without soldering anything, you only need to unwrap the incandescent mini Bulbs from their Rubber Bases, and wrap there, those T-3 LEDs with built-in Resistors, and thus will provide factory fitting, by reusing the rubber bases, but using modern up-to-date LED technology. Kind Regards.
-
I wanted to use a white LED instead the incandescent bulb, which came wrapped with a blue "Condom-Like" hood on the Dimmer Control of the "KiaStein" to match the Rest of the Dashboard & instrument Cluster's illumination... so, I did the above-explained LED transplant, onto the incandescent Bulb's Rubber Base. Here you can see how the T-3 LED illuminates the Dimmer control: Another Problem = Solved!
-
Regarding This: Yes I completely understand. But what I meant, was that you can Remove the T3 LED Bulbs that already comes with built-in protective resistor, from their "Neo-Wedge" rubber base, by unwrapping their twisted legs, and then wrap those legs again, onto the Subaru's centerpiece's Rubber bases: Voilá! - Perfect Fitting. Let me Show ya how that is done:
