Crazyeights
Members
-
Joined
-
Last visited
Everything posted by Crazyeights
-
I talked to the guys at RAM performance about multi port EA81 heads (before I found some EA81T heads) and they just drill the standard head castings out and weld in some injector bungs like this; Low Profile Injector Bungs Anyone that can weld aluminum should be able to create relatively inexpensive set of EA71 or EA81 MP heads. Of course then you would have to sort out which throttle body, TPS, and IAC system to use. Here are some examples of regular EA81 heads with injector bosses welded in to them from the Ram Performance web site. Look closely at the 115 horse version about 3 pics down. It probably would be more work than an SPFI EA71 but the end result sure would be nice. Ramengines
-
Brilliant! This must be an SPFI swap? This is SO much easier than tracking down all the next to impossible to find EA81T parts to do the EA81 SPFI - PS conversion the way I did it. This might even open up easier options for factory AC on the other side of the engine. Thanks for the ideas and pics!
-
@GD Great Fix!
-
Check the large male-female spade connection (from positive battery terminal) at the bottom of the plastic fuse link block on the fender well. It might be loose or corroded, possibly both. As I recall almost EVERYTHING goes through this point.
-
Crazyeights replied to gratefuldude's topic in 1990 to Present Legacy, Impreza, Outback, Forester, Baja, WRX&WrxSTI, SVXI would suspect a bad stat, air pocket trapped in the cooling system, or both.
-
Crazyeights replied to gratefuldude's topic in 1990 to Present Legacy, Impreza, Outback, Forester, Baja, WRX&WrxSTI, SVX"Jiggle valve"
-
My build was inspired by backwoodsboy's build so I didn't take a lot of pictures. He covered that REALLY well! Performance EA81 Build I used GD's SPFI conversion with my own fuel pressure hack to supply a little more fuel. I also enabled EGR by making a .250" spacer for the IAC valve. This seems to reduce cylinder temperature and allow a little more timing. The sweet spot is about 34psi fuel pressure and 28 degrees timing. Getting the valves adjusted was a PITA; EA81 SPFI Lastly here is a picture of it right before I dropped it in. It took a some time and LOTS of tweaking before I had it tuned and running the way I wanted it. It has about 5000 miles on it now and runs GREAT! Lots of low end - mid range torque starting right off idle. EA81 Done Now, back to the regularly scheduled thread:grin:
-
You can get a surprising amount of torque out of a modified EA81 but I'm not sure it's worth the trouble (EJ swap would probably be less work). Mine turned out very well though. EA81 Solid lifter block, NOS EA71 pistons, Delta torque cam, ported heads-milled .020", each deck milled .005, SPFI conversion modified to run more timing and fuel, NGK plugs with gap increased to .045" 2-wire grounded o2 sensor, ect. I don't have any numbers but it pulls hard from off idle to right up to over 4 grand (would go higher but it's still pretty fresh). Good Luck!
-
Having done this swap with Jerry's crossmember kit I can say it's well worth the time and money spent. He knows the exact specs because he has done it many times and it is VERY WELL documented, one of the most popular EA swaps.
-
Please do! Looks like a good addition.
-
Crazyeights replied to Paine's topic in 1990 to Present Legacy, Impreza, Outback, Forester, Baja, WRX&WrxSTI, SVXIf you have never used the "2 threaded rod" style spring compressors be careful, keep your eyes open, and your hands out of the way! I was working with a guy when the 2 rods slid around to one side and trapped his fingers. I got his broken fingers out and took him to the hospital. Although it was 20 years ago it's hard to forget:eek: I use a wall mounted one now personally.
-
Crazyeights replied to idosubaru's topic in 1990 to Present Legacy, Impreza, Outback, Forester, Baja, WRX&WrxSTI, SVXThe 2 wires are really easy to find. First one is ground and should be common to all the gauges. Second is +12v to the cluster, I think it is at the gauges too. I probably found it with an ohm meter looking at the printed circuit on the back of the cluster. I might have also referred to the schematic, can't remember. The cluster does NOT seem to need power to retain the mileage for an indefinite period of time. It must be stored in some kind of NVRAM or something. It's a good trick to keep in your tool box. You might also want mileage on an engine you are about to grab at P-A-P like I was doing. A nine volt might even work, but I think I used my DeWalt battery:)
-
Look at one from a 70's or early 80's Audi. From memory some of those might just be about right. Perhaps a Fox, 100, or even a VW Dasher from that era.
-
I have an EJ22 with alternator on the stand at the moment. I also have a Maxima alt on my EA81. I took measurements of both and it looks like either would bolt right up. I think it would just be a matter of sorting out the wiring. Someone is working on it here I think. AU Subaru
-
Crazyeights replied to idosubaru's topic in 1990 to Present Legacy, Impreza, Outback, Forester, Baja, WRX&WrxSTI, SVXGrab a dash cluster plug for your tool box. A small 12 volt source (cordless drill, flashlight battery, or whatever) is more than plenty to power the cluster and get the mileage. I have done this several times. It requires pulling the cluster if it's still there, but they come out really easy. Plug your battery with connector in to the dash and the mileage shows up as it IS stored in the cluster. It's only 2 wires - power and ground - (obvious on the connector pin-out). If the cluster is already gone Carfax or DMV is probably the only way to recover the mileage. Hope it helps.
-
The adapter plate in addition to providing a bolt in no-drilling solution also has locations for both EA and EJ dowels to lock the engine and trans in proper alignment. Your solution of 4 nuts might work but it does not guarantee proper alignment, not to mention the lost surface area when clamping the 2 together. If it works for you then by all means keep doing it. I wouldn't knock SJR's products though. They are top quality and well respected here.
-
Crazyeights replied to SeanC's topic in 1990 to Present Legacy, Impreza, Outback, Forester, Baja, WRX&WrxSTI, SVXChrysler makes a really good sealer specifically for ATF/Trans pans. Most all of the dealer parts guys know what it is. Ford also makes a sealer in a caulking tube that is for diesel engine oil pans. It will work with ATF also, but beware if applied correctly you have have to darn near destroy the pan to remove it if you use that stuff:grin: It can really get you out of a jam though if you need to "make" a front oil pan to timing cover seal that won't leak.
-
I just recently pulled timing components off of (2) EJ22E's both at about 140k miles are the grease was gone from the bearings in all of the idlers and tensioner. They weren't destroyed yet but IMO they couldn't be used any longer without at least re-packing them. The water pump bearings still felt ok. I did re-pack one set with a needle just to see what they felt like and as above they felt like new again. I didn't re-install them however. Just FYI if the mileage helps any. I wonder how long do they last when they are re-packed if you don't destroy the seal doing it. Has anyone tried this with success?
-
You have done such beautiful work with the rest of the restoration no doubt you will do just as well with this. I'm sure someone will help if needed. Refer to diagrams if available, or make your own and just take your time - one circuit at a time. Looks like you are off to a good start:)
-
Short answer is no. Intake manifolds are very different as well as heads and MANY other parts. I suppose with enough time, money, and talent you could do almost anything but IMO this just isn't worth it. @GD EA82T heads and intakes are dual port vs single port on the EA81T, correct? Here are some pics of the EA81T I am currently working on for reference. EA81T thread
-
You will also need the small bracket that is spot welded to the floor on the inside of the trans tunnel (by the drivers seat) to mount your D/R shifter lever. The auto car doesn't have this either.
-
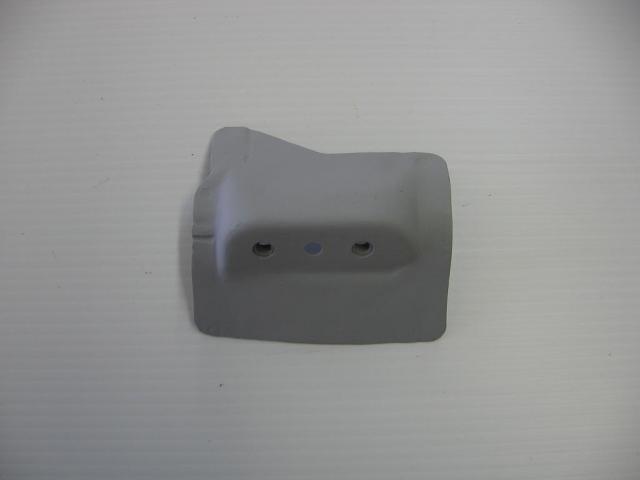
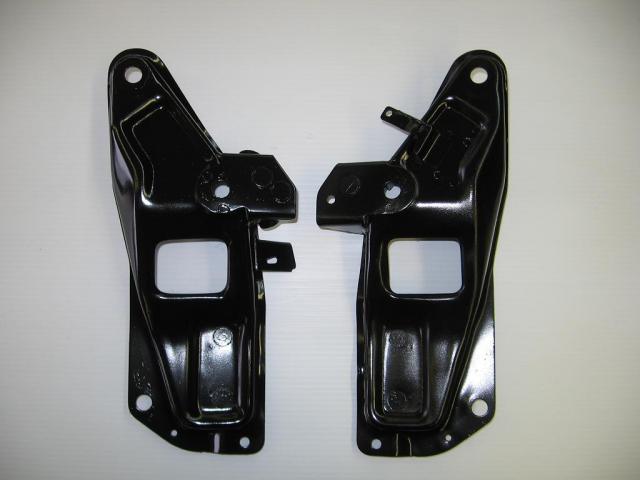
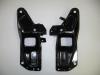
It seems to me that the radius arm plates for an automatic car do not have the mounting tabs for the 4 speed crossmember. I remember having to find and swap them when I did mine. Just another small detail that can be a pain if you aren't prepared for it.
-
Be careful of the sensor itself (hard or impossible to find). They look like standard female bullet connectors once you get them off. Just solder them back on to the wires or retrofit something else.
-
Thompson Engine These guys sell oversize piston sets including rings that will work in the EA81 (look them up for EA82). Prices are good too.
-
My guess would be the knock sensor. Is this an EA81T?