Leaderboard


Popular Content
Showing content with the highest reputation on 06/19/19 in all areas
-
First, there is no coil "GROUNDING" wire. The coil grounds through it's bracket. No ground wire, ever. The - side of the coil should have 2 wires on it. One from the disty, and one Yellow one that is TACH signal wire. That same TACH signal wire also goes to the FPCU. THE FPCU, will only pass power on to the Fuel pump, and to the Auto choke and anti-diesel solenoid on the carb IIRC. At any rate. There should not be any wire from the coil to ground. If you did that, that could explain blown fuses, and no TACH signal to the FPCU, hence no fuel. A side note, fuses are rated in AMPS, not volts. All wireing int eh car is 12v. The size of the load determines the AMPS needed for any fuse. Now, if you put a larger fuse in (20A instead of 15) the circuit won't blow when it should, and the FPCU may have been hurt by the grounded coil wire. Although honestly, that doens't really look burned.....trouble is likely somewhere else. make sure the yellow wire is on the - side of the coil, and no wires from either post to ground and try one of the new FPCU units.2 points
-
Don't overlook checking for spark/fuel. The basics.1 point
-
Thanks guys for the advise. I appreciate it. Will check timing.1 point
-
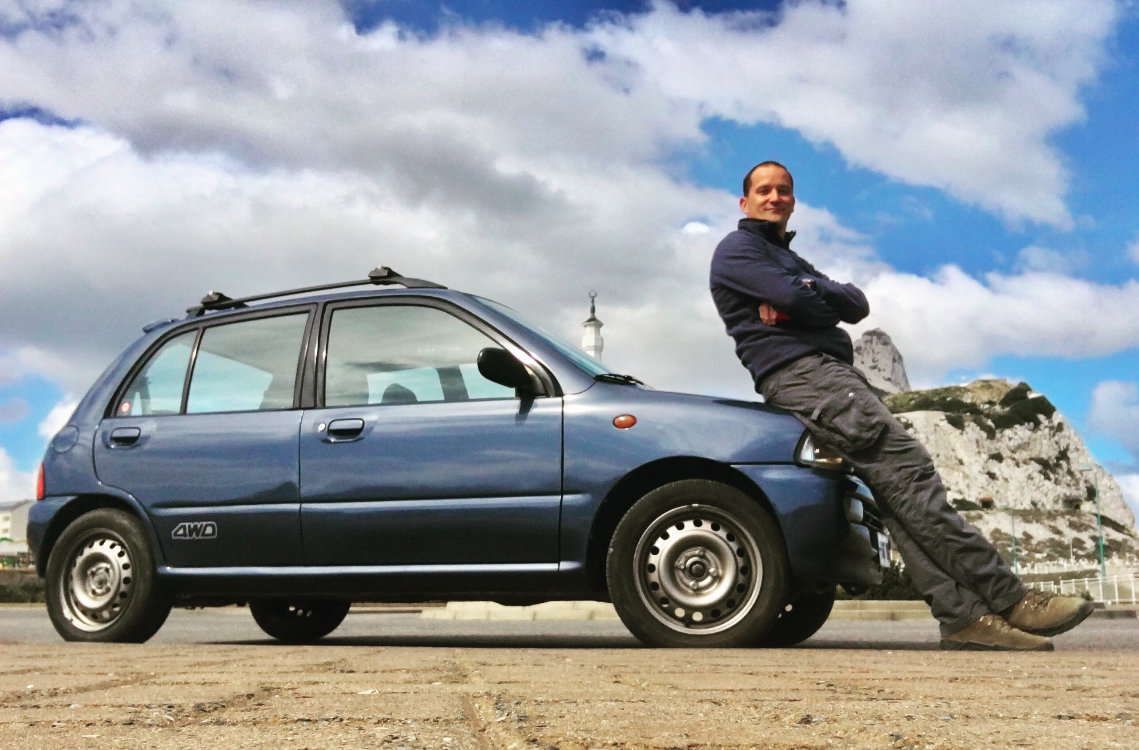
Hola Thanks, the Vivio is hilarious, it gets ‘grunty’ from 4500rpm up to 8000, but too noisy for daily use I have discovered...Then in the wet you can engage the 4WD (button on gearstick) at any speed entering an impossible curve and leave everyone wondering how the ‘h’ you did that. But it encourages bad behaviour. I like a roof rack on my cars, the Vivio has no roof option so I drilled and fitted some cut-down VW Passat wagon rails. The Leggy may get similar treatment- shame- that naked roof is immaculate! With the bars it makes a good sturdy rack. so far the annual Tech inspection has not noticed the DIY job. They’re really really strict with ANY non homologated mods in Spain. I find that cleaning my cars top and bottom and inside and outside blinds the inspectors to any ‘naughty behaviour’. Cars are generally not well maintained here, so a well maintained ‘exotic’ (hardly any Subarus on my island) is a break from the norm, and the inspectors appreciate it! The roof bars are for Kayak and ‘off grid’ things like solar panels, wood, scaffold towers and the like, though I try to use the beaten Forester for that sort of thing! Here’s the Vivio taking a break in Gibraltar after a long long drive;
 1 point
 -
I have a friend that's a really good welder and I also own a TIG so I just called him over last time it happened and had him weld it after-hours with the engine in the car - this was a D/S head so it was pretty accessible. We too were uncertain if the crack was already there or not - we were doing HG's due to excessive oil leakage from both heads and after everything was cleaned and put back together the crack came to the fore as the only remaining leak. It was likely part of the original problem but I elected to not charge the customer for the welding because I really don't know if my tech over-tightened it or not. Fortunately it only cost us having the car an extra night. Everyone here is now extra cautious and often asks me to make the final torque personally. We use Loctite 545 to seal the threads. If it's done properly, JB weld might do the trick. Though I wouldn't do that on a customer pay job. I might try it on one of my own vehicles if I didn't have a way to fix it properly. In any case I wouldn't replace the head over it. Get it welded with some extra filler and it will be stronger than it was originally. GD1 point
-
Check the sight glass while it's running, after a decent time. As in, not 1 minute after starting. When it's warm enough to want ac running weather wise. Some bubbles is in the normal ish level. Solid no bubbles is close to over charged. Just a stream is under charged. Not exactly the factory method, but it's worked for me for years on various systems.1 point
-
A/C works perfect. I put one can in for now runs at 38 degrees. Thanks for your help!1 point
-
Ok will do. Thank you. I’ll pull it down for 30 mins and than charge the system. Sound good?1 point
-
On our 2005 Outback, our backup lights have been collecting water during rainstorms. Usually it appears as heavy condensation or fog, but after a big rain when I open the tailgate hatch and remove the backup light bulb, water runs out of the assembly. So far it has not shorted out the electrical outlet. I searched the forums but had a hard time finding exactly this problem on this car, so I just want to provide some info and couple helpful links for someone down the road. This is not a difficult repair with basic tools, but do allow at least a couple hours, more like 3 or 4 if you take your time. It took me a long time because once I got the tailgate bezel off (the part where the backup lights are), there was a lot of clean up to do - and of course you want to take your time on a careful reassembly. Body panel clip removal tools are very handy, but not essential. Harbor Freight has a cheap set. I was careful, but still managed to break one of the clip anchors and two bolts. This necessitated getting creative with a different screw and anchor, which took a while to figure out. Both of the breaks were caused by the nut/bolt being rusty, and not loosing. You will need some silicone sealant for the lights themselves, and 3M Strip-Calk, which is about $17. The Strip-Calk is specifically made for assembling body parts and light housings, etc. This was originally described to me as, "Dumdum comes in 12 inch long string sections (like the very thin red licorice)". I also used a lot of 409 and paper towels getting everything nice and clean. I have noticed in the past that most leaks are associated with a build up of dirt and grim in hidden or hard to reach areas. This first video covers removing the interior panels. You do not need to remove the long horizontal panel above the window. Also, on the rubbery weather striping, the small white clips popped right out, which is better than separating them from the strip as Tony does. I taped the strip back in place so it would not be damaged if the tailgate closed. You need to unclip one electrical connector, which on my car was kind of a pain. In this second video, Bruce removes all those interior panels, but also the tailgate outer bezel with the reverse light assemblies. If you only have time for one video, watch this one. I think Bruce misses a set of nuts on each side of the tailgate bezel, far left and right. They are covered by skinny black panels, which I only partially removed (I could not budge the visible clip, but the hidden ones came right off). If you have removed all the 8mm nuts inside the tailgate and the bezel does not budge, look for those other four nuts. Besides using the Strip-Calk on each side of the light foam and around all the bolt hole locations, I put a strip along the rubber edge below the window, wear the bezel makes contact. That is the first place for water to enter under the bezel recesses. I used the silicon to seal all around the light assembly, where the clear part meets the black assembly. That should about do it. Time for a beer.1 point
-
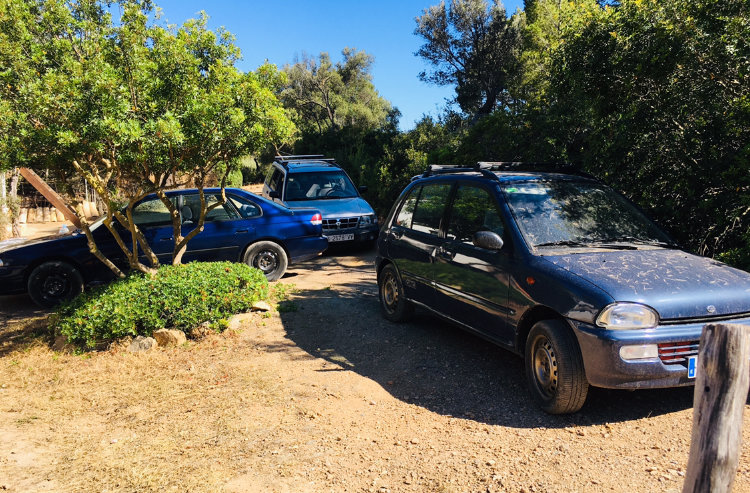
Thanks for the warm welcome! I dig my Scoobs with no alarms, no bells, and the most advanced part on all three is the Legacy’s remote door lock which only works at arm’s-length distance from the car! (If the angle is right and the glass is not to dirty) Here is the trio; Vivio and Forester in the queue for oil and filters
 1 point
 -
The AVLS pressure switches leak from the electrical connector - that was your first leak. And then I bet you cracked the head over tightening the new one. Seen it done a couple times. GD1 point
-
Sounds sinister and seems like it’s more of a reflection of the driver than the vehicle itself! I believe our police still have the powers to impound and crush vehicles under our anti-hooning laws. They usually go in stages with the penalty getting larger for each ongoing offence. Then at some point they repossess your vehicle and crush it - without it making it to the parts yard! And if you’re doing something really stupid or you’re a repeat offender in another vehicle they can go straight to crushing the vehicle. I believe this is under pretty extreme circumstances. We don’t hear about it happening often, but when the laws first came in the media were all over it! Cheers Bennie0 points