
Adam N.D.J.
Members
-
Joined
-
Last visited
Everything posted by Adam N.D.J.
-
Caster angle is what gives a car straight line stability. The caster angle on soobs is set by the for/aft angle of the strut. If the struts are not installed properly that will throw off the caster and make the steering. When you make a turn, then let go of the wheel do the tires self center to straight? If not then I would be even more suspect of the caster. Hope this helps. -Adam-
-
Currently my ratio of money to time favors the former, so while that stays it will most likely be an extremely long term project. One time starts to favor me I hope to spend more time enjoying the fruits of my labor. However, I am almost certain that there is not going to be a finish to the project, it will most likely be upgraded continuously as newer and better technologies come around (fusion drive Brat? lol). Most likely the only thing to slow me down would be old age (and my medical problems), but of course I have my daughter to do work for me! -Adam-
-
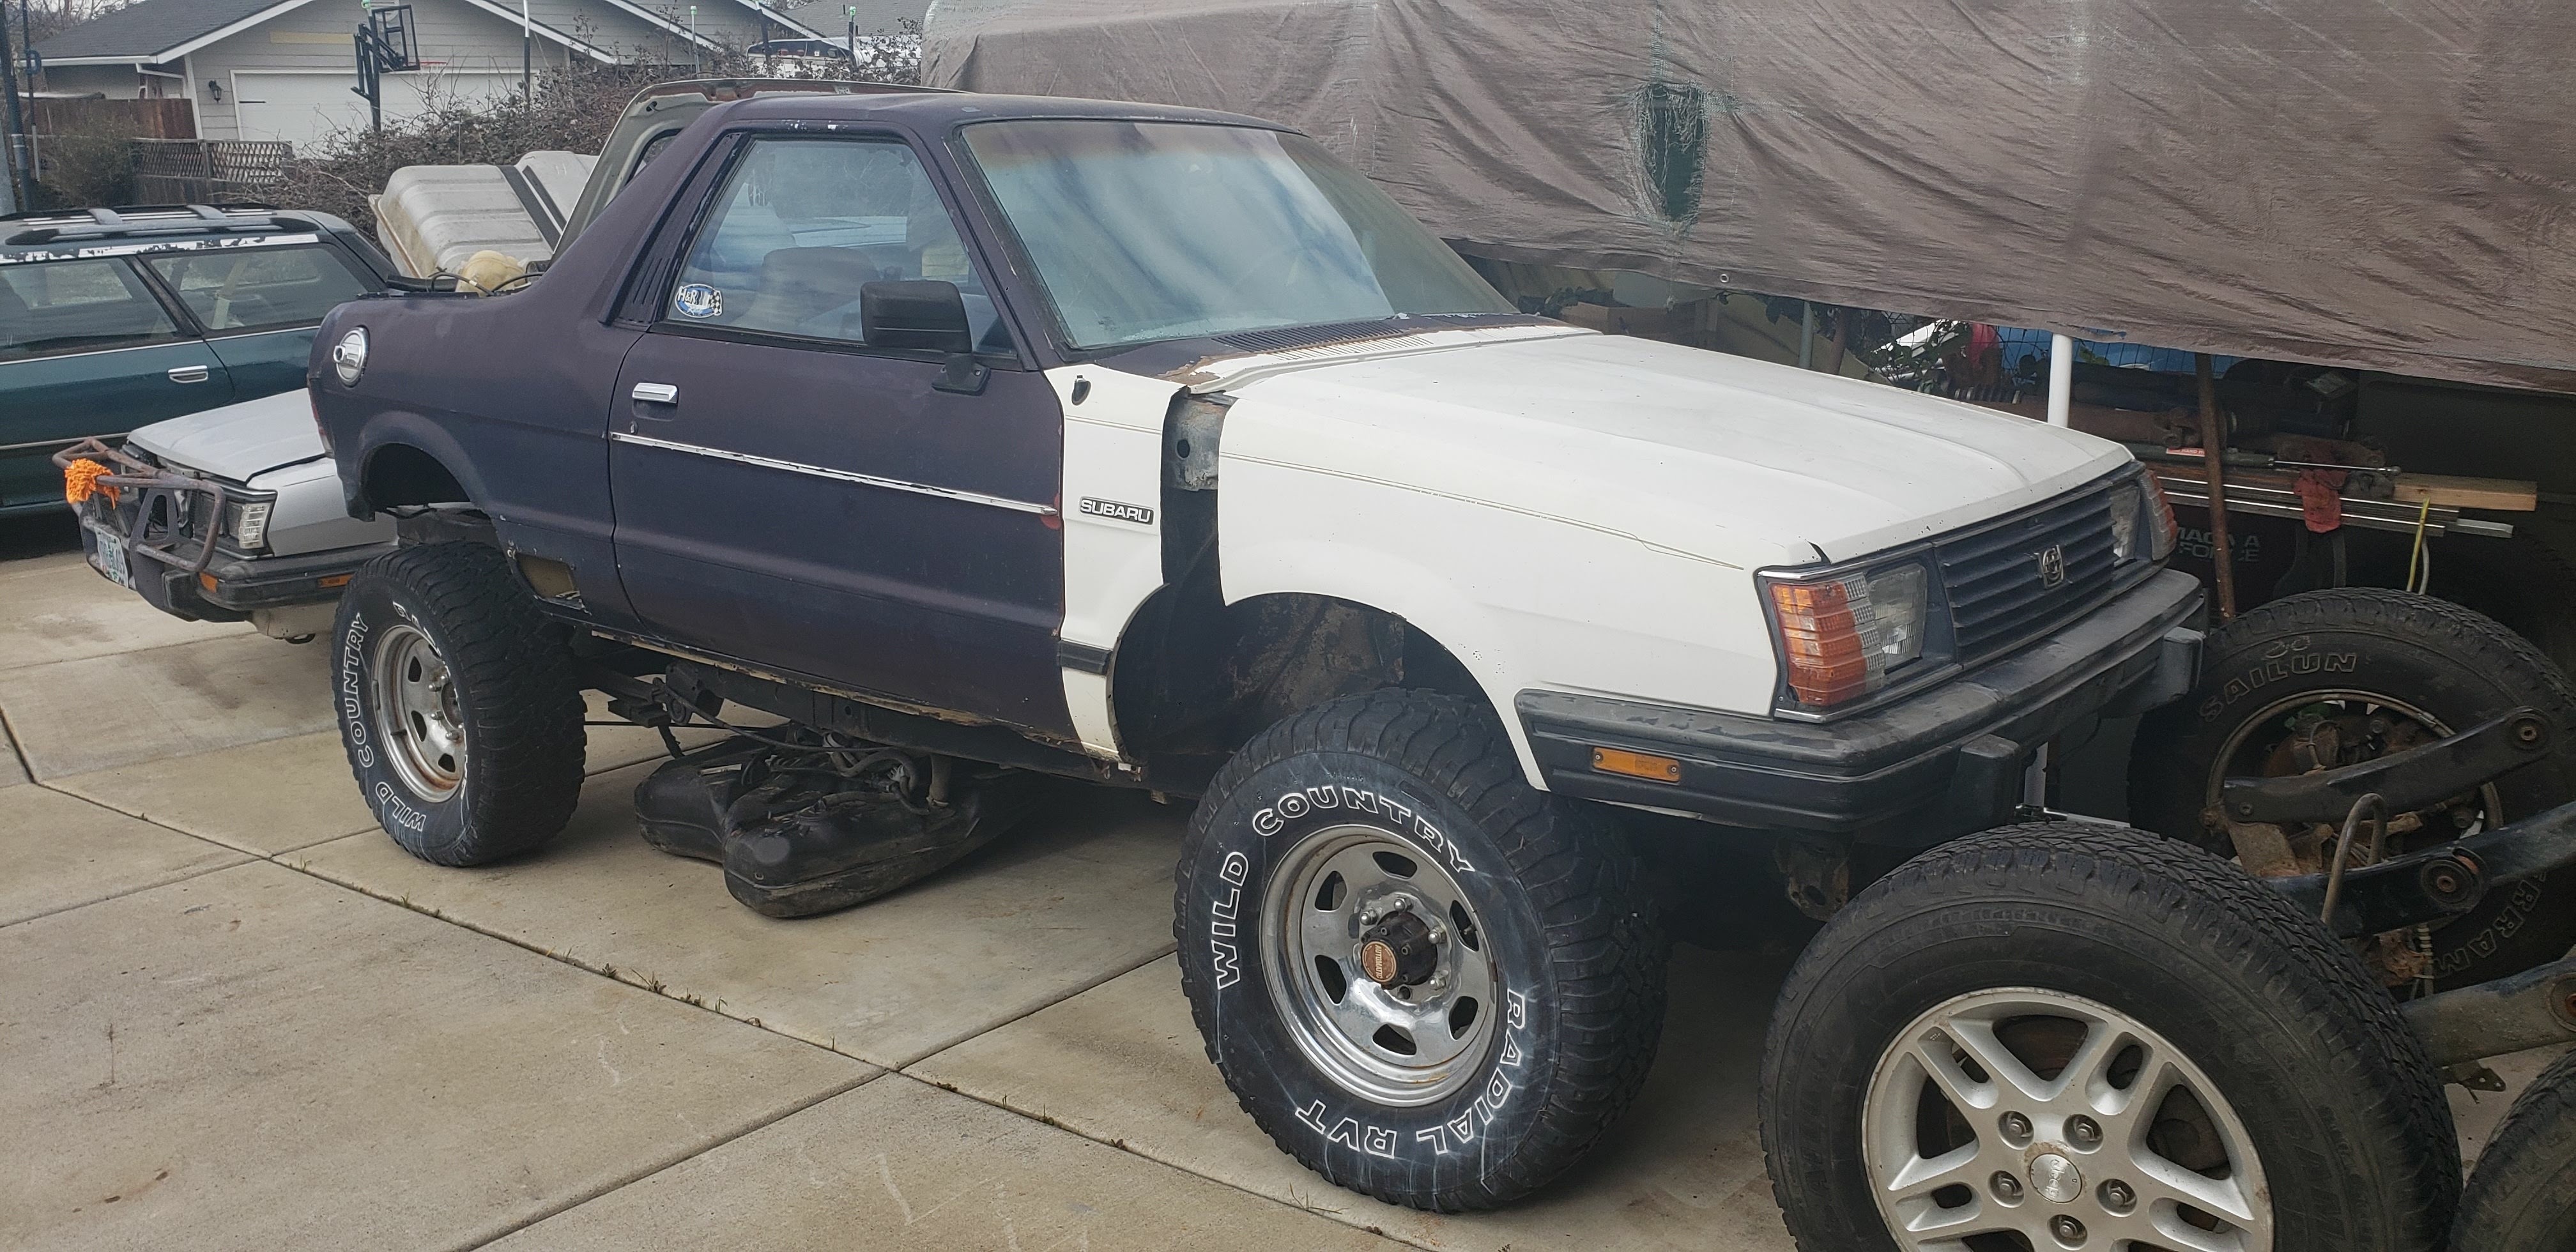
It is a little off dimensional wise, but it was pretty close to where I could mod things to fit. I did choose that spot because several body welds meet up there, and after some seam welding should be plenty strong enough. I do show off pretty much everything I do, just over in members rides, where I have a whole post dedicated to it; http://www.ultimatesubaru.org/forum/topic/141024-phoenix-my-82-brat/ -Adam-
-
One of my first lifts on my Brat was just simply 2 inch blocks. Just get some longer bolts and bolt them in where your suspension connects to the body. (4 at torsion bar mounts, and 2 at the rear diff hanger mounts). Then just get some longer shocks, I no longer remember what ones I used, but I think they were late 80s Nissan or Toyota pickup shocks. I did it as a full lift (front and back) but would not be hard to do just the rear. The 2 inch did not effect my handling any, it drove just the same as with no lift, although that was also with a slightly larger tire too. If this is not something that you would like to fab up yourself there are a few lift builders on here that are quite cool to work with and you could most likely talk to them about a rear only set-up. Hope this helps some. -Adam-
-
Steering sure is a bugger. It is not something that you want to half(donkey), and have it throw you in to a ditch or traffic because it broke. So it is something that I have been fighting with for a while. One of the biggest problems is that the stock steering box was bumped out of the way in preference of a flat 6 head. I started with a saturn rack, in rear configuration, and that proved to have issues with space involving the exhaust, torsion bars and front diff. So I moved on to an Explorer steering rack, in front steer configuration. This mounting served easier, but the connection of the column to the rack proved to have a serious problem in that I would need at least 4 u-joints to make it work. Also I had forgotten some of my basic geometry and physics when dealing with this sort of thing. Ackermans principle and bump steer. In order to make the steering work right I would need to preserve the already engineered aspects of the steering. This includes the length and angle of the stock tie rods. Now the Nissan used a steering gear with idler and pitman arm connected to the crossover link and two tie rods. After tons of late nights looking on the internet at different steering systems I had almost settled on getting a full hydraulic system (read very expensive). While a full hydro is not illegal in the State of Oregon, I did not know the regulations in Washington or California and was thus a little wary of going this way. So back to the net. More research let me to some hot rod forums, as they have steering gear systems that sometimes people convert to R&P, and this lead me to the GM K (or was it J?) body steering racks. These use a center tie-in configuration and allowed the hot rodders to make up their own center link and tie rods to fit the application. So after some hunting in the local yard I came across a 95 Grand Am with said R&P in it and now it is sitting in the garage. I spent the day pulling out the stuff I had already started to weld in (and of course ran out of acetylene and the store is closed till tuesday) but luckily the explorer stuff is all in the front and the GM rack is a rear steer rack (my preferred configuration) so I will be able to at least start mocking up mounts and stuff this weekend. I am thinking that building a mount to use the nissan centerlink bolted to the R&P should solve my ackermans and bump steer problems. We will see though. -Adam-
-
It will not effect your grounding. If it does then there is more there to worry about than a leak. The purpose of the tape is to squish in to the threads and fill any small gaps, the majority of the thread will cut through the tape and make good contact. I always use thread tape on all pipe threads and/or fluid containment plugs. Not to mention it is cheap stuff, you can usually get a roll for less than a dollar and will last for a fairly long time. I keep a log of rolls in the garage as it has uses not just on cars but around the house too. -Adam-
-
The RE4R01A (Nissans transmission) is very similar to the 4EAT on the inside, however the case is very much different, it is designed to be bolted to a V6. It has been a while since I have been under my Pathy, but I seem to remember the case being a single casting, so the bellhousing would not be able to be swapped. That being said, there are number of shift kits and heavier duty valve bodies out there that could prolly be adapted to give better shift patterns and whotnot to get the power to the ground for you. One of those things to mull around for another time, the 4EAT is a pretty good trans and will most likely be a while before you outgrow it, if ever. Keep it up though I love seeing other T-cased rigs. -Adam-
-
My internet was down for a couple of days, so to kill the boredom I spent some time digging through some old CD's I had found out in the garage. Dug up some really old pictures of my Brat, 1998 to about 2004. Shows some of the early changes that took place. Pretty neat to reminisce. Here she is when I brought her home. She had been vandalized, to include set on fire. But I rebuilt her. Here is when I first started playing with paint schemes. We have had some good fun through the years. Like going to WCSS 6 in Hood River in 2004; I think my next paint job is going to go back to something along the lines of this; This TBT brought to you by boredom! -Adam-
-
The past week has seen the creation of body mounts for the Brat. Sure is nice have the body actually attached to the frame! -Adam-
-
Welcome aboard. I notice you are just up the road from me, I am in Medford. What you can do with the car has a little bit to do with what it is. One could assume that it is a Gen 3 (you are in the 80s forum and said timing belt) what which body is it (wagon, sedan, three door, ect.). Through the forums you could find nearly every idea that you could think of to do with you car. A lot of what can be done with these generations though require a little more of the work to make it fit modification rather than just the bolt on the new goody that the newer ones do. Once again, welcome aboard, look around, have fun. -Adam-
-
Another thing that can cause this, as I have had it happen to me a few times now, is the negative cable. It may look fine on the outside, but over time, they start to break down inside. Everything else on the car will run fine through it, but once you hit it with the load of the starter it just will not handle it. I solved this by adding a new dedicated ground cable to the bolt on the starter mounting flange. You can test this by hooking a jumper cable to the stud on the starter and the other end directly on the battery negative. -Adam-
-
Starting to lose the sun earlier, had enough time to cut out some more gussets and throw down some more welds. As luck would have it though, I get half way through the left side mount and run out of gas in the welder. Arg! Well, I did at least get the right side done and installed. Still have some cleaning up to do, it is a bit of pain getting the welder stinger in to place to get some of the welds. Here is what it looks like all installed. -Adam-
-
Yours would be the Beck/Arnley 1520568 one. Little square box.
-
Had this happen to me once. You can split the engine like you normally would with the exception of that cylinder. Just pull the other half off that side, then pull the con-rod cap off to get out the piston. At that point it will most likely take a machine shop to fix the sleeve issue. Lotsa luck. -Adam-
-
Got started on the mounts. Some how I forget to cut out the gussets for the upper mount. Of course I am all out of oxygen to boot. Trying to steal time here and there, too many other things to get done before the rainy season hits. Anyway, before I digress, on to the pics! I am also starting to make videos of my work. I have not gotten in to doing any serious editing and stuff yet (mostly cause I still have not picked up a good program). However it is on the list. Most likely be a winter time activity. I did fab up a dual camera mount for my tripod, so I can do real time and time lapse at once. And a quick time lapse of the front body mount going in. This is about 30 minutes real time. -Adam-
-
Actually the dual cross member idea has been brought up before. For me it was a matter of I usually have quite a bit of steel stock around, and at the time I had a severe deficiency of spare cross members. Really all you would need to do is remove the steering rack, and maybe cut in some reliefs to allow the lift block to sit inside the cup that the frame end of the member has. One big thing to consider between just lifting and doing a frame transplant is the type of wheeling you are going to be doing. If you are going to be running fairly big tires (30+), and upping the power and torque, you have to consider that these unibodies were built with a 75 hp engine in mind. Once you start stepping above 150 hp/tq then things start to get compromised. In my case the power that the 2.7 through the t-case into the 4.11s with a 30 inch tire caused the frame to twist and eventually ripped the bolts and blocks out of the unibody. (that is why I am now going to frame, and there is no more stock framework from about the firewall forward.) In hind sight, if I was to do it again, I would reinforce all the mounting points. Most likely I would weld in some like 3/16 plate steel, and add in couple more mounting points to spread the load more. LL -Adam-
-
Yep, the engine needs a new xmember to sit on, it can be seen in the pick right behind the exhaust, I just used square tube that had reliefs cut in them to angle a section to line up with the motor mounts. Then the two ends of the square stock were welded to the lift blocks on either side. At one time I had a ton of pictures of my build, however I have spent the last two days looking through computers and hard drives and can not seem to find them anywhere. If I do I will be sure to post them up. Nope, stock manual rack, one thing that was good, I got high scores in the push-up event of my PT test. LoL. That is another thing that in retro spec I would either go with power steering, a disconnect in the front axle/hub and/or power steering for sure.
-
When you go with the T-case this allows you to move the engine and trans back up to where they would be in relation to the body as in when it is stock. That is why most recommend a 6 inch plus lift. This allows for plenty of room under the transmission to mount the diff. On mine I cut the center out of a mustache bar, then removed the bushing ring from the front mount. I welded the mustache part to the front cross member and the front mount to the transmission cross member. This put the axles in a flat plane when the truck was sitting neutral on flat ground. You can see the center of the mustache bar here and barely two of the four bolts for the, now rear, mounts. One thing that I can say about this method, that I would change if I did it again is that this produced a lot of harmonics with the solid mounts. Especially after the front diff was welded. -Adam-
-
I have some pictures of my old frame in my build thread, it is post 7 or 8. Would not be too hard from there to modify so that you use a sold rear instead of the IRS. Rather than post more pics may be easier to go there. I did that route first, but now I am going with the full frame swap, that is also covered in the thread. http://www.ultimatesubaru.org/forum/topic/141024-phoenix-my-82-brat/ There are loads of way to doing things, it is just a matter of time money and imagination. Although there are some physics that need to be kept in check, like pinion angles, squat and anti-squat, lateral stability. I would recommend reading up in some of the bigger 4WD pages (pirate, 4wdaction, ect) and checking out their builds, and there are a few suspension calculators out on the net that can help out a lot. Lotsa luck. -Adam-
-
-
I have been pretty busy with wrapping up end of the summer stuff and now much of that has been spent on the Brat. However I have taken a little time and am getting some work done. The biggest thing that has been bothering me is that the body and still just resting on the frame. Well today I got everything squared up, and cut down to where I am happy with the final placement. This weekend should see me getting all the mounts welded in. Then it is on to more pressing issues; like wiring up the engine, mounting a fuel tank, and making some fire! Pics or it did not happen? I still need to get the gussets cut out, but that is just a real quick couple dozen triangles. Looking forward to getting this done, it is a pretty big step that leads to a lot of other parts that can fall in to place. Till next time. -Adam-
-
In most cases you end up with something like this on the inside: so the trans shifts gears like normal, the dual range will allow Low, High, and a neutral state. and the right shifter becomes the 2wd/4wd shifter, with an additional low range. Your drive will change from front wheel (in 2wd) to rear wheel. Mounting will depend a lot on the T-case used. The most common being the suzuki samuri and nissan 720 pickup. This is how I did mine. Not the best picture but gives a decent idea. (I no longer run this set-up). One of the key benefits is the increased gearing allowing you to put down more torque to the ground and in turn navigate obstacles at lower speeds. You can also get lower final drives that will allow larger tires but not change the operating range of the engine. For example if you stick with Subaru diffs you can drop to the 4.11 or if can find em 4.44 Hope this helps.
-
Going through a lot of water could mean water in the distributor cap. Does it cough and sputter but not start? I would pop it off and take a look, clean it out, check the contact points (they they are covered in carbon hit with a fine emery board). Also check your air cleaner, if it is soaked then you will not get enough air. While you are in there you can check the fuel, give the throttle a bump and see if the accelerator pump is squirting in to the carb. Lotsa luck. -Adam-
-
I did not get many pics, but I did get video of the Tuff Soob course. It is currently uploading/processing to my youtube. Will most likely be up late this afternoon. You can find them at https://www.youtube.com/user/AdamNDJ. I will be putting them in to their own playlist, so they should show up under the playlists tab.
-
Great job everyone. This is only my second year in a row, but when I look back on #2 it amazes me how much it has grown in the last 14 years. To Q, Zap, Jerry and Rob; great seeing you all again. Then there is Jeff and Brian; awesome to finally shake hands and put faces to the names. Till next year, I have a lot of work to get done before then.