
moosens
Members
-
Joined
Everything posted by moosens
-
1992 Legacy fWD Wagon started up , began driving and had to hit the brakes pretty hard but was on gravel. Then I nailed it off the gravel and hustled my way across the intersection to avoid traffic. Continued straight and after about 100 - 200 feet the car was loosing power and not restarting. @@@ There is no battery hold down installed - my laziness etc. Pulled over and got back to it a few hours later. Took the Main fuse box cover off in the engine bay and found a fried fusible link and the underside of the cover showed a heavy burn/blast. Got another link and went to install with battery still hooked up and the link started to crackle so I didn’t install and then removed the battery neg. , then installed the link , then the battery neg. and sure enough the link fried and caught fire. Unhooked the battery ground and made sure all was cooled off , closed the hood and went home. The car is just a block away. Have to sleep and work. Looking forward to any thoughts. It’s the black fusible link that sits up front all by itself. And I could use a couple of them now.
-
Cool , and Welcome !
-
Wow that was great ! Thanks again , you few folks left here from the glory days of the USMB. Keep the USMB alive !
-
I’m guest east coast guy. see you all weekend.
-
Ahh great advice and I sure will see you soon. It’ll be great to finally shake hands with all of you. No car deals right now. Plenty of dreaming , but no deals. Just too much this year. Timing wasn’t the greatest for a family vacation. So a quick trip it’ll be.
-
That was the intent. Handy list for when we do finally happen upon parts cars. Good luck on the ceiling liner. I think 74-77 Stage one same model will work.
-
And these are used parts. There’s a small package of front brake parts New.
-
Great , having trouble with this 2mb deal. I’ll post pics a little later when I have time to deal with phone settings etc. Sorry about that. Hang in there.
-
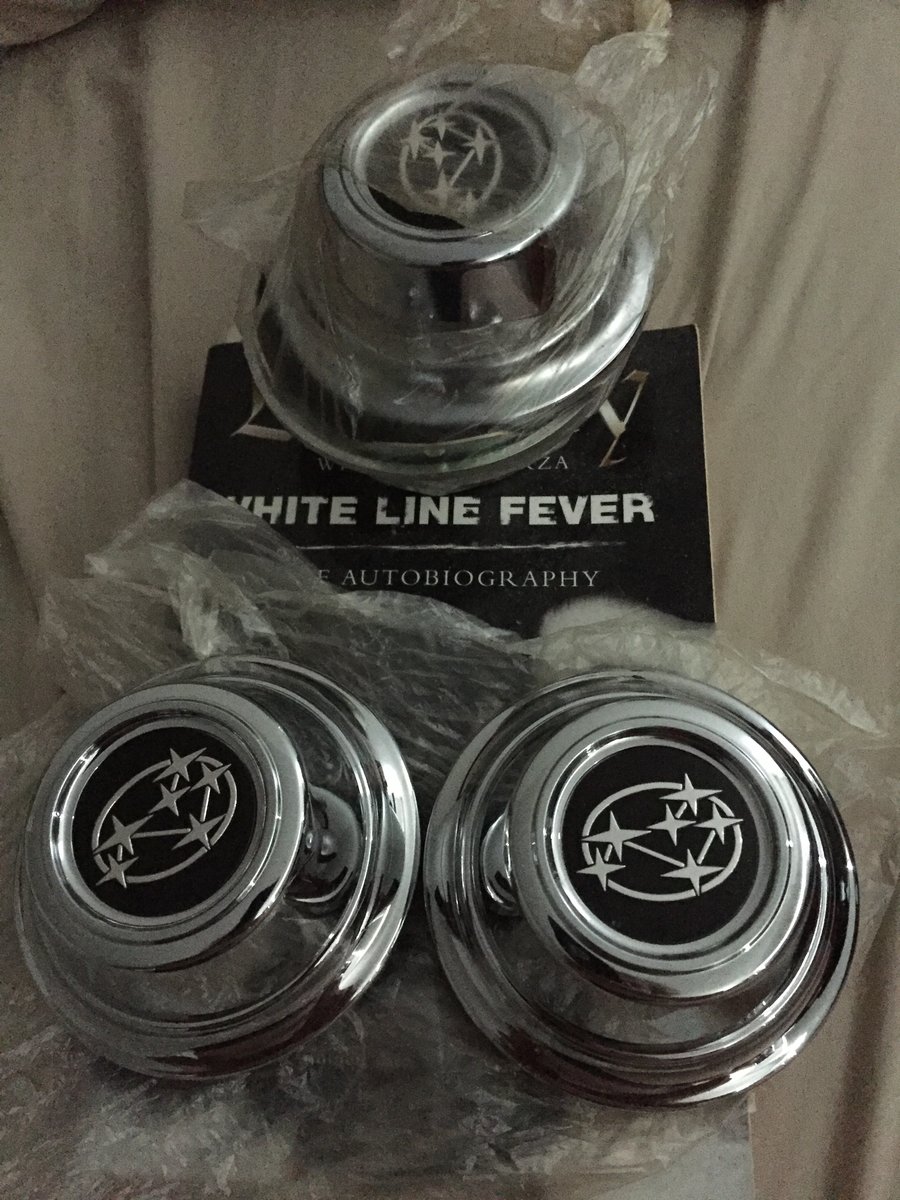
Make an offer. Look close there’s some parts most everyone needs sooner or later. Little bits , but having that box of misc. bits can make your day at the right moment. If you see similar items in different pictures those are additional and not repeat of the other pictures. Pics coming. 2mb at a time. Lol
-
These have been picked up - not me.
-
Have a mess of fuel filters too. I’ll post cool stuff as it comes out.
-
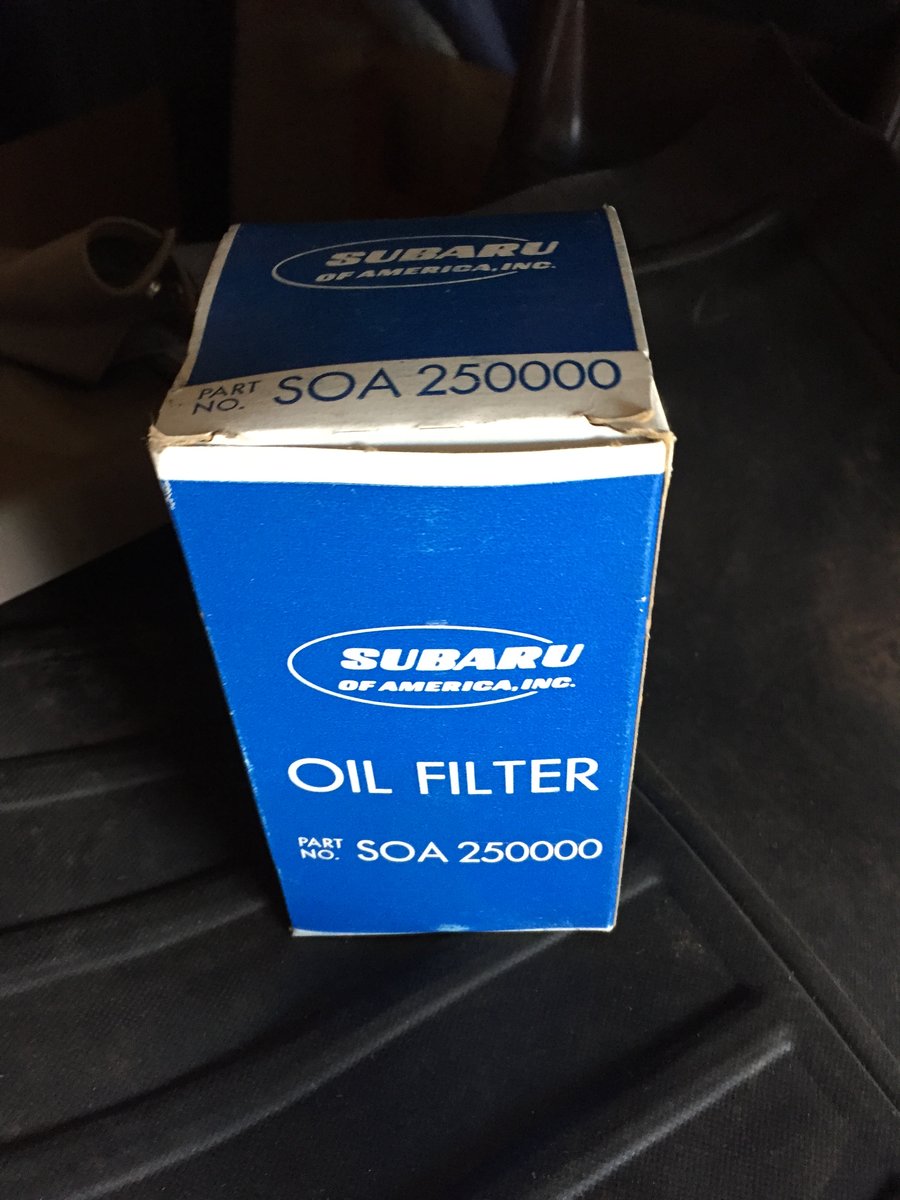
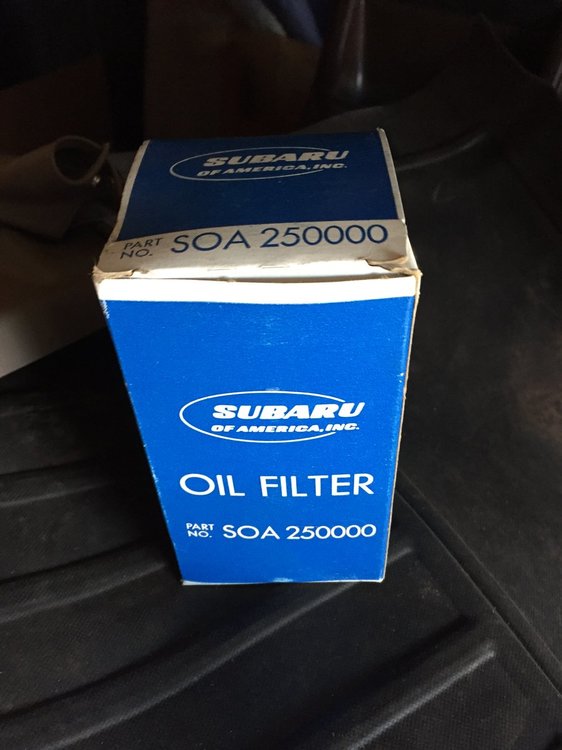
Original 70’s filter nostalgia lol
-
Van , you are the coolest “find” of the year. Good to see you here. Talk soon.
-
In case you’re not aware I’m cleaning out massive amounts of parts and stuff from New Old Stock to great used hard to find parts. These days I’m sadly on face buke , but if you haven’t done that yet I commend you. But seriously it was easier to post there so that’s why I’ve stuck with it for now. The main three sites I go on for Vintage Subaru activity are: Classic 4x140 Old School Subaru Group and of course the Ultimate Subaru Cult - lol - sorry for that. The latest edition of this board is much better. Just have to shrink my photos for this board. So I’ll be posting here as I can. But to save time please see if you can check out my goods over on FB (gag). Best part about this board for us is that I’ll use the messenger here. But NOT face buke’s And you can always email me at moosens@yahoo.com Enjoy summer !
-
moosens replied to moosens's topic in 1990 to Present Legacy, Impreza, Outback, Forester, Baja, WRX&WrxSTI, SVXAnd as of today I still haven’t gotten to check the ECU connections. Thats up at the passenger side foot well , right ?
-
moosens replied to moosens's topic in 1990 to Present Legacy, Impreza, Outback, Forester, Baja, WRX&WrxSTI, SVXFound my FSM. Found a multi meter too. Have to make time now. Can relays click and seem good but actually be bad ? I know I can verify with my meter , but I’ll probably not have time for this car next 2-3 days. Also want to see if I can dig out any relays I may have snagged from parts cars and just switch it and see. At the pump the connector seems to have a slight burn/discoloration at one pin. It’s the lower left as you look into the connector. I’m pretty sure it was the black or black/red power source. It’s not a real obvious burn. But the other pins aren’t dirty like this one.
-
moosens replied to montana tom's topic in 1990 to Present Legacy, Impreza, Outback, Forester, Baja, WRX&WrxSTI, SVXThailand is where the rubber comes from if that makes you feel any better.
-
moosens replied to moosens's topic in 1990 to Present Legacy, Impreza, Outback, Forester, Baja, WRX&WrxSTI, SVXThanks very much. i just noticed that the diagram I was viewing was for a 98 and not a 92. No module - as I should have already been convinced having torn through so many of these 90-94s already. The things I do when I get flustered. Should have looked twice or more at that diagram. i do have an FSM which I will surely dig out and get checking connections. I know the ECU can also get corrosion at the terminals so I’ll start there.
-
moosens replied to moosens's topic in 1990 to Present Legacy, Impreza, Outback, Forester, Baja, WRX&WrxSTI, SVXTom , I already changed out the pump on this sedan so I know where the pump is. It’s in the trunk but you can access it from the back seat like I’m doing now. I’ve done several fuel pumps on EJ22 wagons and sedans. I’ve also torn down a few including removal of interior. But I’ve never noticed what the online schematic showed. It says there’s some sort of module under the center console. This car had sat longterm with a previous owner. And when we got it from the last owner ( young guy not good with cars but his friend eventually helped some) he had tried various remedies for what really amounted to lots of rust in the gas tank. So back when we got this car (couple of years at least now) I immediately changed the fuel pump. Ran great until this happened and now I’ve swapped in a new pump. Man I need to find my tester. This is a problem a guy with his own garage or even comfy place to work would have already fixed. I’m in a condo and my car is in a high traffic area so I’m trying to fix this without looking like I’m working on my car.
-
moosens replied to moosens's topic in 1990 to Present Legacy, Impreza, Outback, Forester, Baja, WRX&WrxSTI, SVXAnd just installed a new pump. It’s a Beck Arnley which I’ve always trusted. At this time I’m unable to locate and of my testers/meters. I’ll grab one later.
-
Won’t start. Relay clicks as it should. No action at the pump. Just looked online and I see a diagram that shows a module ? under the Center Console. I’ve never known that to be. I’ll try to copy the diagram but I had trouble doing that before.
-
Charlie , good luck. Same kind of situation here.
-
moosens replied to moosens's topic in 1990 to Present Legacy, Impreza, Outback, Forester, Baja, WRX&WrxSTI, SVXYa know , I should have gotten my Sawzall out and cut the head like you mentioned , but I drew the line and just scrapped the block with oil pan , oil pump , and crank pulley still in great shape. Life goes on.
-
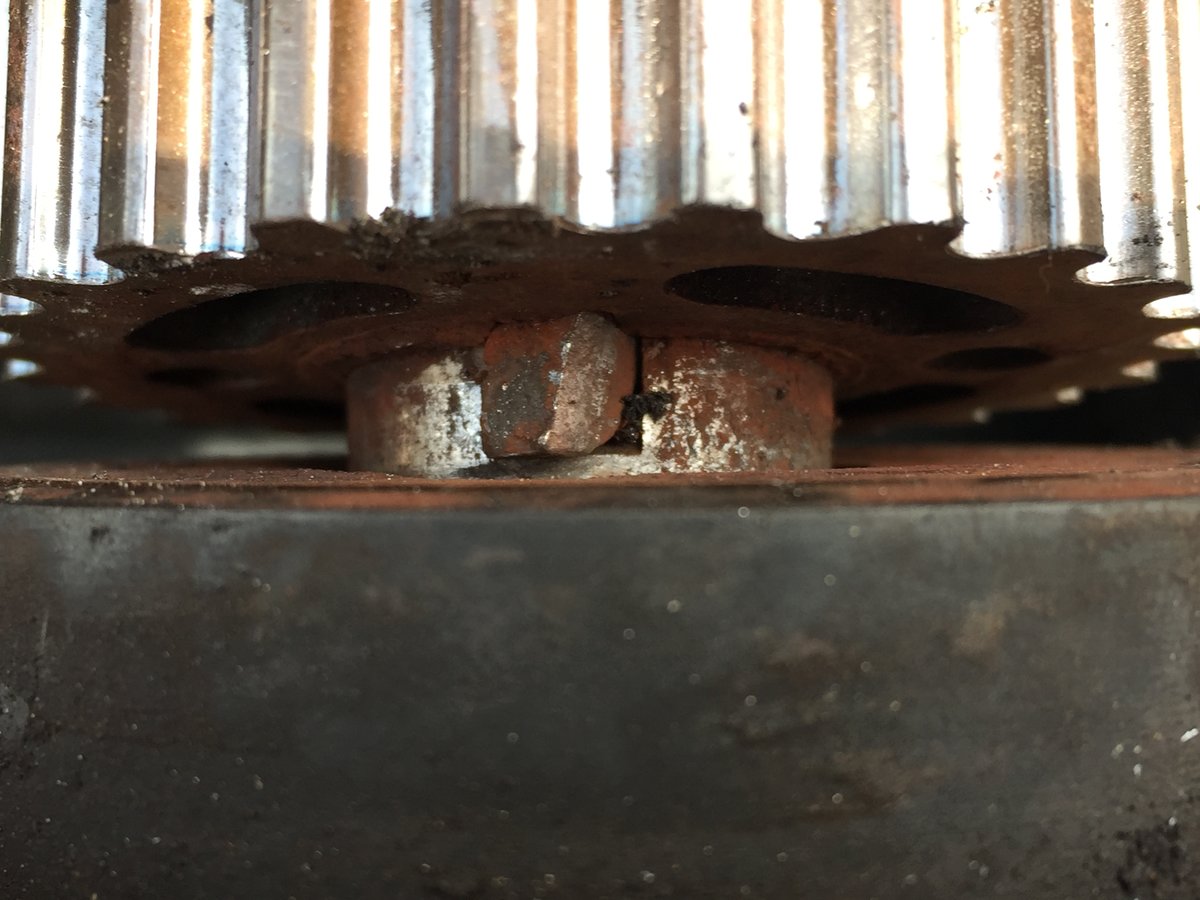
moosens replied to moosens's topic in 1990 to Present Legacy, Impreza, Outback, Forester, Baja, WRX&WrxSTI, SVXYeah that was my thought but the timing area is dry. That crank bolt now is super hard to get out so I gave up. There sits a low mile oil pump behind it that would be great to have down the line. Maybe I’ll take one more shot before the scrap yard.

-
moosens replied to moosens's topic in 1990 to Present Legacy, Impreza, Outback, Forester, Baja, WRX&WrxSTI, SVXIt was a loose crank bolt apparently , which caused the key to flex badly. Breaking the old engine down and that crank bolt of nasty bad not wanting to come out. I want to salvage that oil pump as it was new not so long ago. Brute force and ignorance will soon prevail. But that didn’t cause the rather severe oil leak it had. Really not yet seeing where it was spewing from.