Search the Community
Showing results for tags 'ea81'.
-
 My cluster only has a speedometer and the subaru car HUD (4wd, parking brake, etc). I kind of wish I had a tachometer. If anyone had a spare cluster like this, I'm willing to buy it. Anyone know if it's plug and play? Would it be easier to buy an aftermarket tach gauge to stick somewhere on the dash? Thanks
 -
New to the forum! My SE-R's QR25DE bit the dust so for the time being I had to buy a winter beater. I was looking at 90's Civics, Crollas, Camrys, Maximas. Suddenly had the idea to check the area for Subarus. I didn't think I'd find one in my price range, but hey: 1987 GL Hatch? Rebuilt title? Rusty rear end from probably rear end repairs? Nonsense, less than a grand and some TLC later, I've got a soild runner. Someone even installed modern AC that works. There's only two things that concern me. 1. If I drive this car casually, after about 20 minutes the check engine light comes on. I'm guessing the engine or transmission warms up enough for something to go awry? Autozone and my local Subaru dealership said they don't have the equipment to check my computer, too old. An older guy at Subaru told me that it's probably "something with emissions (O2 sensor?)" and that although it won't get the best gas mileage, it'll run fine. THe only warning he could offer was to watch out for overheating. Driving on the highway or using 4WD offroad cuts this time down til the check engine light comes on. She starts everytime, runs decently well. I wouldn't be able to tell if it's running rough but it sounds like the ones I've seen on youtube. 2. I can hear an audible clicking coming from the driver's side front wheel/hub/rotor. It's always there, more noticeable now that the car actually has a muffler. It speeds up with speed of course, and I'd have to double check but I'm pretty sure it's always there. Not like it goes away by shifting to neutral. My memory is fuzzy at the moment, so I'd have to double check. I've done research while looking at other older cars, and from what I've learned: it could be a bushing? CV joint? Worst case, axle? These are just educated guesses, please enlighten me! I hope nothing too serious is wrong with my new Hatch, it drives very well, shifts great, and the suspension is like new (probably replaced). Let me know if I need to bust out my wallet to "buy" my car again :/

-
 I had advertised these in the parts forum as 13" wheels, but today I discovered they're actually 14" wheels: I know there are issues with ea81 13" wheels hitting the brake caliper on ea82 models, but would there be any clearance issues using a 14" steel wheel (I think they might have been for an XT coupe) on an ea81 car?
 -
Ever wonder what the plaque that says "this vehicle equipped for the installation of optional A/C" means? Driving yourself crazy looking for why your fan has no power and can't find the relay? Well here's part of it. First off, unless you have "Subaru" A/C.....you don't have a relay. Later EA81 Blower circuits are setup with a connector, that provides for the Non-a/c fan circuit, to be bypassed......and run through a new relay.......bringing power for the blower fan through a single 20 amp glass fuse taped up in the harness. I believe this leaves the original blower circuit extra electrical capacity to power the compresor clutch, fan relays and pressure switches,etc.... Here is a pic of the jumper that is in the setup from the factory on non-a/c cars. This connector is up under the dash, right below the column, coming out of the big bundle on it's own 20" or so pigtail. The glass fuse is wrapped up just a bit closer to the fuse box. And Here is what the circuit looks like after Dealer installed Genuine subaru A/C setups And here's the thread that made me tear apart 2 dashes trying to find this sucker cause it was driving me nuts.......Never had to look for an EA81 blower relay before http://www.ultimatesubaru.org/forum/topic/140151-brat-blower-motor-relayproblem-solved/
-
 I recently got an EA81 hydro motor thats missing the pushrods. The guy I bought it from had a near complete set of solid lifter pushrods(aluminum) he gave me for free and I'm working out a deal for a partial set of hydro pushrods(steel) right now. Can you mix and match the two in the same motor? If mixing and matching won't work, can I run a complete set of solid lifter pushrods in a hydro motor? I'm not sure which set will be easier to complete.. Josh
 -
So I just had my engine pulled out of my '83 Brat to replace the rear-main seal. Turns out it didn't even have a rear-main seal. Anyways I also found out that the entire EGR system has been plugged. The EA81 in this car is not original so I was wondering if Brats had an EGR system in 1983. If they did, then my engine has been swapped illegally and won't pass inspection; however, if they didn't, then plugging up the EGR system makes sense and is legal. I need to know fast, so any information would be greatly appreciated!
-
 see my build thread here: http://www.ultimatesubaru.org/forum/topic/137408-weber-carb-on-an-ea81-in-a-subaru-standard/ so I got a new ea81, a weber carb and all the other pieces. got the correct adapter plate. put the hitatchi throttle cable stay on the weber carb. got a manual choke pull. cleaned the carb and all seems to be functioning. it came off of a small 4-cyl datsun truck. but I can't figure out how to run the throttle cable. it makes no sense. I got this little $25 adapter piece from carbs unlimited in auburn, but no clue where it goes to make the cable work. plus a few other tiny issues I'd like to get sorted out. I'll trade beer and some cash for someone to come show me what's up and get the thing running. I've got a garage and all the tools... but I normally work on MUCH smaller engines (vintage vespas), so all of this is very foreign to me. I'm free this weekend -- preferably sunday afternoon (june 2nd 2013)
 -
 For the EA81 engine, and 1983 Brat, does anyone know where the Engine Coolant Temperature (ECT) sensor is? There is a sensor near the thermostat housing (which is by where the upper radiator hose connects to the intake manifold I think, passenger side of engine bay) but this sensor is two-pronged which means that, according to all parts catalogs that I've looked at, it is the radiator fan switch, not the temp. sensor that connects with the dashboard temp. gauge. The temperature sensor is just one pronged (at least the aftermarkets that you can buy are one pronged).
 -
In the works of finishing swapping the EA82 intake on an EA81 Brat. The intake came with the EGR deleted (a nice plate with gasket covering it). What are the issues with deleting it? The issue is also the EGR pipe isn't exactly lining up, its sitting a bit higher. Should we just get a cap and cap off the EGR pipe? I did attempt to search but seeing as EGR is too short of a word to search for I did not get much. If anyone has an useful links that would be awesome.
-
Does anybody know if the 32/36 DGEV model Carburetor from Weber Carbs is the only model that would be compatible with the EA81 engine? Also, are weber carbs recommended? What do you all think?
-
Closed thanks for all the ideas and help
-
How accessible are the Thermostat and the temperature sensor in the EA81 engine? Would they be really easy to replace, or would you have to take a bunch of stuff apart?
-
So, I've been working on my suspension alot latetly. Got the rear super dialed in. 11 inches of travel!!! WOOT WOOT!! But now I need to work on the front. First try: This worked well for the upper shock mount, and the general location. Also, it was super easy to do by hammering a bolt between the channel that made the sway bar mount. Problem is, the bolts stick down low adn got hung up, also, I felt like my down travel was limited. So on to design # 2: I like this setup alot better. While doing this mod I also added 2" to the lift blocks on top of the struts. Also used some aftermarket springs that were on the a De-air suspesnsioned 92 Legacy. This combo is Muuy Bueno!!! 13 inches clearance at the Front Diff!! 4inches of travel Wish that was better, but I can certainly live with it. Questions? Comments? Pics of your mods? Discuss
-
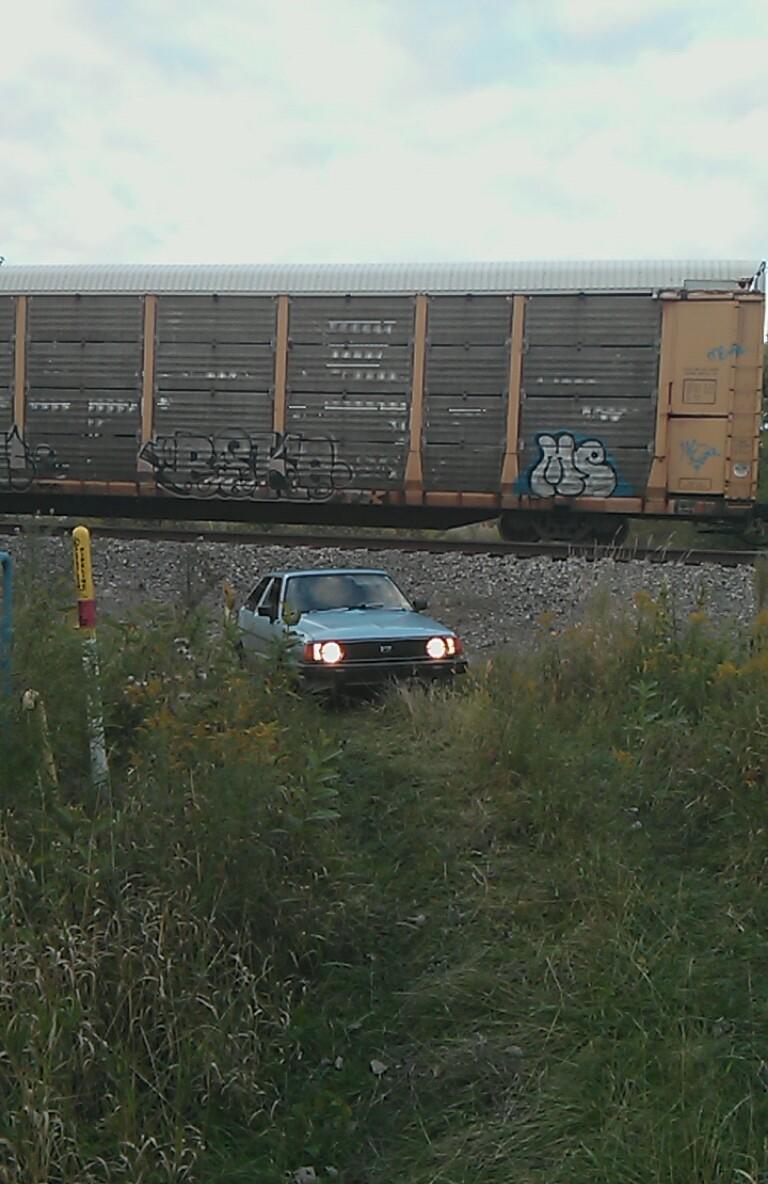
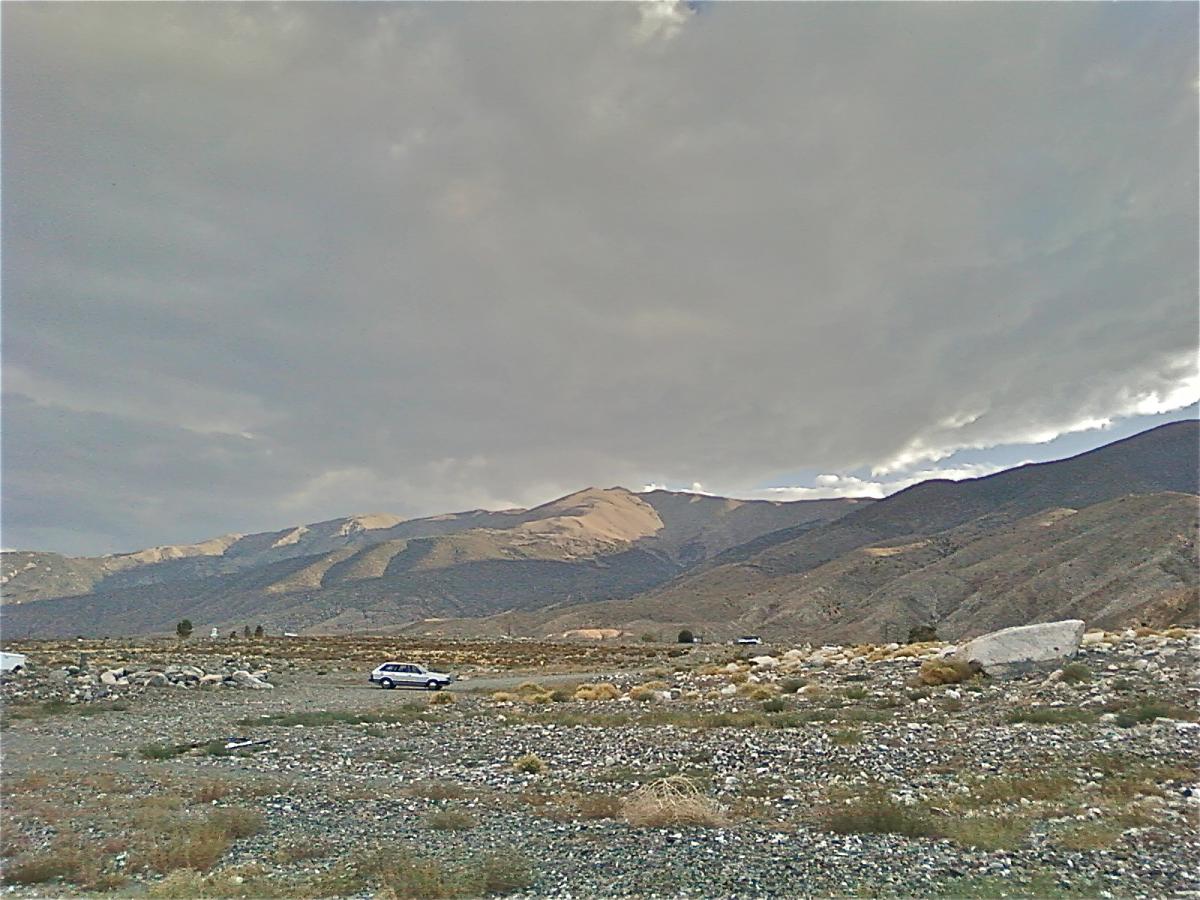
Man I love this car.

-
 I know it's been asked before, and I've read the responses, but I'm still at a loss. My 83 Brat has an intermittent problem of stumbling upon acceleration. It occurs whether the car is warm or cold. It seems to stumble only with slow acceleration and if I step on it, it surges and opens up, feels smooth. Doesn't seem to lack power overall and idles decently enough once it's warmed up. Stock Hitachi carb. So far, in attempt to fix this issue and just because it needed it, I have replaced both fuel filters, air filter, spark plug wires, spark plugs(with new NGK, properly gapped), new distributor, put a bunch of heet and seafoam through it to clean out any gunk or water and checked for vacuum leaks by spraying starting fluid around the intake manifold and vacuum hoses (no change in idle speed noted). I also only run 89 octane or higher fuel. Im thinking it could be a partially clogged jet in the carb. Maybe some other jet opens up with more throttle and thats why it only occurs at low throttle. I haven't opened up a hitachi, but I would be willing to rebuild it if that would help. And no, I'm not getting a Weber. I've gotten 31 mpg with the Hitachi properly tuned. Any advice would be appreciated. Let me know if more info is needed. Thanks yall.
 -
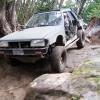
So I took my little sube to a Mud competion here in Oregon this weekend. Pretty good time. Super gnarly course, I opted out of certain obstacles but not many. Here is the first 2 videos on youtube. Other to be loaded and lots of other people were filming and sadi they would eb posting too so more to come. I sustained almost all the damage of the run on this first drop in! Twisted the driveline and ripped carrier out of its rubber but it all held for the rest of the run. This was the second series of holes. I had tettered in and out of this one twice before this video starts. Dual ebrakes working great to get me out and around when the tires are in the air! This is were the crowd starts to get behind me instead of ridiculing me. Kinda brutal and short, but enjoy.
- 26 replies
-
- 1
-

-
- Rockcrawl
- competition
- (and 3 more)
-
 i got a practically brand new carb off a 87 or 86 loyal wagon for my 86 brat with a ea81. they were almost identical except the mounting bracket.. is there an adaptor i could use? Id really like to use this carb because its literally shiny on the inside its so new. please let me know if there is any way. if not ill be selling it. id prefer to use it myself though.. i can email pics of the new carb i dont wanna mess with adding them on here.
 -
i got a practically brand new carb off a 87 or 86 loyal wagon for my 86 brat with a ea81. they were almost identical except the mounting bracket.. is there an adaptor i could use? Id really like to use this carb because its literally shiny on the inside its so new. please let me know if there is any way. if not ill be selling it. id prefer to use it myself though.. i can email pics of the new carb i dont wanna mess with adding them on here.
-
 Does anybody have advice or tips on removing the sliding rear window of a Brat? Any and all suggestions are appreciated.
 -
My 82 Brat has been acting up in the cold weather. The voltage needle will read correctly sometimes and everything is fine as far as power output. Sometimes, however, when I start the car, the needle is at about 9v once running, and it obviously isn't charging. It drops off the scale when I turn on the lights, the car must be running soley off the battery, because the lights are very dim and the wipers swipe really slow. If I drive it around enough, the needle will pop back up and the lights will brighten. I think it has to do with engine temperature perhaps, because turning it off and restarting does not make it work correctly, but it seems like the low battery light will blink on, then it starts to charge. I don't know if that is a symptom or a cause, perhaps the light coming on "kicks" something on, or perhaps the light just comes on once the connection finally gets enough continuity. I did notice some corrosion on my battery terminals, so that is where I'm going to start, I'll probably replace the batter (it's pretty old) and clean up the contacts to start. I had the alternator tested when it was working correctly and it tested fine, so I don't think I need to change it out. Any other suggestions on this issue?
-
i have a 1984 ea81 Brat with a 5 speed D/R transmission swap (removal of 4speed auto). the CV axles are going out which axles should i purchases? EA81 or EA82? The Subframe is original EA81, but the transmission is EA82.
-
Ideas on Swapping a Weber Carburetor on a Subaru EA82 Engine In this Writeup you'll find The Basics: ► A complete installation Guide. ► Solving problems untold by the Manuals. ► Jetting for the EA82 to be used between Sea Level and ~ 6500 Feet (2000 Mts) Altitude. ► Proper routing for the P.C.V. (Positive Crankcase Ventilation) System's Hoses. The Advanced: ► A much better Adapter Plate than the one designed for the EA82. ► What to do with the ASV, EGR, etc... The Optional: ► Installing an Oil Catch Can on the P.C.V. System. ► Distributor's Advance Modifications. ► intake Manifold Modifications. ► ignition Coil upgrade. ► Exhaust Piping Modifications. ► ...and Much More! Pay attention to the "Important Notes" Introduction: On early 2006 I Swapped a progressive Weber 32/36 Carburetor on my 1985 Subaru White Wagon (which isn't white anymore),, that swap job required more things to be done than what the Manual included with the kit, stated; so I'll explain here everything that is needed to successfully do the Swap, and I will add Photos describing all the problems I faced and the ideas I had to solve them; Hoping that this writeup will Help you to Swap a Weber carburetor on an EA82 Subaru engine, flawlessly. Many of the Ideas that I explain here, are also aplicable to the older Subaru EA81 engine as well, basically talking, almost everything except the adapter plate. REMEMBER: Use this Ideas at your Own Risk! First of All: the Redline-Weber K-731 Kit, which is designed to install a Weber carburetor on the Subaru EA82 carbureted Engines, came with the following items: A Progressive Weber 32/36 Carburetor, an Air Filter Box plus its element, a Throttle Cable Bracket, some Gaskets and a two plate Adapter, which consists on one Lower plate designed to be mounted directly to the intake manifold, and one Upper plate, designed to be mounted over said Lower plate; this last one receives the studs which are intended to Hold the Weber Carburetor in place; and needs the Gaskets inbetween ... Also this kit, comes with a bag with different screws and the studs. All the Weber carburetors that are Sold in the USA, comes with a sticker with a Statement that says something like: "For Racing -or Offroading- Purposes Only" due to Smog, pollution and other Legal Regulations which varies from State to State, so They're Not "Street Legal" on certain areas and that statement shall be placed on all brand new Weber Carburetors, due to said Legal Regulations; so you must be sure that you are legally allowed to do this Swap on the Area where you Live, prior to start. Determining which type of Weber carburetor you do Need There are many different Weber Carburetors' Designs on the market, however the two models used more often on Subaru Engines, are those who features two Barrels. (Forget about using a single barrel carburetor on these Subaru engines, simply it doesn't worth the effort.) Basically talking, there are two variations of the two barrel design on Weber Carburetors, that works good with these Subaru engines, one design is known as the Progressive Models (being the most popular, the 32/36 DEGV) and the other design is known as the Synchronous Models (being the most popular, the 38/38 DGAS). Each of the two barrels, has its own butterfly that opens / closes according to the Throttle position; if you want to be Sure which model you do have, just take a look at the Linkage that opens the butterflies between both Barrels, it is located behind the throttle plate: If Both Butterflies on both barrels, opens at the same time, always when the throttle position moves, it is a Synchronous Weber (like the 38/38 DGAS); But if one barrel's butterfly starts to open only after the other one have already reached the half way open, then it is a Progressive Weber. (like the 32/36 DEGV). The Synchronous Webers, like the 38/38, are used mainly for Racing purposes due to the Higher Fuel usage (Both identical barrels works / opens at the Same Time, all the time), and thus means that if you use a Car with such kind of carburetor as daily driver / commuter, it will become a Gas guzzler. The Progressive Webers, like the 32/36, are used for all mixed driving needs, as you commute using only one barrel which is known as the Primary -Low- Stage (usually with a Smaller Jetting); and the other barrel, which is known as the Secondary -High- Stage (usually with a Bigger Jetting) is only in use during deep accelerations, so you have the Best Balance between Power and Fuel Consumption. I chose a Progressive 32/36 Weber carburetor, which is, in my own humble opinion, the best option in Carburetor that you can choose for this retrofitting job; however this writeup is still applicable, if you have a synchronous Weber. That been said, lets Begin to explain the Problems I Faced during the Swap Job, and How I Solved them. ~► First Problem: The Lousy Adapter Plate. As I stated above, the K-731 kit that I obtained from Redline Weber, came with a Lousy Adapter, conformed by two separate Plates, Lower plate and Upper plate, each one has its own flaws ... ... The Lower Plate needs four screws to be Held properly in place, directly bolted to the intake manifold; each screw has a cone shaped, flat top head, whose angle is approximately 60° and is designed to fit on the also cone-shaped seats of the plate's openings; the matching angles holds that plate in place. Then comes the Upper plate, which goes directly bolted to the Lower plate; finally, the Weber carburetor mounts on that Upper Plate. The Flaws of the two-Plate adapter: While the weak thin walls on the threaded openings for the Studs, is the main flaw on the Upper plate, (Look for further information and photos regarding the Upper plate, on the following post of this writeup); the way to bolt the Lower plate to the intake, is another flaw, let me explain: The Redline-Weber K-731 kit came with two different sets of screws provided to bolt the Lower Plate of the adapter, to the intake manifold; one set of four silver screws, comes with the appropriate size and pitch for the Subaru EA82 intake manifold's threads (6 mm ~ 1/4"), but the heads of those thin screws are very small, around the half size of the cone shaped seats on the lower adapter plate. The other set of four black Screws provided, are thicker (8 mm ~ 5/16") and their heads fills completely the cone shaped seats on the lower adapter plate; but their thread and pitch are big and do not fit on the intake manifold's threads. Here you can see a comparison photo, of one of the silver 6 mm screws (I call it "Subaru Standard" screw) provided, next to one of the black 8 mm screws (I call it "Weber Special" screw) provided, for the same Lower plate: (sorry for my Cheapo Cellphone's camera photo) It is impossible to bolt in a ►"safe"◄ way, the Lower plate to the intake Manifold using the thinner 6 mm screws provided; but I bet that they included both sets, in order to let the unexperienced or Lazy mechanics / owners, to swap the carb fast and easy. Those tiny silver screws will make the first plate to get Loose, developing vacuum leaks sooner or later, because their small size, makes the screws to have enough room inside the plate's opening, to move and slowly unscrew, from the engine's inherent vibrations; it's only a matter of time. Also the tiny silver screws only covers half of the seat, on the openings of the lower plate, making a weak union. I already faced a vacuum leak: I was unexperienced when I did my first Weber swap, years ago, and I used the tiny silver screws as they matched the threaded openings on the intake manifold... it developed a Vacuum Leak between the intake and the lower plate, in less than a couple of months, despite that it was bolted tight, using a shellac smeared gasket. After that vacuum leak, I removed the intake manifold to check the install, and then I understood the reason why they put a second set of screws by seeing how loose the Lower plate became with the tiny silver screws... I decided to use the Bigger diameter black Screws, instead. In the Photo Below, you can see how the Heads of the silver 6 mm (~1/4") screws, doesn't fit properly on the cone shaped seats of the lower plate adaptor; they only covers the half from the cone seat and their heads doesn't fill completely the space of the opening in that plate. Next to it, you can see how the Heads of the black 8 mm (~5/16") screws, really fits perfectly there, they sits on the whole cone shaped base, while filling completely the opening, giving a much safer flush mount, which prevents the screws from getting loose with time and vibrations, as they doesn't have space for moving, because the Upper plate will be placed over them. So, some modifying job to the intake manifold is required for sure, if you want reliabilty: to drill and tap it, re-threading the intake manifold's threads to match the size of the bigger black screws provided, in order to use them to bolt the Lower plate properly, and firmly in place. To make those Bigger diameter black screws to fit, You will need to Drill and tap new Bigger Threads to the intake manifold, but Be Careful when doing that: The intake manifold is also a coolant crossover, so you must take the proper depth measurements to avoid drilling onto a water passage. I Kindly Suggest you to remove the whole intake manifold from the Engine, prior to do the rethreading. Here you can see how the intake Manifold originally was, right after removing the old Craptachi carb and gasket, just before removing it from the Engine: I took off the whole intake manifold to Drill the New Oversized Threads From 6 mm (~ 1/4") to about 8 mm (~ 5/16") Also I Sent the intake manifold to a Machine shop, to polish the flatness of the Carb's base: Here, you can see how the Bigger black screws Now fits perfectly there: Then, I Washed clean the intake manifold using Household Detergents, to remove any debris Important note: I kindly suggest you, that the inbetween gaskets should be placed Smeared (the two faces) with a thin layer of Shellac, because shellac is Coolant / Oil \ Gasoline Resistant (more info on Shellac ~►Here) other gasket makers will fail in that place; the idea is to avoid any kind of Vacuum leaks. ~► Second Problem: To Seal the (Now Unused) Water Passage for the Old Craptachi Carb. If this procedure is not done right, the cooling system will spill coolant on the intake manifold, right to the carb's base opening, so be Careful! My first solution was to place the Gasket completely smeared with Shellac over that water opening, and also I cut in half the tiny Hose which supplies coolant for that Passage, and cap closed both ends of said hose, using screws and clamps... That lazy solution worked fine for five years, but you must consider that there is still a coolant flow inside the water crossover of the intake manifold; so there still will be coolant flowing on that Area, even without said hose. You might use Cold Welding Compound such like the 4 minutes "JB Weld" to fill close that opening ... as I wrote, I ran my subie for years with only a Shellac smeared gasket and a removed hose without problems, but that setup was about to Fail after five years. Continue reading, in further posts of this writeup I will show you another Idea which is a definitive and permanent solution for this problem. After placing the Gasket, smeared with Shellac on both sides, inbetween the intake and the first plate, I bolted it there: (Notice the Bigger Screws and how their Heads fills the Plate's openings) Then, the Upper plate went over that first one, Also with a gasket smeared with Shellac on both sides, inbetween: And Then you can place the Weber Carburetor. ~► Third Problem: Power Steering Equiped Models. If your EA82 engined Subaru, has a Power Steering Pump, the Choke's Spring mechanism on the Weber Carb, will hit the Power Steering Pump's reservoir ... ... and even removing the Choke's Spring, the base for the said spring, impacts the bolt's head at the back of the power steering pump. (Here, the Choke spring was already Removed from the Weber Carburetor) At the Caribbean Tropics of Honduras, we don't need the choke too much, so... ► My first solution was to Remove the Choke's Spring, but it wasn't enough: also I had to cut Half of the head from one of the Steering Pump's Rear Bolts, to prevent the Base for said choke's spring from hitting it. ► A second Solution consist in, besides from removing the above mentioned Spring, to Completely Remove its Base from the Carb, along the choke's Butterflies (or choke plates), so you don't need to cut nothing. ► A third solution done by other persons, is to install the Weber Backwards, with the Choke facing the windshield instead to the front; it is doable, but in my own humble opinion, it might lead to another complex set of Problems. You can see photos and read further, in this example: ~► http://www.ultimatesubaru.org/forum/topic/156836-installing-weber-3236-backwards/ ► After lots of Research, I found a fourth and definitive Solution, which is easier than all the others. Continue reading, because in the next posts Nº 2 and 3 of this writeup I'll explain with details this better Solution ... ... which does Not require to modify, to cut nor to remove anything, so you can keep the Weber carburetor with a working Choke on the Models that features Power Steering, as easy and simple as install and go. Hooking properly the Accelerator Cable I installed on the Weber Carb, the throttle's Cable Plate Taken From the old Craptachi carb... ...Plus the part of it that works with the Air Conditioner Accelerator Actuator, which with a simple twist on its metal plate (due to the new carb's different angle) I managed to made it work good. The K-731 kit from Redline-Weber, also includes a Bracket to hold the Accelerator's Cable in Place, you must install it Carefully without Bending it, on the two rear screws that holds the Carburetor, on the Adapter plate; and you'll notice that the Accelerator's Pedal really covers the complete Acceleration Travel on the Weber Carburetor. In case said Bracket is bent Towards the Carburetor, the accelerator's Pedal will never get the Full Acceleration from the Carburetor because the Cable doesn't go Back enough to fully Open the Secondary -High- stage; in that case you'll need to bend it back; but Never do it when it is installed, it could damage the Adapter Plates; so take the Bracket out and bend it there. Once the Bracket is properly set, the accelerator pedal provides full travel for the accelerator on the Weber carburetor. So, the Intake Manifold + the twin Adapter Plates + the 32/36 progressive Weber Carburetor + the accelerator cable's Bracket behind, ended looking in this Way: (Yes: Those are my dirty Hands) Once installed, the EA82 Engine started at the Very First Try and Purred like a Kitten... a Boxer Kitten! ... ... you know. The Weber carb reveals somehow the Hiding potencial of the engine, and the Boxer Rumble Sound of the Carburated EA82's at its Best! ... ... While lets you Clean the crowded engine bay, removing lots of unused smog stuff. It is a Win-Win Deal for sure. I Noticed a Huge Improvement inmediately! ... Summarized in a quicker Engine Response and Faster Acceleration, smoother Idle and a really noticeable Better Low end torque. Fuel Consumption remains close to the Stock Specs ... (if you drive carefully) ... but the Weber swap could make you to want to keep the gas pedal floored ... ... in that case, fuel consumption will increase for sure
- 10 replies
-
- 2
-
-
- Carburetor
- Adapter Plate
- (and 8 more)